Despite not having posting any cards lately, I have been crafting every once in a while. Since I've had the time, I've actually been taking custom orders, which are fun because they can be somewhat challenging. However, they can sometimes be frustrating too because I feel as if I put extra pressure on myself to make sure the card is up to the standards of someone's request. For the most part though, I end up pretty happy with the final products, and I hope that my customers are equally as pleased.
One of the orders I had to fill was for Darvin and Teresa from DG ROCKERS (
Facebook,
website). I know Darvin and Teresa from my church. In fact, I've known Darvin since we were both kids, so I think it's pretty amazing to think that years later, we could somewhat collaborate on a great cause as "adults"! He runs a music school in Brooklyn, and he's focused not only on teaching different instruments but also providing a community for the youth. I know that the kids who are there like stopping by even just to hang out and jam, and I really respect Darvin and Teresa for doing something that makes a difference in their lives. For more information about what they do and what they offer, you can check out the links I posted above.
Recently they had a campaign on indiegogo, which is a funding platform. They wanted to raise money to put together a CD of their original songs. They asked me to make thank you cards so that they could send them to contributors. I knew right off the bat that I would use the guitar cut from my Stamping Solutions Cricut cartridge because that's kind of the only guitar cut I had! I actually think this was the first time I used this cartridge too, and looking at what's on it, I'm really excited to use it again for more simplistic cards. I love when that happens, don't you?
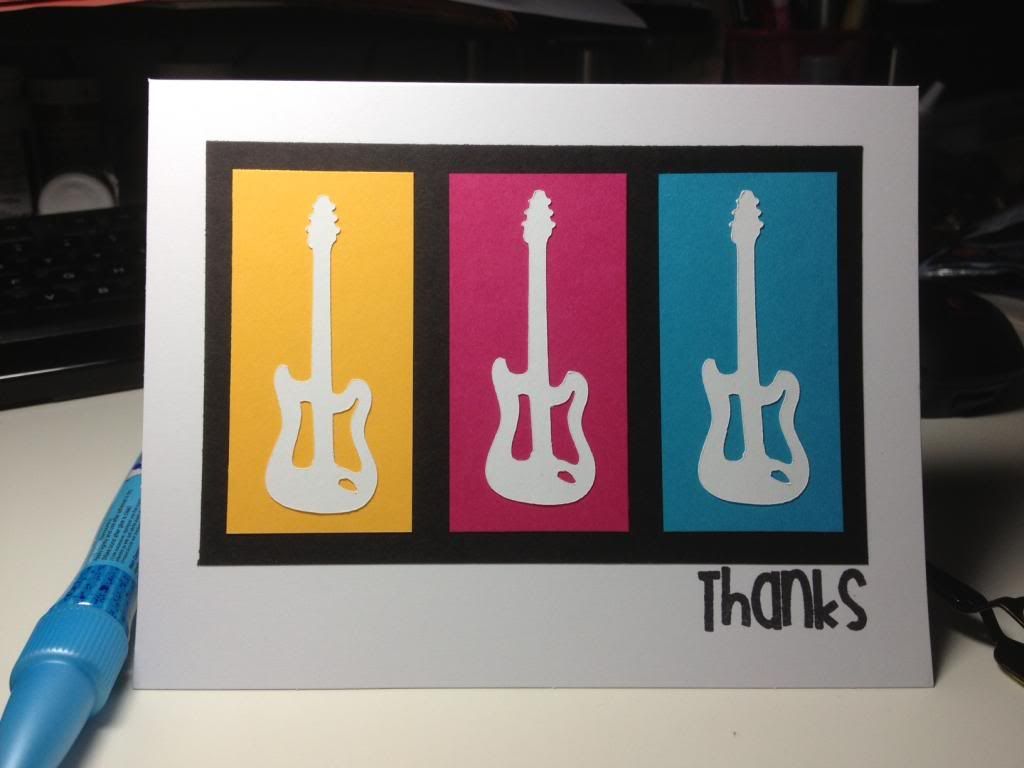
I wasn't given many specifics with the card, and for DAYS I stressed about it because I didn't know what to do. It's strange because when TOO many specifics are given or too few specifics are given, I get much too anxious about it when it should all be fun since it is crafting. I spent some time on Pinterest to get card layout ideas, and I came across a card that split up the space with blocks of color and wanted to do the same.
Here is the completed card! I used Pink by Design's "thanks" sentiment from "Big Thoughts." I was happy with how it turned out because of the color choice as well. I tend to always think in primary colors, so I asked Howard for some suggestions. I showed him the Recollection paper that I had, and he pointed out that the colors in one pack worked well together, so I didn't have to try to mix and match between packs.
I sent the picture to them to see if they liked it. Darvin then asked if I could incorporate their name on the front, so I actually had to redesign the entire card. I was a bit disappointed that I had to rework what I thought was a great card because there was no way for me to add "DG ROCKERS" to the front because of the font of the sentiment. After attempting to use alphabet stamps to messily spell it out, I had to accept the fact that this would require starting from scratch.
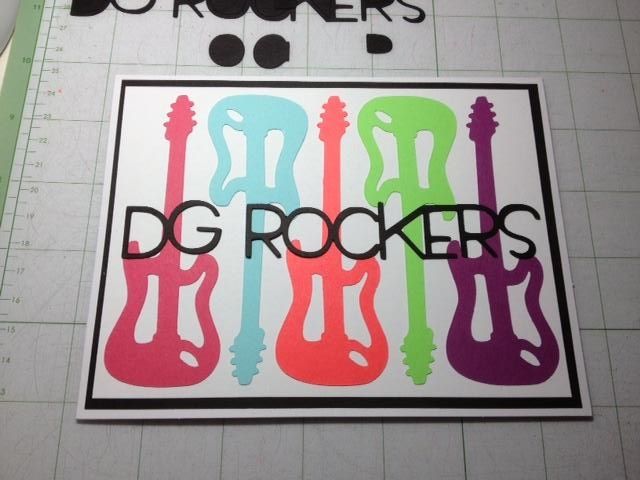
The resulting card is WAY better than the original, in my opinion! This is the quick picture I snapped to send to them to get the okay before mass producing!
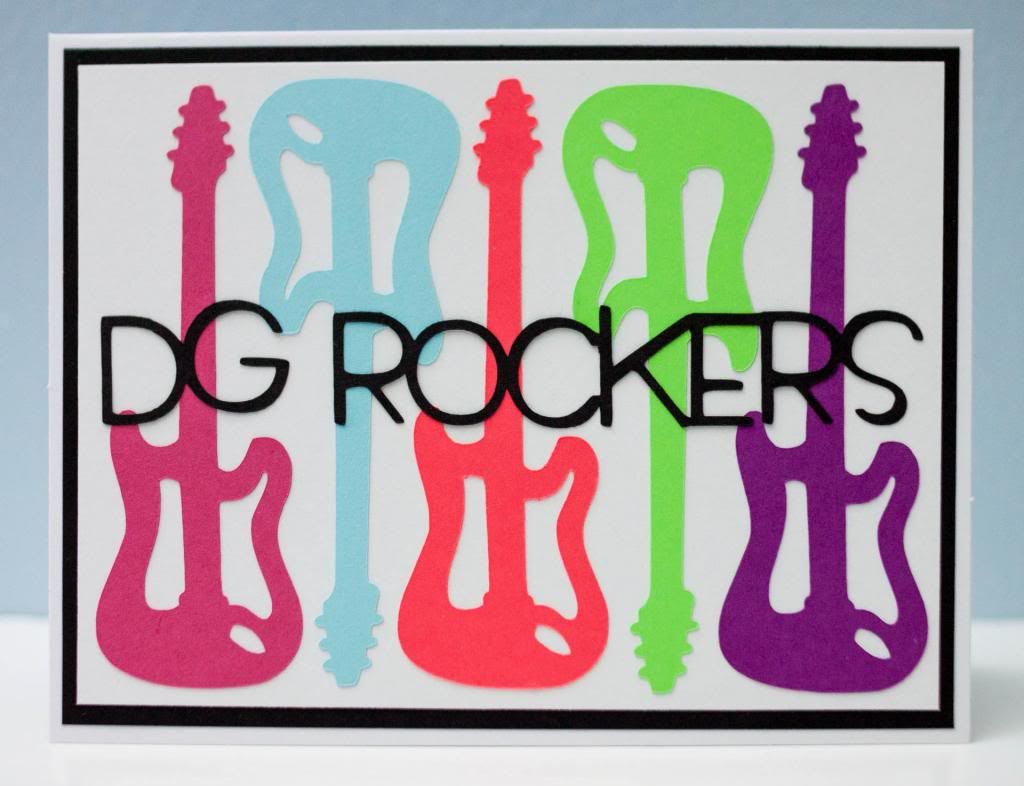
And WAHOO! I got the okay to complete the order! I decided to use all 5 colors from that same paper pack and cut out the guitars to layer on the card. I wanted their business name to be a focal point, so I eliminated the "thanks" and welded the letters together. I did use a larger sized card than the typical A2 size so that I could use two mats. I'm ecstatic with the final result because the letters cut out so perfectly.
Colorful yet clean. I know it's slightly weird to be a fan of your own work, but I'm pretty confident standing behind this card! I guess being challenged for round 2 really made me think more outside of the box of what I would typically do.