Despite the fact that I still have a bunch of cards I have to make for some orders, I just wasn't int he mood to deal with them today. I wanted to just craft for fun without feeling that I had to cut certain images or meet a deadline. I knew that if I didn't take the time to learn the Silhouette Cameo before school started, it would continue to sit in the box. It's been in the box since last Christmas when Howard surprised me with it! I had actually debated getting it myself with credit card rewards points (the same way I got my Cricut Expression), but he had already purchased it for me when there was a great deal on Amazon that included more goodies in the package. I was ecstatic! But clearly, the idea of having to learn a new machine was rather intimidating, so I didn't deal with it for a while because I knew I'd need a good chunk of time.
 |
| Sorry if it's not rotated or rotated and stretched; Photobucket is being a little funky. |
Well, today was that day! It was comforting knowing that Howard was home so that I wouldn't get frustrated. Or it was more like, it was good he was home to help me when I did get frustrated.
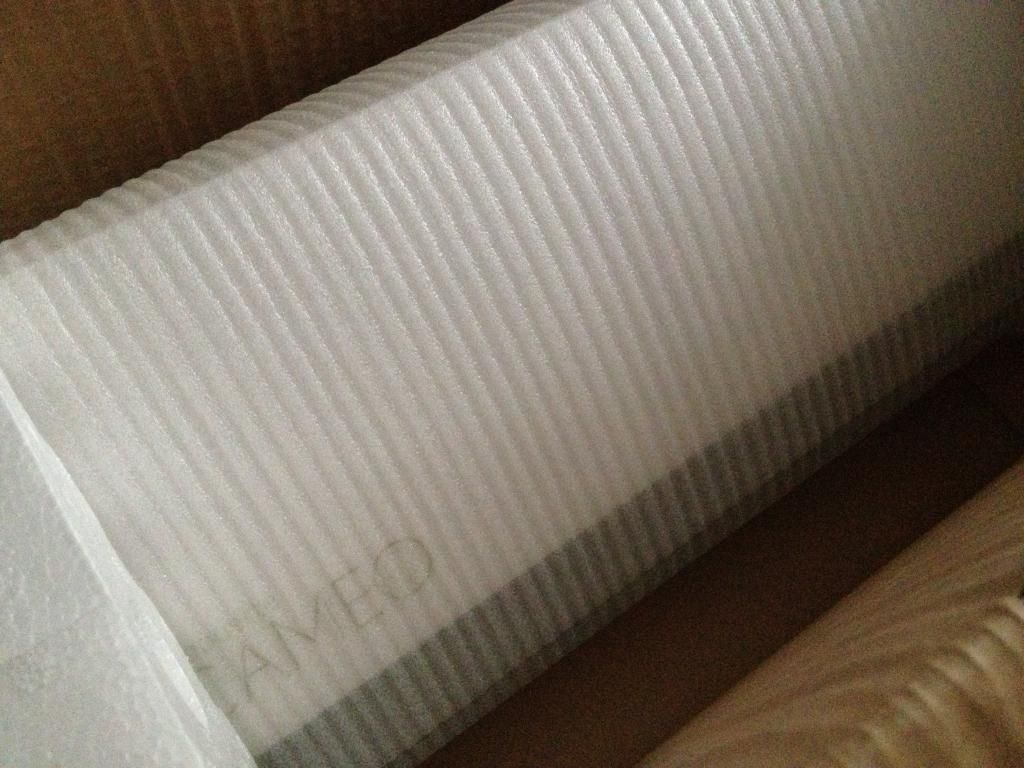
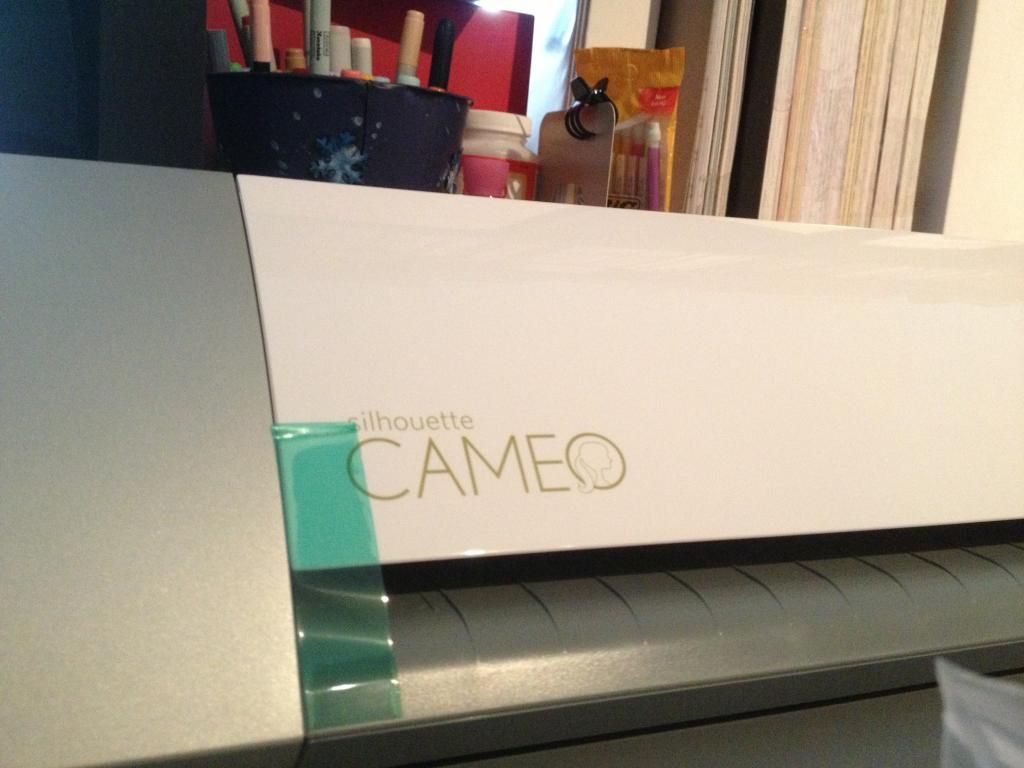
The first step was taking it out of the box, peeling off the tape, and removing all the Styrofoam pieces that are in place to prevent the blade housing from shifting in transit.
I downloaded the software and upgraded it to Designer Edition. I actually had to do a search in my email to find my activation key because I had purchased it last December through SVGTools. There was a great deal on it as it cost only $25.99 when it's $49.99 on the Silhouette site. Plus, I got a $10 code for SVGs at SVGCuts too. The Designer Edition basically gives users the ability to cut SVGs whereas the regular Studio edition can't do that. It'll be much easier when it comes to designing SVGs too, but I'll get to that in a bit.
I wanted to choose a really simple image for my test cut, so I chose the music notes from the limited library of free images. Compared to the Cricut, I have to say that it was a little annoying that it's not as easy to line the mat up to load into the machine. I'm sure I'll get used to it after a while though. The sound was also something to get used to! It's not as loud as the Cricut, but the Cameo varies in its noise. Howard commented that it sounded like weird music.
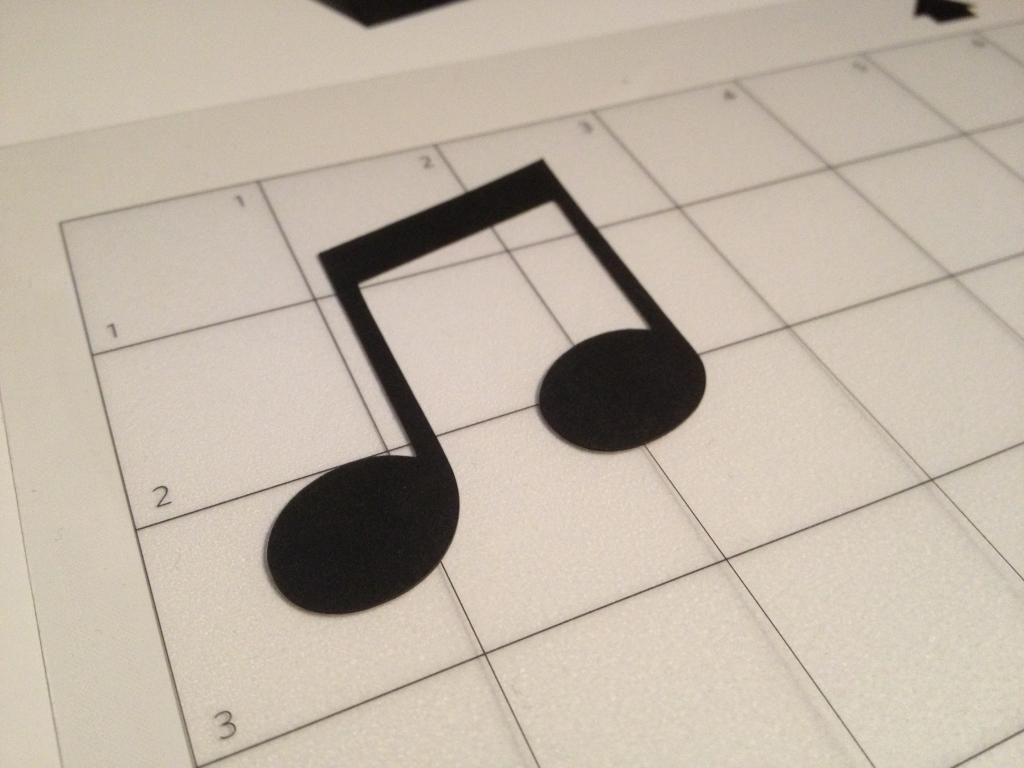
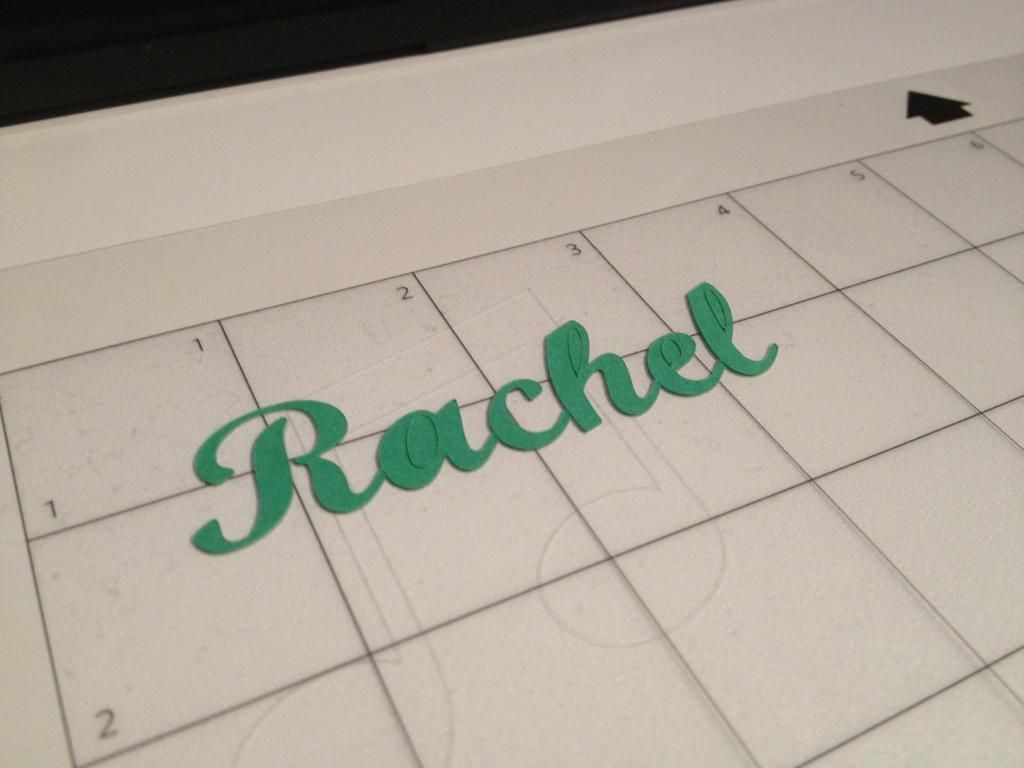
The image cut out perfectly! It was seamless; I couldn't tell where the cut started and ended. Often times with Cricut images, it's easy to see because sometimes the cuts don't meet and I have to trim it a bit. So in terms of cutting ability, the Silhouette definitely wins. I tried out another feature of the machine in cutting out letters using ANY font that's on my computer. I chose a random script, but I forgot to weld it together or something because it cut as individual letters. Regardless, it was cut perfectly! It is going to be awesome not having to choose from the limited amount of font cartridges I have for the Cricut machine. I anticipate being a huge fan of sites like dafont.com!
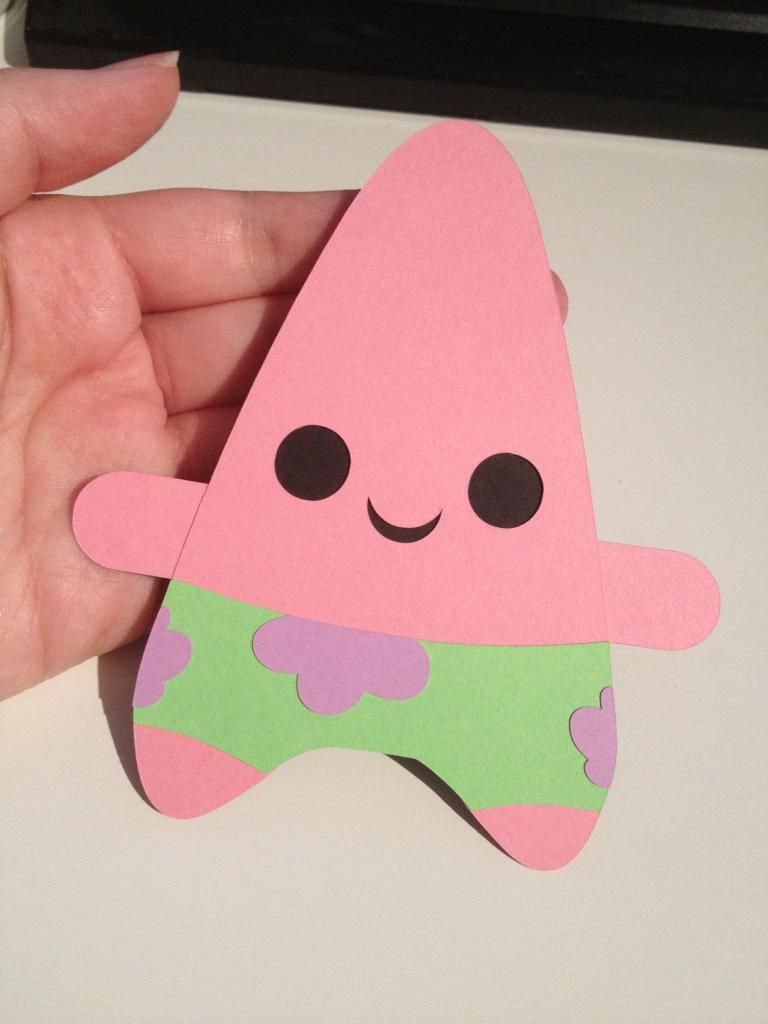
Once I did those two cuts, I was ready to try something a little bit more complex but not too difficult. I chose this adorably cute Patrick cut that I got for free when I did the blog hop with "Scrappin with my Bug" sponsored by SVGCuttingFiles. The crafters on the hop used these files for their projects. If the entire hop was completed (following all blogs and commenting), we got such cute images! Howard and I don't even watch Spongebob, but I knew it'd be easy to put together. The only thing is that I had to cut the long piece for the arm into two smaller pieces so that it wouldn't show any pink where the eyes and mouth are, but other than that, it was super simple. I love just how cute he is!
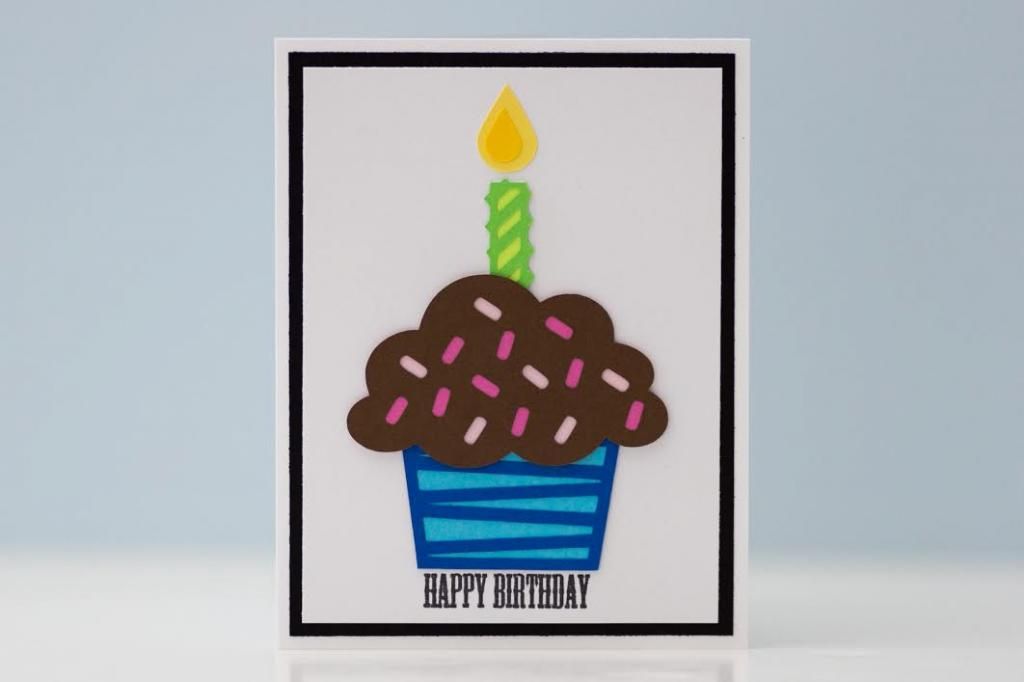
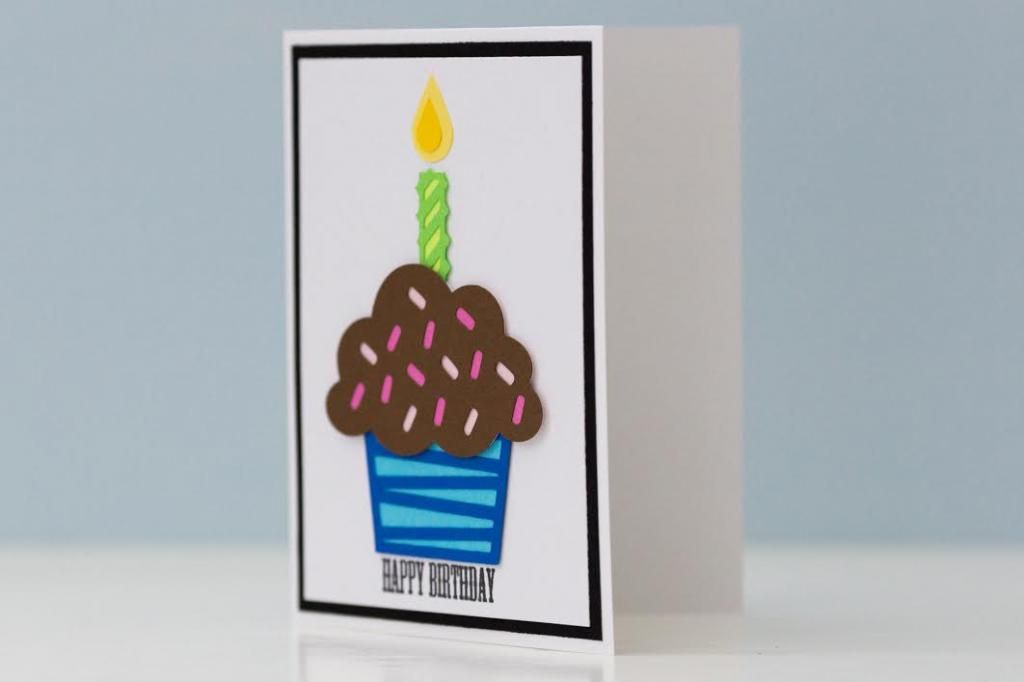
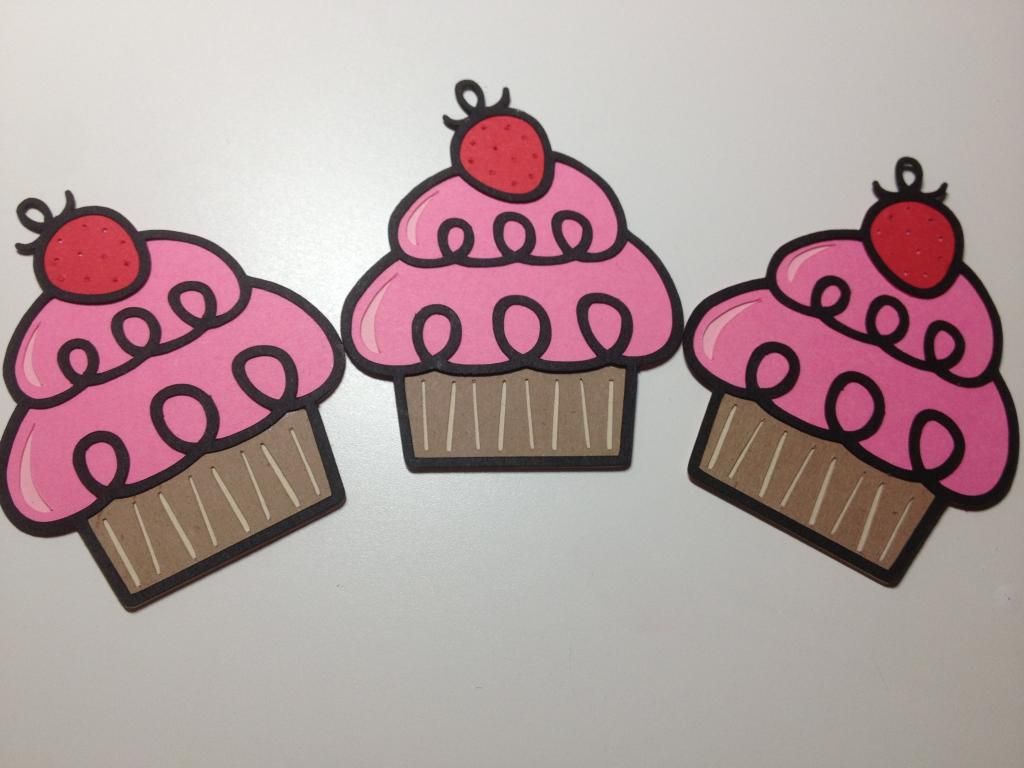
After Patrick, I thought that I'd try something with more layers, so I chose a cupcake that was part of a freebie from Miss Kate Cuttables. I love checking the site as a new freebie is offered every day! I was absolutely amazed at how I didn't have to spend time carefully ripping pieces of paper out of the kraft cardstock on the bottom portion of the cardstock. It also cut the black outline so cleanly without any tears. Beautiful!
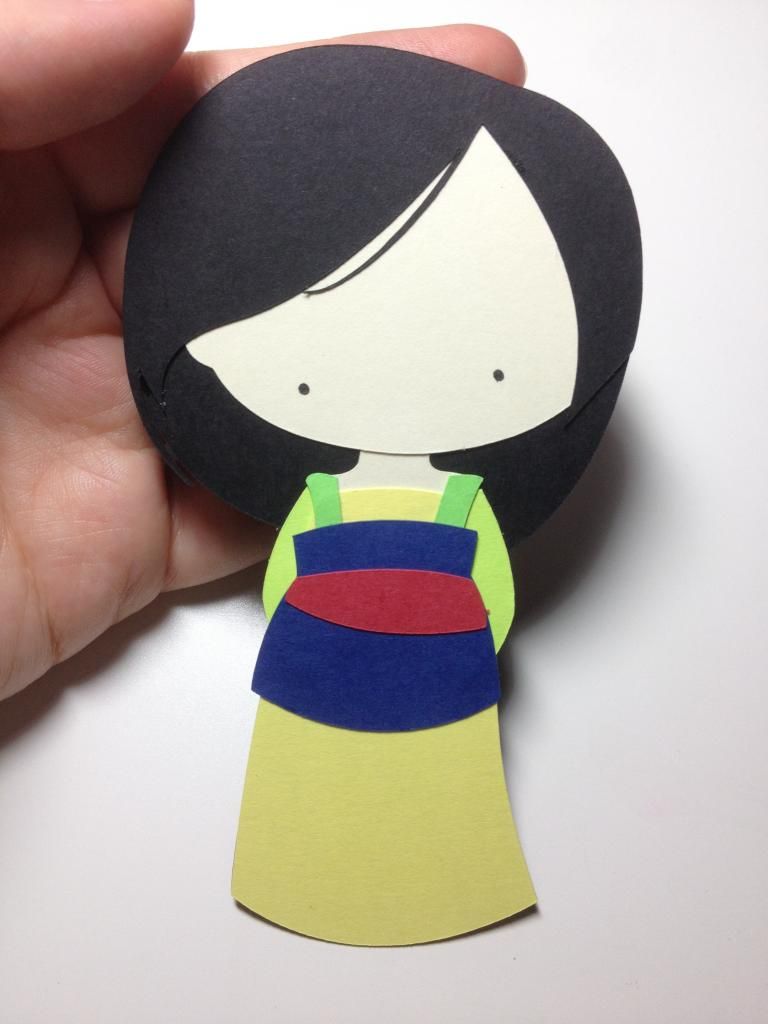
Okay, now it was time to get even more complicated with the "Dragon Princess" cut that's part of the "Pretty Little Princesses 2" set that I purchased from Too Cute by Jessica with a great sale (it was 90% off or so). It's basically the Disney princesses, so I just had to have them! Unfortunately, I got extremely frustrated with this one because there were pieces that had to go in certain spots, and there were no indicators as to where to glue them. The Cricut layers are pretty easy to glue on because there are cuts in the base layers to show where to glue, but these SVGs had absolutely nothing. Howard had to help me a ton with the placement, but it came together! The two black dots for the eyes were so small, so I wasn't going to deal with gluing them on, so I saved the negative of the cut for the face and placed it on top when I was finished to show me where to use a marker to color in the eyes. They look a tiny bit crooked, but if anything, it just looks as if she's looking at something. Isn't she absolutely adorable?! If I ever had to make a card with her or the other images from these sets, it would definitely not be just $2. It requires way too much work!
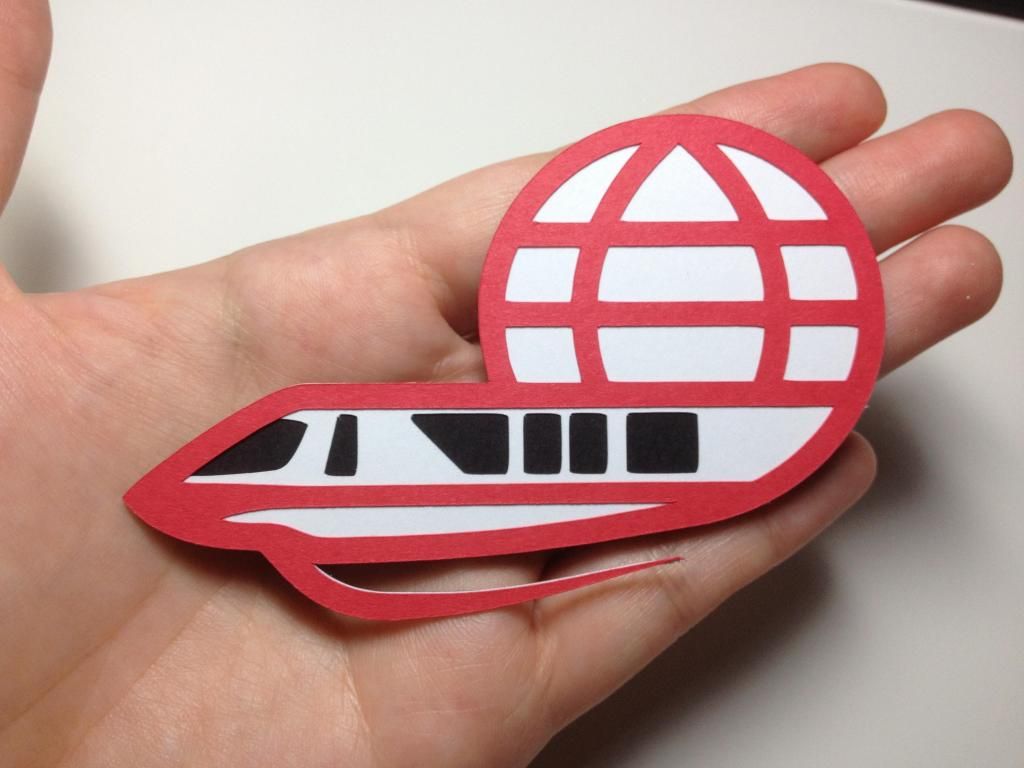
This one is definitely one of my favorite SVGs of the day. Why? Because Howard designed it! Um, yes, he designed this SVG on Illustrator! It's the monorail in front of Spaceship Earth. It was part of something he was working on for a birthday surprise, and I saw it and thought he was making SVGs for me so that's what he decided to do. This was 3 separate cuts with a black base, white layer, and red layer. So cool! I can't wait to see what other Disney things he can design (as well as other images too!). It's pretty fun that I started a label called "SVG: Howard" since he'll probably be very interested in it for quite some time!
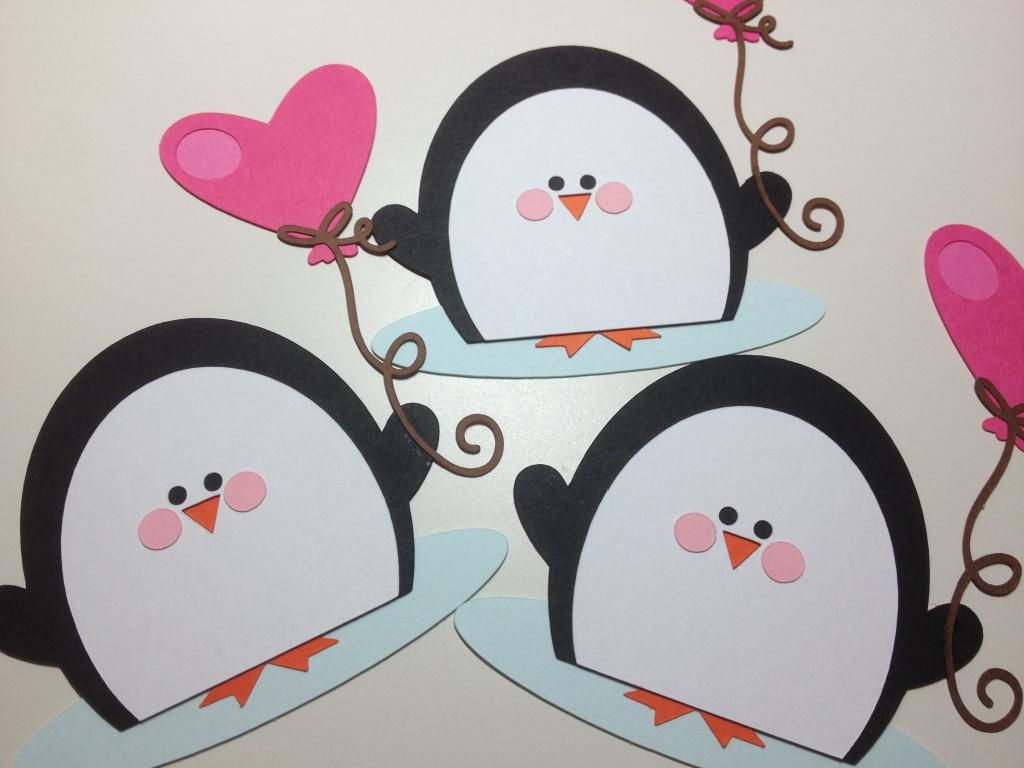
The last cut of the night was another image from Miss Kate Cuttables. This penguin was adorable because I love penguins, of course, but the greatest thing was just how easily the string cut out for the string on the balloon. That detail is just amazing. Howard and I were in awe that there weren't any issues cutting it out.
I had so much fun with the Silhouette today! I was trying to play around with making my own SVGs from images online, but I was too tired to really deal with it and test them out, so that'll have to be for another day. Don't worry; just because I finally pulled the Cameo out, it doesn't mean I will completely forget my Cricut! Just from today's experience with the machine, I have to say that I really appreciate the Cricut for mass producing as the cuts aren't as intense. I look forward to one day having space for both machines to be out side by side!