Showing posts with label Cartridge: Lyrical Letters. Show all posts

Monday, July 28, 2014

Mickey Says HBD!

It's a given that a huge Disney fan like me would have all the licensed Disney Cricut cartridges. The only bad thing about them is that the characters are so detailed with such small cuts that they're sometimes difficult to assemble. Thankfully, the Mickey and Friends cartridge isn't too bad! The only reason why I hadn't really used it before for the characters is because I knew I would need a skin color cardstock for Mickey's face. 

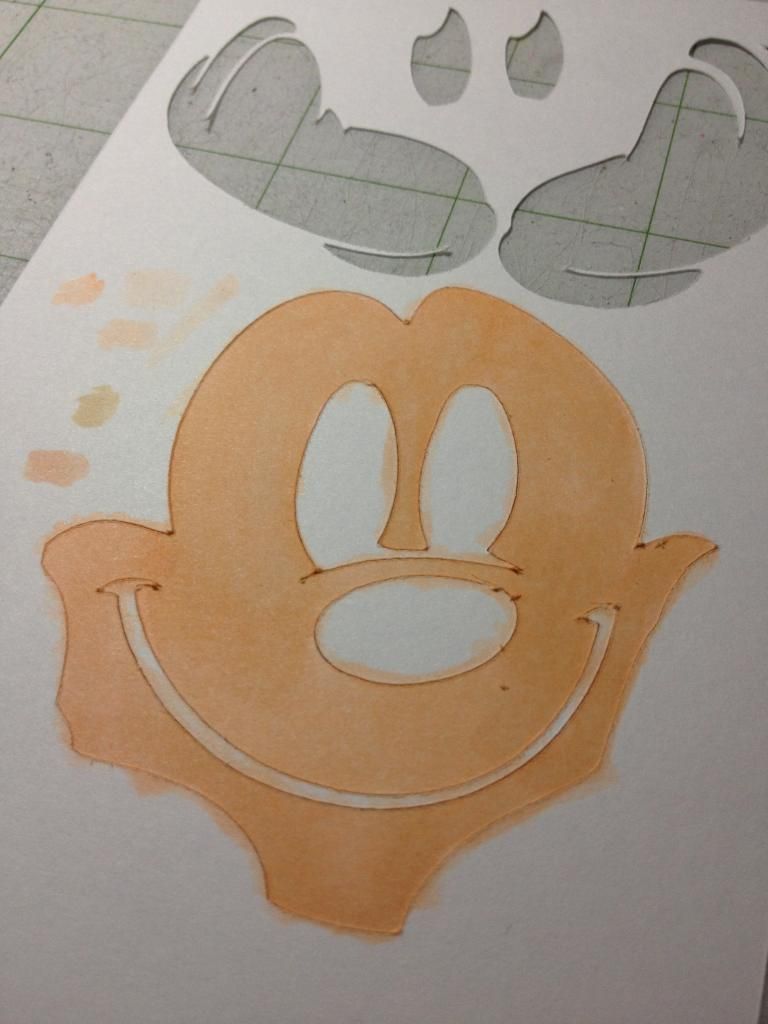
Well, that problem was solved with my Copic markers! I just had the face cut out in white, and then I used the E00 Skin White Copic marker to color it in. I didn't make the picture below too large because I know it might be a little frightening, haha.

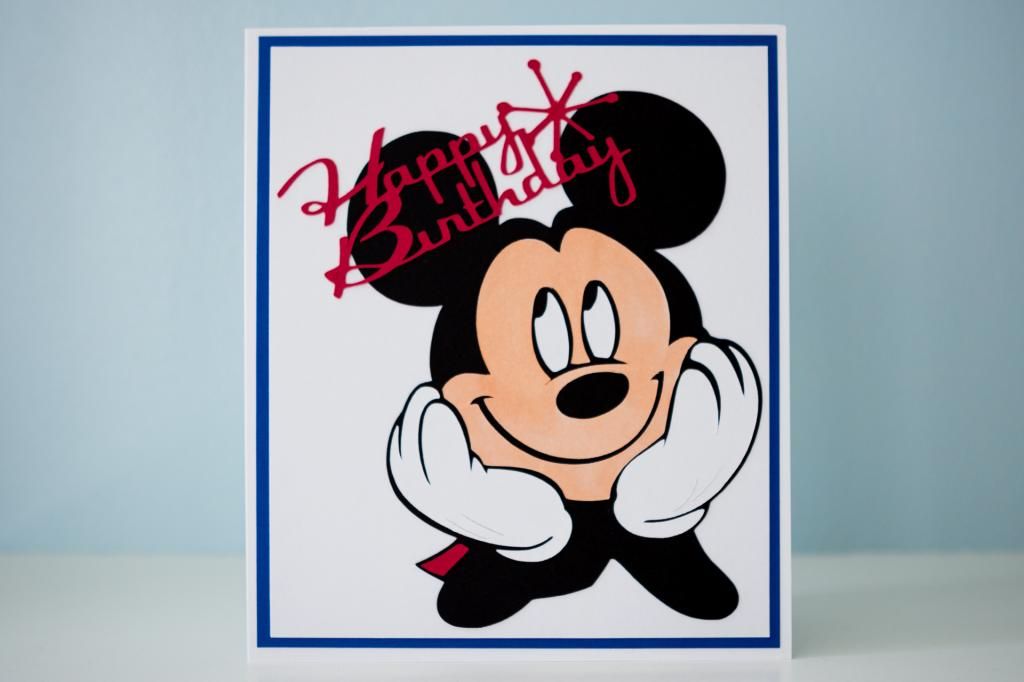
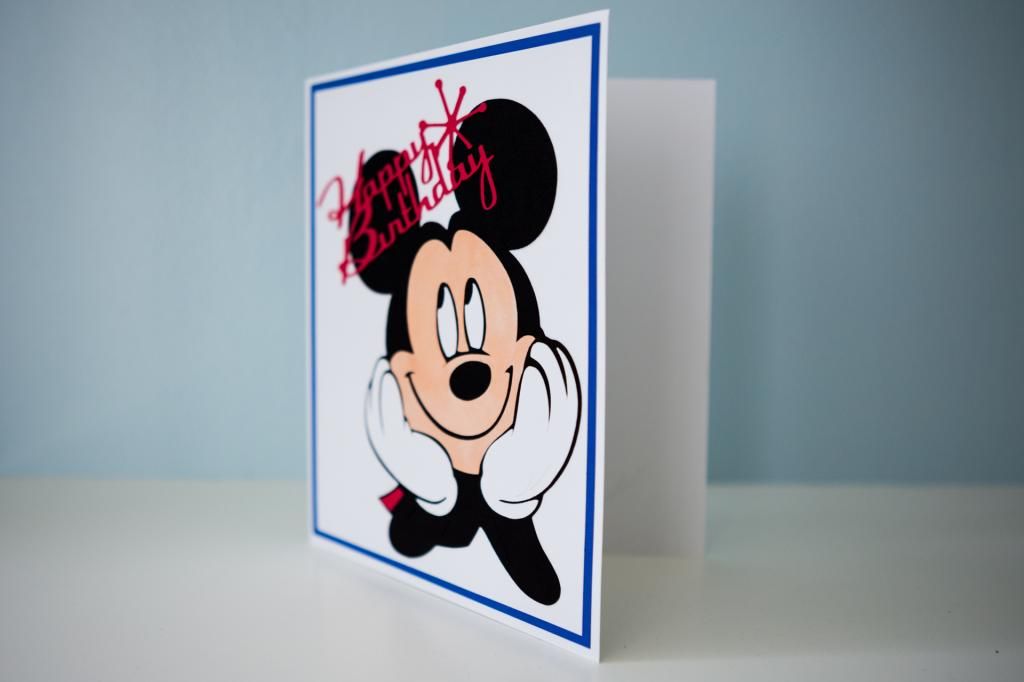
This was actually the birthday card I made for our friends' son. His 2nd birthday party was this Saturday, and I helped with the decorations. I knew I had to use an actual cut of Mickey on the card itself! Knowing that it might be a little difficult dealing with the separate pieces, my base was actually a 6 x 7 inch card. It's easy being able to make different-sized cards nowadays (well, at least for myself when I need it) because I can just make the envelope myself. The image was cut from "Mickey and Friends" at 6 inches, and the sentiment was cut from "Lyrical Letters" at 2 inches. A simple blue mat was the only thing I felt was needed to tie this card together since the focal point was obviously Mickey himself!

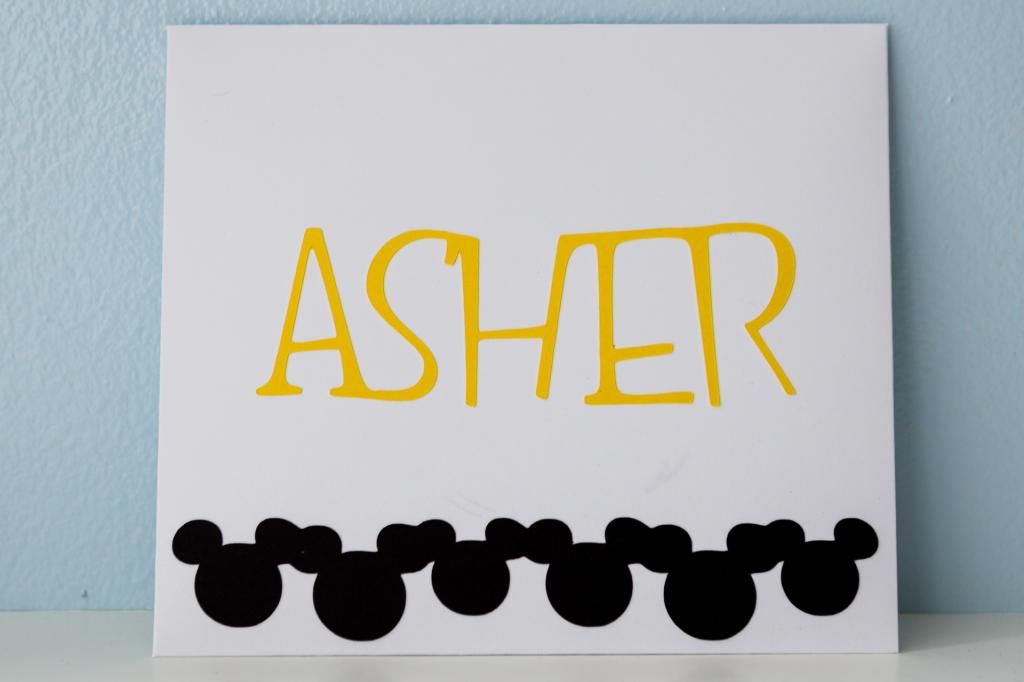
I didn't write down the cartridges or sizes for the cuts I used on the envelope because I kind of did it last minute, but I really enjoy being able to dress up envelopes when it's not being mailed to the recipient! I welded all the letters together so it'd cut in one piece, thus making it easier to adhere to the front of the envelope.

After I finished this card, I was definitely in the mood to make some more character cuts from the cartridge! I haven't yet had a chance to do so, but now I know it'll be manageable. I have so many Disney friends who would appreciate them too!

Tuesday, June 3, 2014

Pomp and Circumstance All Day, Err Day

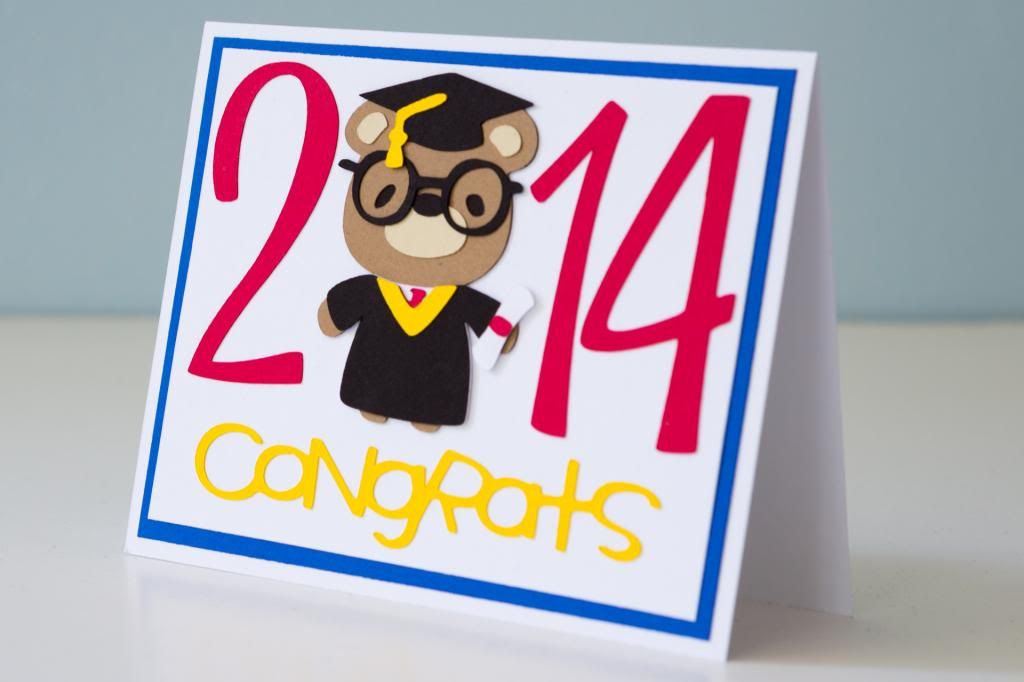
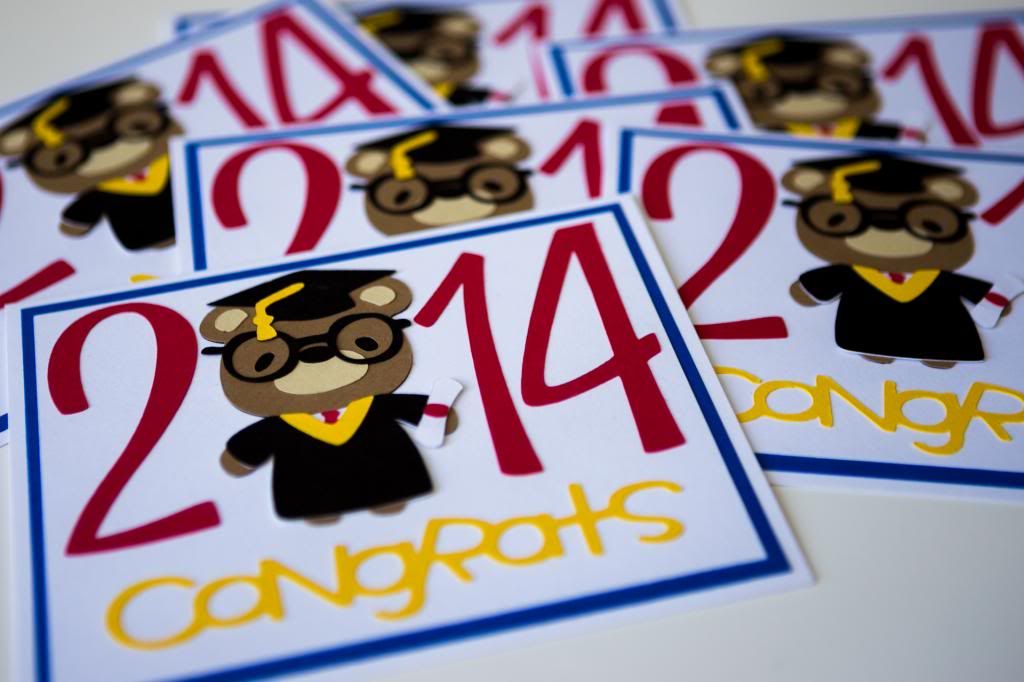
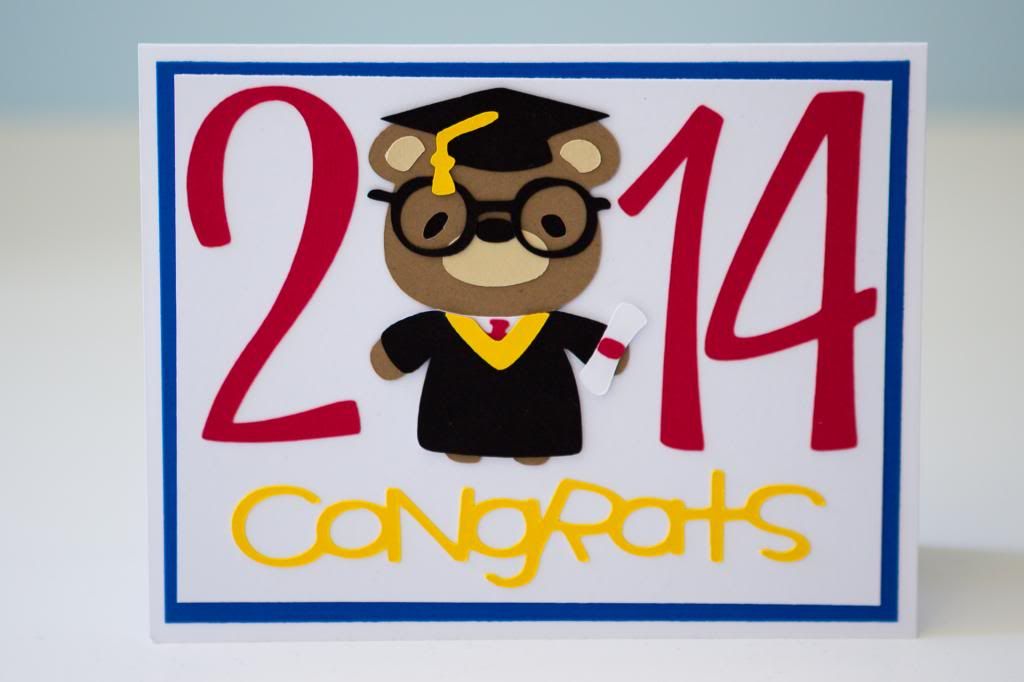
I had yet another custom order for a set of graduation cards recently, and I was initially going to make the same basic ones I did last time. However, once I got up to making them, I really wanted to do something different just for variety. Instead of cutting the larger bears, I cut the bear from the Teddy Bear Parade cartridge at 2.5 inches because I knew I wanted to use the bear as a replacement for the "0" in 2014.


The numbers were cut from the Lyrical Letters cartridge at 3.75 inches. I thought about stamping the congratulations, but because of the size of the numbers, I had a lot more space on the card than I had anticipated. Instead, I found the "congrats" cut on the Simply Sweet cartridge, which made it a lot easier on me since I didn't have to find a font and weld all the letters together nicely.


Just to add a bit more color and focus in on the design itself, I added a blue mat to the card, which I think made the card look better than putting it directly on the white cardstock only.


Hmm, how many more times do you think I'll be using this graduation bear this year? Haha.

Friday, January 24, 2014

A Deliciously Sweet Birthday Card

The College and Early Career group at my church often passes around cards at the beginning of Sunday School so that everyone can sign them for birthdays. It's kind of funny how some people attempt to do it secretly while others just blatantly skip the recipient when passing it around because we all know what everyone's doing! My sister-in-law Sharon is in charge of keeping track of the birthdays and bringing the cards for everyone to sign.

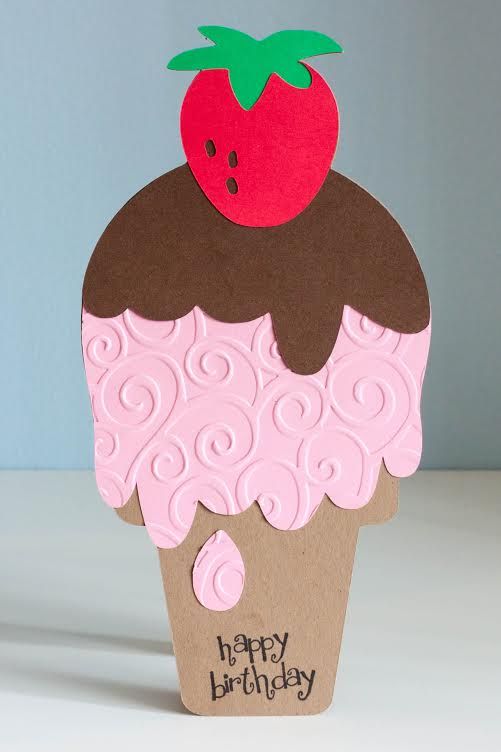
Well, Sharon's birthday was at the beginning of this month so one of our leaders asked me to make a card for her. Howard and I looked at the options on the Sweet Treats Cricut cartridge and both liked this ice cream cone. I decided to make a large shape card just to make a bit more interesting. I cut it out at 8 inches. 


I did cut the chocolate syrup layer again in green, but I just didn't put down paper to cover the entire portion on the mat since I only needed the top part of the strawberry. I don't know why they didn't make an extra piece for that because if cut out exactly as it is in the handbook, the strawberry top would be brown too. Oh well. With Cricut Craft Room or a Gypsy, it's a lot easier to avoid wasting paper.

To add a bit more dimension, I used the D'vine Swirls Cuttlebug folder to emboss the pink ice cream. I would have done something more for the cone, but I couldn't get the sandwich correct with what I had. Plus, I didn't want it to look too busy. It worked out in the end since I needed a spot to stamp the happy birthday sentiment from Pink by Design's "Birthday, Birthday."

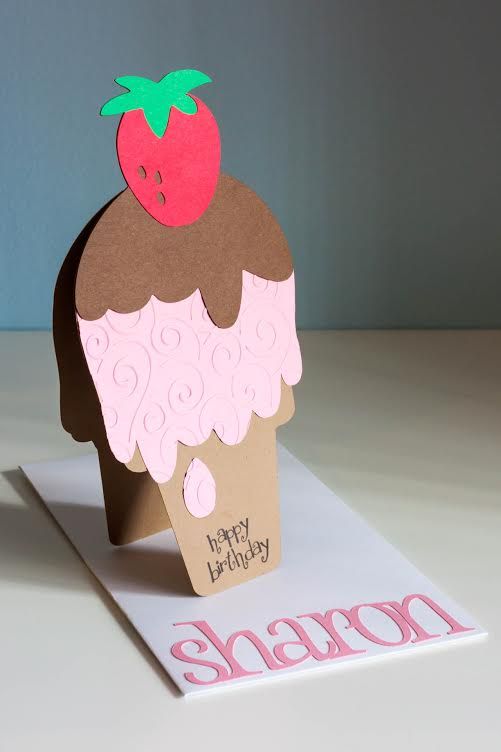
As you can kind of see in the picture below, I don't weld the front and back of the card in Cricut Craft Room. Instead, I cut out two of the same base pieces and score the back piece so that it can fold. Then I just use my ATG to attach them together. I prefer doing it this way because I think it looks better not having a flat top. Plus, there'd be no way for me to fit 16 inches on my cutting mat.


I finally had the opportunity to use my We R Memory Keepers envelope punch board! I had taken a picture of it along with a sneak peek of this card in a recent blog post. I did make it a little bit bigger than it needed to be, so next time I'll know that I can stay more true to the sizes on the board. I used a font from Lyrical Letters and welded the letters together for the front of the envelope. Now that I have the punch board, I'm looking forward to making more shape cards just like this one.