Showing posts with label Pink by Design. Show all posts

Friday, January 30, 2015

Tree Card

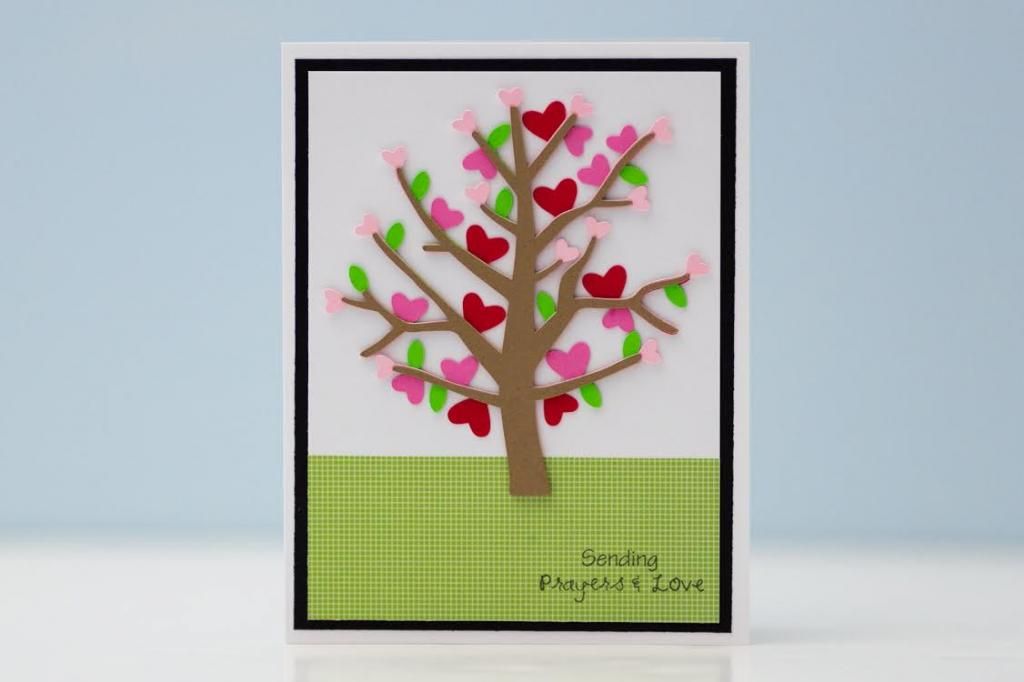
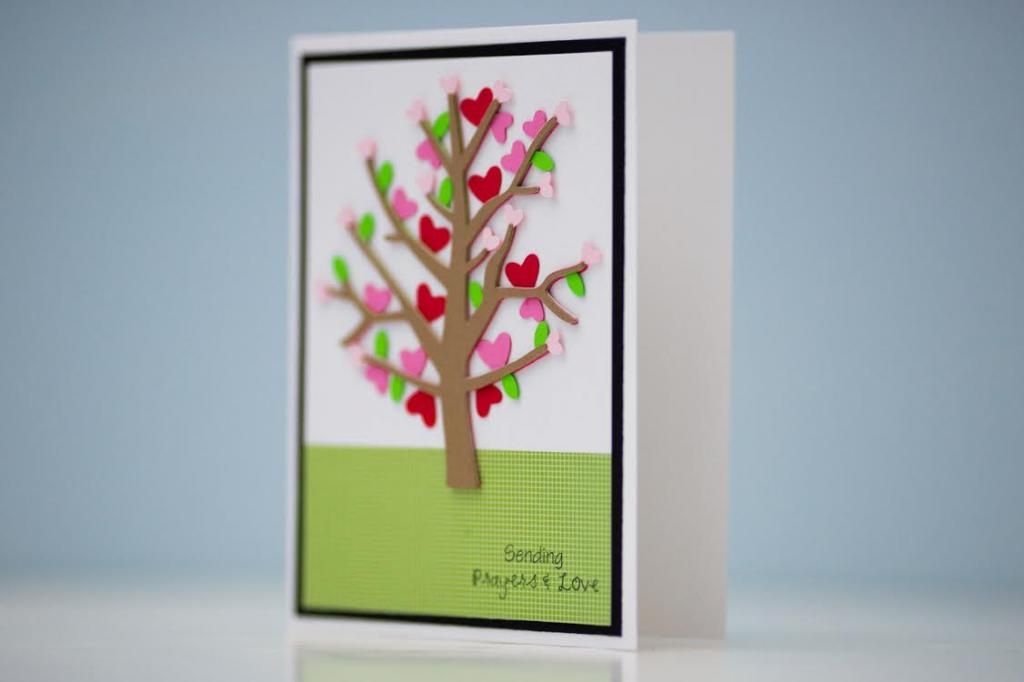
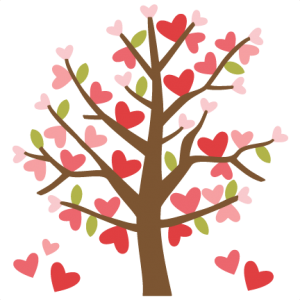
The last set of cards that I made for my grandfather (here are the links for the first and second) was using another SVG from Miss Kate Cuttables. The original image actually had one more pink layer. You can see that when I made the card, there are some spots that should have had a heart, but I figured it wasn't necessary. 


Though the image is fairly simplistic in that it's just adding one layer on top of the other, it required a lot of work in terms of gluing it together because the branches get rather thin. If I didn't have Zig glue and Tweezerbees, I don't know how I would have handled it!


I kept the rest of the design very simple by just using a piece of green patterned paper to be the grass. The sentiment is from Pink by Design's "Faith" set, which is one of my all-time favorites. 


I love how all the layers give the card dimension without my having to pop anything off the card. It's a simple card yet really pretty, in my opinion!

Sunday, January 4, 2015

Cupcakes for Birthdays!

Two years ago, Howard bought Crumbs cupcakes home for my birthday. In all honesty, I don't think they were the greatest cupcakes in comparison to other cupcakes, but the fact that there are so many flavor combinations makes it a special treat! Plus, it was a cupcake! It just baffles me how much things can cost when purchased in the city. It's not normally something we'd spend money on, so the fact that Howard went and picked two of them for us to share over the course of two days was such a romantic gesture (especially because she picked chocolate ones!) and definitely a satisfactory treat for a birthday celebration.

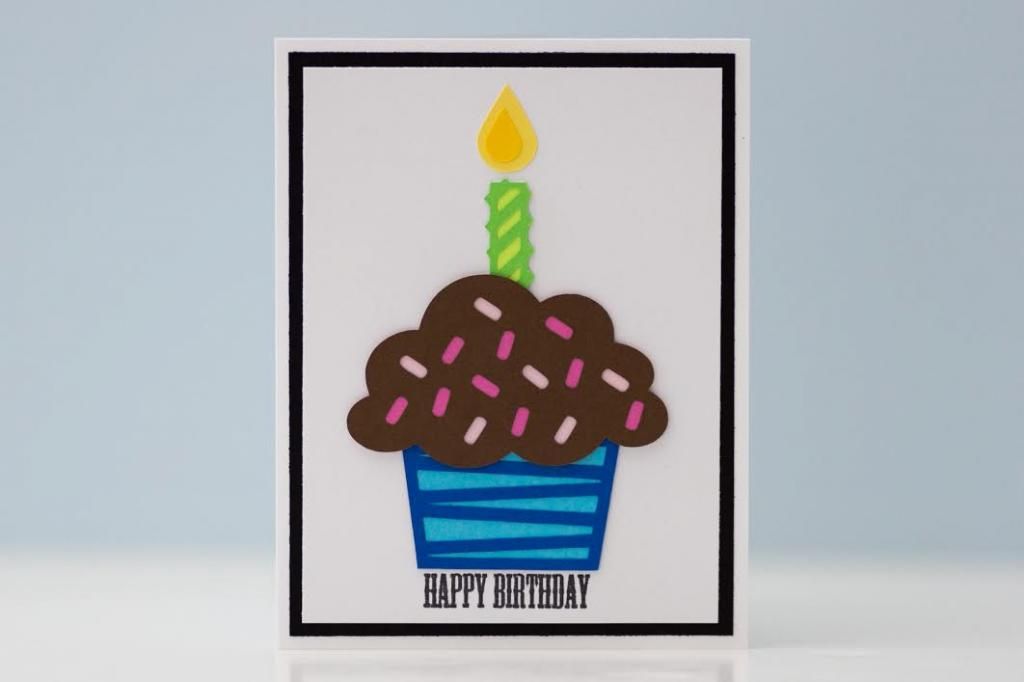
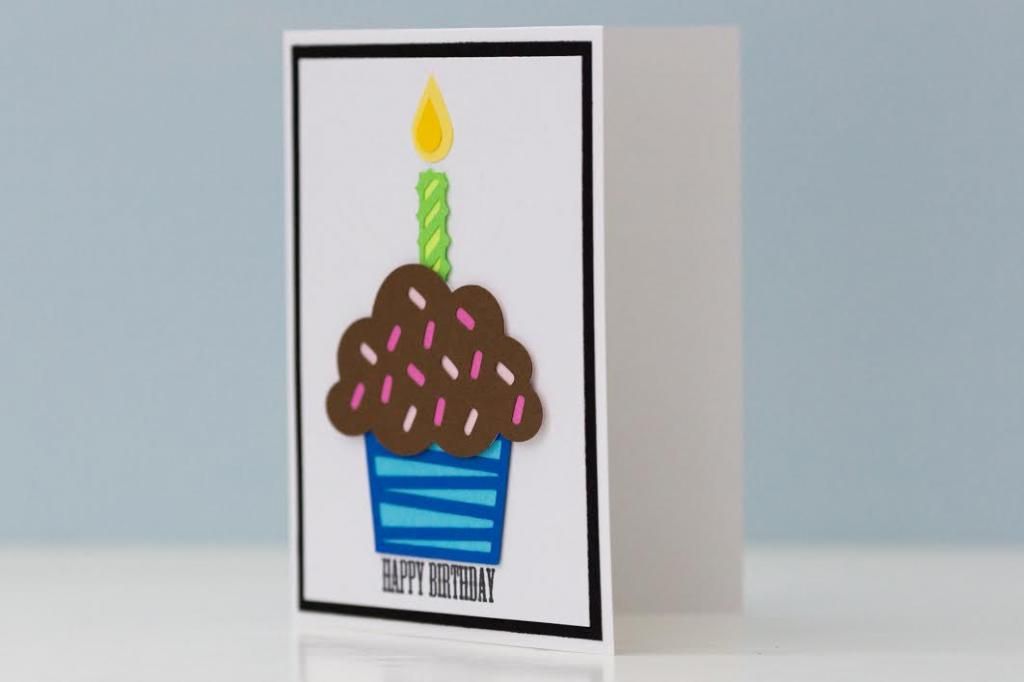
Now when I make birthday cards, I feel that there's even more reason to use cupcakes on them! This cupcake was a freebie from Miss Kate Cuttables. I kept the colors the same as the sample image because I thought it was a good mix for a unisex card. Yum to chocolate frosted cupcakes!


The sentiment is from Pink by Design's set called "Birthday, Birthday." If you've been following me for a while, you know just how often I use that set! I wish there was a set like that for "thank you." I might have to place an order with Papertrey Ink to get some of the mini stamp sets that just have one simple sentiment in different fonts. It's nice to be able to choose on to fit the design of the card.


I think this simplistic card would be something my grandpa would use, so I think it really worked for this set of 4 that I made for him. 

Friday, January 2, 2015

Bicycle Card

There's a part of me that loves it when people have some custom order requests, but then there's another part of me that kind of stresses out! I don't want to disappoint anyone, and it's not as easy to get things done when I'm in the midst of the semester and need to continue planning and grading papers. Sometimes I just want to craft for the sake of crafting, and this particular set of cards was made with that feeling instead of a anxious, rushed feeling.

A few weeks after the bake sale at church last November, my grandfather asked me for some birthday cards and get well cards. I didn't actually have much left over since I was using the cards myself to write some thank you notes to kids and parents during the first trimester of school. I told him that I could make him some, and I had some time during my Christmas break to make a few for him. 

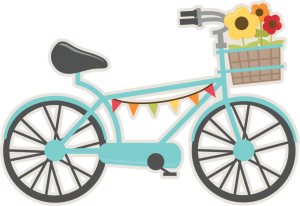
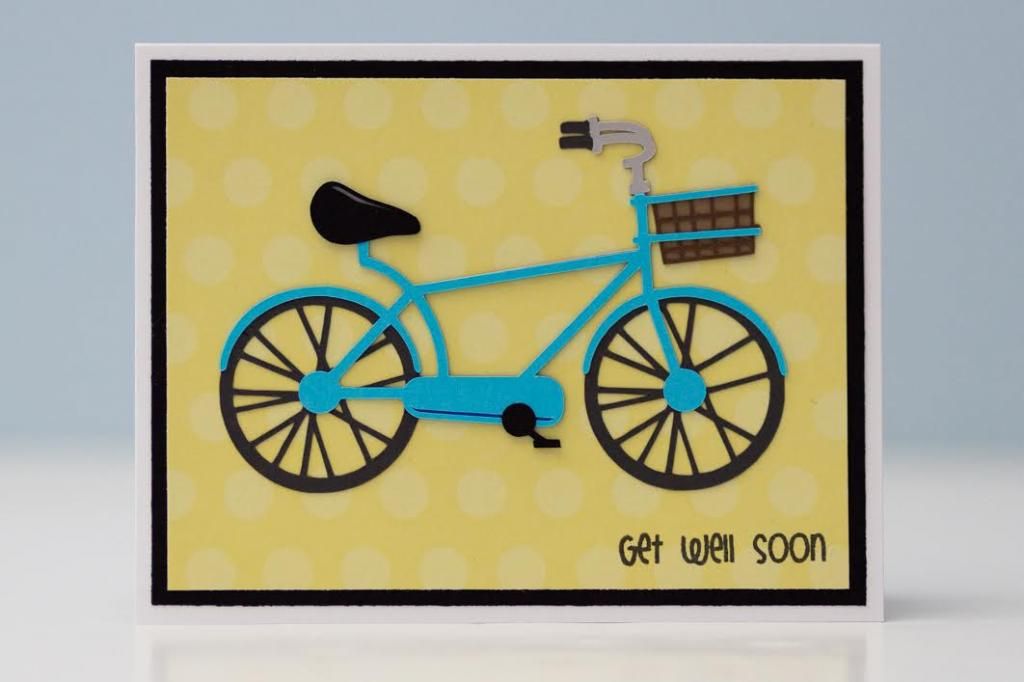
I knew that I wanted to use some of the free SVGs that I save almost every day from Miss Kate Cuttables. I love that a freebie is offered daily, so that's why most of my free SVGs are from that site. The original image had flowers in the basket as well as the little banner, but I omitted that to simplify the cut since these are incredibly detailed. Plus, these took a little bit longer to piece together because everything was so thin. It baffles me that the Silhouette Cameo can cut these things so cleanly because my Cricut Expression would not be able to handle it without tearing.


I kept the same colors because the blue could be used for a guy or a girl. Wanting the card to be cheerful, I used a polka dot yellow paper for the background. I added the extra step of having a black mat too just because it seems to make the card a little bit more put together.


The sentiment is from Pink by Design's set called "Spring Has Sprung." I know it doesn't seem as if a bike could be related to the sentiment. Haha, it really doesn't, but I think it's difficult to make cards that aren't necessarily cutesy, so I figured anything nature-related or just general cuts would work.


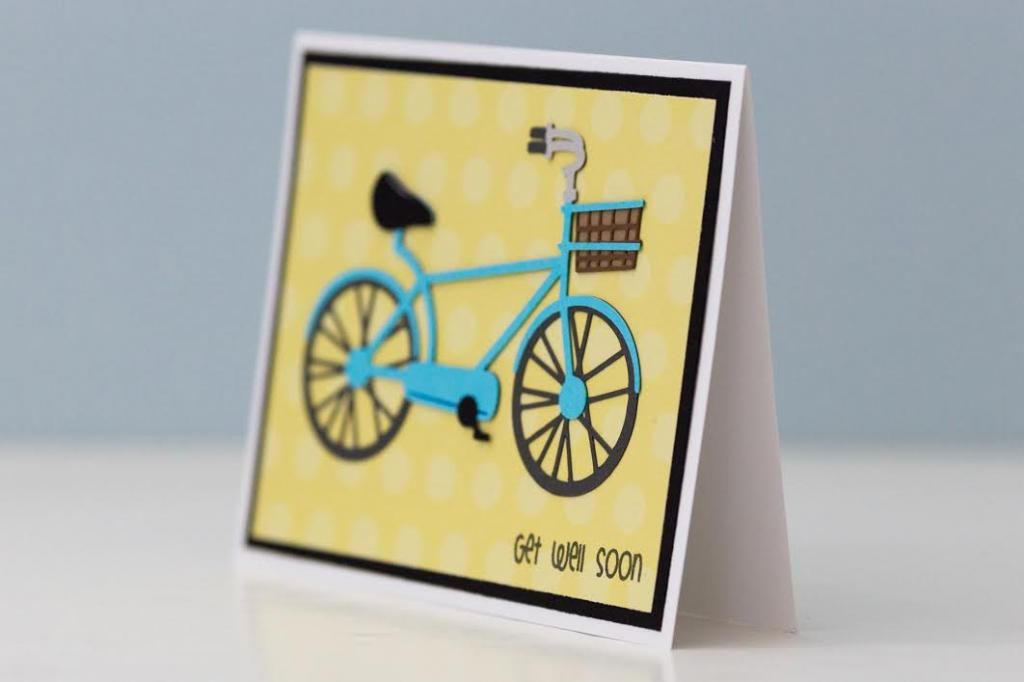
I love the side view of this card because you can get a better idea of all the layers involved in making this. I mean, there are layers that aren't even too visible. For example, there's a darker blue behind the part of the bike that the pedal is attached to, but only a thin strip is seen. However, it adds dimension so the cut isn't so flat.

Because of the complexity of the pieces, I only made 4 of these cards. This is definitely not something I'd want to mass produce! I think I need to go back to making just a few of each image so that I can enjoy the detailing without driving myself crazy.

Friday, October 31, 2014

Winnie the Pooh Cuties

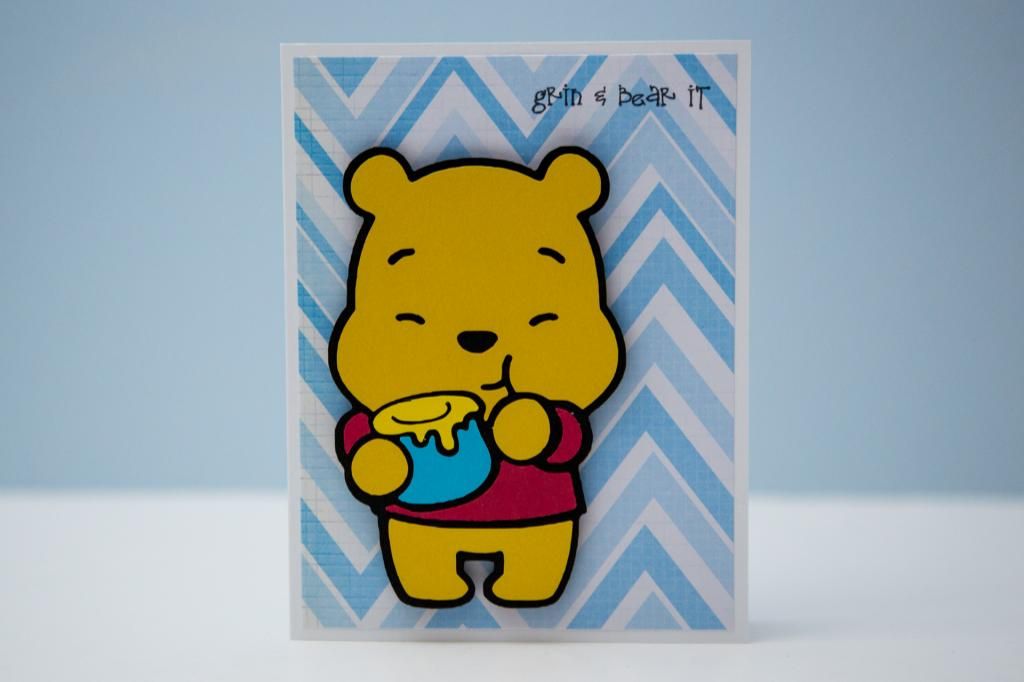
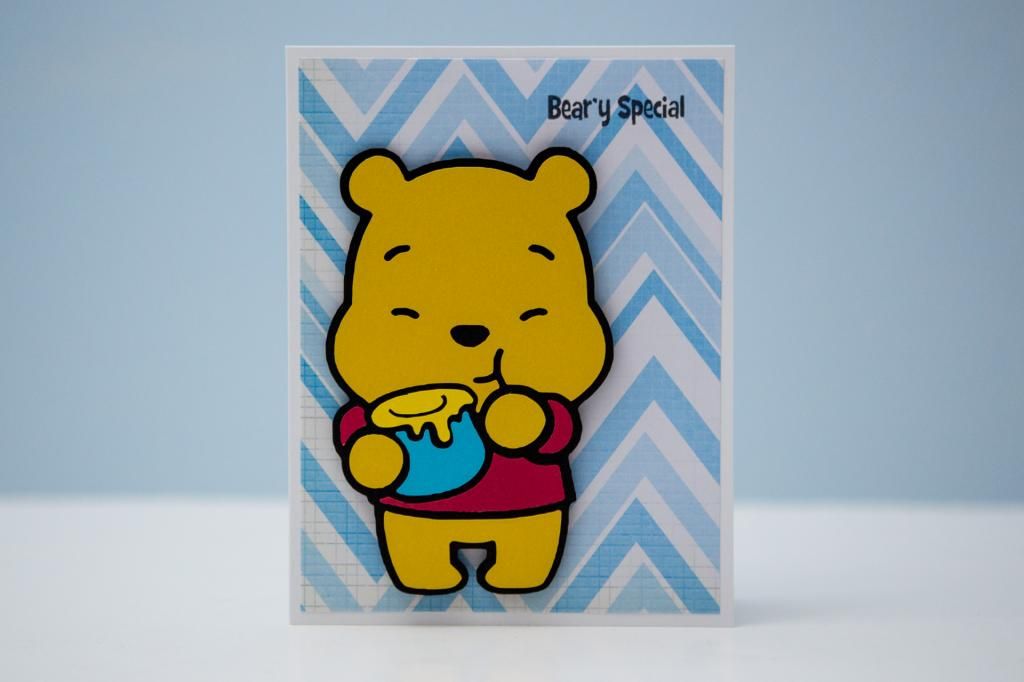
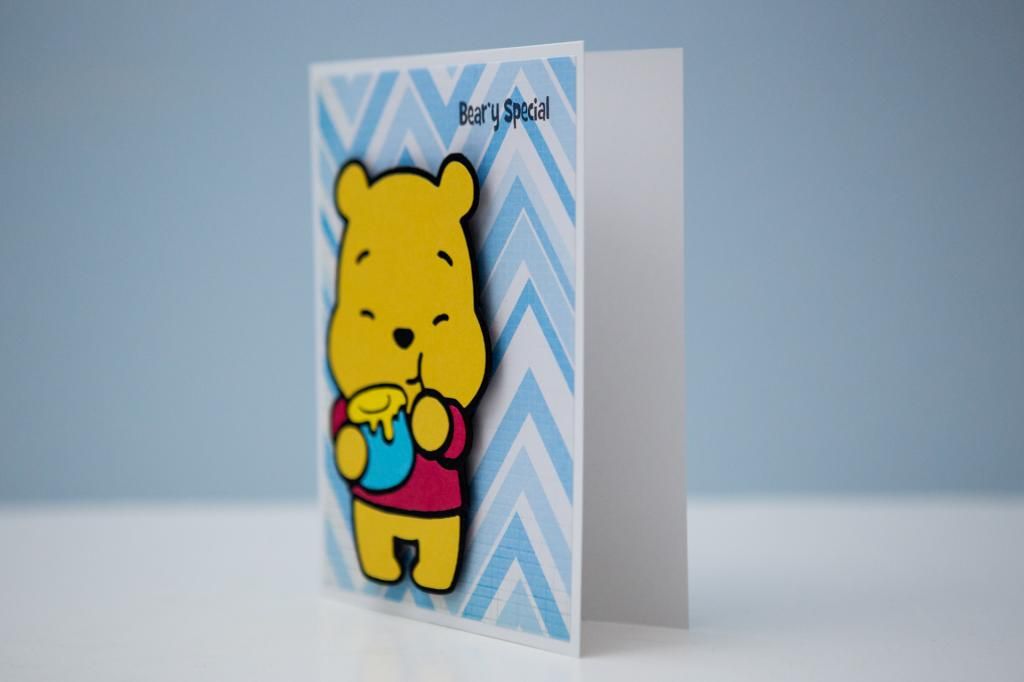
The fourth (and fifth too) card that I made featured an adorable Winnie the Pooh Cuties. I love the Cuties line because not only are the characters adorable, they are also designed in a way that's easier to cut. I seriously am loving the fact that I can just go online and do a Google Image search for whatever images I might want to cut. It gives me much more freedom than what the Cricut can provide. Of course, the Cricut is also nice because all the layers are split up for me. There are still some things I prefer with Cricut Craftroom as opposed to Silhouette Studio: Designer Edition. But I could never cut these things for my cards on my Cricut Expression!


You can also see the images that have the layers separated by me because they have the black outlines. When Howard designs something for me, it doesn't have the black outline. For the simple Disney images though, I actually prefer them because that's how the original design looks.


As you can see, I made two versions of the card just by popping on a different sentiment. I looked through my sets from Pink by Design to find anything that had a bear pun on it. 


And it's no surprise that I popped him off the card. At the beginning of this year, I bought a ton of things when Joann was going out of business. I posted my craft haul here, which included foam sheets for $0.37 each. I've been cutting it in strips and then using small squares of it to pop my stuff off the card instead of actually using the adhesive foam squares, which can be quite expensive. I just use my ATG gun to adhere everything, and it seems to be working well. I actually don't mind having to use the ATG for it because it's either that or peeling off the thin sticker backs! All in the interest of saving some money!

Tuesday, October 28, 2014

Astro Blasters!

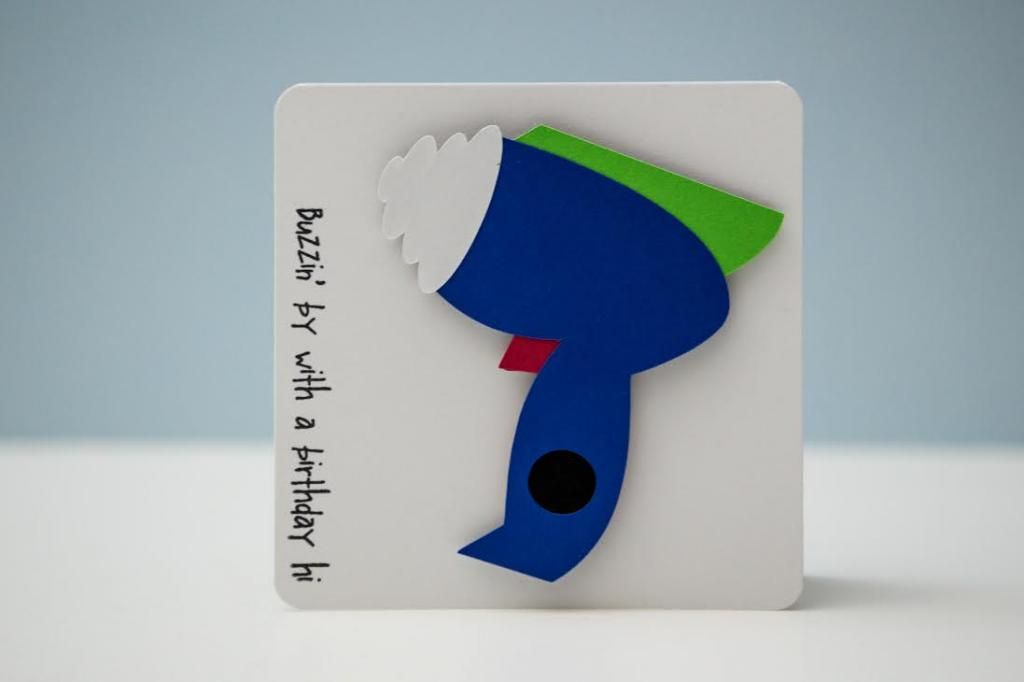
This was the second card I made to send to those who wanted to sponsor me for my school's bike/walk-a-thon this Saturday. This cut was from the recent SVG Cutting Files "Animated" blog hop. I was so excited about that one because all the freebies were Disney characters! I haven't yet cut them because they seem as if they might be a little complex for mass producing purposes, but this was one I could do.


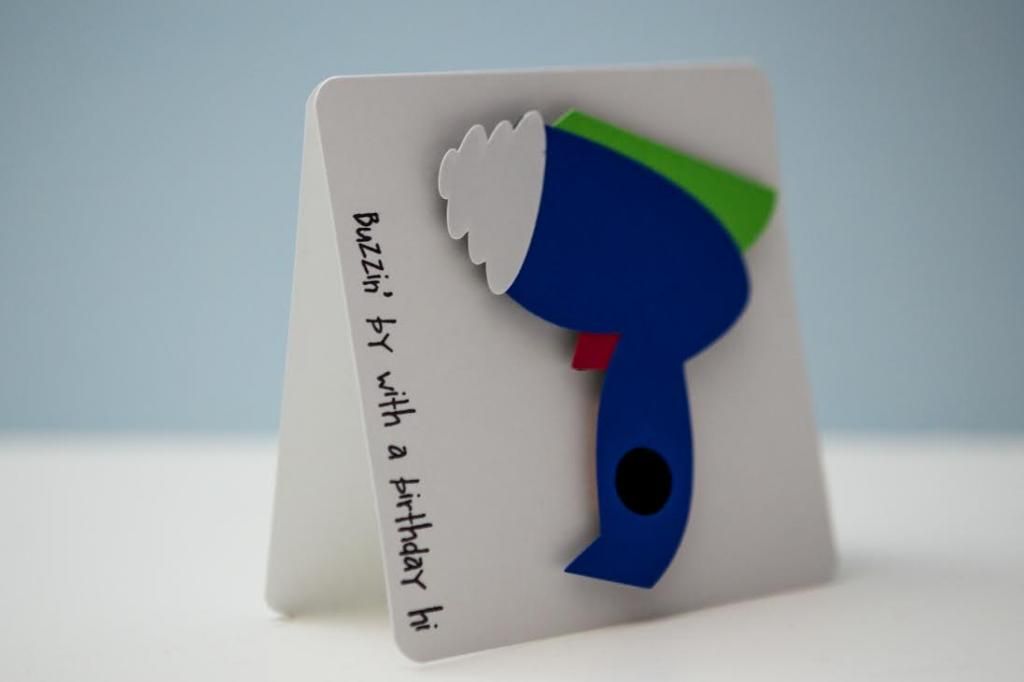
This is the laser gun from Disneyland's Buzz Lightyear Astro Blasters. It's a little different than the ride at Disney World, but it's still unmistakably representative of one of my all-time favorite rides at WDW! I kept the card itself very simple by just popping it up on a 4 x 4 in square card with rounded corners. 


The sentiment is from Pink by Design's set called "Oh Boy." It just worked perfectly with this cut. I made 6 of these in total, and 3 of them have already been claimed! Just look at this really makes me want to hop on the ride right now!

Monday, October 27, 2014

Mickey and Minnie Cuties

My school is having a bike/walk-a-thon fundraiser this upcoming Saturday. Our new headmaster challenged us teachers to raise $100. I figured the only way I'd be able to make that amount was if I offered blank cards for each person who sponsored me for $5! I have to say that I'd probably just bypass someone's request too, but cute Disney stuff would definitely catch my eye.


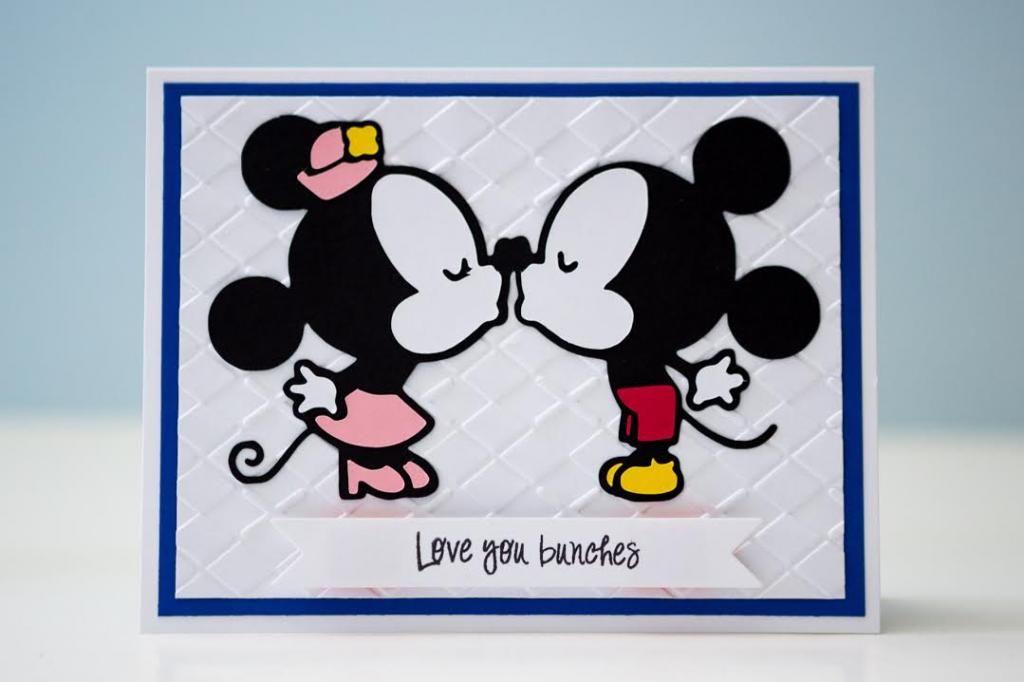
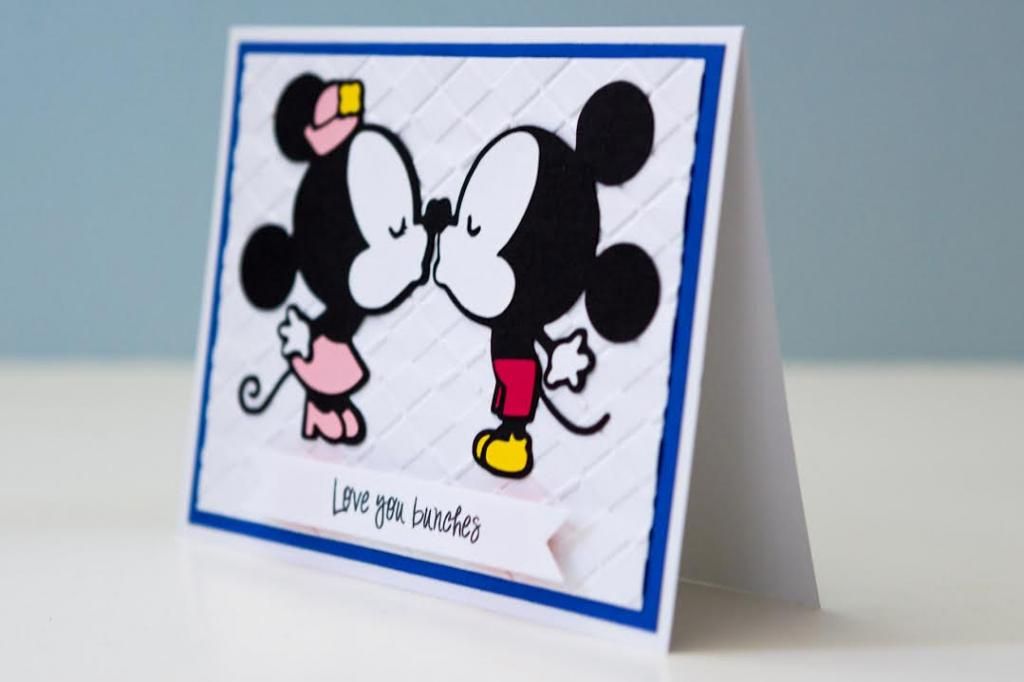
I used a Mickey and Minnie image from Disney's Cuties to create this card. It's strange not having measurements and such when using the Silhouette Cameo. I could technically get the exact measurement since I saved the file, but it's not done exactly the same way as the Cricut. I'm still getting used to the difference between the two machines and the programs. There is, of course, the huge benefit of being able to cut images like this on the Cameo! Though it looks easy to put together, the pieces that really required extra care were the small red piece of Mickey's pants and the small yellow piece of his shoe. I use my TweezerBee tweezers anyway for every piece even when it's not teeny-tiny like that. When Howard saw how I had to be careful with all the small pieces on the Disney cuts I've been making lately, he commented that he wouldn't have the ability or patience to do it, haha.


I dry embossed the white paper with a Sizzix folder and then stamped the sentiment from Pink by Design on a banner cut out using a die from Papertrey Ink. I only popped up the banner since I didn't want there to be any possible tearing of their tails if I popped Mickey and Minnie off the card. I made 6 of these in total, and so far, I have 4 of them "sold"! Hooray! A huge thanks to my sponsors so far!

Friday, August 22, 2014

Heartfelt Sympathies

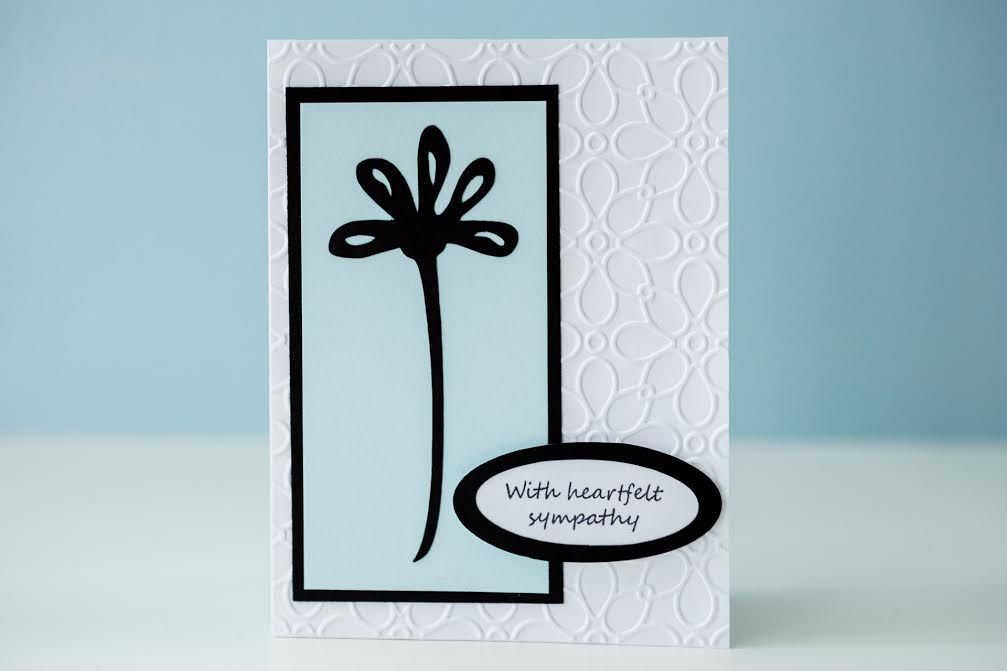
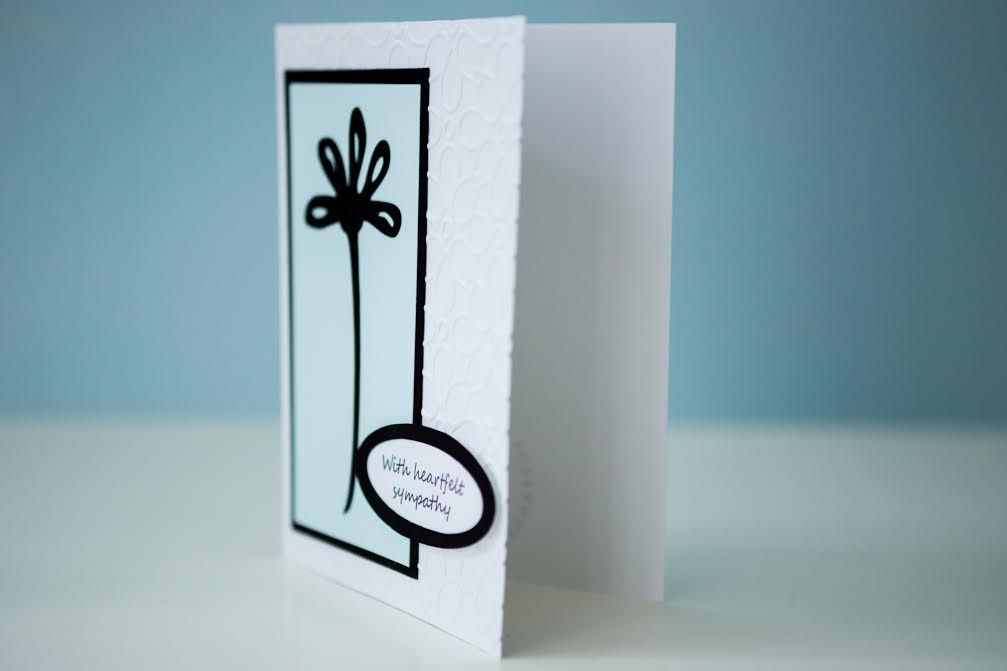
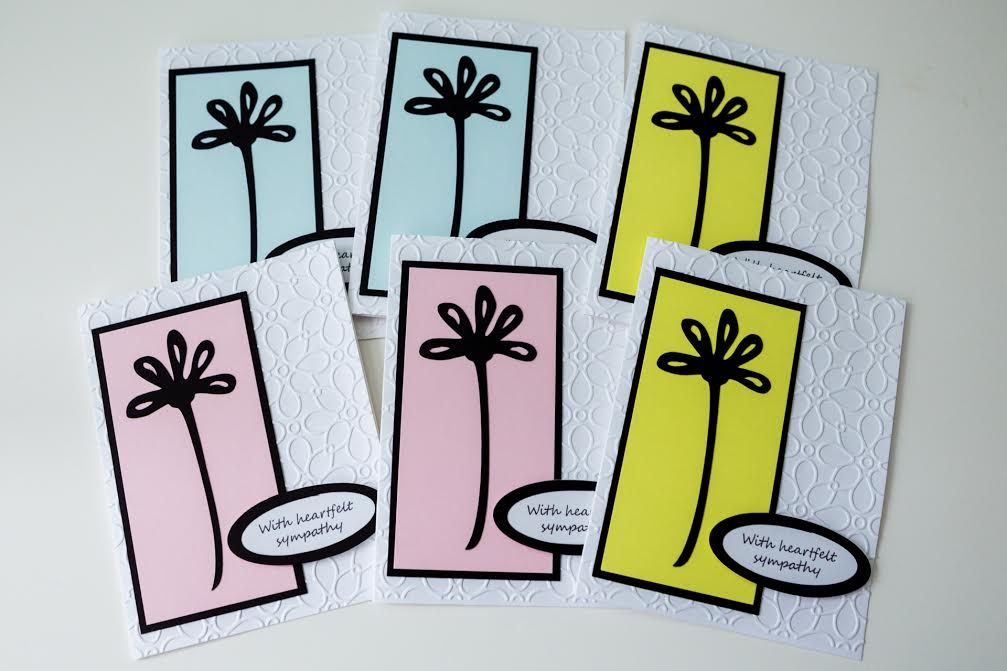
Sympathy cards are rather difficult to make because it's not really the time to use cutesy images, which is basically what I prefer using on my projects. I stuck with a really simple flower image. I found it on the Stamping Solutions cartridge and cut it at 4 inches though I did make it a little bit more narrow.


The colored rectangle was cut at 2.25 x 4.5 inches. I used the "Wild Card" cartridge to cut out the two pieces of the oval at 3.5 inches. Lastly, the sentiment is from Pink by Design's "Sympathy" set.


 I used a Cuttlebug embossing folder called "Juli's Garden" to add some dimension to the card base itself.


This was a custom order, and the person wanted an entire set. I chose to use different colors just for a bit of variety. These are the kinds of cards that you hope you don't have to make, but unfortunately, they're sometimes needed. 

Monday, August 11, 2014

A Biking Raccoon

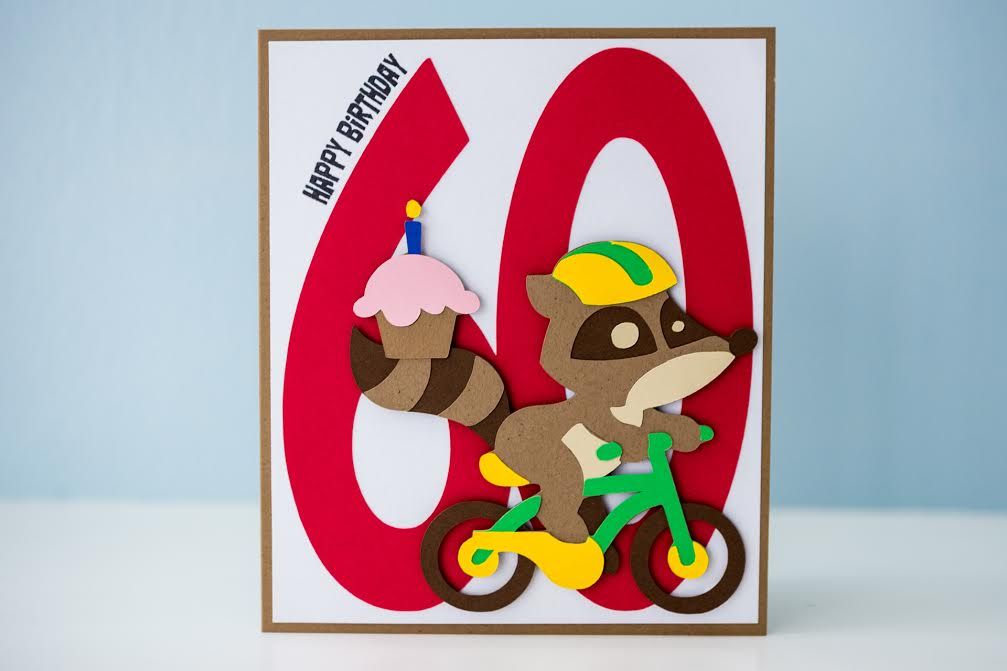
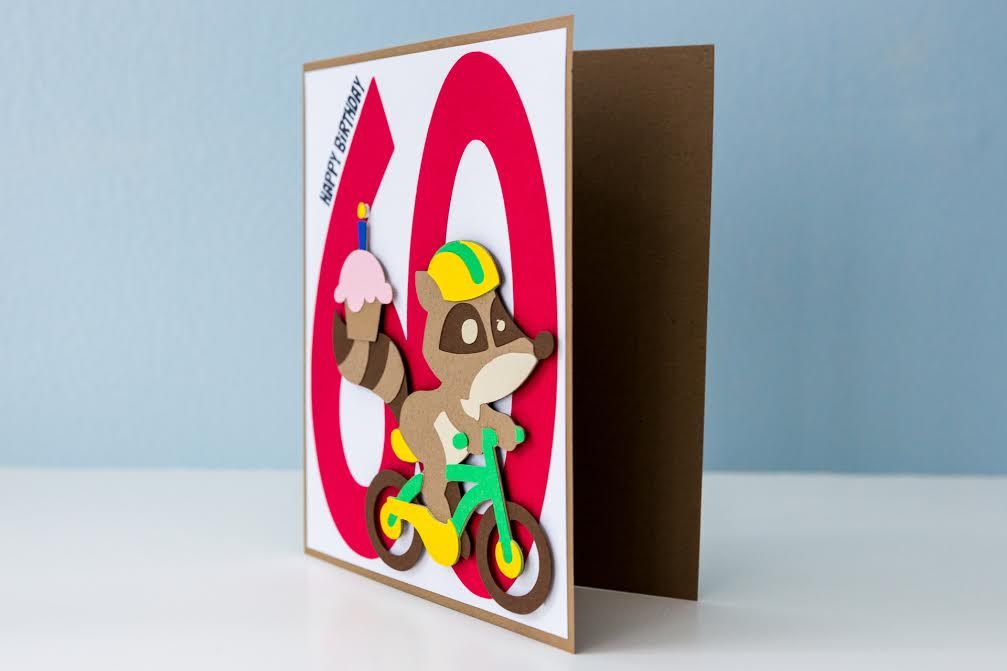
This is one of the custom orders I made recently that I was really happy with once I was finished! The customer asked for a 60th birthday card for her boyfriend's dad. She told me that he was into exercising and sports like biking and rollerblading. The image that came to mind was this raccoon from the Campin' Critters cartridge. I think I only used this cartridge once, and it was the one I wanted for a super long time. It's just difficult to find the occasions to use the images, but this was a chance for me to pull it out.


The raccoon was cut at 4 inches. Since the image was already fairly large, I decided I needed to put this on a card larger than my typical A2 size (5.5 in x 4.25 in). With my We R Memory Keepers envelope punch board, it makes it a lot easier to make varying card sizes, so this was a 5.5 in x 6.5 in card.


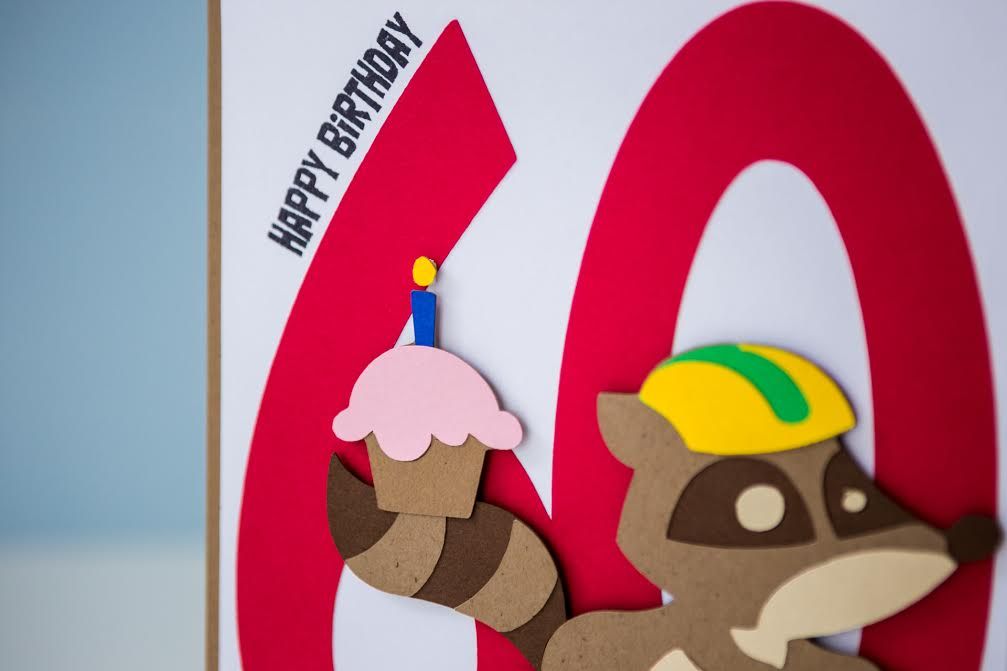
I then decided to cut out a really large "60" to put in the background. It actually took a little bit of time to find the right font for this. In the end, I used the Cricut Basic Font that's available for free via Craft Room and just stretched it to the size I needed, so I don't actually have an exact measurement for it. It worked out better that way because the original font is kind of chubby, and the numbers got lost behind the raccoon.


To make sure it was an obvious birthday card, I cut out a cupcake from Doodlecharms at 1.75 in, which is one of my original cartridges. It's so different from the more recent ones, but sometimes the basics are needed. The final touch was stamping the "Happy Birthday" sentiment, which was from Pink by Design's stamp set called "Birthday, Birthday." I curved the clear stamp a bit when placing it on my block so that it'd line up with the edge of the number. I know my customer was pleased with it, but I also hope the recipient liked it as well!

Monday, July 7, 2014

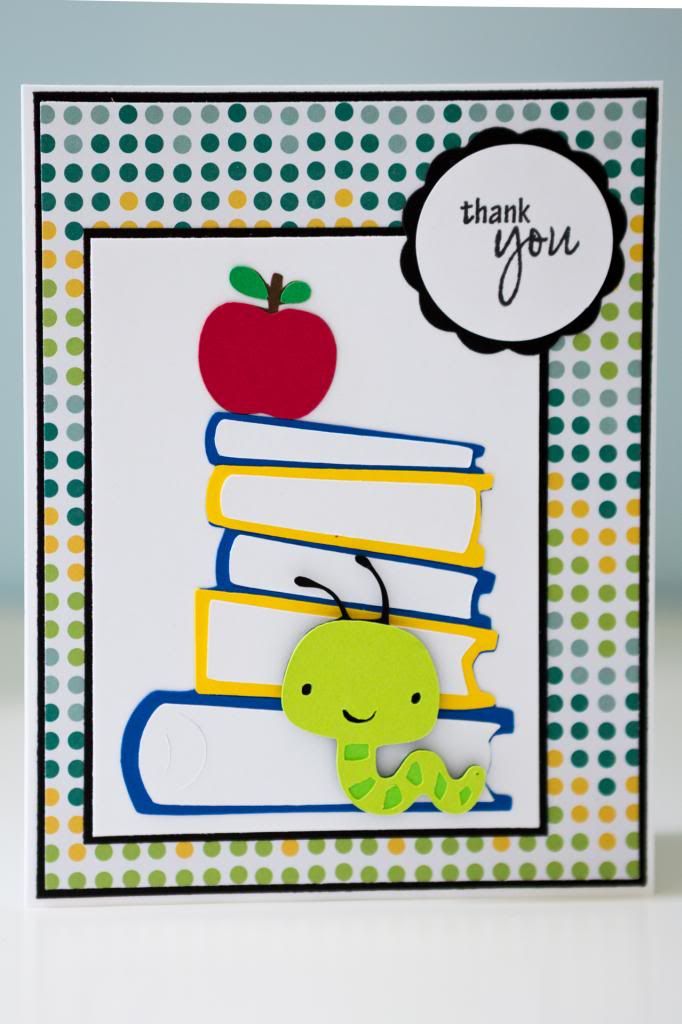
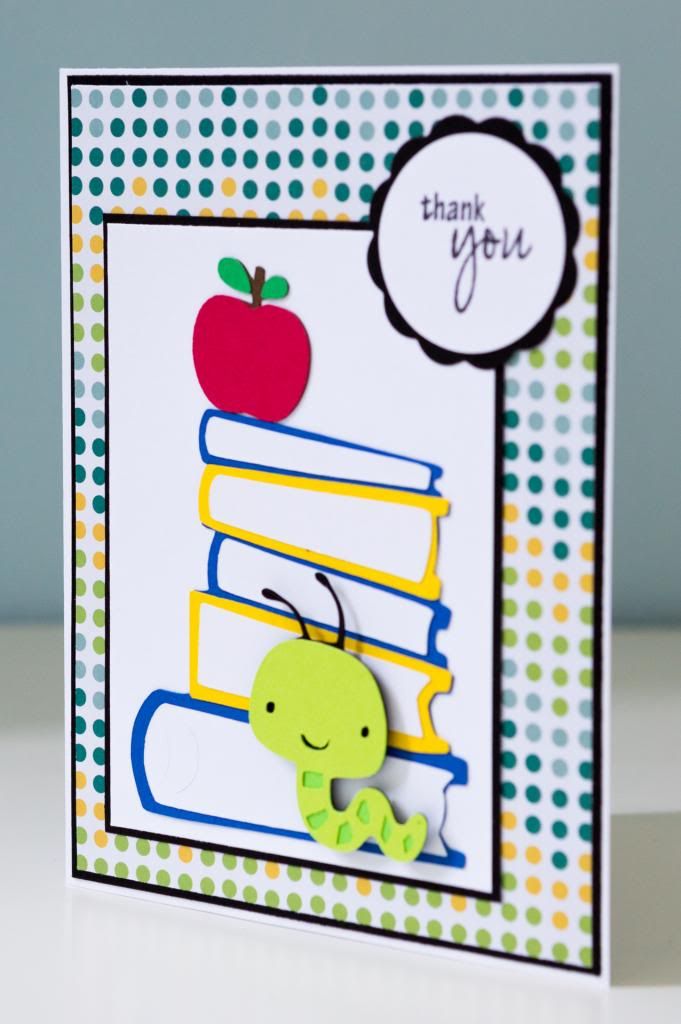
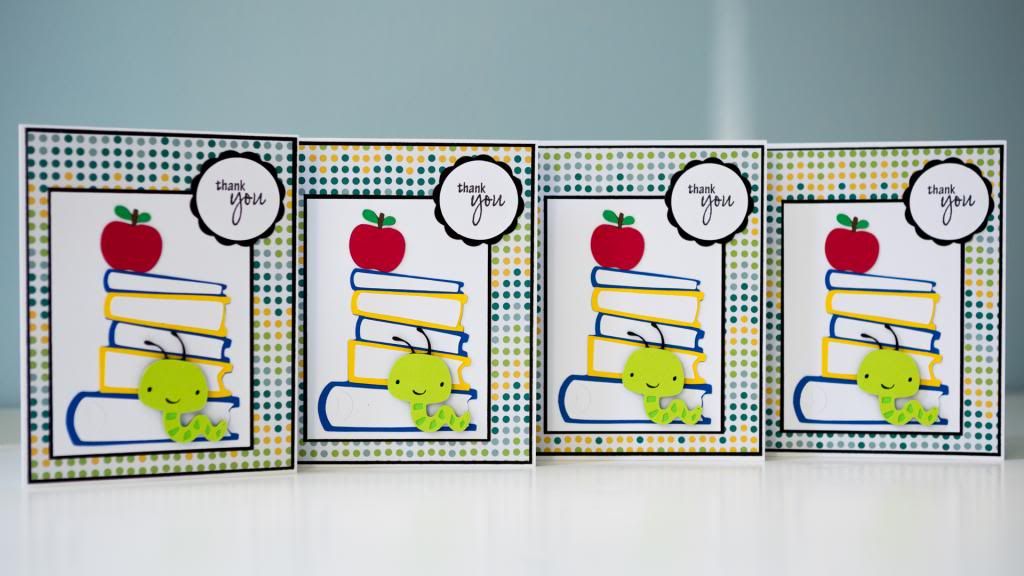
Bookworm Card

I've said it before, but custom card orders give the chance to use cuts I haven't used before! This particular card was requested for a group of school administrators. It took quite a lot of time, and it's not really one that I would want to mass produce because of all the details. However, I do really love how it turned out. I got my inspiration from this pin on Pinterest but changed it a bit. 

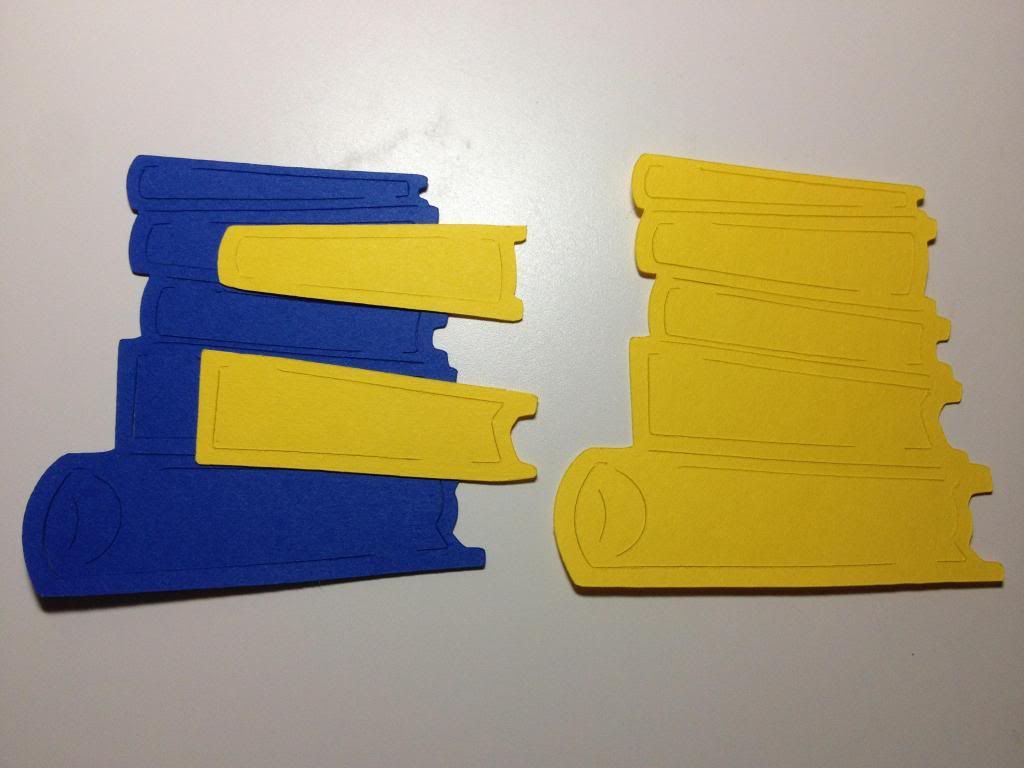
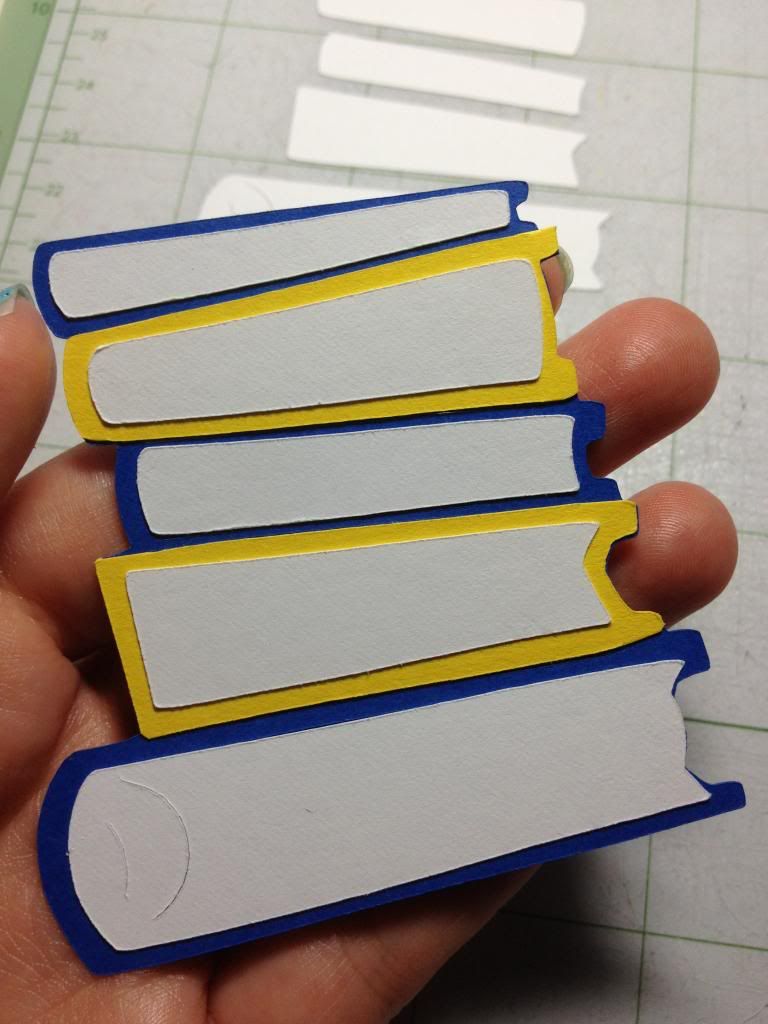
The first task was to cut out the stack of books from the "Locker Talk" cartridge at 2.75 inches. It actually cuts as one color, but I cut it out in blue and then again in yellow. I snipped the 2nd and 4th book and glued it on the blue piece so that the colors of the covers wouldn't be all the same.  


This clearly took a bit more time, but the result was worth it. I have seen others use a pencil to make it look like there are pages on the white portion of the books, but I didn't want to mess with it.


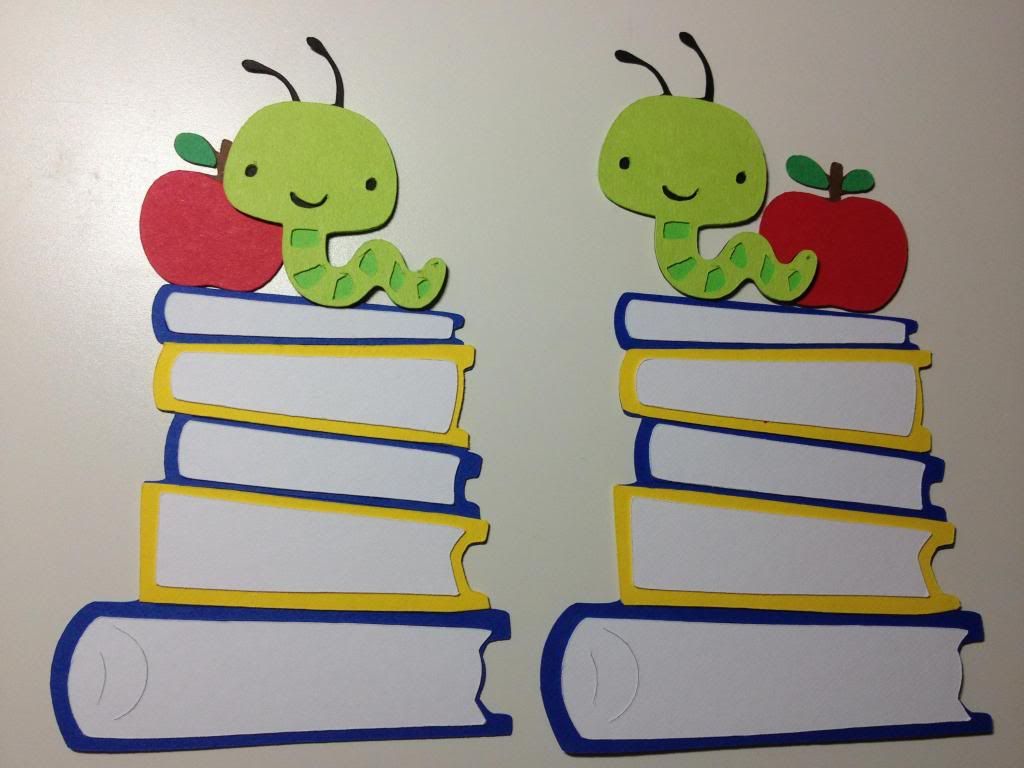
The apple was cut at 1 inch from "Create a Critter" and the worm was cut at 1.75 inches from the same cartridge. I checked the sizes on Craft Room to make sure it would work with the books. I played around with the location of the worm and apple to see where I would end up placing them. I actually took this picture to send to Howard for help with placement. I actually ended up changing the placement entirely because I wanted it to be a little shorter.


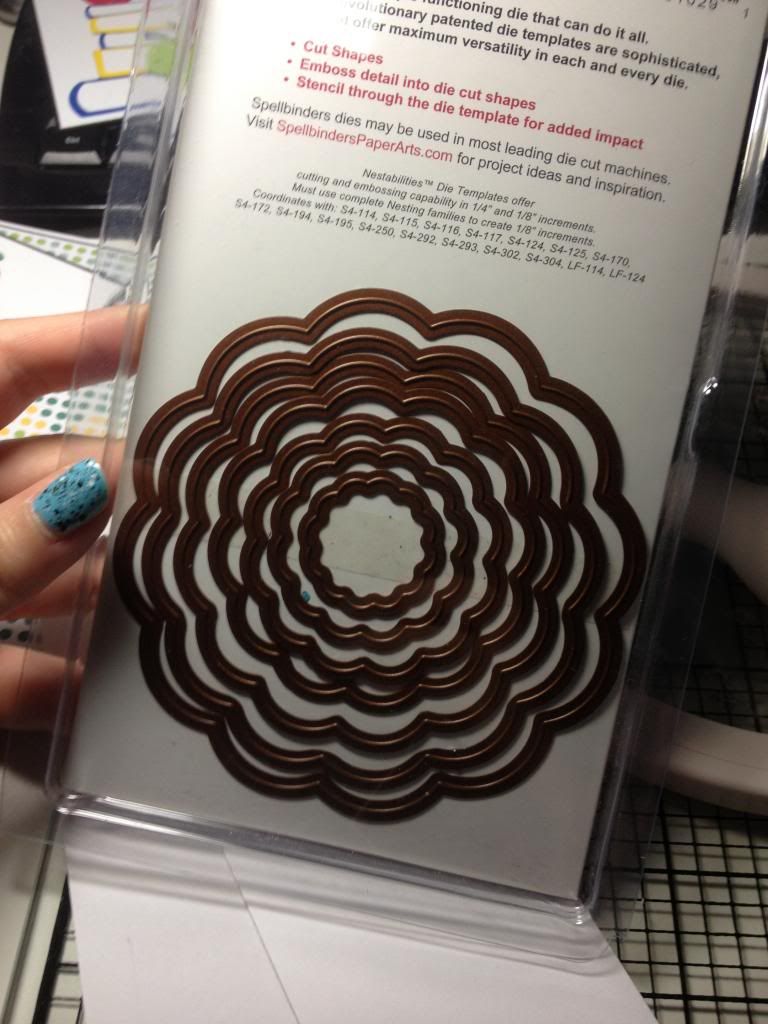
I needed a way to add the "thank you" sentiment from Pink by Design's set "Scripted Year." I used the 3rd smallest Spellbinders Nestabilities die from the Big Scalloped Circles Large. I needed a circle to fit into it, so I cut them out at 1 5/16 inches using the Martha Stewart circle cutter.


And after all that work, this is the final result!


The card base was the standard A2 size at 5.5 x 4.25 inches, but I chose to make the layers thinner than normal. The larger black mat was actually cut at 5 3/8 x 4 1/8 inches, and the polka dotted patterned paper was 5.25 x 4 inches. Lastly, the white layer was 4 x 3 inches for the image itself.


The itty-bitty worm was popped up every so slightly to give it a bit of dimension. Out of all the cards I had done that week, this was by far my favorite.


The funny thing is that as much as I love books, I don't know why we positively associate worms with them or with apples! If I were reading a book, I'd be pretty upset if there were a worm in it or anywhere near me!

Tuesday, May 20, 2014

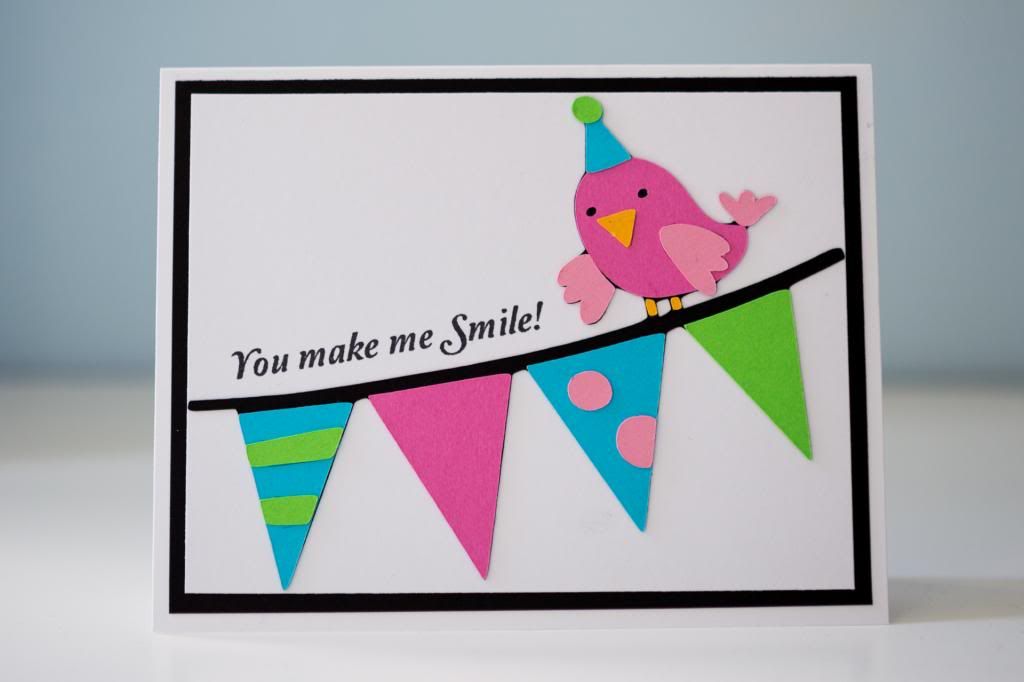
Banner Bird

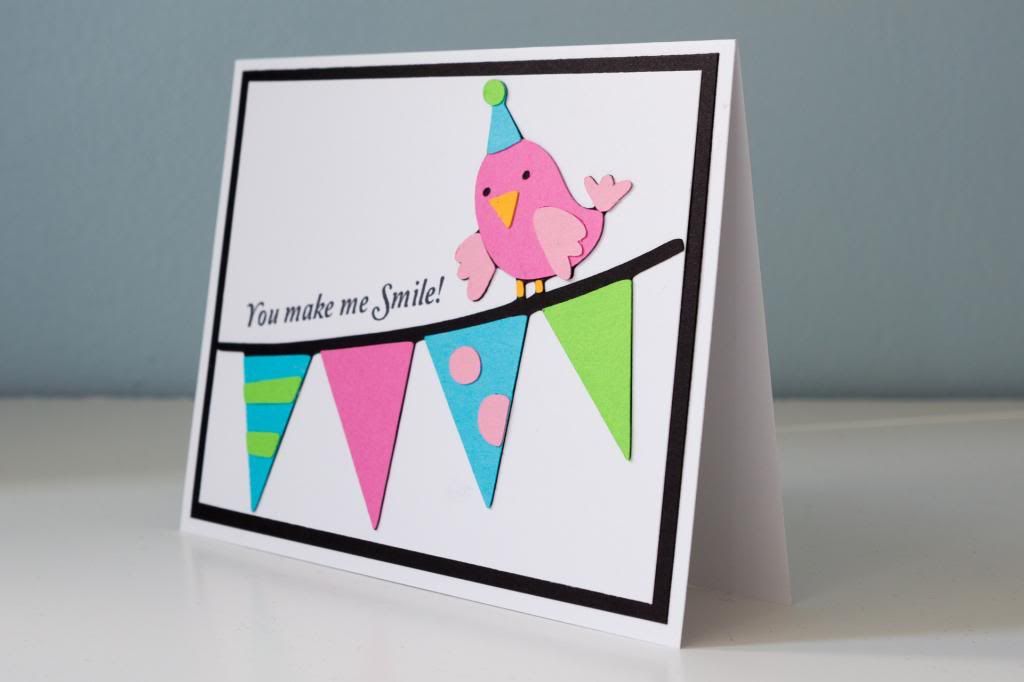
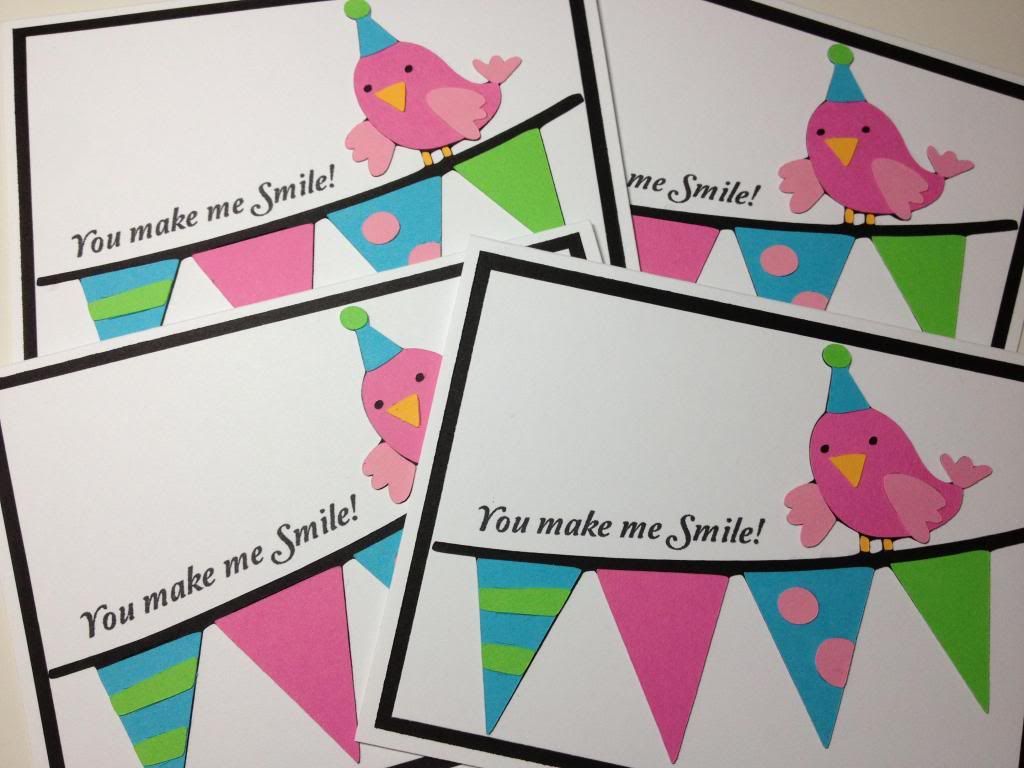
One of my recent custom card orders was for 4 thank you cards for birthday gifts. Since I wasn't given any specifics in terms of images or anything like that, I had the opportunity to use a cut from the Birthday Bash cartridge that I've never used before. 


The sentiment is from Pink by Design's "Simply Everything" set, which is one of the first ones I ordered from Sarah because of the assortment of phrases. Even though these were thank you cards, I felt that it worked to use something else other than "thank you." Plus, I wanted it to be long enough to fill in the space above the banner. Oh, and I also can't find my Inkadinkado set with all the "thank you" phrases on it! I usually bring that to school when I sub and do art projects with the kids, so it's not with my other stamps in the drawers.


I had fun making them and choosing the bright colors, but I know that if I had to make these in bulk, it'd definitely take a lot of work! The orange pieces for the bird's legs are so tiny! Thankfully, the Tweezerbees make it doable.


Custom orders really get me to use a lot of the images I've never used before! I feel as if I should go through my handbooks to see what else I can cut ...

Thursday, May 15, 2014

Graduation Bear

Because it's already May, the time for graduation is here! It's kind of crazy thinking that at the end of the school year, it can feel as if the year flew by, but throughout the first 85% of the year, it seems as if it's just crawling. 

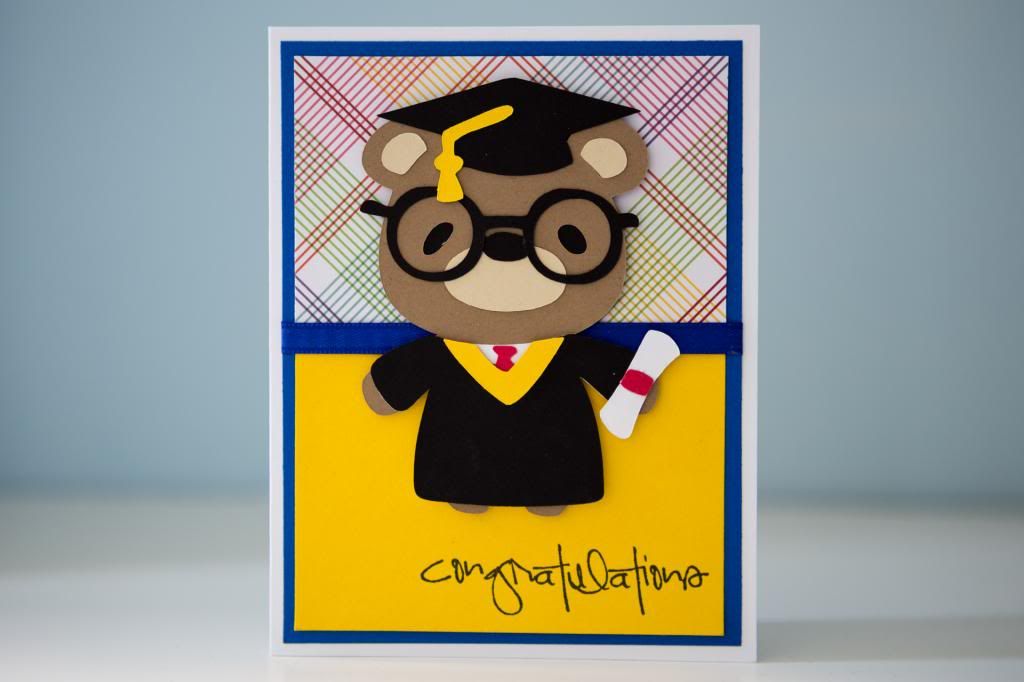
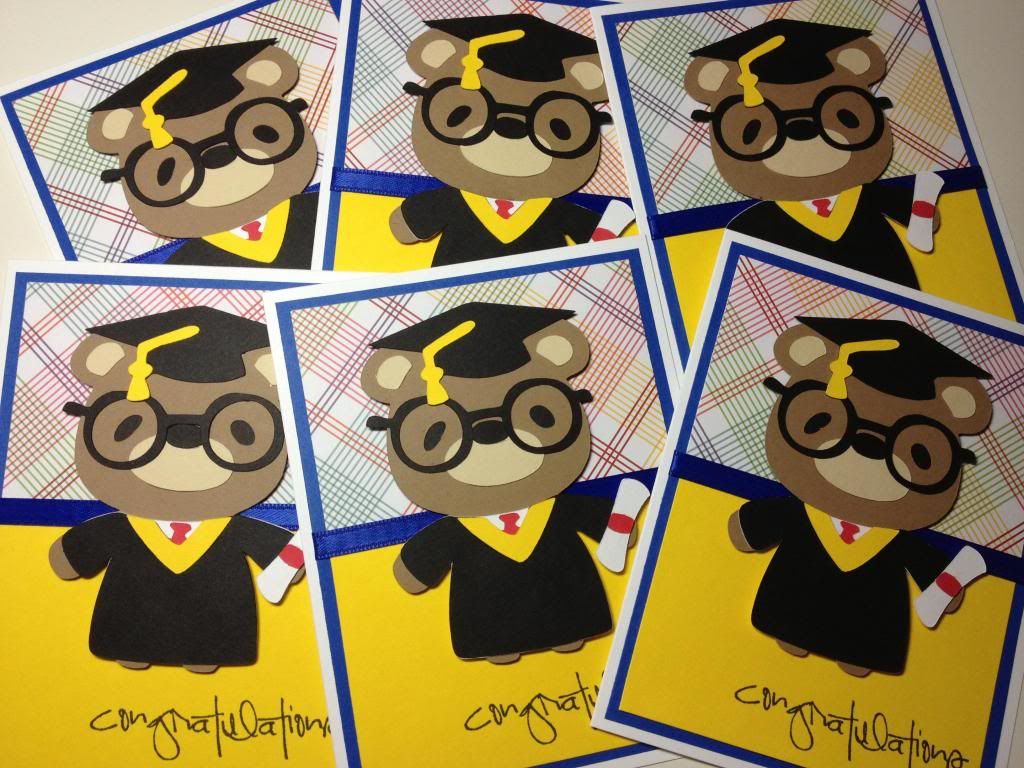
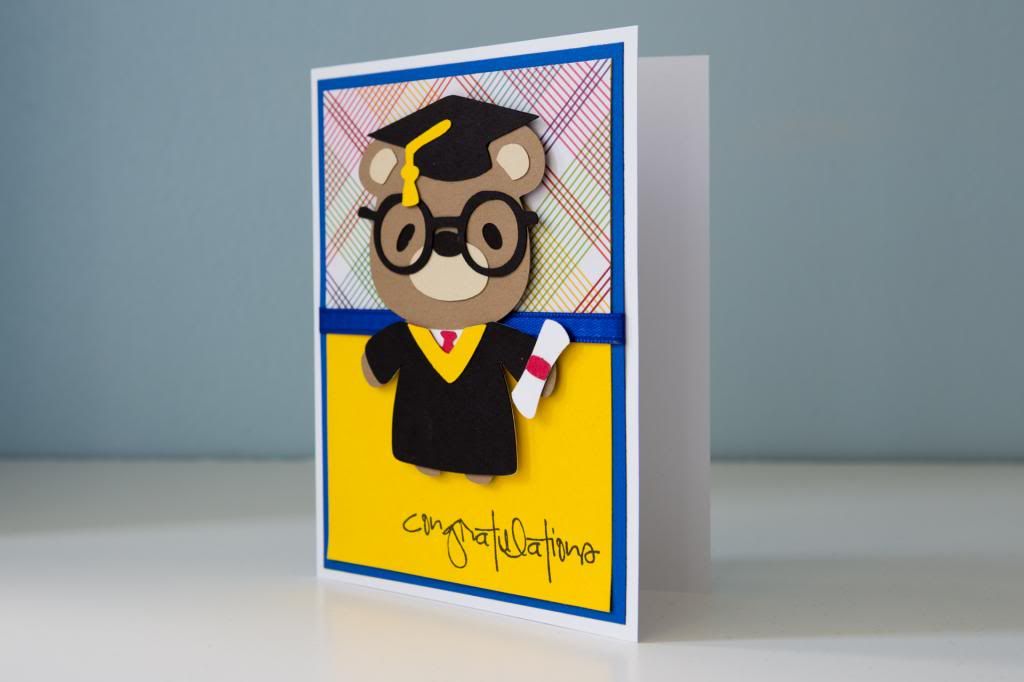
I had a custom order to fill that was for 6 graduation cards. Of course, I went back to the trust Teddy Bear Parade cartridge. I had actually seen other more basic cards on Pinterest that I wanted to try, but I figured they might be too clean and simple for a card order. 


As I've said before about this cartridge, sometimes it's strange seeing how there are so many unnecessary layers when cutting out the clothing items, but when they're put together, it makes sense because then the cut has a little bit of dimension instead of just being one flat piece. 


I thought about using the same layout that I used the last time I made graduation cards with this bear, but I don't have many sheets of the alphabet paper so I decided to change it a bit. I feel that the plaid was a little academic-looking while still being colorful, so I went with that for half of the base so as not to be too overwhelming. With some ribbon and an extra blue mat, the card was assembled. The last thing that was needed was a sentiment from Pink by Design's "Scripted Year."


Yay for completing another card order! Finishing 6 feels like an accomplishment, and it's just enough to typically utilize the full sheet of paper for particular layers. Now to focus on a large 50 card order once again!

Tuesday, May 13, 2014

Bears Play Basketball

When I was working full-time, I knew that doing custom orders wouldn't really be possible because I knew they would stress me out. However, over the past year or so, I've come to realize that if I didn't have people requesting specific cards, I wouldn't be selling anything! Though I'm not into crafting for the money, I do enjoy what people ask for because it allows me to use cuts that I wouldn't normally use on general cards. This basketball bear (and really a lot of the other bears on this cartridge) is one of them!

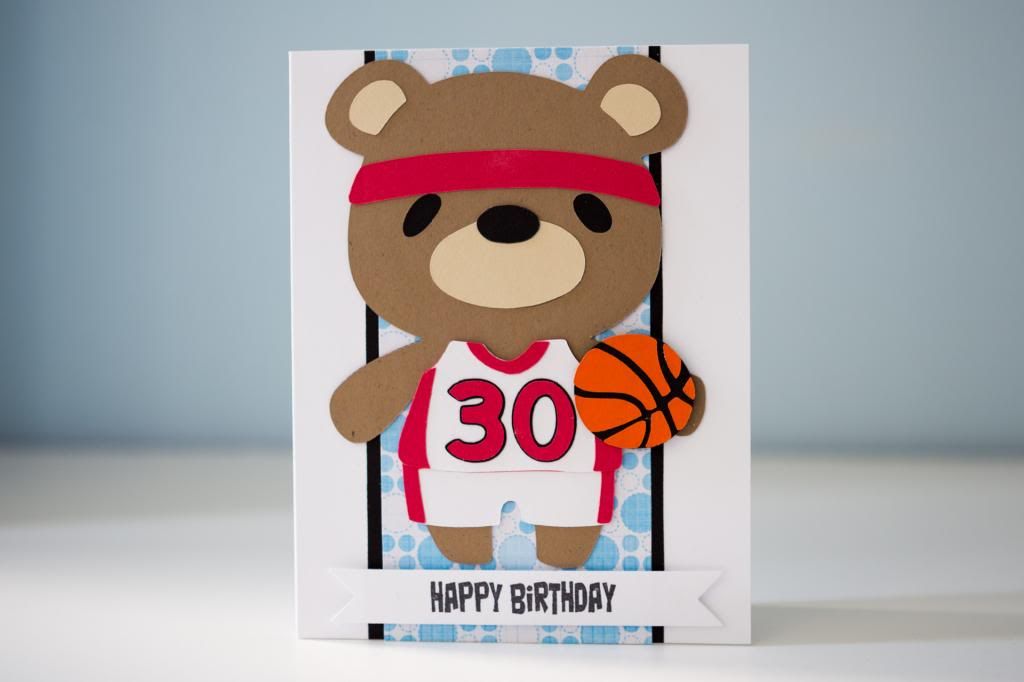
My friend who requested this card said that the recipient liked sneakers (Jordan's), basketball, and poker. The only sneaker cut I had was on Nifty Fifties, so I knew that wouldn't work, and I didn't actually have anything that would work with the poker theme. If I get through these orders, I must must must pull out my Silhouette because then I would definitely have a wider range of images that I could use! For this situation though, basketball was it! I asked if a "cutesy" card would be okay, and it was so I immediately went for this bear on the Teddy Bear Parade cartridge. This 2012 birthday gift from the hubs is really getting a lot of use!


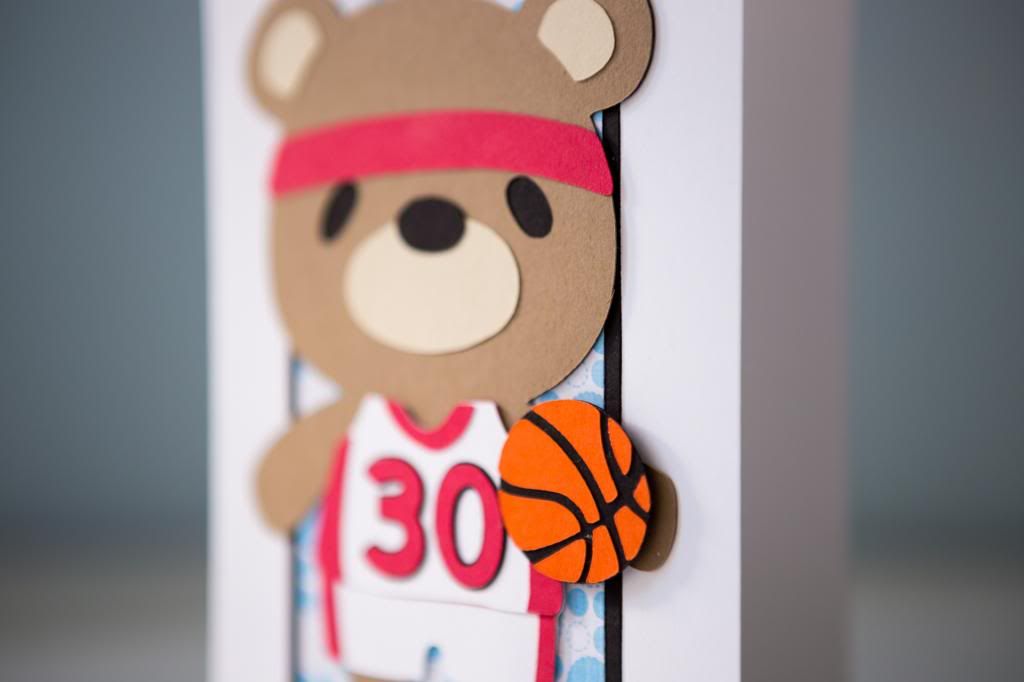
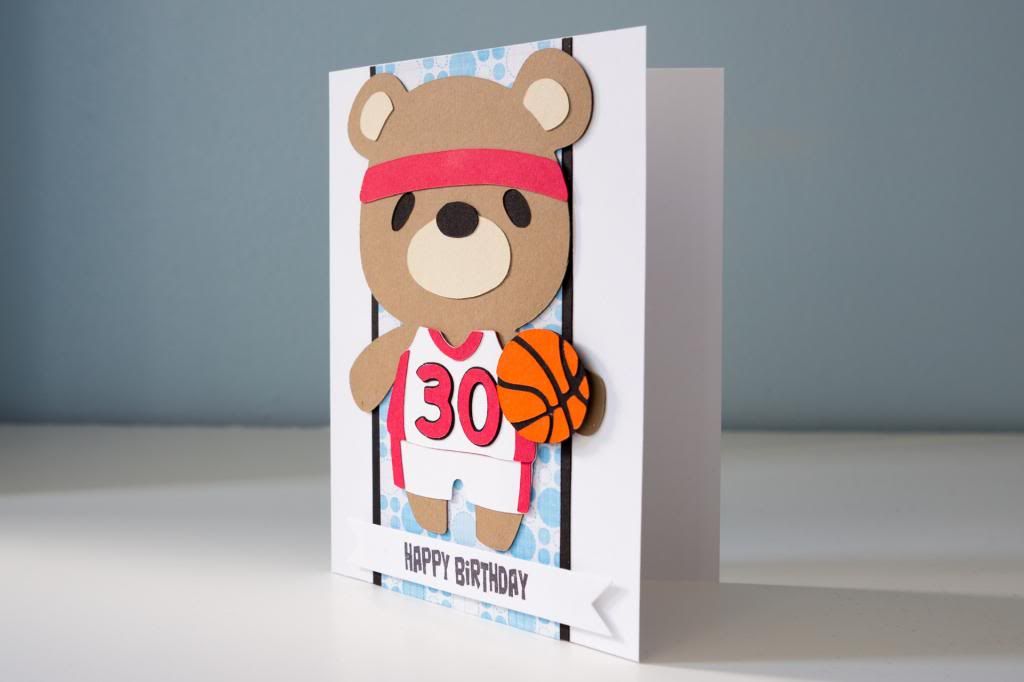
I actually made the bear bigger than I normally do because I knew I would cut out "30" to put on the front of the jersey since it was the recipient's 30th birthday. The normal cut has a "1" so I wanted to make sure there was enough room. It's really interesting how the pieces are set to cut. It seems as if there might be wasted paper since, for example, there's a red piece that's the size of the jersey and continues to the stripes on the sides of the pants. But after the cuts are adhered, I realize that the reason for that is to create depth. It wouldn't look as nice if the pants and jersey were just flat without any added dimension. The way it cuts makes the jersey come out more than the pants. Love it!


I decided not to pop the bear like I typically would but popped up the basketball instead. I really like how it turned out! It gives it a 3-D look, making it seem as if the basketball could be in play. The sentiment is from Pink by Design's "Birthday, Birthday" set stamped on a banner cut out using a die from Papertrey Ink.


It was really fun making this card also because I only made one, so I just planned all the cuts on the mat and had to cut just once. It's so different from mass producing, but I do love doing both especially when it's with this cartridge! I wonder if I'll ever use ALL the bears on this cartridge!

Monday, March 17, 2014

Card x 50

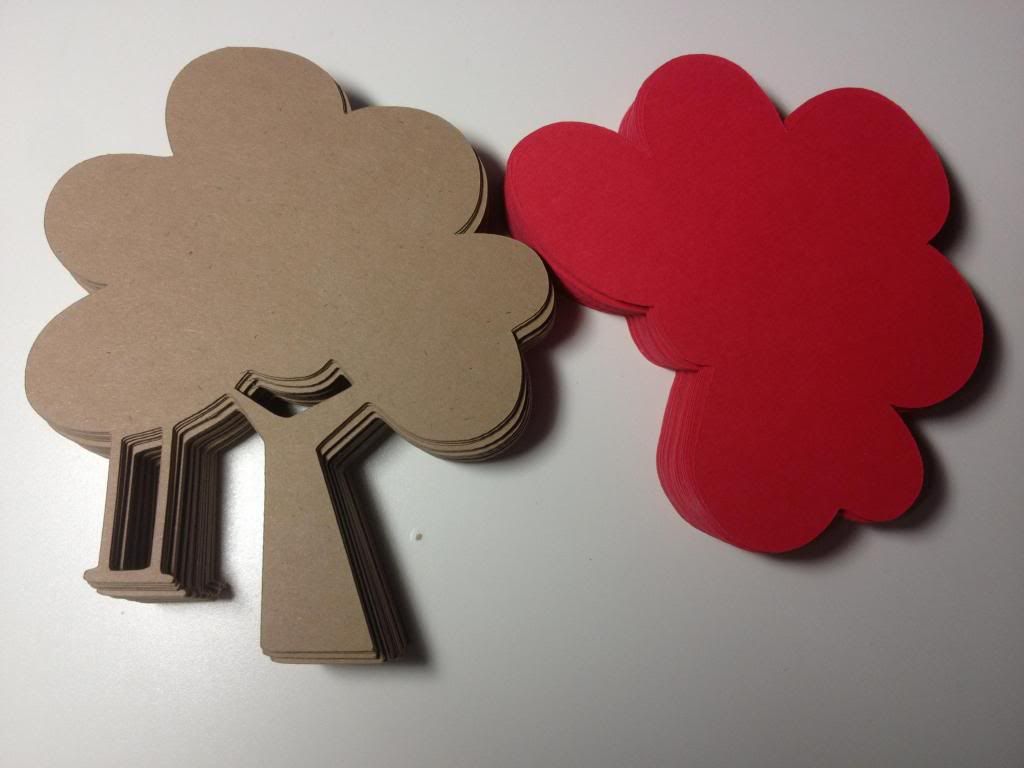
I had mentioned a while back on Instagram that I had a HUGE order to fulfill because it was 50 cards! I thought to myself that it wouldn't be too difficult since I did make over 300 cards as the favors for our weddings. This ended up being a bit more difficult because they were not over-simplified but instead had layers. I initially thought I'd make a variety of designs so that I wouldn't get "bored" making the same thing over and over again, but I ended up deciding to make the same card that I made here because I knew I liked how it looked without it being too cutesy for my customer's clients.

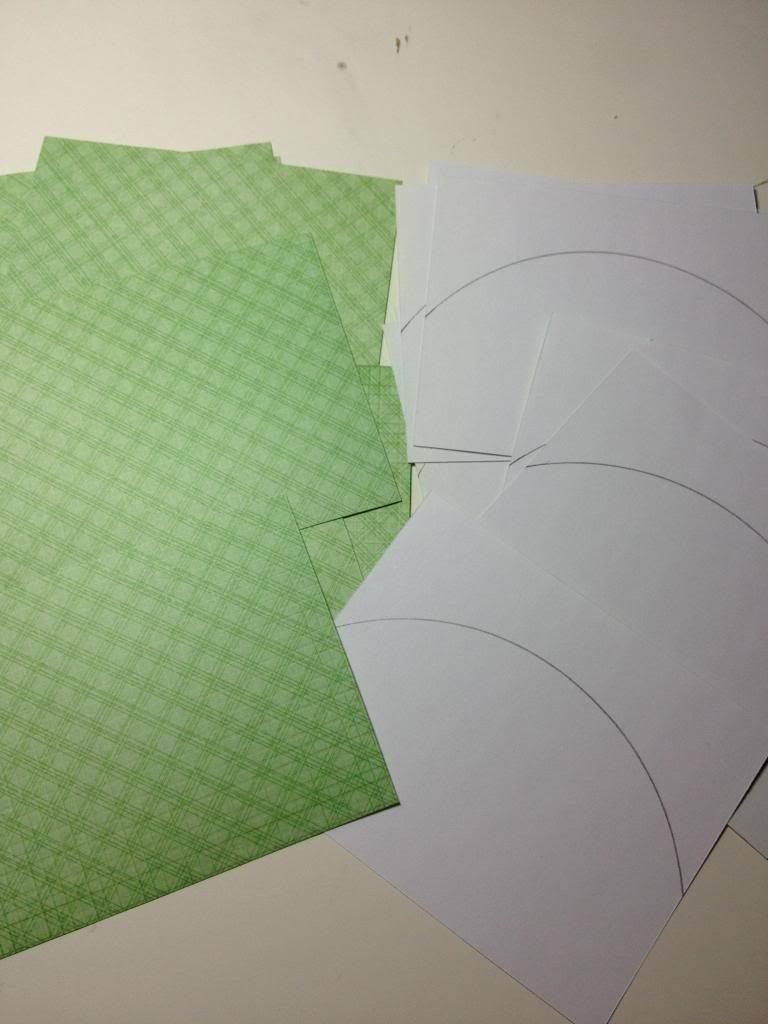
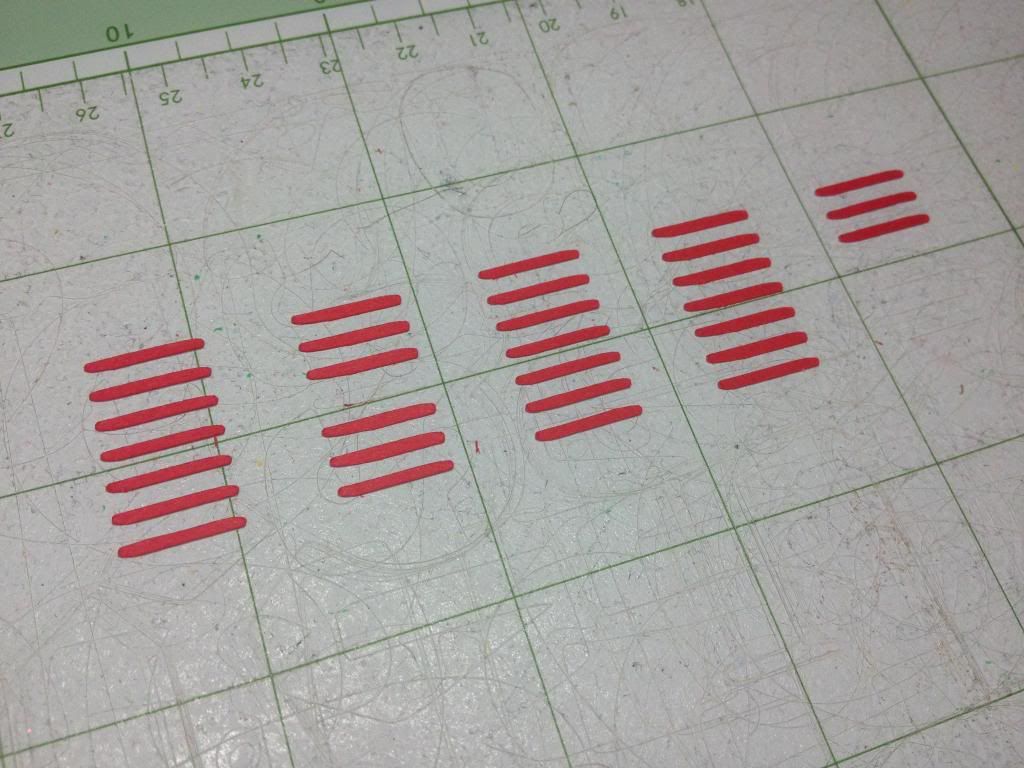
Despite having a Cricut Expression and a Silhouette Cameo and a Cuttlebug with dies and other tools to use, I actually had to use the lid of a container to trace the back of the green paper and then cut each one out to make the hills. I have to say it was kind of entertaining having to do things the old-fashioned way with tracing and cutting!


I had some good ol' Netflix and Amazon Prime (we had a free trial) on to watch TV shows while I adhered the cut layers together. 


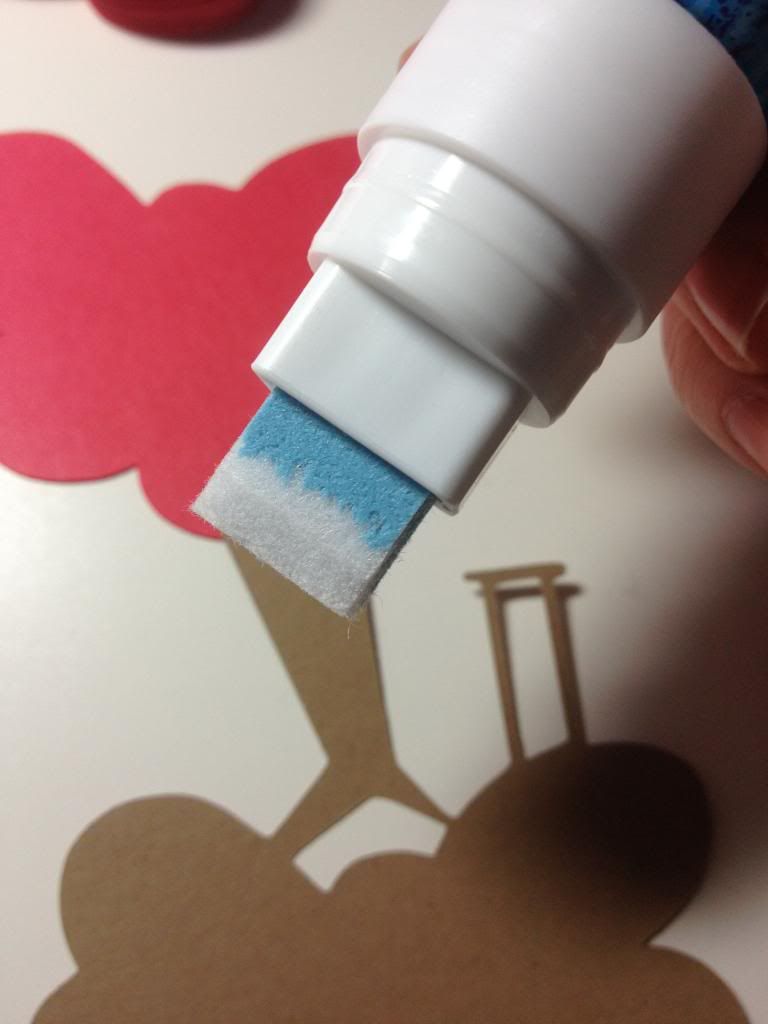
I posted this picture before, but I did have the fat Zig glue pen to glue the pieces together. I preferred using this instead of my ATG adhesive because it gave me a little bit of wiggle room to make sure everything was straight before it stuck on for good.


Each time one step was completely done, I was really excited!


The one part I was kind of avoiding was the small red piece for the swing seat. I needed to go back to the small glue pen and my trusty Tweezer Bee tweezers.


It took a bit of time to cut out the banners too since I have to use my Cuttlebug for that. I stacked the paper so that I could cut two at a time. I stamped them all and then added the foam adhesive. The sentiment "Welcome Spring" was from Pink by Design's set "Spring Has Sprung."


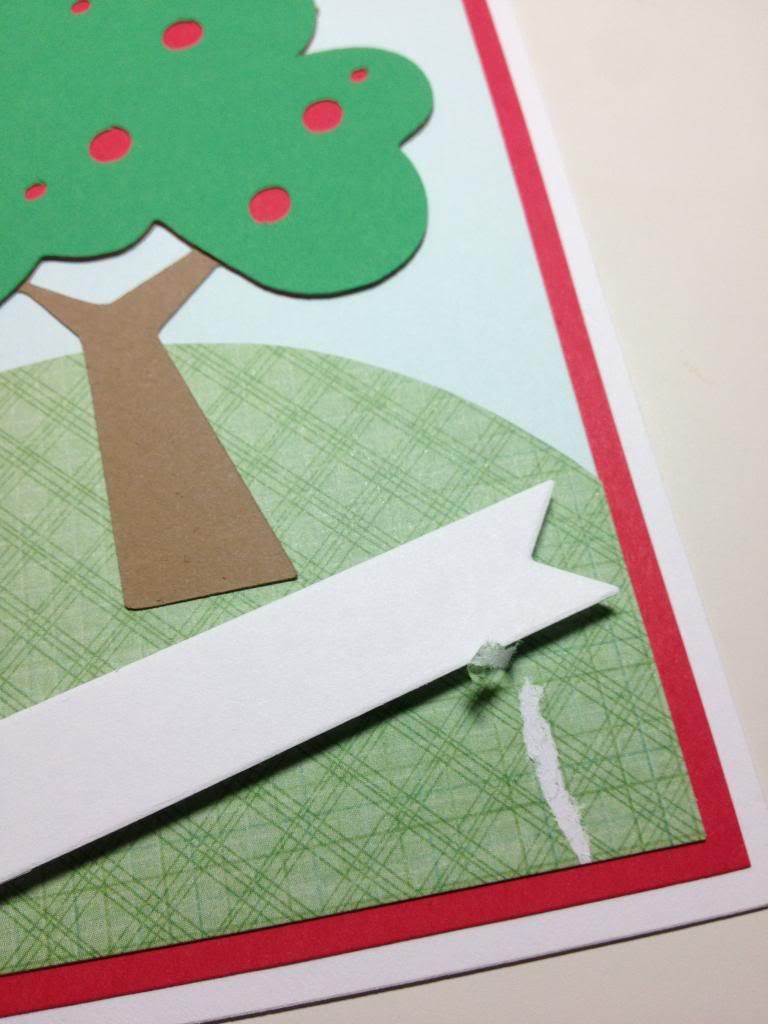
The last step was to add the banner to the front of the card. The only problem that occurred was that I had two banners stuck together and didn't realize it. Suddenly, I had a card with a banner and no sentiment since I had stamped the one on top! When I tried to peel it off, it ripped some of the patterned paper thus ruining the entire card! There was no way to salvage it. Thankfully, this is why I make extras! I had 4 extras just in case, so this rip meant I only had 3 extras to give.


As you can see, I actually had 3 slight variations with the cards. I ran out of the dark green patterned paper and had to find a replacement so there are two different hills. Then I also ran out of the super light blue paper and had to use something a little darker.


And there they are! Six boxes of cards all done and ready to be delivered! Getting some extra cash for crafting is pretty fun!

Thursday, March 6, 2014

Blessed

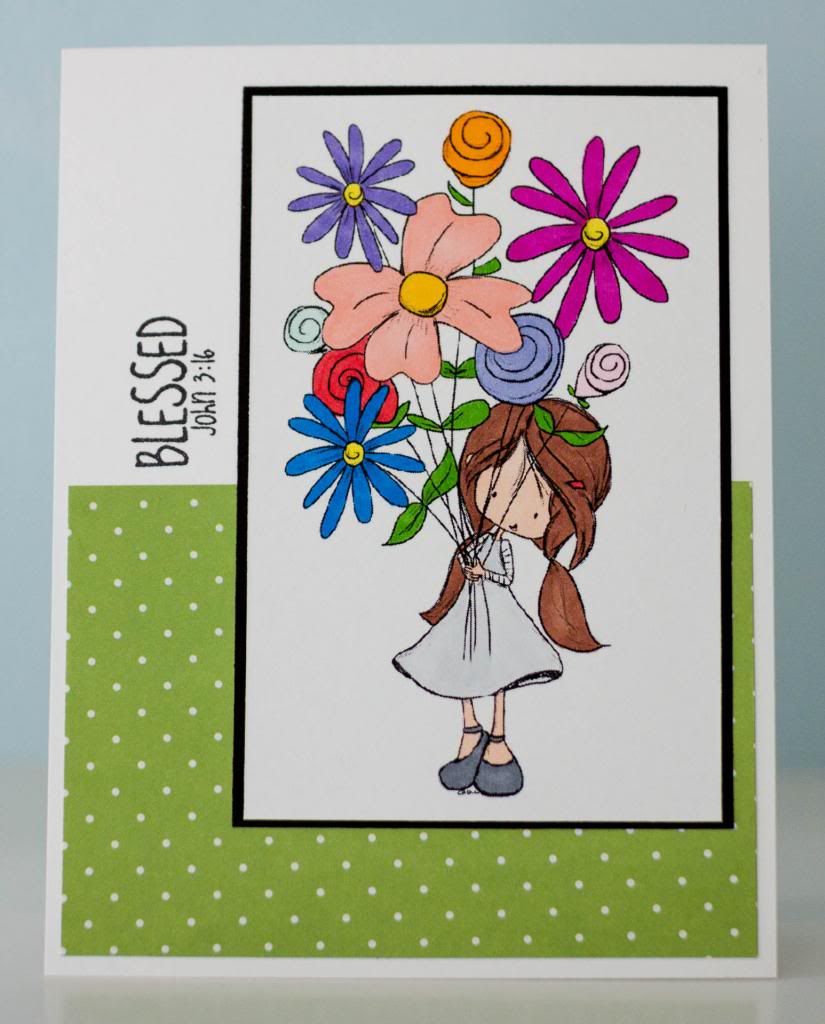
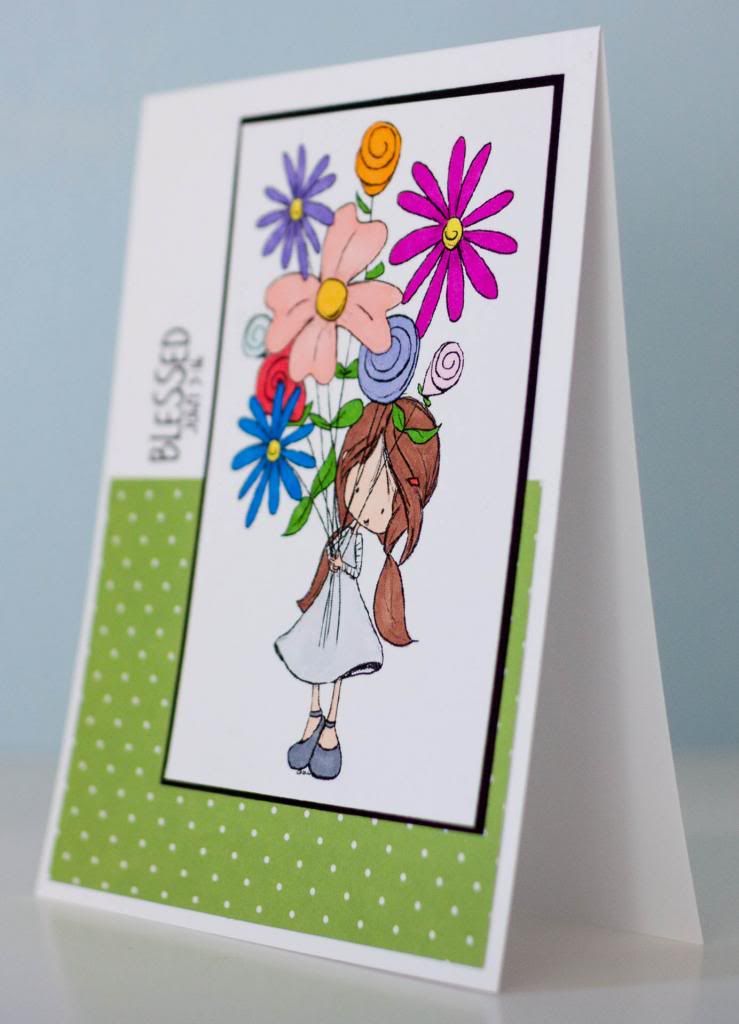
Despite having my Copics for a bit of time, I never truly learned how to blend the colors together because I never bought the correct paper that wouldn't bleed. I know that the coloring itself doesn't compare to what I see other crafters use, but I still really enjoy using digital stamps anyway. This card was made using the Wryn Blooms digi from Tiddly Inks that I downloaded a while back when it was offered as a freebie.


Because the flowers were so colorful, I decided to keep Wryn's dress fairly muted and used an extremely light gray. I didn't want her outfit to make the entire image be too loud. But then, of course, I needed some pretty patterned paper on the white cardstock so I chose a green polka dot as the layer. I think it reinforces the whole growth and flowers and nature feeling of the image. 


The sentiment is from Pink by Design's set called "Pray." The reason I chose it is because when I see flowers growing in nature, I like to think that they're a "bouquet" given to me by God. I've mentioned before that I'm not a girl who likes receiving flowers, but when they're growing along the side of the road, I just have to smile and think about how blessed I am to have a God who loves me!
Monday, February 24, 2014

Friends Make Life Bear-able

What is it about all the bears on the Cricut cartridges that I just absolutely love? They're so cute! I think I've grown to really like bears because Howard likes them (as in, real bears, not just cute images of them, haha). It makes me excited about Disneynature's Bears. We have Chimpanzee and loved it, so of course, we'll get Bears when it comes out!

For this card, I just cut two bears from the Create a Critter cartridge and used different colors for the "clothes." It's funny that that's considered clothes because it's essentially just one block of paper! The sentiment is from Pink by Design's set called "Woodland Critters." Because of the cheery nature of the card, I thought the multi-colored polka dots fit with the sentiment.


As I hastily get this update ready to post, it's a nudge to finish the big custom order I have so that I can go back to crafting with different images because I'm almost out of cards to post here!