Showing posts with label Silhouette. Show all posts

Wednesday, January 7, 2015

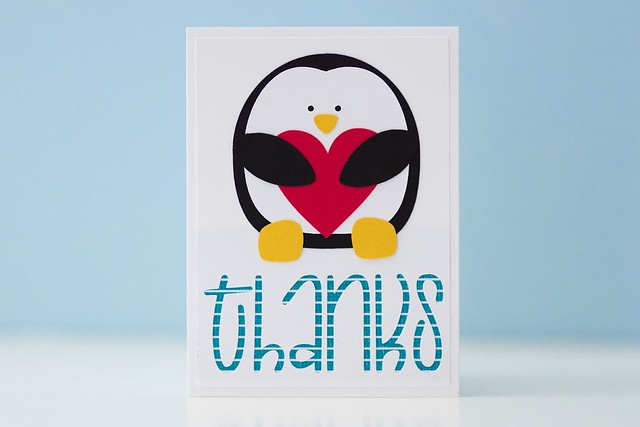
Penguin Thank You Cards

At the end of the year, I know I'm always going to have a large custom order to make ... for myself! My students and their families are generous during Christmas so I get a handful of gift cards and presents. To thank them, I like to make thank you cards especially since I'm off for the break. I'm pretty sure I did it every year since I got my Cricut. This was the first year that I made them using my Silhouette.


Initially I was going to use a penguin from an online coloring sheet that had a winter hat and scarf on, but then I figured I'd use a non-Christmas and non-winter penguin just in case I made extra. That way I could keep it for future needs. The penguin was from Krafty Nook, which was a group on Facebook that unfortunately has shut down at this point. I liked how it was simple with only 4 colors.


I downloaded a font from dafont.com called "Une Grenouille Le Soir." I had my Cameo cut out the white layer and the word "thanks." I layered a piece of patterned paper behind it to make it pop. I had to look through a lot of paper pads because it had to be the right pattern that would make it easy to see the word. This is the first card that I've made where I actually layered the white mat on a white base, and I actually really like how it looks. I think I'll do it again on a future card!

Friday, January 2, 2015

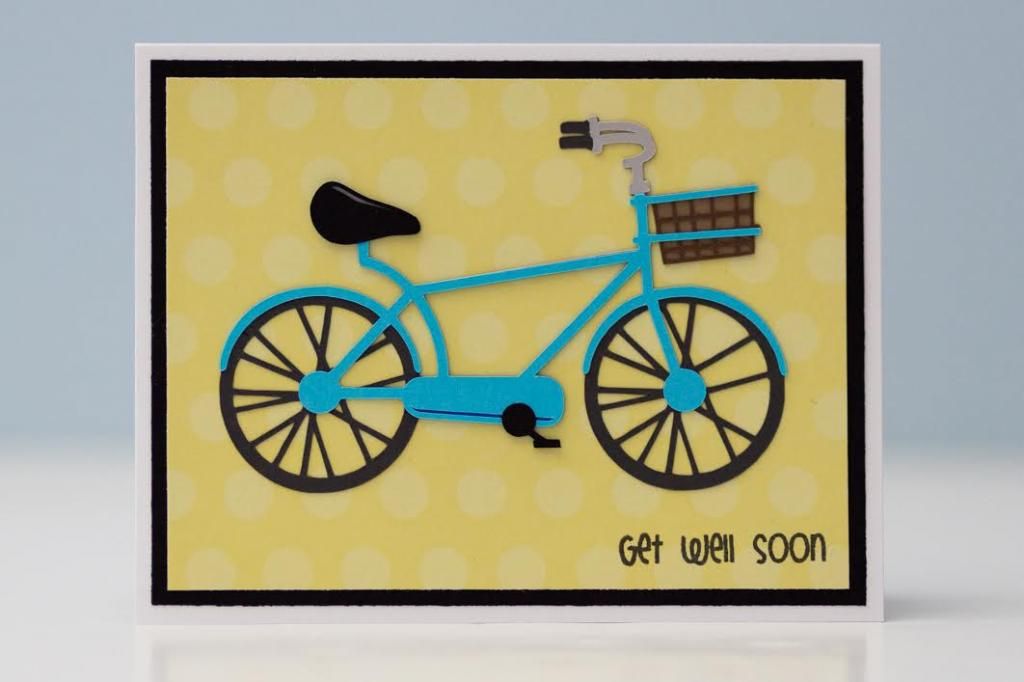
Bicycle Card

There's a part of me that loves it when people have some custom order requests, but then there's another part of me that kind of stresses out! I don't want to disappoint anyone, and it's not as easy to get things done when I'm in the midst of the semester and need to continue planning and grading papers. Sometimes I just want to craft for the sake of crafting, and this particular set of cards was made with that feeling instead of a anxious, rushed feeling.

A few weeks after the bake sale at church last November, my grandfather asked me for some birthday cards and get well cards. I didn't actually have much left over since I was using the cards myself to write some thank you notes to kids and parents during the first trimester of school. I told him that I could make him some, and I had some time during my Christmas break to make a few for him. 

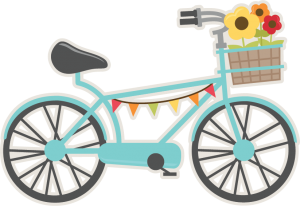
I knew that I wanted to use some of the free SVGs that I save almost every day from Miss Kate Cuttables. I love that a freebie is offered daily, so that's why most of my free SVGs are from that site. The original image had flowers in the basket as well as the little banner, but I omitted that to simplify the cut since these are incredibly detailed. Plus, these took a little bit longer to piece together because everything was so thin. It baffles me that the Silhouette Cameo can cut these things so cleanly because my Cricut Expression would not be able to handle it without tearing.


I kept the same colors because the blue could be used for a guy or a girl. Wanting the card to be cheerful, I used a polka dot yellow paper for the background. I added the extra step of having a black mat too just because it seems to make the card a little bit more put together.


The sentiment is from Pink by Design's set called "Spring Has Sprung." I know it doesn't seem as if a bike could be related to the sentiment. Haha, it really doesn't, but I think it's difficult to make cards that aren't necessarily cutesy, so I figured anything nature-related or just general cuts would work.


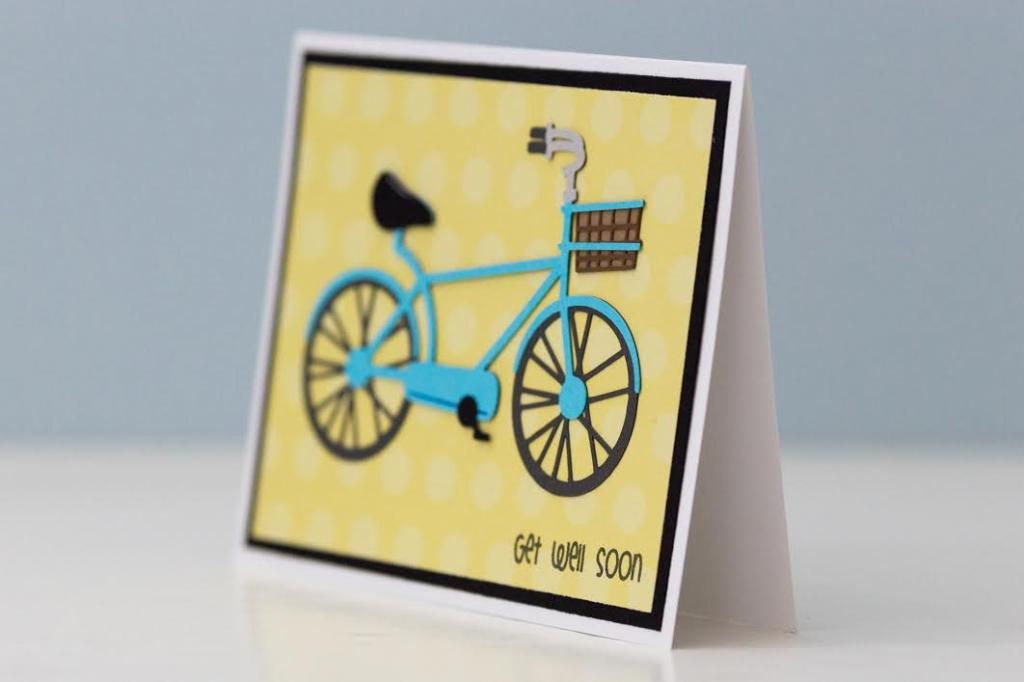
I love the side view of this card because you can get a better idea of all the layers involved in making this. I mean, there are layers that aren't even too visible. For example, there's a darker blue behind the part of the bike that the pedal is attached to, but only a thin strip is seen. However, it adds dimension so the cut isn't so flat.

Because of the complexity of the pieces, I only made 4 of these cards. This is definitely not something I'd want to mass produce! I think I need to go back to making just a few of each image so that I can enjoy the detailing without driving myself crazy.

Friday, October 31, 2014

Winnie the Pooh Cuties

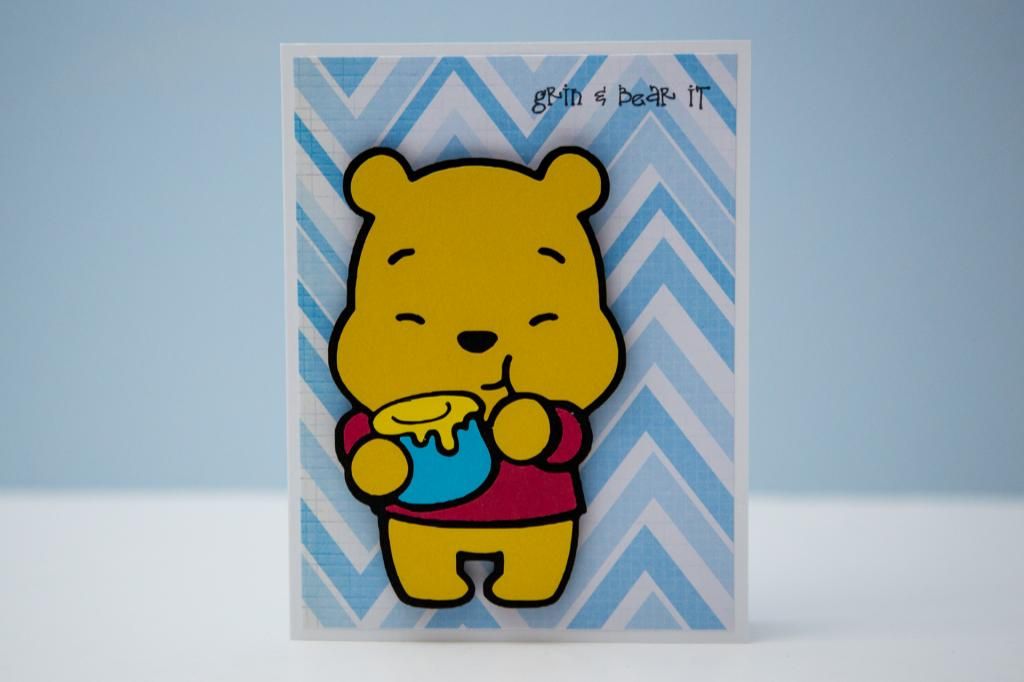
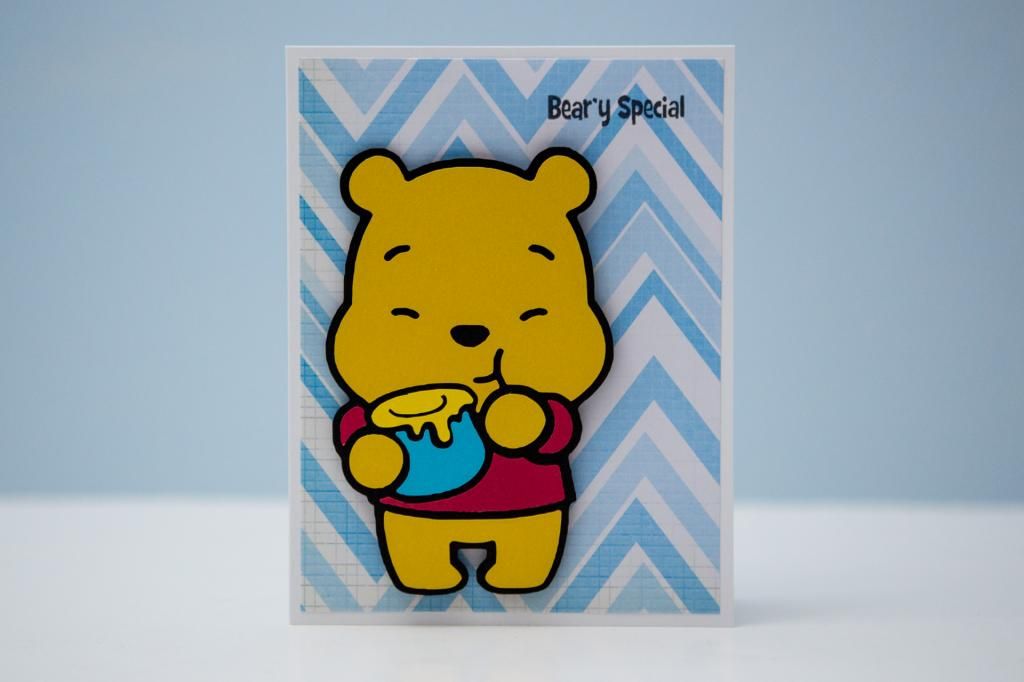
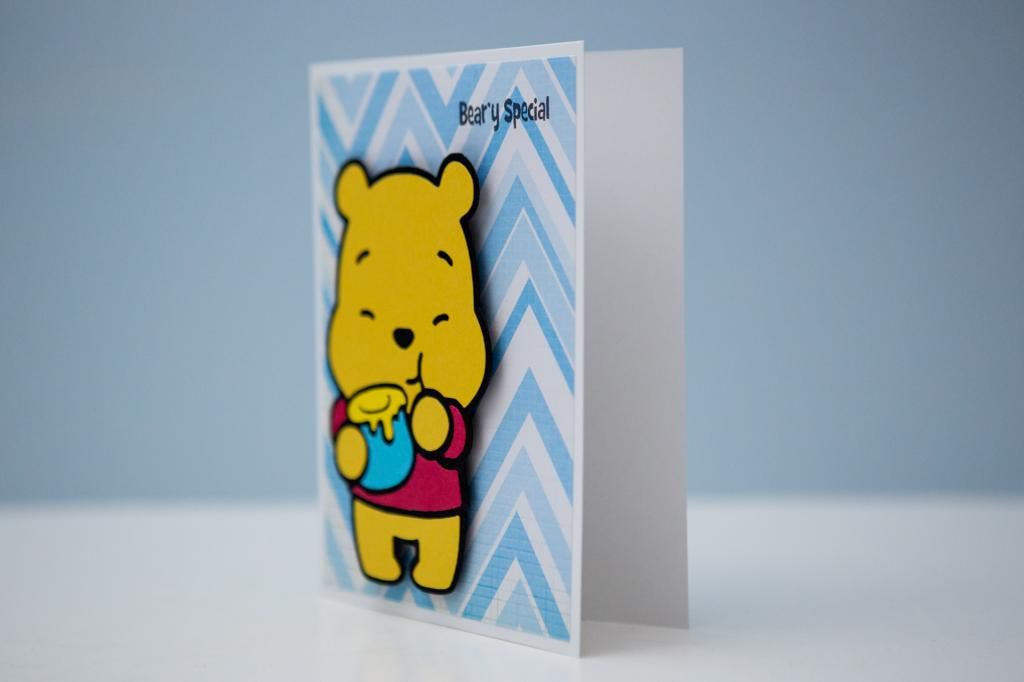
The fourth (and fifth too) card that I made featured an adorable Winnie the Pooh Cuties. I love the Cuties line because not only are the characters adorable, they are also designed in a way that's easier to cut. I seriously am loving the fact that I can just go online and do a Google Image search for whatever images I might want to cut. It gives me much more freedom than what the Cricut can provide. Of course, the Cricut is also nice because all the layers are split up for me. There are still some things I prefer with Cricut Craftroom as opposed to Silhouette Studio: Designer Edition. But I could never cut these things for my cards on my Cricut Expression!


You can also see the images that have the layers separated by me because they have the black outlines. When Howard designs something for me, it doesn't have the black outline. For the simple Disney images though, I actually prefer them because that's how the original design looks.


As you can see, I made two versions of the card just by popping on a different sentiment. I looked through my sets from Pink by Design to find anything that had a bear pun on it. 


And it's no surprise that I popped him off the card. At the beginning of this year, I bought a ton of things when Joann was going out of business. I posted my craft haul here, which included foam sheets for $0.37 each. I've been cutting it in strips and then using small squares of it to pop my stuff off the card instead of actually using the adhesive foam squares, which can be quite expensive. I just use my ATG gun to adhere everything, and it seems to be working well. I actually don't mind having to use the ATG for it because it's either that or peeling off the thin sticker backs! All in the interest of saving some money!

Thursday, October 30, 2014

Olaf, in High Demand!

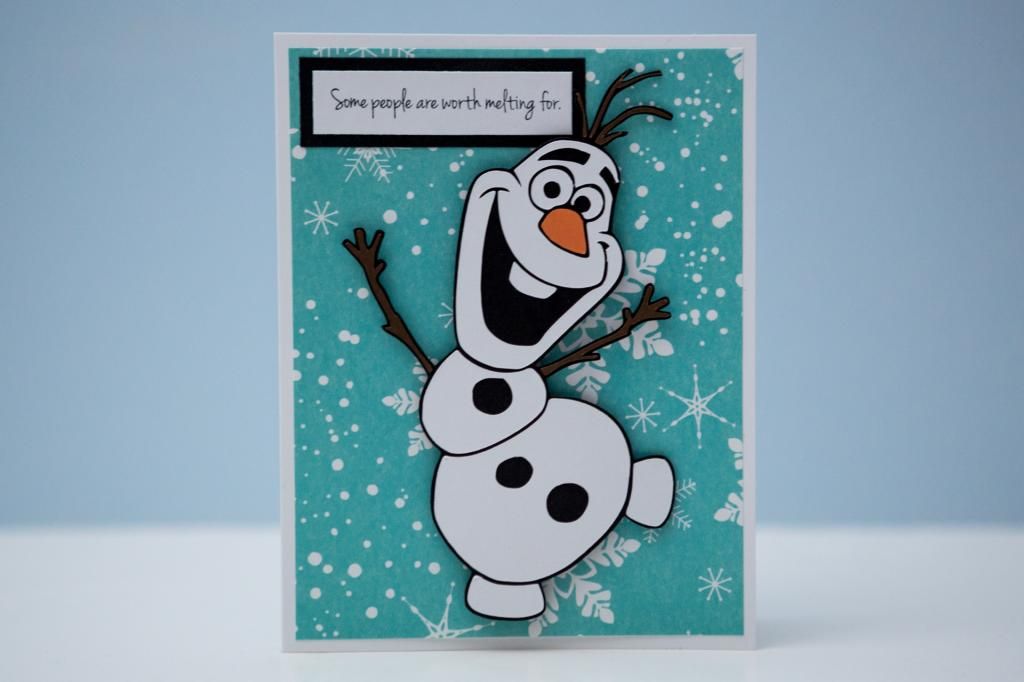
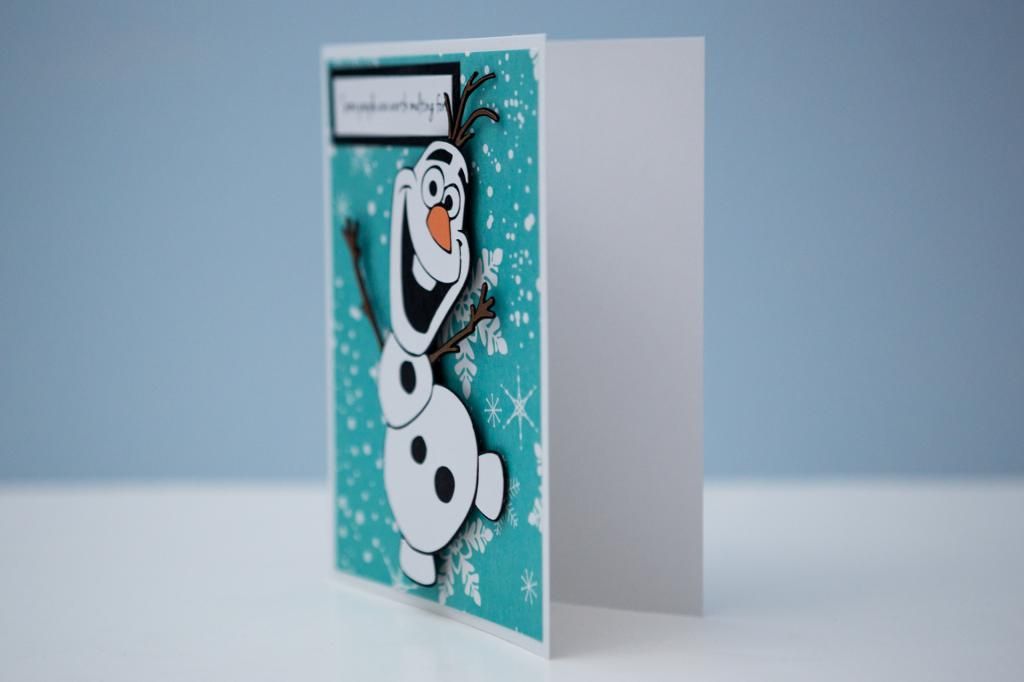
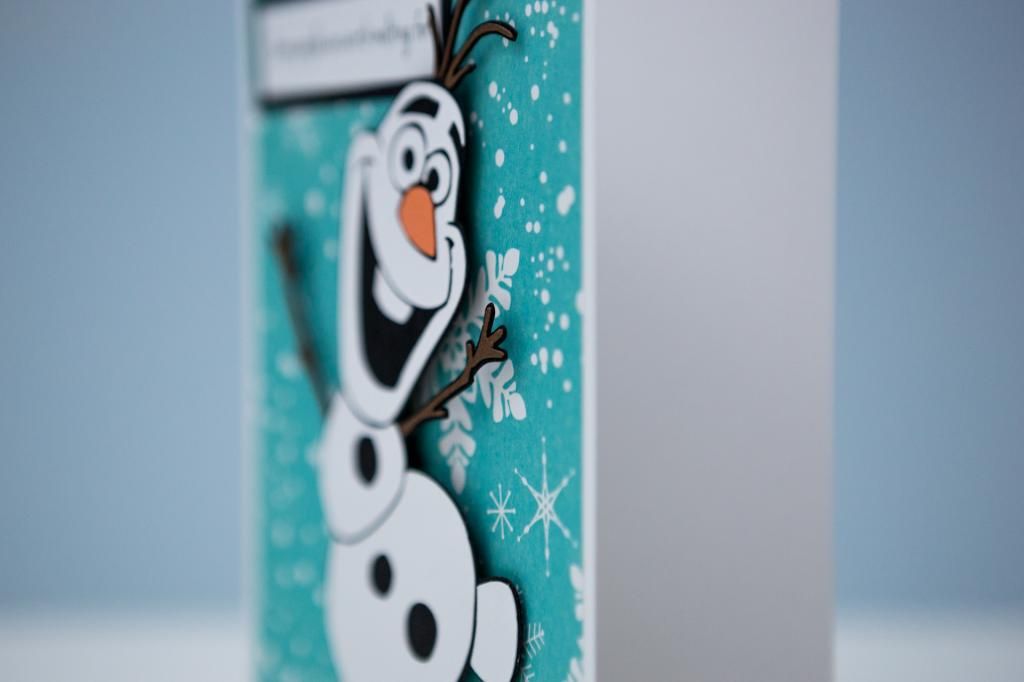
I know I'm backtracking with updates, but I never had an opportunity to post these since I was so busy actually making the cards and doing stuff for work as well. The third card I made to entice people to sponsor me for my school's walk-a-thon featured the lovable Olaf from Frozen! I had set it up so that I would have 4 of them to cut, but I accidentally tore part of the last one. Instead of cutting one of the small pieces again, I just decided to scrap it because he is quite a tricky one to put together!


The big white pieces were easy, of course. Even his eyes and carrot nose weren't difficult. His arms and hair were what caused a bit of frustration! They're just so thin! You can't quite see it in these pictures, but his hair is actually three separate pieces instead of just one.


Since Olaf is so intricate, it was easy to just plop him on a card with a snowflake paper background. Of course, I had to use a quotation from the movie as my sentiment, so I chose "Some people are worth melting for" instead of "I like warm hugs" because I felt it was a little bit more usable as a card for any occasion. He was popped up on the card to give it some dimension.


When I posted this card on Instagram/Facebook, the three I had made were claimed so quickly! I had a bunch of others say that they wanted it as well and then some of my co-workers wanted a bunch of them! I promised to make 10 of them without actually having them made, so that was an extra $50 as part of my sponsorship. I'm hoping Howard can simplify the design for me somehow the way I saw one on Pinterest where the brown part is actually all one layer with a black layer on top. That way I don't have to cut the individual brown pieces and glue them. I'm so glad I have my Tweezerbee tweezers because there's no way I could do those with my chubby fingers!

Tuesday, October 28, 2014

Astro Blasters!

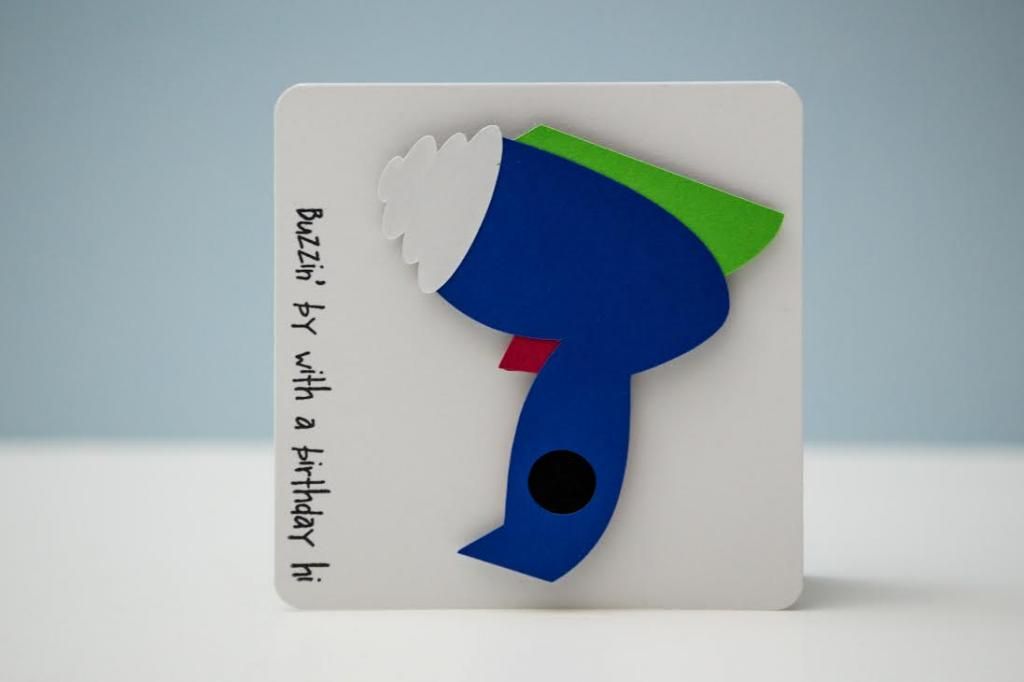
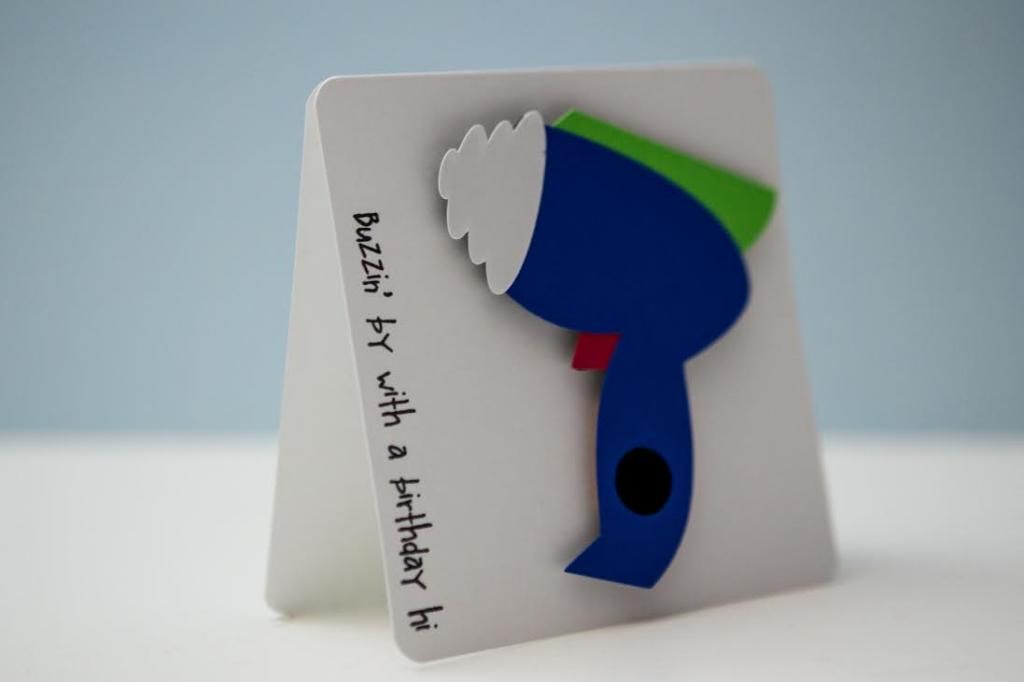
This was the second card I made to send to those who wanted to sponsor me for my school's bike/walk-a-thon this Saturday. This cut was from the recent SVG Cutting Files "Animated" blog hop. I was so excited about that one because all the freebies were Disney characters! I haven't yet cut them because they seem as if they might be a little complex for mass producing purposes, but this was one I could do.


This is the laser gun from Disneyland's Buzz Lightyear Astro Blasters. It's a little different than the ride at Disney World, but it's still unmistakably representative of one of my all-time favorite rides at WDW! I kept the card itself very simple by just popping it up on a 4 x 4 in square card with rounded corners. 


The sentiment is from Pink by Design's set called "Oh Boy." It just worked perfectly with this cut. I made 6 of these in total, and 3 of them have already been claimed! Just look at this really makes me want to hop on the ride right now!

Monday, October 27, 2014

Mickey and Minnie Cuties

My school is having a bike/walk-a-thon fundraiser this upcoming Saturday. Our new headmaster challenged us teachers to raise $100. I figured the only way I'd be able to make that amount was if I offered blank cards for each person who sponsored me for $5! I have to say that I'd probably just bypass someone's request too, but cute Disney stuff would definitely catch my eye.


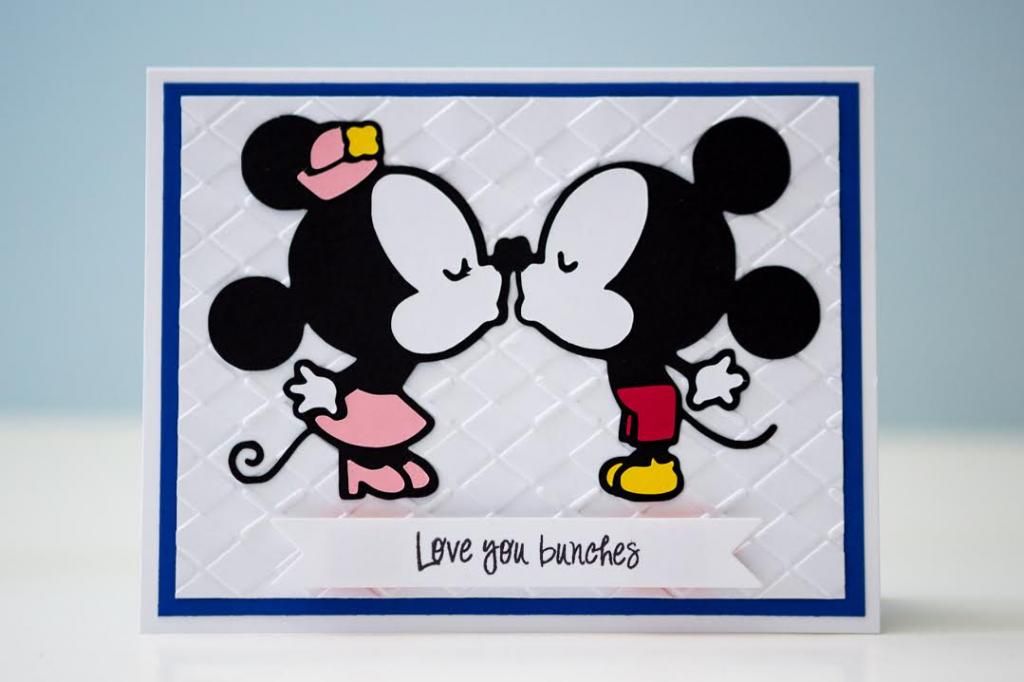
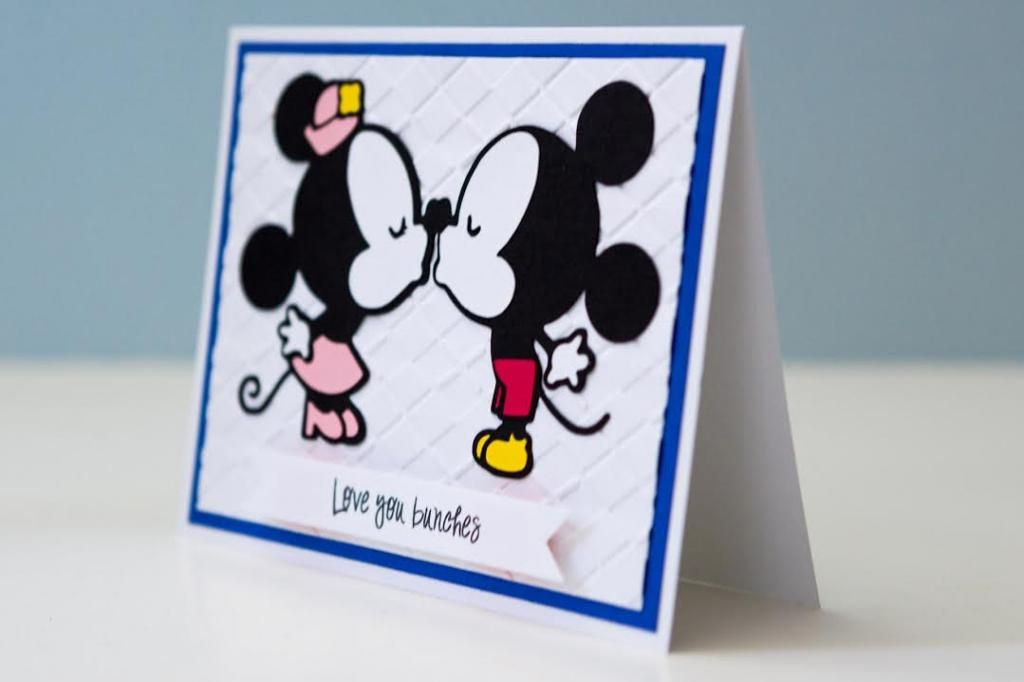
I used a Mickey and Minnie image from Disney's Cuties to create this card. It's strange not having measurements and such when using the Silhouette Cameo. I could technically get the exact measurement since I saved the file, but it's not done exactly the same way as the Cricut. I'm still getting used to the difference between the two machines and the programs. There is, of course, the huge benefit of being able to cut images like this on the Cameo! Though it looks easy to put together, the pieces that really required extra care were the small red piece of Mickey's pants and the small yellow piece of his shoe. I use my TweezerBee tweezers anyway for every piece even when it's not teeny-tiny like that. When Howard saw how I had to be careful with all the small pieces on the Disney cuts I've been making lately, he commented that he wouldn't have the ability or patience to do it, haha.


I dry embossed the white paper with a Sizzix folder and then stamped the sentiment from Pink by Design on a banner cut out using a die from Papertrey Ink. I only popped up the banner since I didn't want there to be any possible tearing of their tails if I popped Mickey and Minnie off the card. I made 6 of these in total, and so far, I have 4 of them "sold"! Hooray! A huge thanks to my sponsors so far!

Tuesday, August 26, 2014

No More Fussy Cutting!

I think every time I write a post about the Silhouette, I will feel as if I need to compare it to the Cricut! I think they're in two different classes, but in terms of which machine has more capabilities, that is definitely the Silhouette. One of the most amazing things that it can do is the Print and Cut feature. Basically, you can just print whatever you want  from your printer, and then feed it into the Silhouette machine to cut for you! That means there's no more need for fussy cutting digital stamps!!! It would open up even more options if I had a color printer, but this is still enough to wow me! 

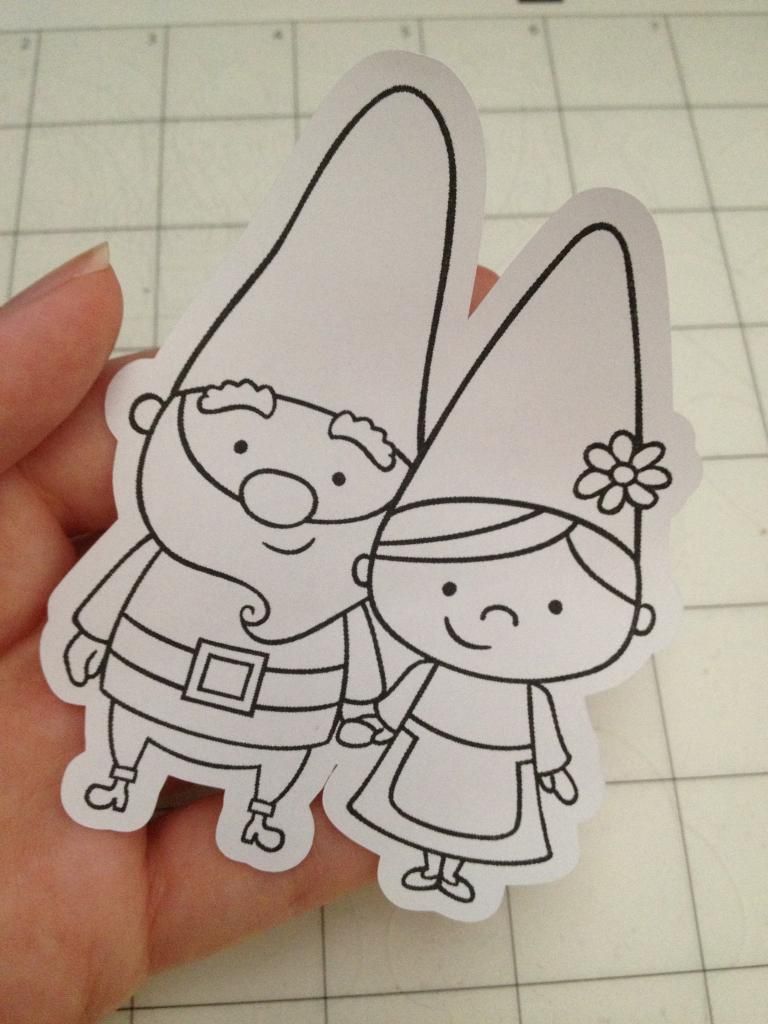
I watched a random video on YouTube and followed the directions and paused it so I could do each step as well because I had read that some people avoided it because it was difficult. It really wasn't, but I did have to figure some things out for myself. In short, the image is printed out on the paper with registration marks. Then when it is fed into the machine on the mat, it detects the registration marks to know where to cut. CRAZY! There's also the option of having it cut on the outer edge of the image or with an offset, which is what I did.

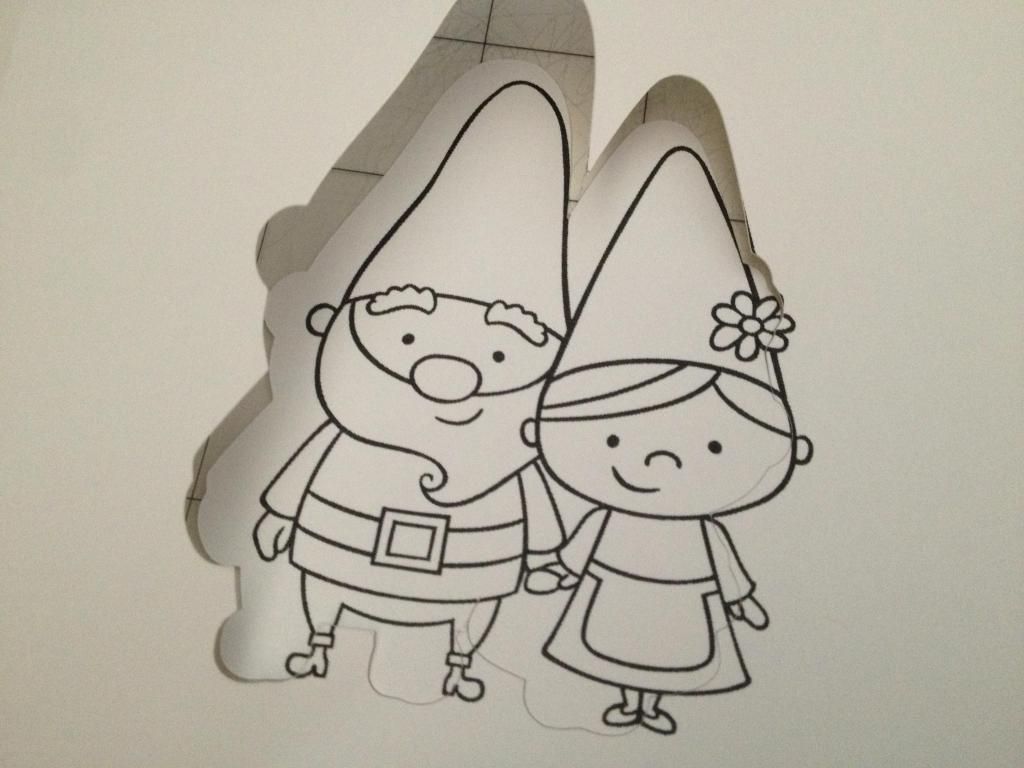
I chose a Pink Cat Studios gnome digital stamp, but this is what happened on my first attempt.


Whoops! I forgot to change the paper size to 8.5x11, so all the registration marks were missing. I had to click around to figure out what I did wrong. Once I adjusted it, I tried it again but forgot to put in cardstock so it cut out on copy paper. Despite that, it was fine because I just changed the blade settings. It cut so perfectly! I went through a digital stamps phase, but then I stopped using them because I got a little annoyed at having to do all the fussy cutting, which is basically taking the time to cut all the small details by hand.


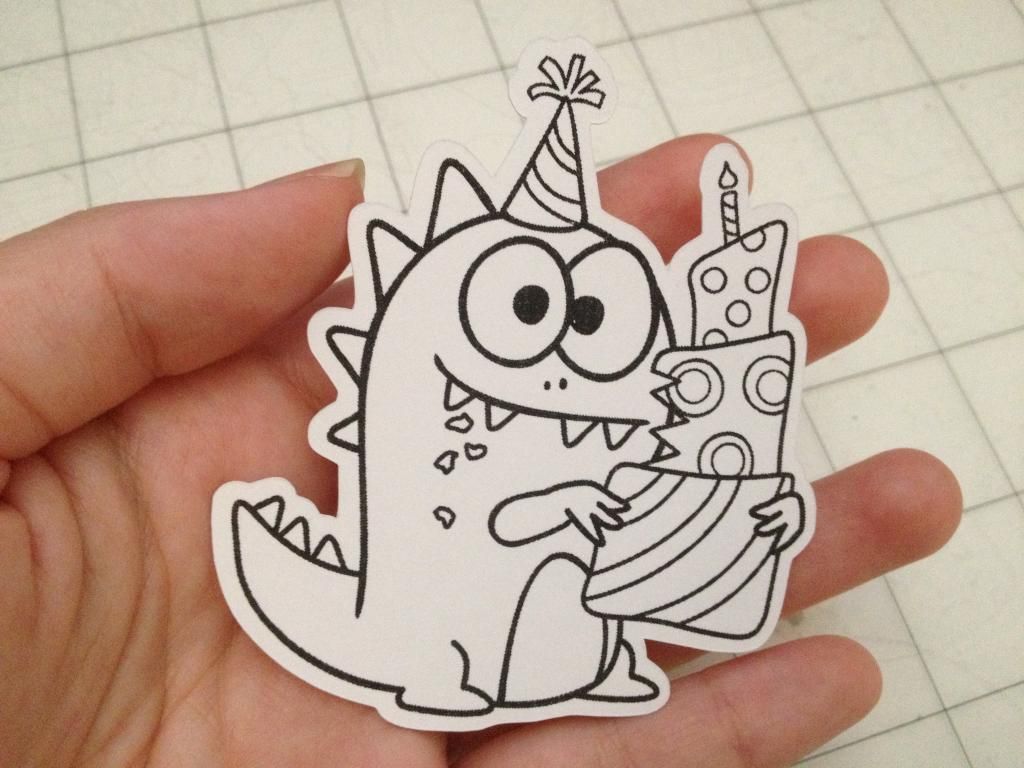
I decided to try it one more time to make sure I really did get it down and remember all the steps, so I used a different Pink Cat Studio digital stamp. I love this birthday dinosaur, but it's time-consuming having to cut around the candle and the spikes. Now I don't have to! I made this offset a little smaller, so it's closer to the black line, but next time, I think I want to see what happens when I decrease it even more! I think it can cut directly on the line, but I actually prefer the white outline.


I'm just going to continue to be amazed at all the things this machine can do!

Saturday, August 23, 2014

First Cuts with the Silhouette Cameo!

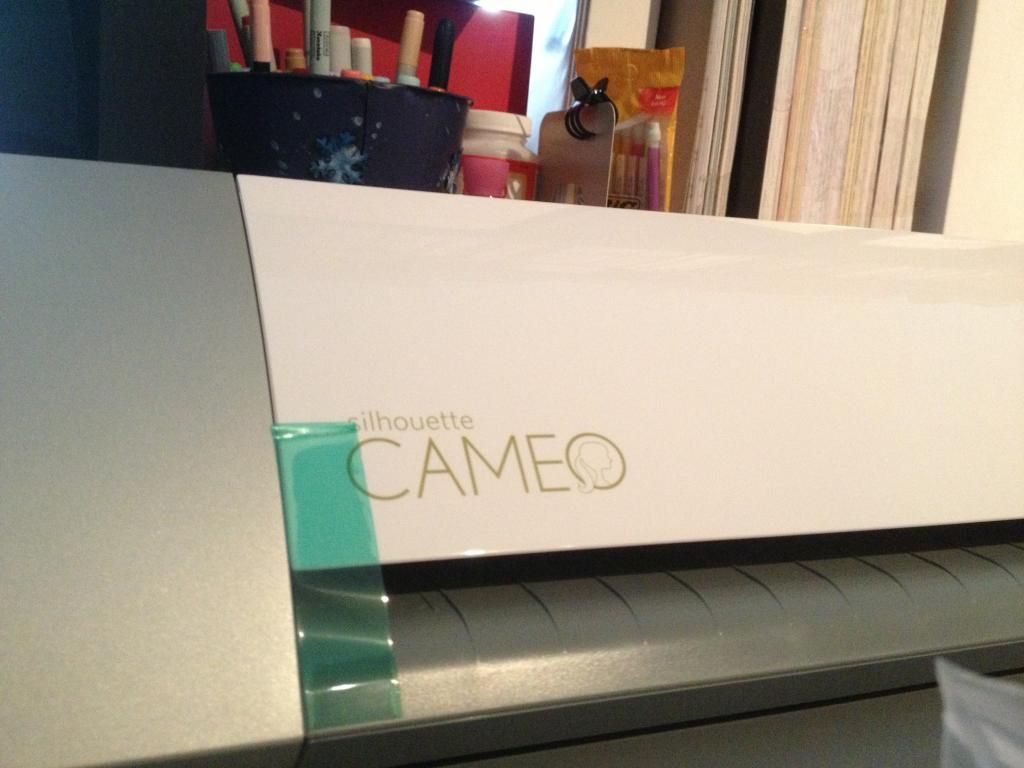
Despite the fact that I still have a bunch of cards I have to make for some orders, I just wasn't int he mood to deal with them today. I wanted to just craft for fun without feeling that I had to cut certain images or meet a deadline. I knew that if I didn't take the time to learn the Silhouette Cameo before school started, it would continue to sit in the box. It's been in the box since last Christmas when Howard surprised me with it! I had actually debated getting it myself with credit card rewards points (the same way I got my Cricut Expression), but he had already purchased it for me when there was a great deal on Amazon that included more goodies in the package. I was ecstatic! But clearly, the idea of having to learn a new machine was rather intimidating, so I didn't deal with it for a while because I knew I'd need a good chunk of time.
Sorry if it's not rotated or rotated and stretched; Photobucket is being a little funky.
Well, today was that day! It was comforting knowing that Howard was home so that I wouldn't get frustrated. Or it was more like, it was good he was home to help me when I did get frustrated.


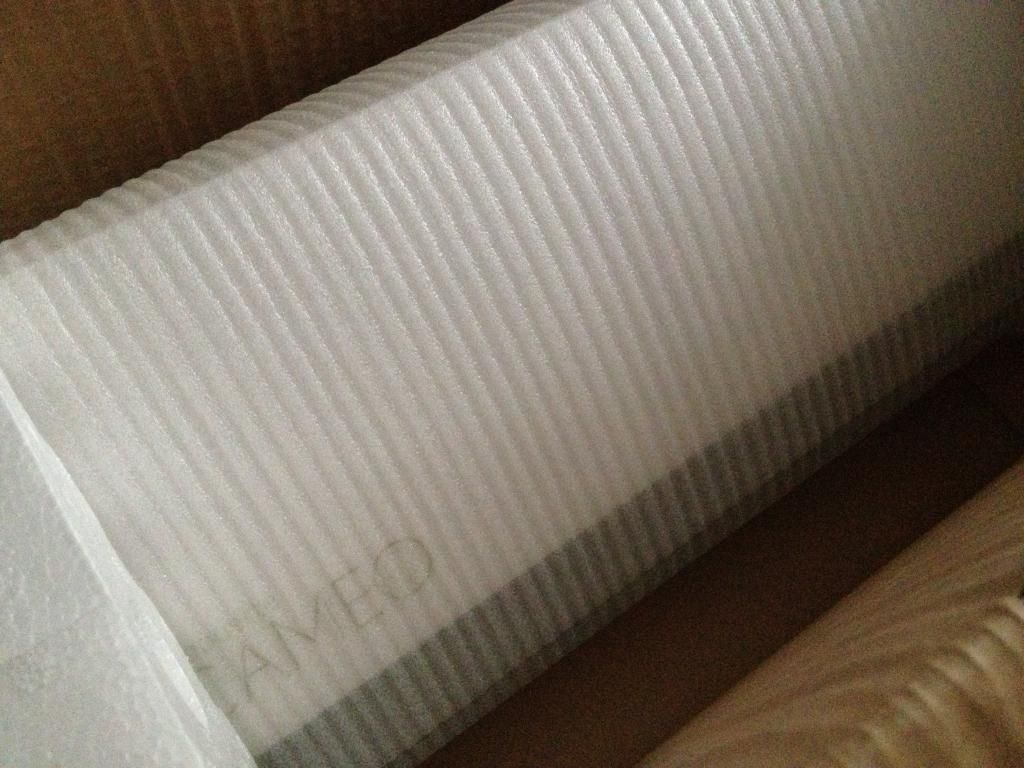
The first step was taking it out of the box, peeling off the tape, and removing all the Styrofoam pieces that are in place to prevent the blade housing from shifting in transit.


I downloaded the software and upgraded it to Designer Edition. I actually had to do a search in my email to find my activation key because I had purchased it last December through SVGTools. There was a great deal on it as it cost only $25.99 when it's $49.99 on the Silhouette site. Plus, I got a $10 code for SVGs at SVGCuts too. The Designer Edition basically gives users the ability to cut SVGs whereas the regular Studio edition can't do that. It'll be much easier when it comes to designing SVGs too, but I'll get to that in a bit.

I wanted to choose a really simple image for my test cut, so I chose the music notes from the limited library of free images. Compared to the Cricut, I have to say that it was a little annoying that it's not as easy to line the mat up to load into the machine. I'm sure I'll get used to it after a while though. The sound was also something to get used to! It's not as loud as the Cricut, but the Cameo varies in its noise. Howard commented that it sounded like weird music. 
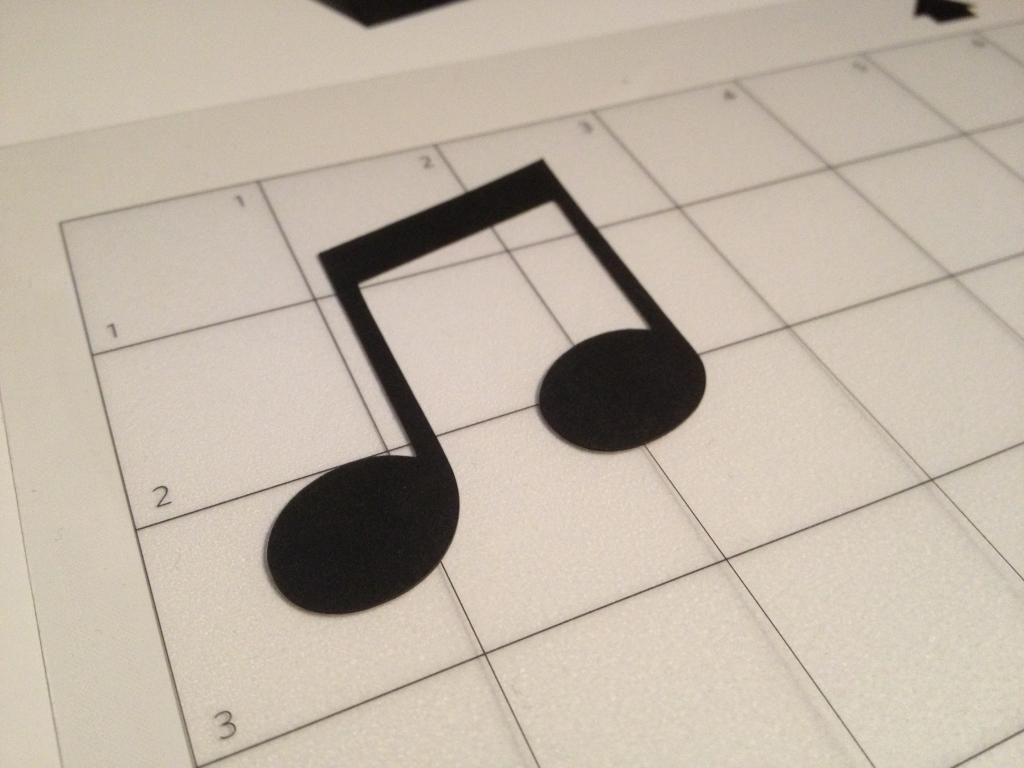

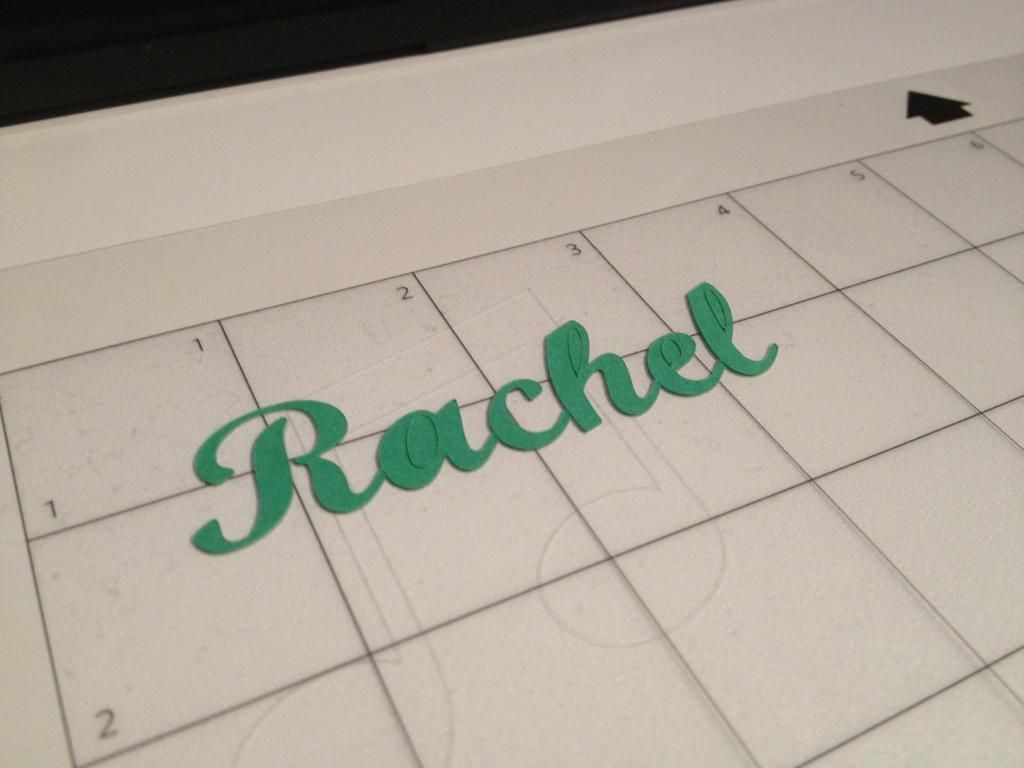
The image cut out perfectly! It was seamless; I couldn't tell where the cut started and ended. Often times with Cricut images, it's easy to see because sometimes the cuts don't meet and I have to trim it a bit. So in terms of cutting ability, the Silhouette definitely wins. I tried out another feature of the machine in cutting out letters using ANY font that's on my computer. I chose a random script, but I forgot to weld it together or something because it cut as individual letters. Regardless, it was cut perfectly! It is going to be awesome not having to choose from the limited amount of font cartridges I have for the Cricut machine. I anticipate being a huge fan of sites like dafont.com!

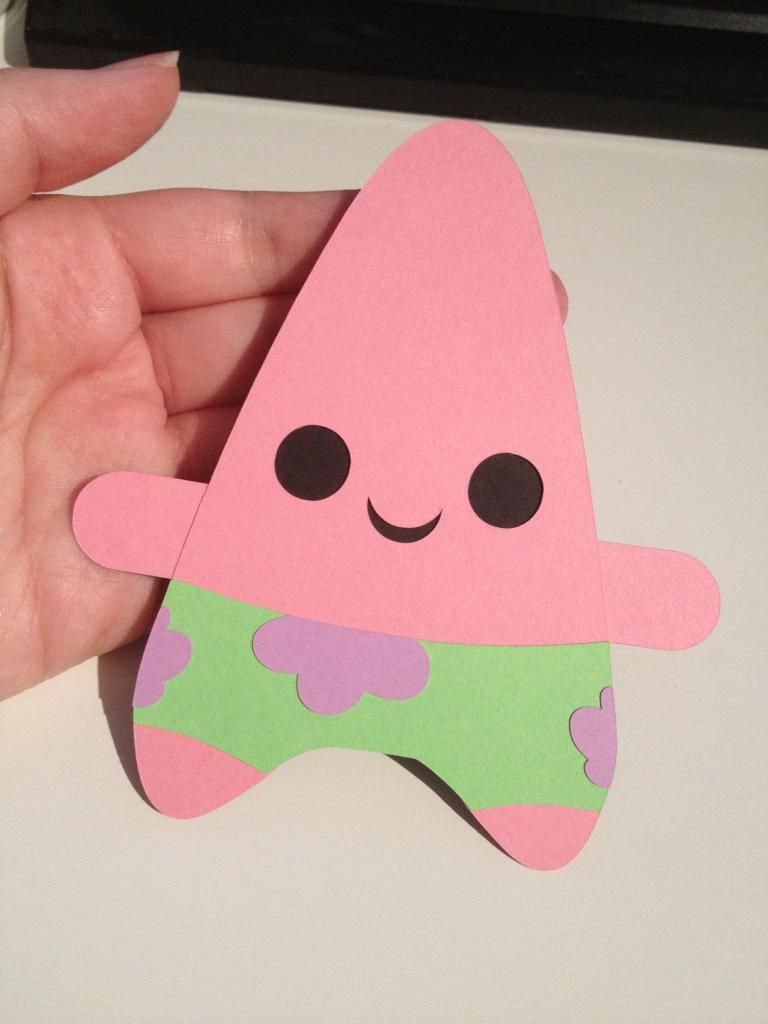
Once I did those two cuts, I was ready to try something a little bit more complex but not too difficult. I chose this adorably cute Patrick cut that I got for free when I did the blog hop with "Scrappin with my Bug" sponsored by SVGCuttingFiles. The crafters on the hop used these files for their projects. If the entire hop was completed (following all blogs and commenting), we got such cute images! Howard and I don't even watch Spongebob, but I knew it'd be easy to put together. The only thing is that I had to cut the long piece for the arm into two smaller pieces so that it wouldn't show any pink where the eyes and mouth are, but other than that, it was super simple. I love just how cute he is!

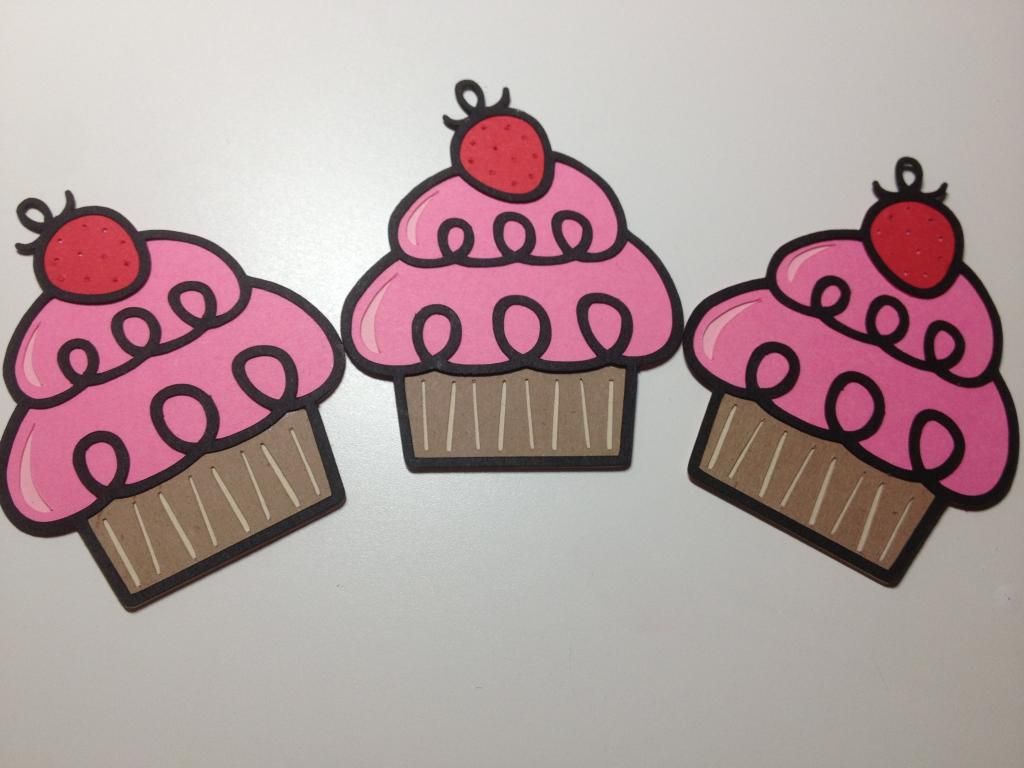
After Patrick, I thought that I'd try something with more layers, so I chose a cupcake that was part of a freebie from Miss Kate Cuttables. I love checking the site as a new freebie is offered every day! I was absolutely amazed at how I didn't have to spend time carefully ripping pieces of paper out of the kraft cardstock on the bottom portion of the cardstock. It also cut the black outline so cleanly without any tears. Beautiful!

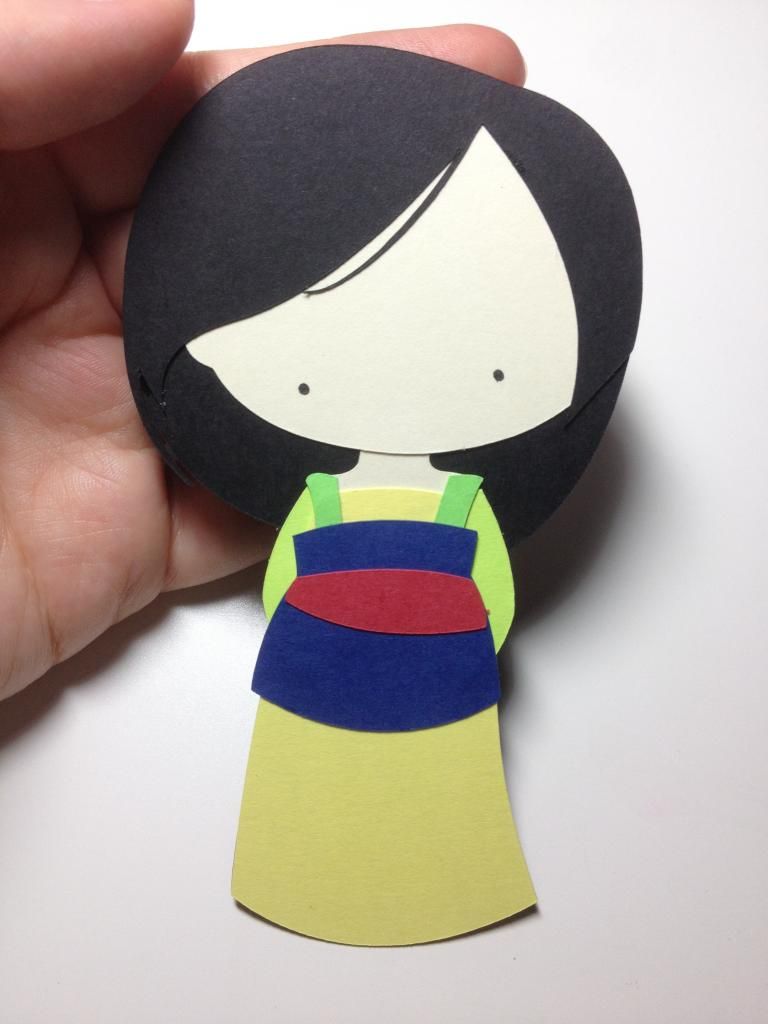
Okay, now it was time to get even more complicated with the "Dragon Princess" cut that's part of the "Pretty Little Princesses 2" set that I purchased from Too Cute by Jessica with a great sale (it was 90% off or so). It's basically the Disney princesses, so I just had to have them! Unfortunately, I got extremely frustrated with this one because there were pieces that had to go in certain spots, and there were no indicators as to where to glue them. The Cricut layers are pretty easy to glue on because there are cuts in the base layers to show where to glue, but these SVGs had absolutely nothing. Howard had to help me a ton with the placement, but it came together! The two black dots for the eyes were so small, so I wasn't going to deal with gluing them on, so I saved the negative of the cut for the face and placed it on top when I was finished to show me where to use a marker to color in the eyes. They look a tiny bit crooked, but if anything, it just looks as if she's looking at something. Isn't she absolutely adorable?! If I ever had to make a card with her or the other images from these sets, it would definitely not be just $2. It requires way too much work!

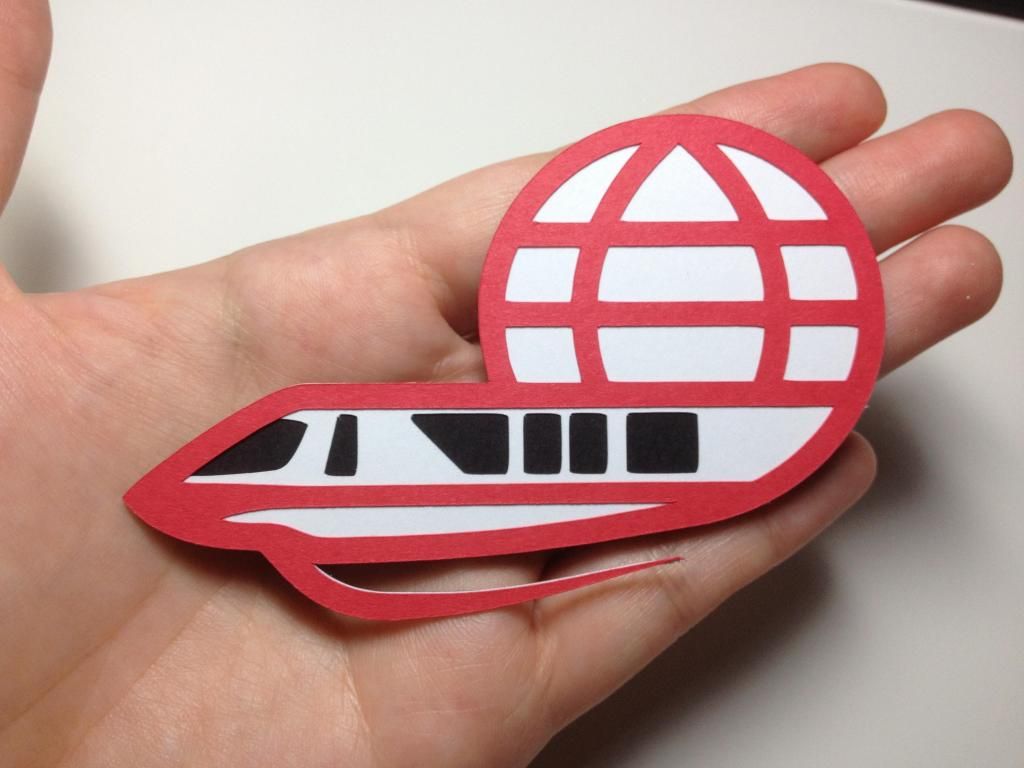
This one is definitely one of my favorite SVGs of the day. Why? Because Howard designed it! Um, yes, he designed this SVG on Illustrator! It's the monorail in front of Spaceship Earth. It was part of something he was working on for a birthday surprise, and I saw it and thought he was making SVGs for me so that's what he decided to do. This was 3 separate cuts with a black base, white layer, and red layer. So cool! I can't wait to see what other Disney things he can design (as well as other images too!). It's pretty fun that I started a label called "SVG: Howard" since he'll probably be very interested in it for quite some time!


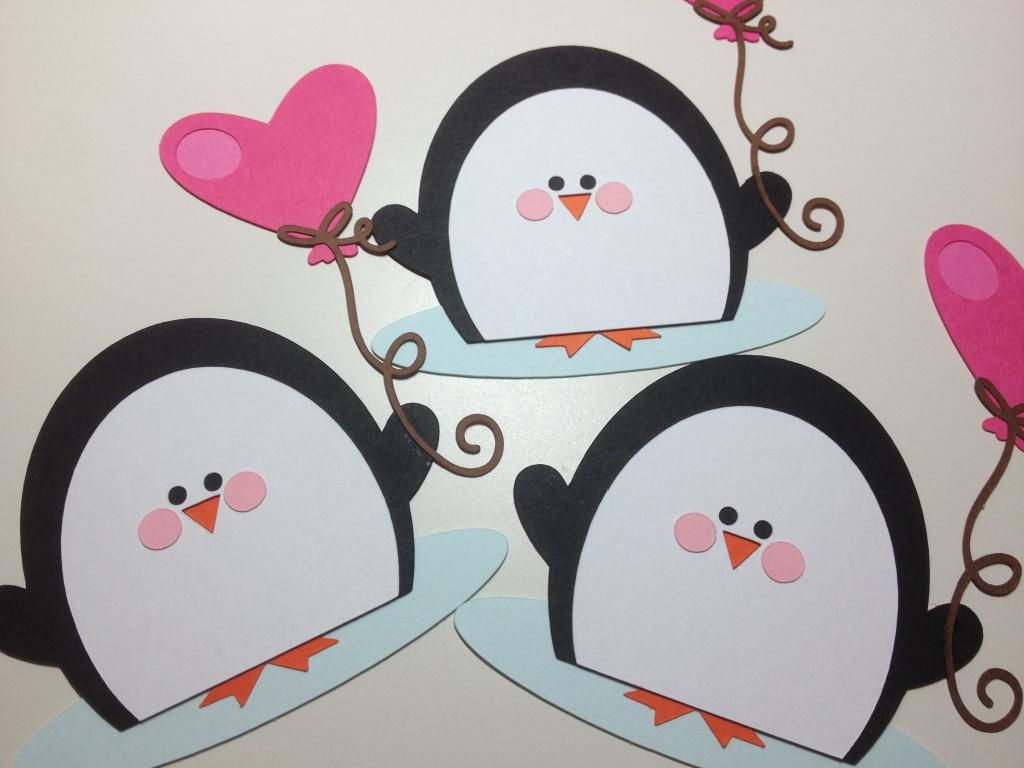
The last cut of the night was another image from Miss Kate Cuttables. This penguin was adorable because I love penguins, of course, but the greatest thing was just how easily the string cut out for the string on the balloon. That detail is just amazing. Howard and I were in awe that there weren't any issues cutting it out. 


I had so much fun with the Silhouette today! I was trying to play around with making my own SVGs from images online, but I was too tired to really deal with it and test them out, so that'll have to be for another day. Don't worry; just because I finally pulled the Cameo out, it doesn't mean I will completely forget my Cricut! Just from today's experience with the machine, I have to say that I really appreciate the Cricut for mass producing as the cuts aren't as intense. I look forward to one day having space for both machines to be out side by side!