Showing posts with label Papertrey Ink. Show all posts

Monday, October 27, 2014

Mickey and Minnie Cuties

My school is having a bike/walk-a-thon fundraiser this upcoming Saturday. Our new headmaster challenged us teachers to raise $100. I figured the only way I'd be able to make that amount was if I offered blank cards for each person who sponsored me for $5! I have to say that I'd probably just bypass someone's request too, but cute Disney stuff would definitely catch my eye.
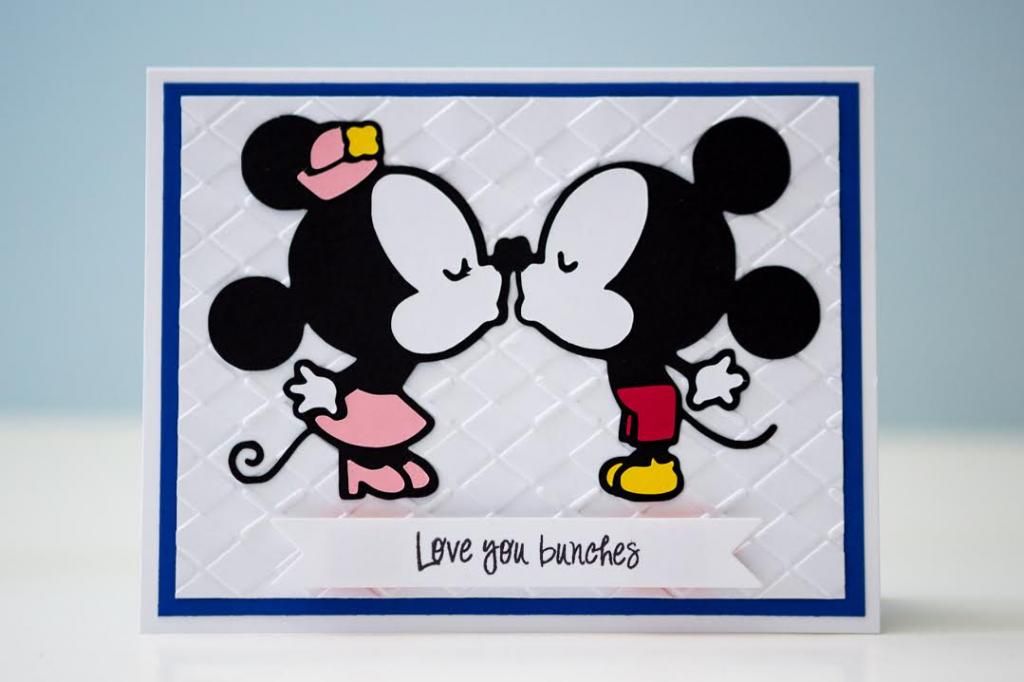

I used a Mickey and Minnie image from Disney's Cuties to create this card. It's strange not having measurements and such when using the Silhouette Cameo. I could technically get the exact measurement since I saved the file, but it's not done exactly the same way as the Cricut. I'm still getting used to the difference between the two machines and the programs. There is, of course, the huge benefit of being able to cut images like this on the Cameo! Though it looks easy to put together, the pieces that really required extra care were the small red piece of Mickey's pants and the small yellow piece of his shoe. I use my TweezerBee tweezers anyway for every piece even when it's not teeny-tiny like that. When Howard saw how I had to be careful with all the small pieces on the Disney cuts I've been making lately, he commented that he wouldn't have the ability or patience to do it, haha.
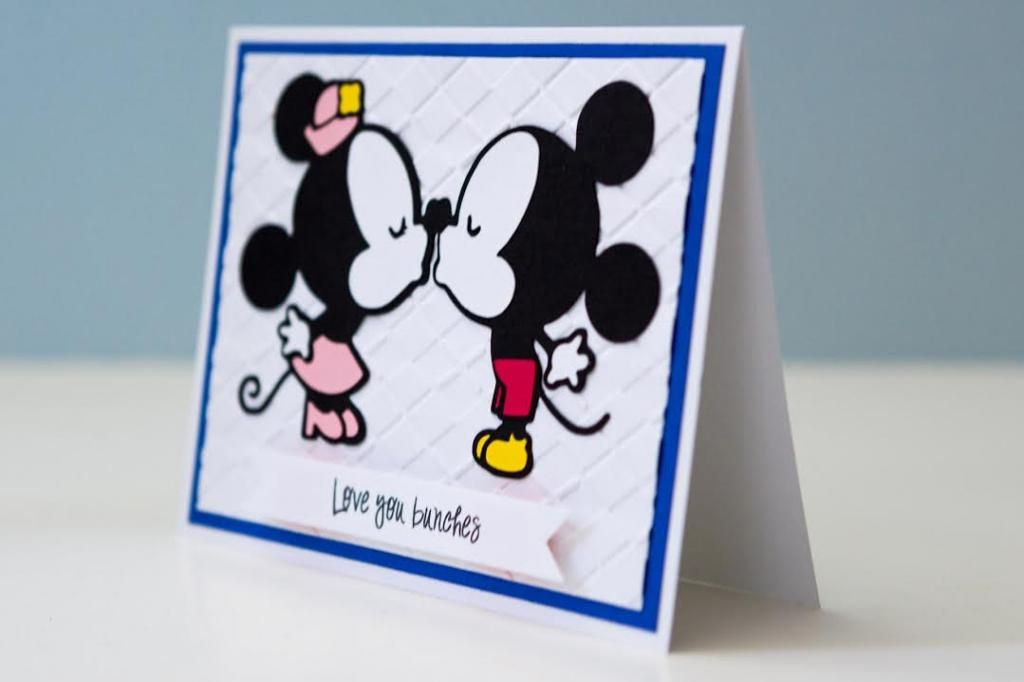

I dry embossed the white paper with a Sizzix folder and then stamped the sentiment from Pink by Design on a banner cut out using a die from Papertrey Ink. I only popped up the banner since I didn't want there to be any possible tearing of their tails if I popped Mickey and Minnie off the card. I made 6 of these in total, and so far, I have 4 of them "sold"! Hooray! A huge thanks to my sponsors so far!

Tuesday, May 13, 2014

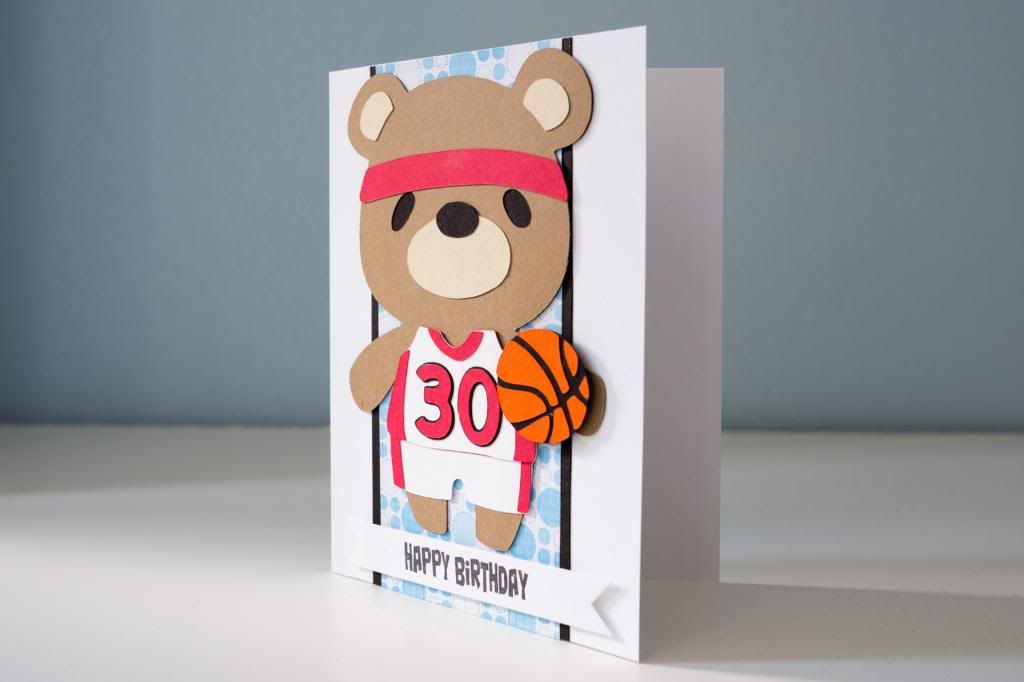
Bears Play Basketball

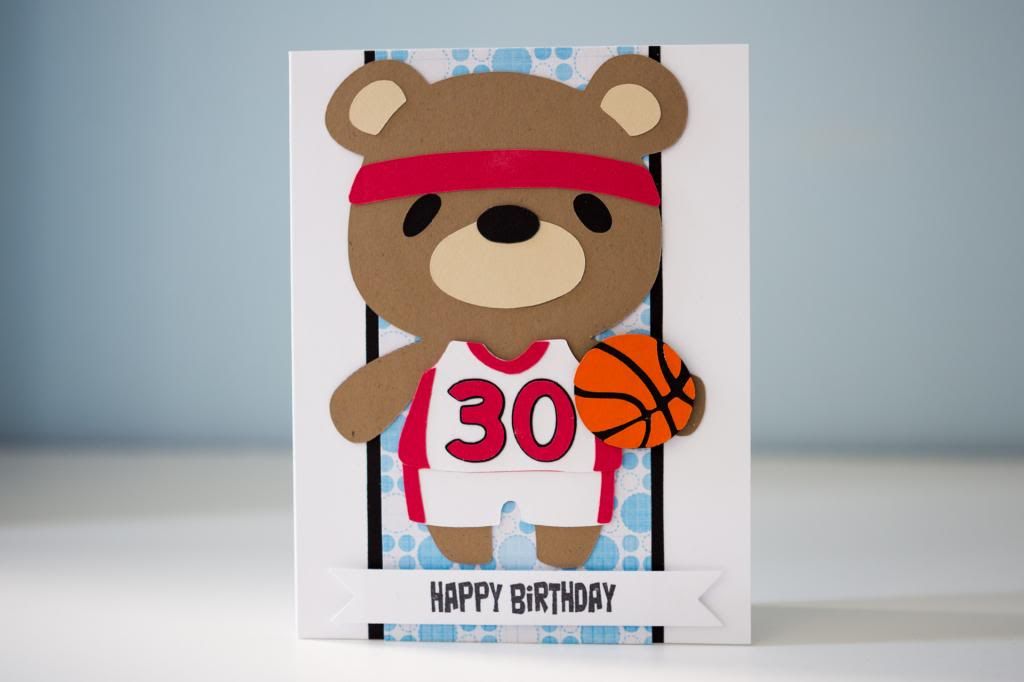
When I was working full-time, I knew that doing custom orders wouldn't really be possible because I knew they would stress me out. However, over the past year or so, I've come to realize that if I didn't have people requesting specific cards, I wouldn't be selling anything! Though I'm not into crafting for the money, I do enjoy what people ask for because it allows me to use cuts that I wouldn't normally use on general cards. This basketball bear (and really a lot of the other bears on this cartridge) is one of them!

My friend who requested this card said that the recipient liked sneakers (Jordan's), basketball, and poker. The only sneaker cut I had was on Nifty Fifties, so I knew that wouldn't work, and I didn't actually have anything that would work with the poker theme. If I get through these orders, I must must must pull out my Silhouette because then I would definitely have a wider range of images that I could use! For this situation though, basketball was it! I asked if a "cutesy" card would be okay, and it was so I immediately went for this bear on the Teddy Bear Parade cartridge. This 2012 birthday gift from the hubs is really getting a lot of use!


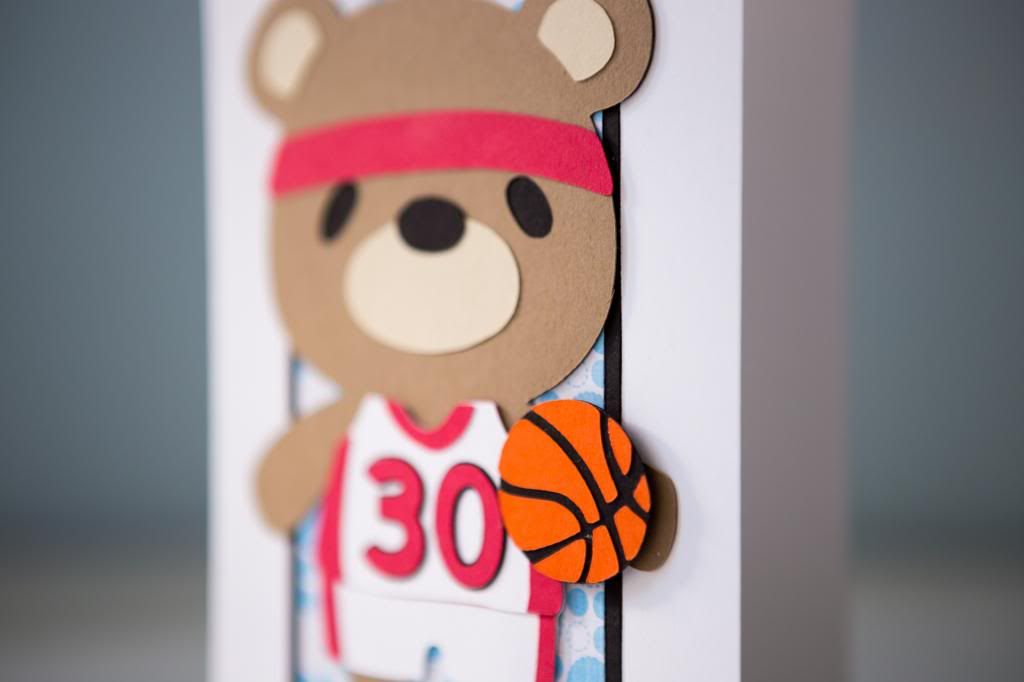
I actually made the bear bigger than I normally do because I knew I would cut out "30" to put on the front of the jersey since it was the recipient's 30th birthday. The normal cut has a "1" so I wanted to make sure there was enough room. It's really interesting how the pieces are set to cut. It seems as if there might be wasted paper since, for example, there's a red piece that's the size of the jersey and continues to the stripes on the sides of the pants. But after the cuts are adhered, I realize that the reason for that is to create depth. It wouldn't look as nice if the pants and jersey were just flat without any added dimension. The way it cuts makes the jersey come out more than the pants. Love it!


I decided not to pop the bear like I typically would but popped up the basketball instead. I really like how it turned out! It gives it a 3-D look, making it seem as if the basketball could be in play. The sentiment is from Pink by Design's "Birthday, Birthday" set stamped on a banner cut out using a die from Papertrey Ink.


It was really fun making this card also because I only made one, so I just planned all the cuts on the mat and had to cut just once. It's so different from mass producing, but I do love doing both especially when it's with this cartridge! I wonder if I'll ever use ALL the bears on this cartridge!

Sunday, February 2, 2014

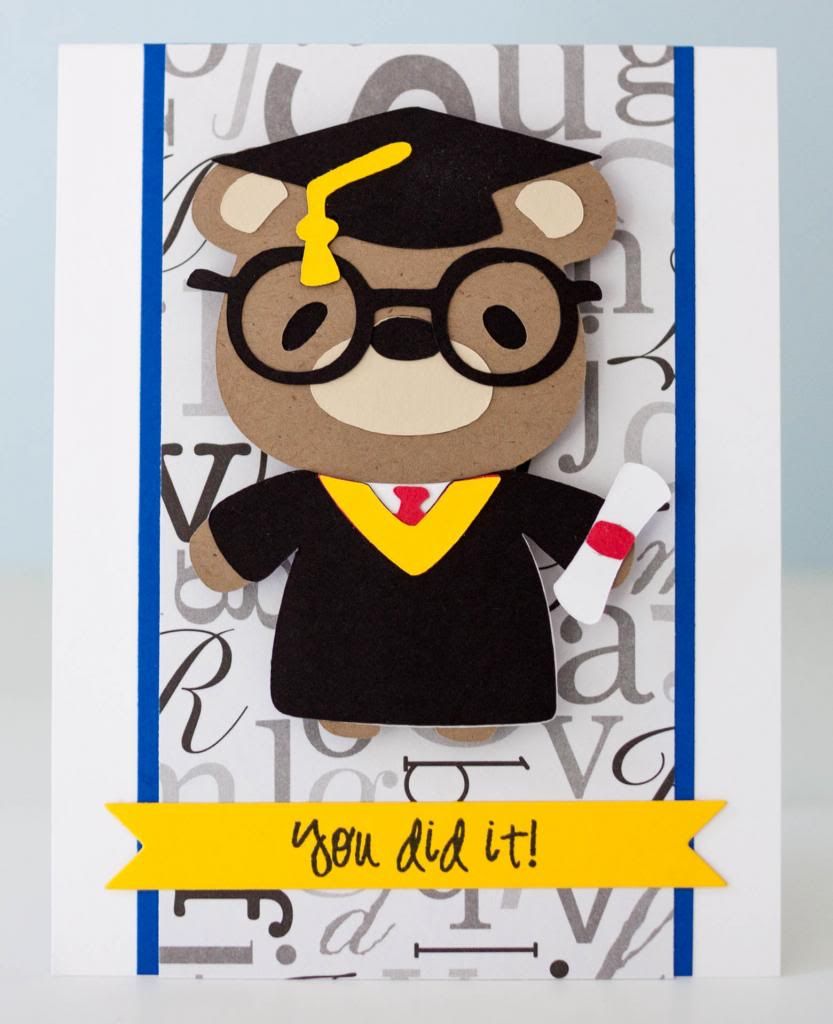
Graduation Bear

Enough time has passed since I posted a card using the bears from the Cricut cartridge "Teddy Bear Parade," right? I posted this on Facebook at one point and possibly on Instagram, but this is another one of the cards that I made for my church's bake sale last November. This one sold very well! Even though all 6 didn't sell at the bake sale, I had people order them once I posted the card in my Facebook store.


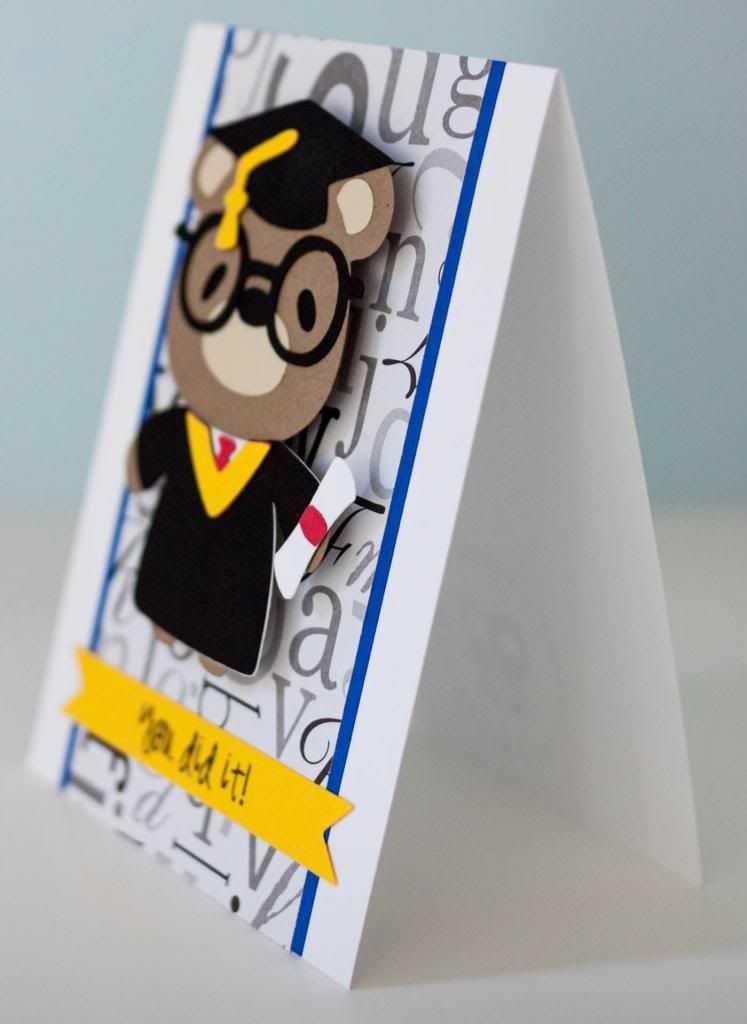
The bear is such a cutie with those glasses. I'm a firm believer that putting glasses or other nerdy/geeky accessories on critters or kids can be the absolute cutest! The sentiment is from Pink by Design's set called "Our Kids" and was stamped on a banner from Papertrey Ink's "Double-Ended Banners Die."


The thing I like the most about this is the layering of the papers. I wanted to do something different, so I used the patterned paper with the letters on it and layered it on blue so that it would add another color. Howard was also quite pleased with this card too, which makes me happy because I often have trouble piecing the cards together at the end so that they don't all look the same. He did, however, help me in choosing the yellow for the sentiment banner, so thanks hubs for your help and your support!

Wednesday, January 8, 2014

Make a Wish

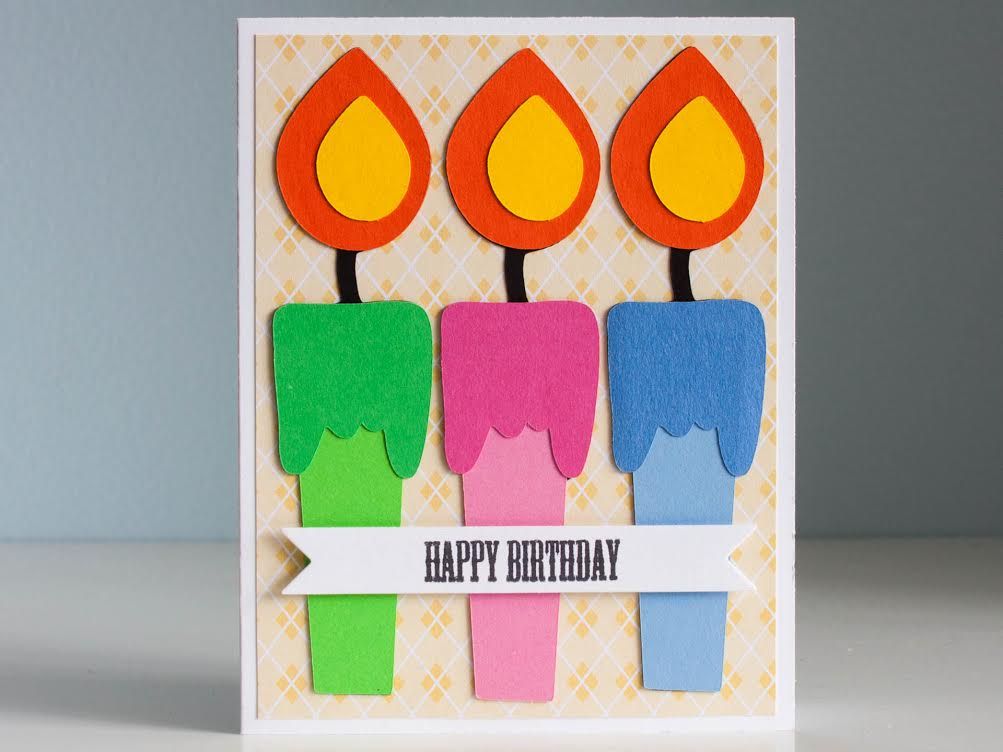
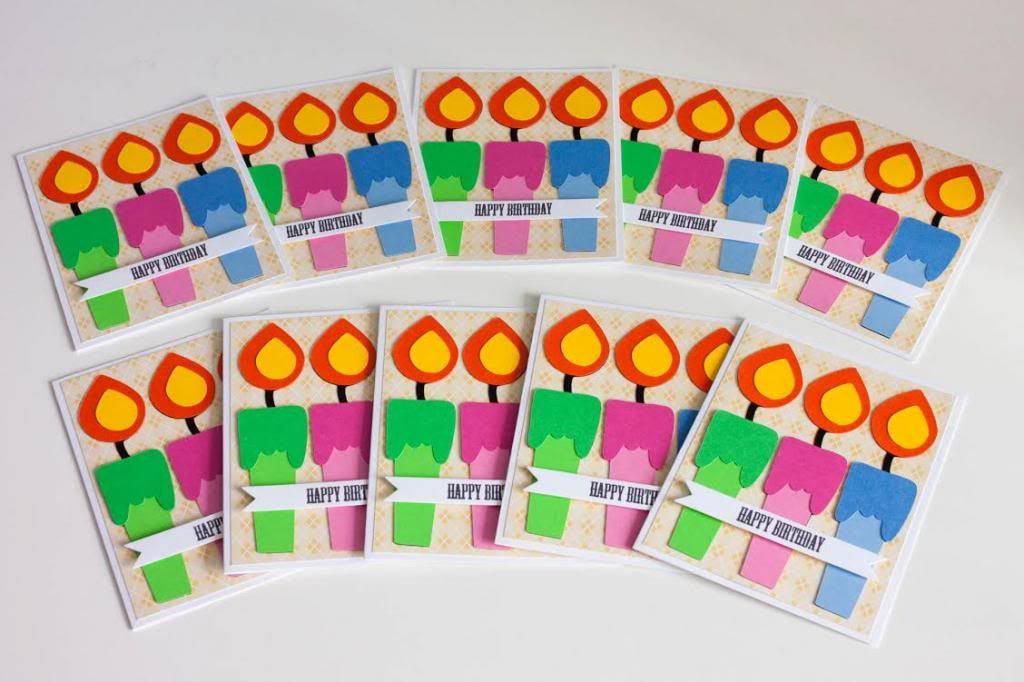
Someone from my church requested a custom order of 10 birthday cards for his clients.  In all honesty, I wasn't sure what images I was going to use considering the birthday cards I typically make are cutesy and not necessarily something a grown man would be sending out!  I also didn't want them to lean towards masculine or feminine, so the easiest bet was the candle cut on the Birthday Bash cartridge.  I initially was going to use the cut with the 5 candles attached to one another, but I couldn't get the colors to work out for what I had in mind, so I switched the design to the individual ones.


After cutting out the candle pieces and gluing them all together, I decided not to pop them off the card.  Shocking, isn't it?  It's kind of what I do with all my cards!  Instead, I chose to glue them directly to the mat and pop up the sentiment instead.  I used the smaller banner die that I got from Papertrey Ink and stamped it one of the many "happy birthday" font options from Pink by Design's "Birthday, Birthday."  See, I do know how to use something other than "Scripted Year"!  Haha, but of course, this is maybe my second most used set.


It took quite some time mass producing 10 cards, so I think it's going to be interesting now that this same customer requested a custom order of 50 cards!  I love a challenge, and once I have a design set, it can be quite therapeutic just putting pieces together.  Stay tuned for those cards though it won't be finished any time soon!

Wednesday, October 2, 2013

3-D Envelopes

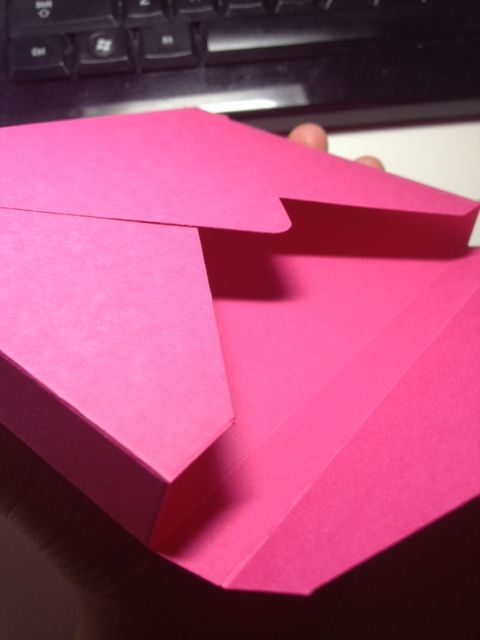
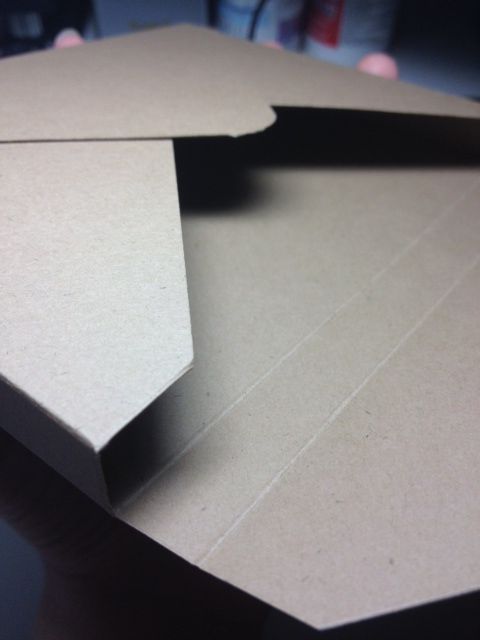
On Friday night, my cousin Danielle emailed me to ask if I had a birthday card for Chloe's Sweet 16.  She said that if she was going to buy a card, she'd rather buy it from me.  Yay for a sale!  She specifically wanted an envelope that would fit her gift inside it.  She took a picture of it, and I knew it wouldn't fit inside a regular envelope, so I decided to try making a 3-D envelope.  I did a quick Google search and followed the instructions at Paper Loves Glue.


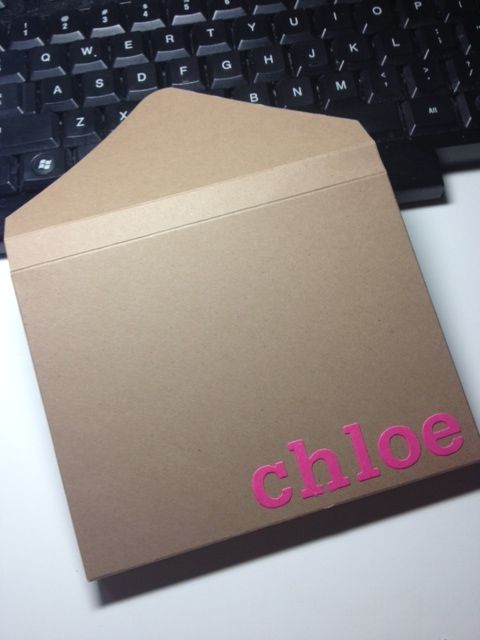
I was rather pleased with how it turned out and how it could easily fit cards with larger embellishments or anything else you might want to send that's thicker than a typical card.  The blog where I got the directions did say it would require 2 stamps because of its thickness, but it's nice not having to go out and purchase an envelope like this.  I ended up redoing it in kraft cardstock since the pink one was the tiniest bit crooked, and the kraft matched the birthday candle card that Danielle bought.


I used my Papertrey Ink alphabet die to cut out the letters for Chloe's name to affix to the envelope.  I really like using dies or stamps to write names on envelopes so that I don't risk messing it up or not centering it properly.  That stuff really bothers me!


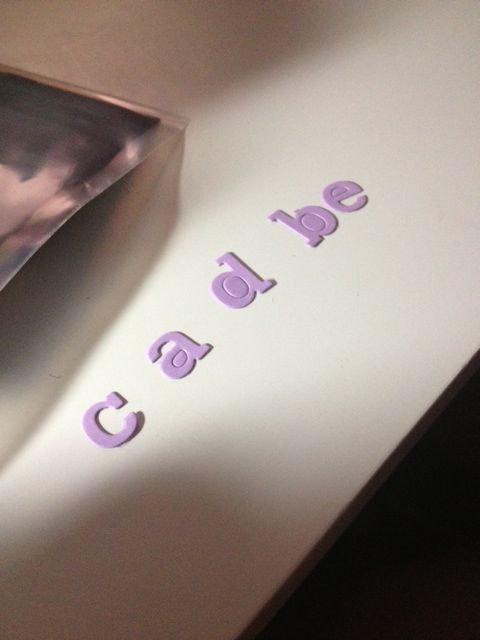
Since I had my Cuttlebug out to use my dies, I decided to cut out more letters so that I could use them on the envelope of the card Howard and I were giving to her.  I just had to snap a picture of this because as I was getting the letters and arranging them on the table to see what I was missing, he got confused as to what I was spelling!  It was for "cookadabee," which is the nickname I gave to Chloe many years ago because I call my other cousin Nicolette "Nikadabee."


I'm glad I was able to find a way to make a thicker envelope!  Man, what did people do before Google and Pinterest?

Sunday, April 21, 2013

Karber Challenge 51: HELLO!

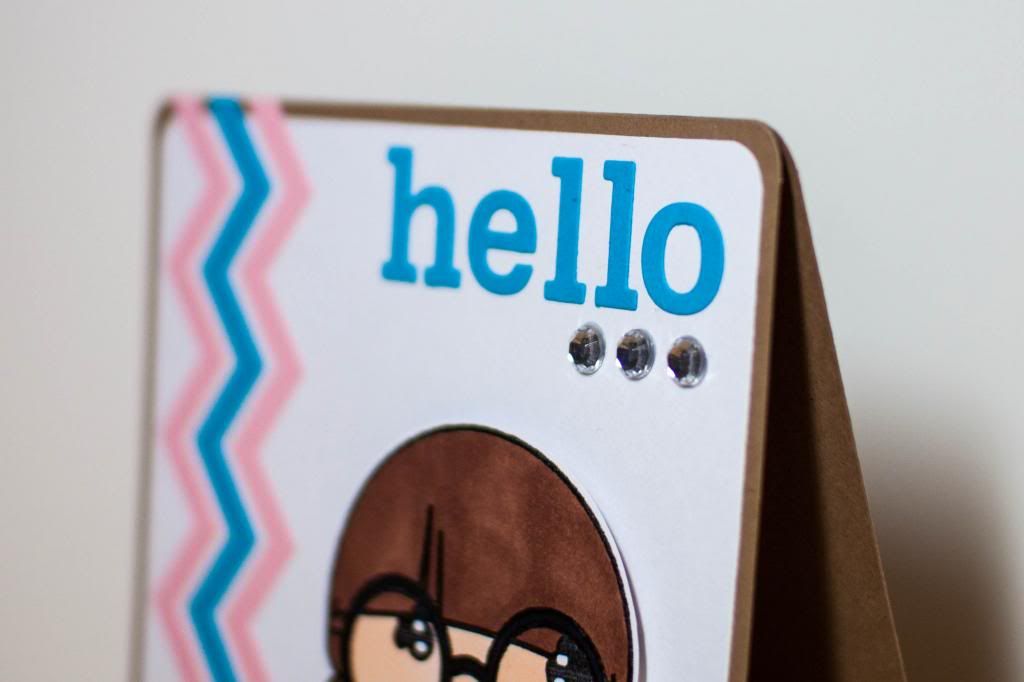
Since we were allowed to enter the Karber Challenge a maximum of 3 times, I definitely had to increase my chances and make another card!  I used "Thinker Leslie" for this one.  I absolutely love her round glasses!  I like how a lot of other crafters make her glasses different colors, but I'm so used to glasses having to be black (well, other than my first pair of pink ones from when I was in 4th grade!).


I recently ordered from Papertrey Ink. Well, by recently I mean in February when they had a sale.  As I state on almost every blog update, I'm just so busy that I don't have much time to craft, so I only had the chance to really play with some of my goodies today.  That included the Block Alphabet Die and the Chevron Stripes Border Die.  I just love how crisp and clean it looks .


I rounded the corners of the card to get it a softer look since I had the sharp points of the chevron stripes.  Then I added the bling in a set of 3.  As you can see, I really do like the whole square 5x5 card look!