Showing posts with label Cartridge: Locker Talk. Show all posts

Saturday, September 6, 2014

Penciling a Quick Thanks

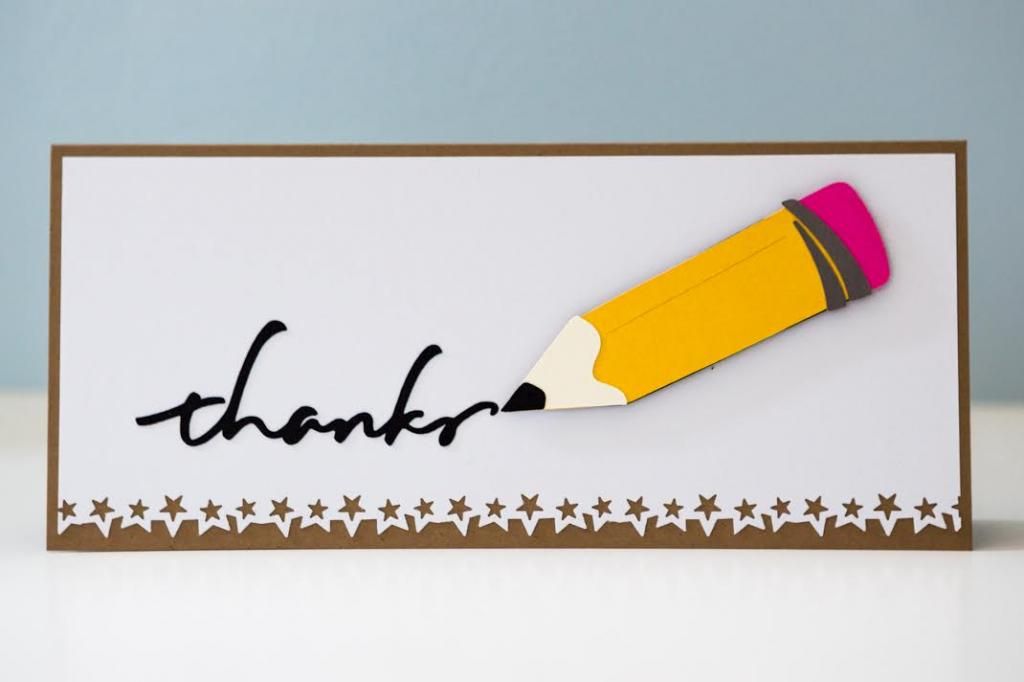
Clean and simple cards are really my favorite because they look less cluttered and possibly like cards you can find at specialty stationery shops! Haha, well, maybe that's just what I tell myself. You'd think that they're easier to design, but they're actually not. When I first started crafting, I had to learn to be okay with leaving a lot of white on the card. I remember Howard used to tell me that it was okay, but it was so difficult for me to accept it as a finished card. But nowadays, I love the white on the card as evidenced by this card that has absolutely no pattern paper or fancy layers at all.


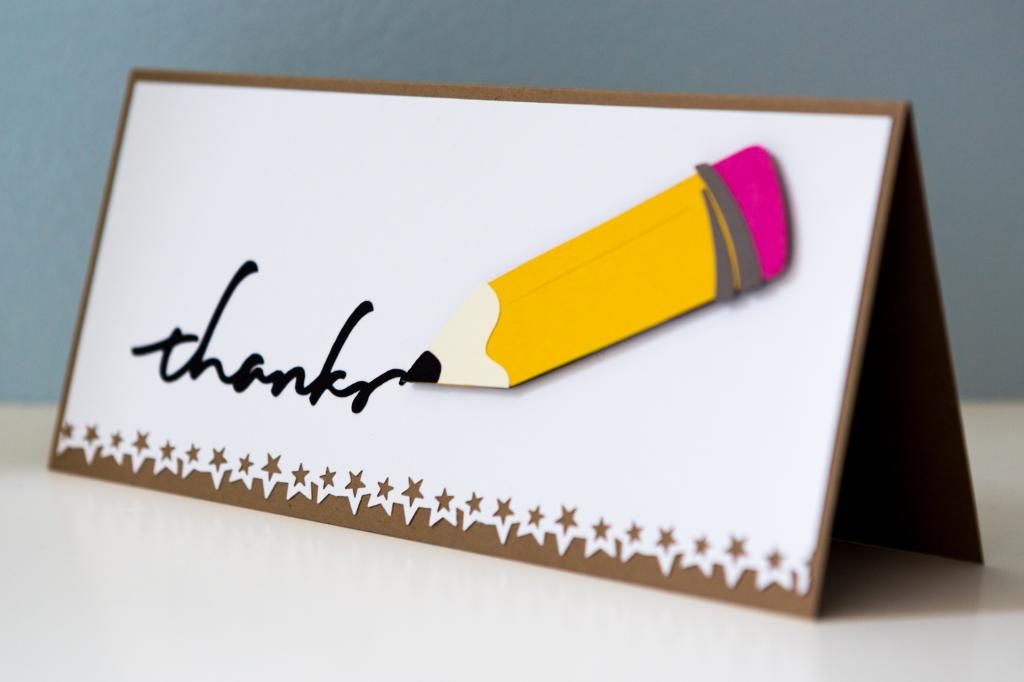
The pencil was cut from the "Locker Talk" cartridge at 1.75 inches. Since I was using the longer pencil as opposed to the stubby pencil, I chose to put everything on a 4x9 card, which means it fits perfectly in a business-sized envelope. It also made it easier to cut out the "thanks" too since I knew ahead of time that I wanted to use this specific script from  the "Wild Card" cartridge. For some odd reason, my notes say "Thanks from Wild Card at in," so apparently I forgot to jot down the size! Whoops!


Just to add a bit more to the card, I used a Martha Stewart punch for the stars on the bottom of the white layer before adhering the pencil to the card with foam adhesives for some dimension. I really hope that my customer liked this custom order and that the recipients of these cards (I believe I made 4) liked them as well!

Monday, July 7, 2014

Bookworm Card

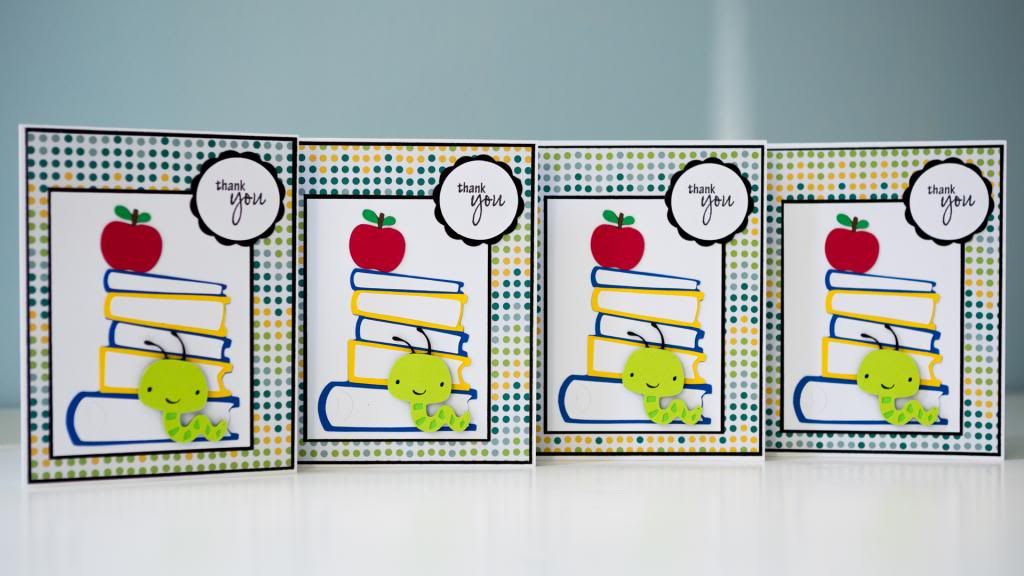
I've said it before, but custom card orders give the chance to use cuts I haven't used before! This particular card was requested for a group of school administrators. It took quite a lot of time, and it's not really one that I would want to mass produce because of all the details. However, I do really love how it turned out. I got my inspiration from this pin on Pinterest but changed it a bit. 

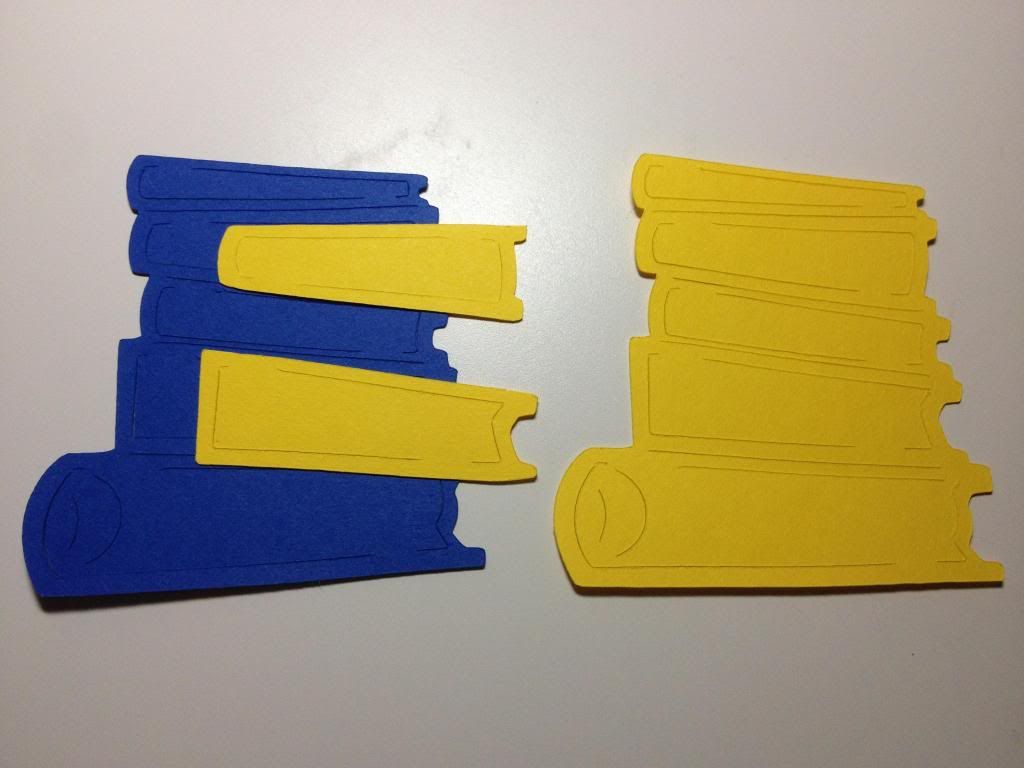
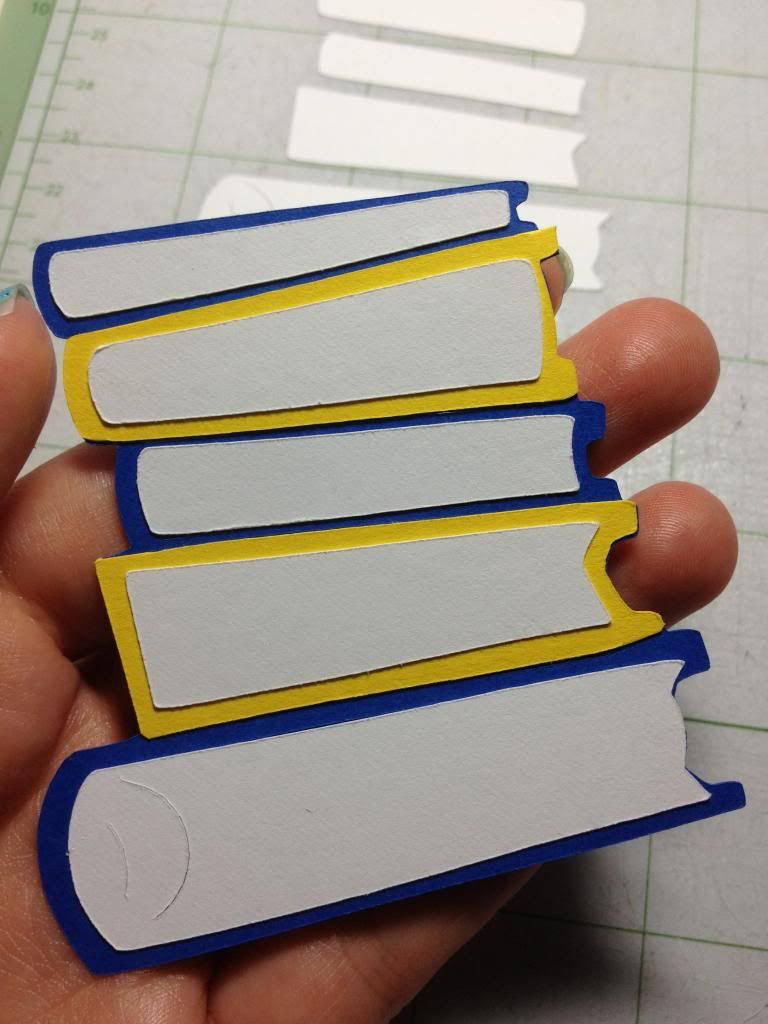
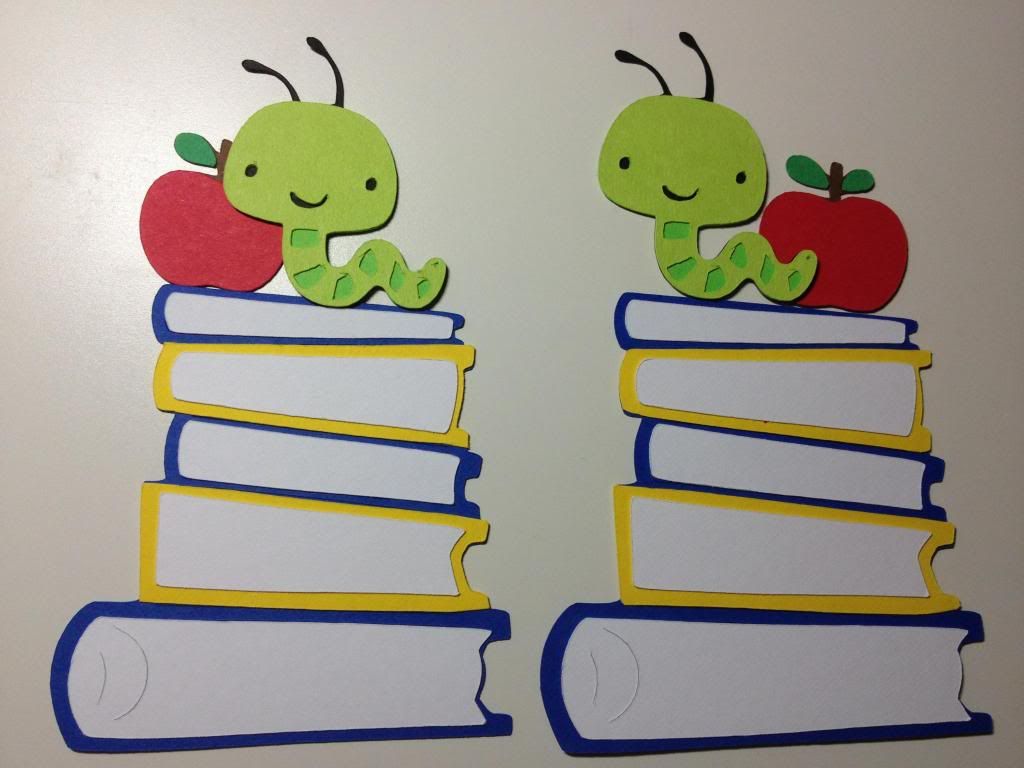
The first task was to cut out the stack of books from the "Locker Talk" cartridge at 2.75 inches. It actually cuts as one color, but I cut it out in blue and then again in yellow. I snipped the 2nd and 4th book and glued it on the blue piece so that the colors of the covers wouldn't be all the same.  


This clearly took a bit more time, but the result was worth it. I have seen others use a pencil to make it look like there are pages on the white portion of the books, but I didn't want to mess with it.


The apple was cut at 1 inch from "Create a Critter" and the worm was cut at 1.75 inches from the same cartridge. I checked the sizes on Craft Room to make sure it would work with the books. I played around with the location of the worm and apple to see where I would end up placing them. I actually took this picture to send to Howard for help with placement. I actually ended up changing the placement entirely because I wanted it to be a little shorter.


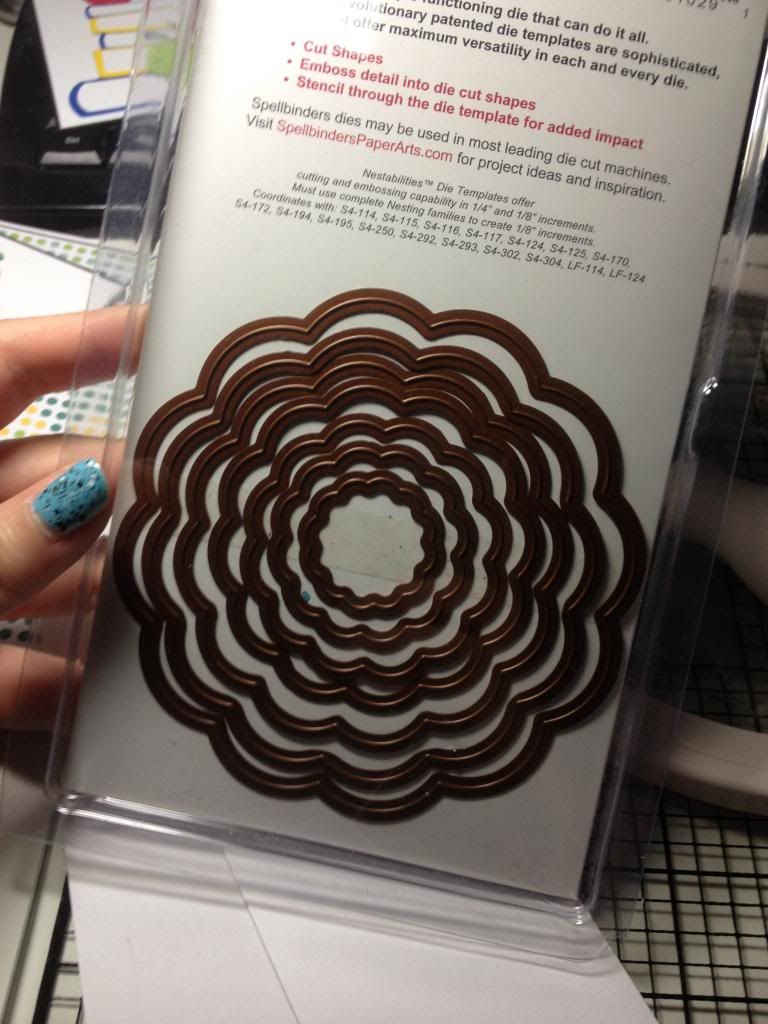
I needed a way to add the "thank you" sentiment from Pink by Design's set "Scripted Year." I used the 3rd smallest Spellbinders Nestabilities die from the Big Scalloped Circles Large. I needed a circle to fit into it, so I cut them out at 1 5/16 inches using the Martha Stewart circle cutter.


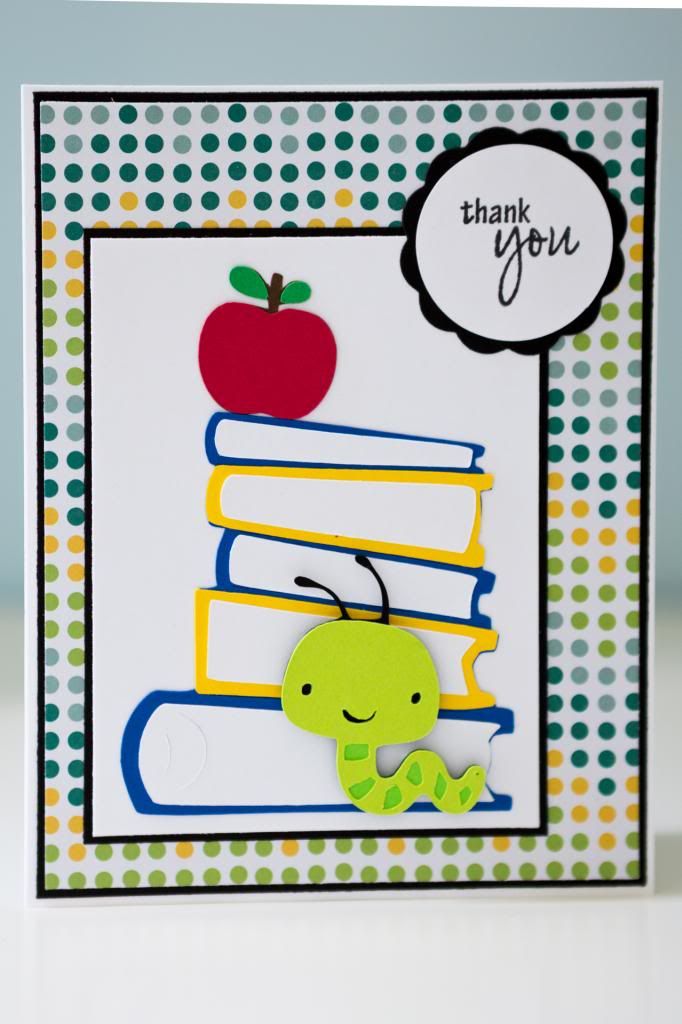
And after all that work, this is the final result!


The card base was the standard A2 size at 5.5 x 4.25 inches, but I chose to make the layers thinner than normal. The larger black mat was actually cut at 5 3/8 x 4 1/8 inches, and the polka dotted patterned paper was 5.25 x 4 inches. Lastly, the white layer was 4 x 3 inches for the image itself.


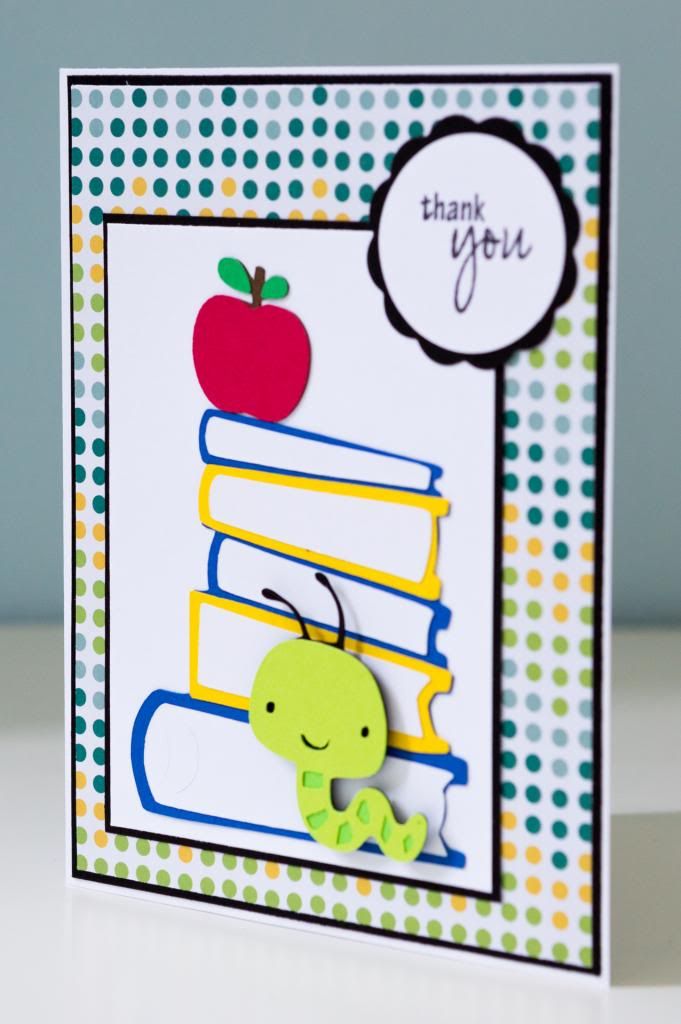
The itty-bitty worm was popped up every so slightly to give it a bit of dimension. Out of all the cards I had done that week, this was by far my favorite.


The funny thing is that as much as I love books, I don't know why we positively associate worms with them or with apples! If I were reading a book, I'd be pretty upset if there were a worm in it or anywhere near me!

Thursday, June 19, 2014

School Bus Card

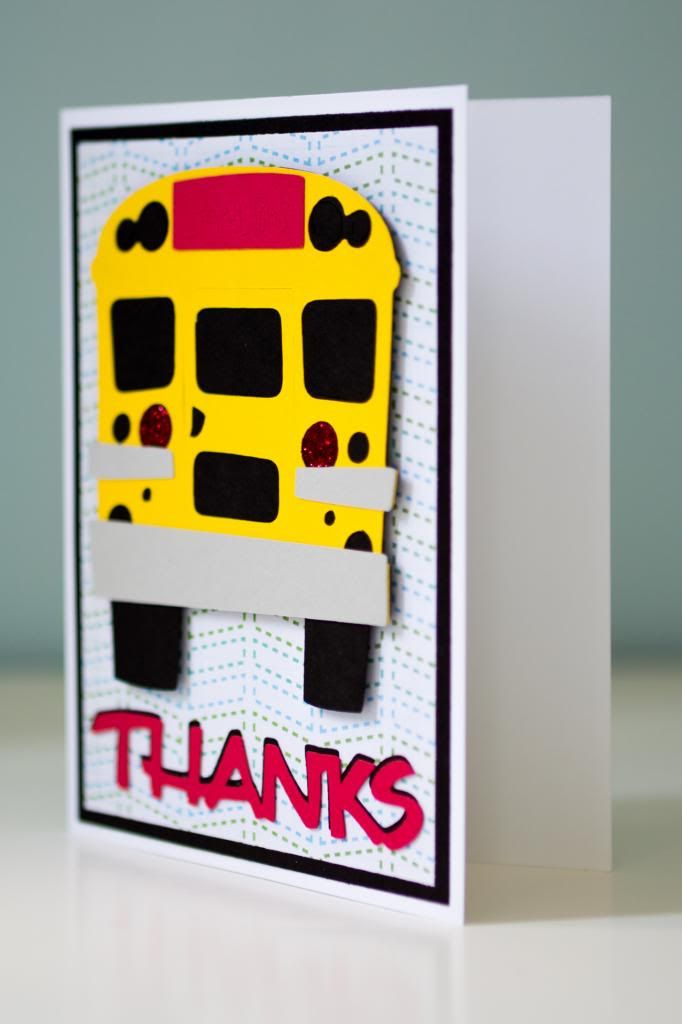
This school bus card was made for a custom order. The customer wanted cards to thank her students and parents who gave her gifts at the end of the school year. The only guidance I was given was that they had to be thank you cards, so it was very open for interpretation. I decided to do something school-related, of course, especially since I very rarely use my cartridges that have those images on them! In fact, I actually had to add "Cartridge: Locker Talk" to my list of labels since apparently I never used it before (at least on something that I posted on my blog since I know I used it once before).
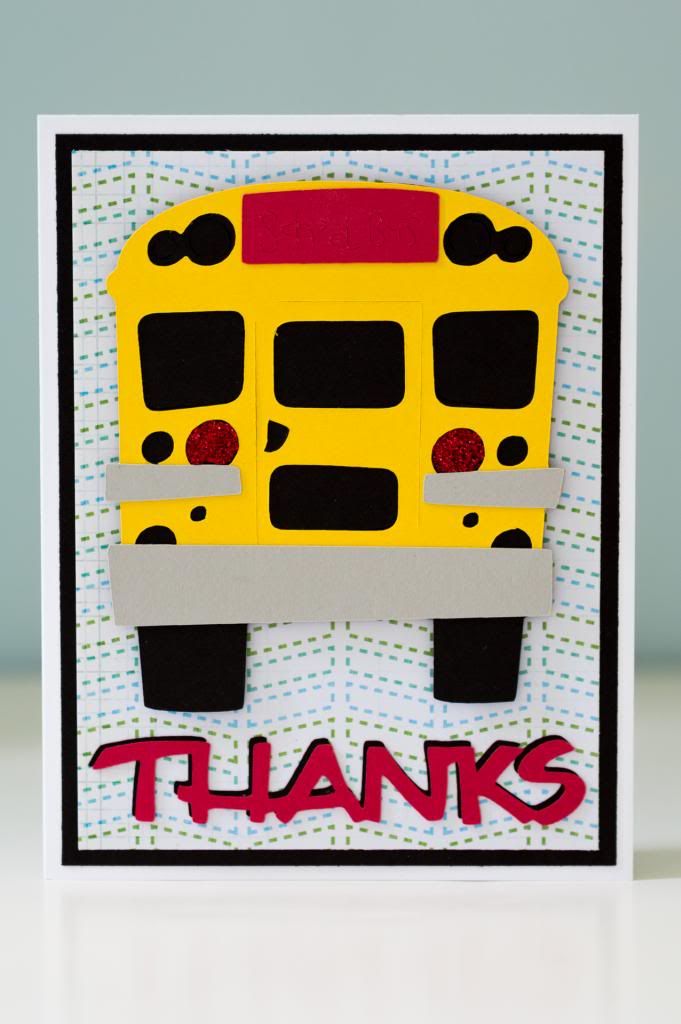

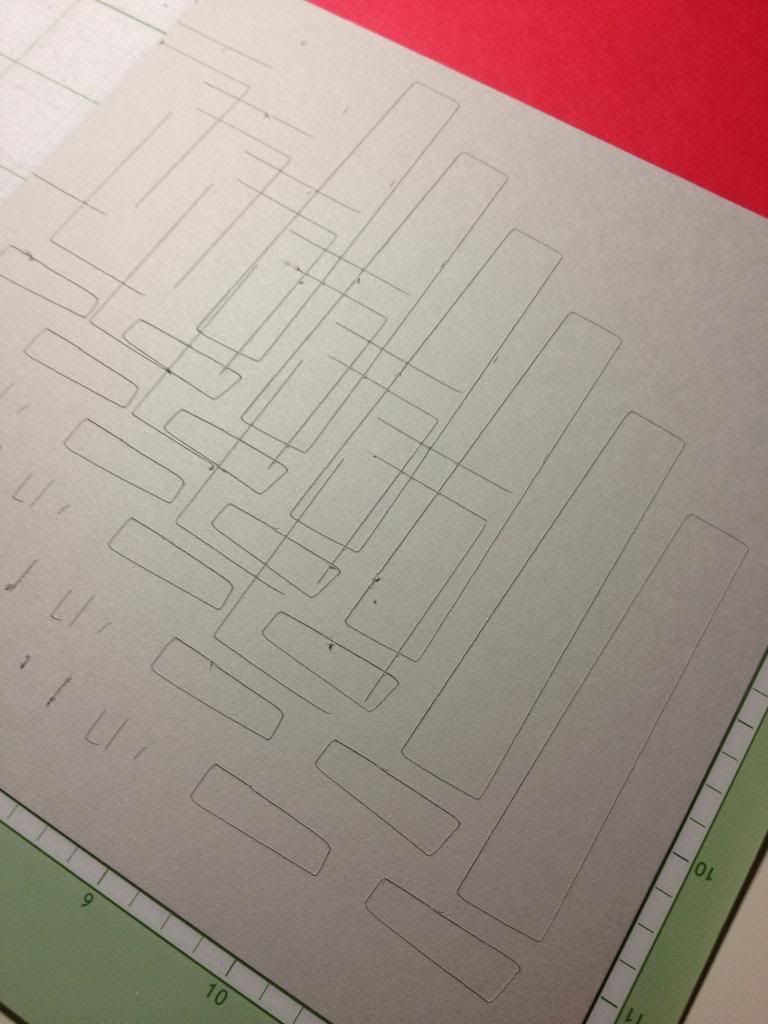
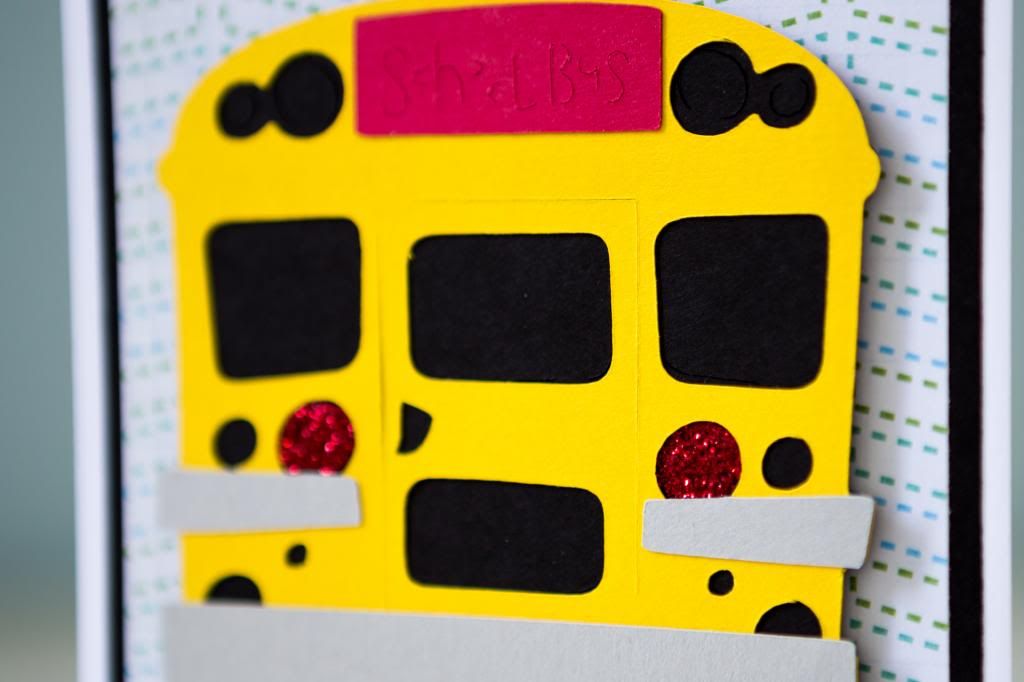
I thought the back of the school bus was very fitting for the end of the year. The image was cut from "Locker Talk" (one of my first few cartridges!) at 3.75 inches. I have to say that this was a rather frustrating image to use! A lot of the older cartridges have all the pieces cut as one layer, so that means you'd have to cut out the yellow part, the red part, and the gray part in EVERY color. Thankfully, with the Gypsy or with Cricut Craft Room, you can hide certain cuts to separate them. It also makes it easier to mass produce. Unfortunately, even though I hid certain cuts, not all of them showed as an option to hide, so they cut anyway as you can see in the picture below. 


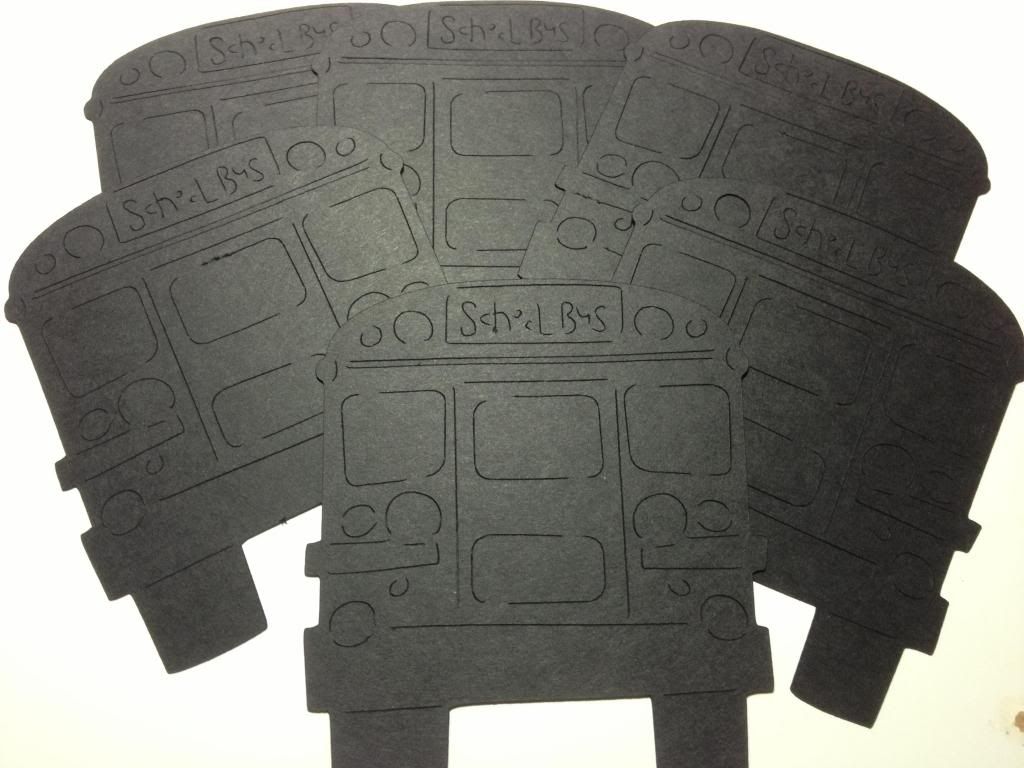
Although the cut was a little frustrating, I still was happy with the image as a whole because of how detailed it was. This is how the first black layer looked.


The "thanks" sentiment was cut from the "Wild Card" cartridge at 0.667 inches. It seems like an odd measurement, but it's in proportion to the other images on the page since each page is supposed to have all the elements for one card. It's kind of interesting how I cut out a lot more sentiments now instead of automatically stamping them. I think that with some cards, it makes it more complete. For this one, I cut it out in red and then in black and just created a shadow with the black layer since there was no option for a shadow cut on the cartridge.


I thought the back needed a little extra something, so I used Stickles to fill in one of the circles! I'm sure it would've been more interesting to add the glitter glue to more of the circles, but it actually used up a lot of my small bottle so I kept it as is.


Lately, I've also been using an extra black mat in my layering before I put the patterned paper on the card. I think it looks better that way even though it is an extra step.


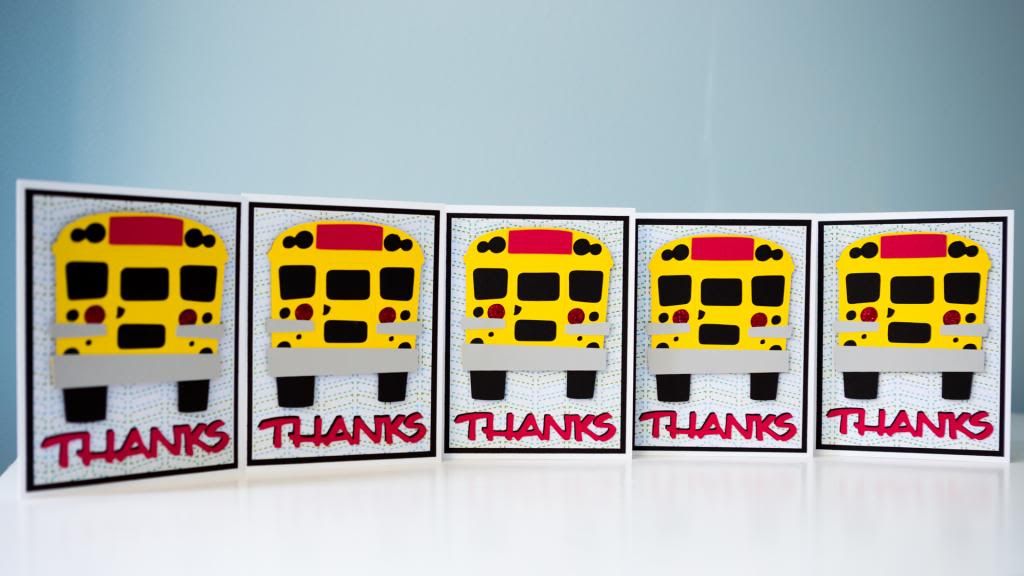
The picture shows 5 cards, but it was a complete set of 6. I consider 6 a set because I can get all the patterned paper layers from one sheet of 12x12 paper. I'm rather happy with how this card turned out and am happy I got to use what might be an otherwise obscure image!