Showing posts with label Custom Order. Show all posts

Friday, January 30, 2015

Tree Card

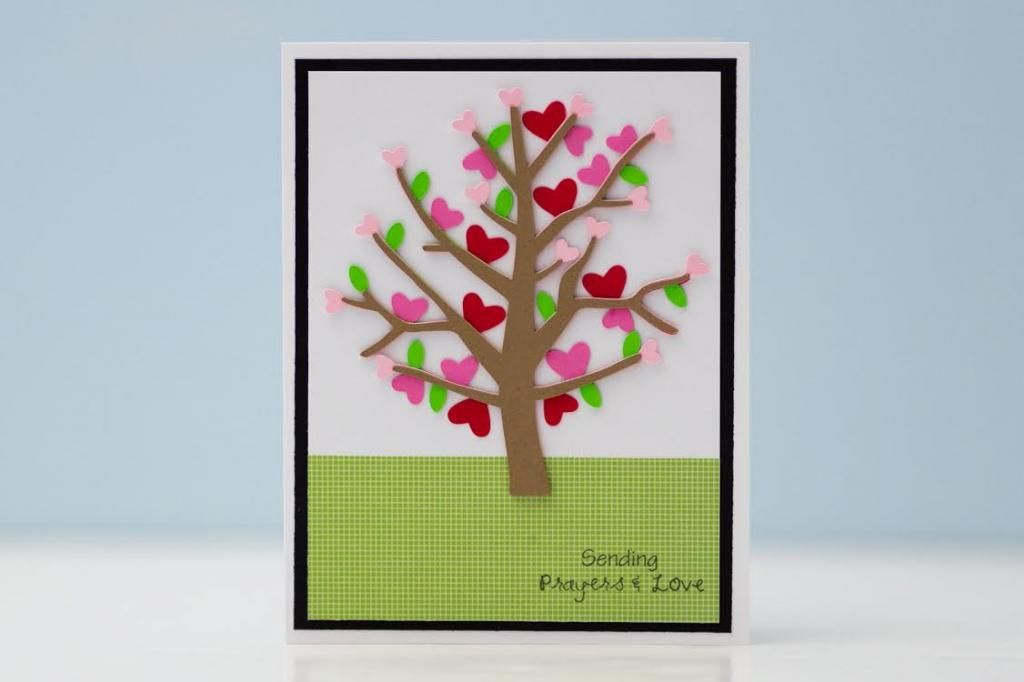
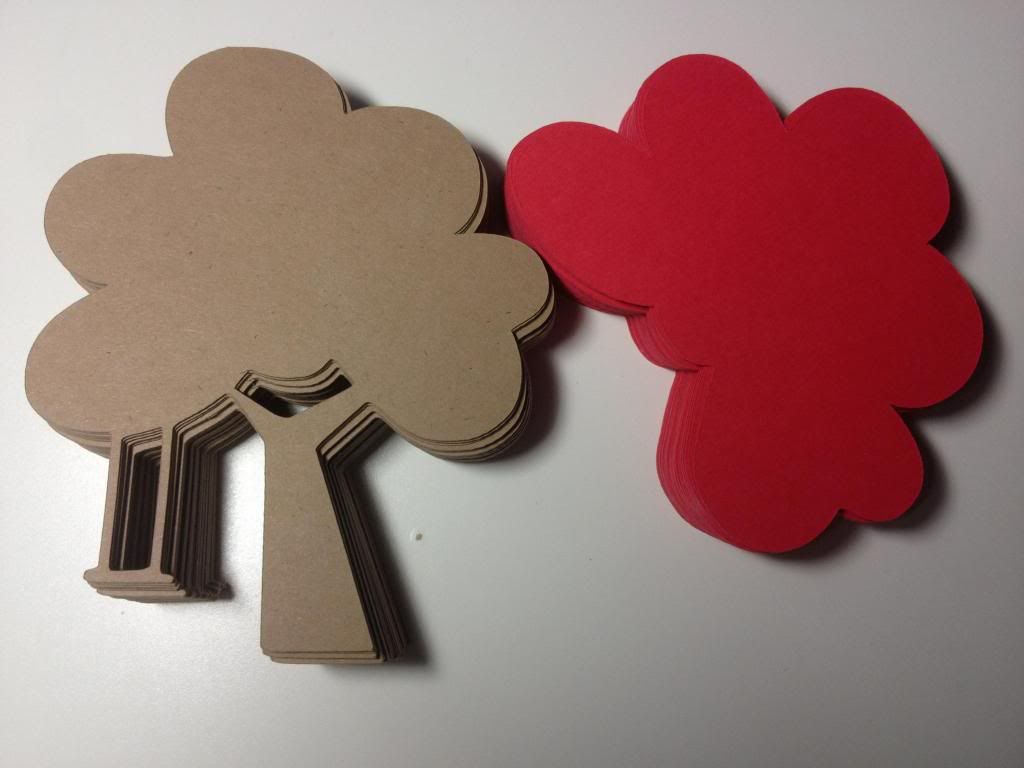
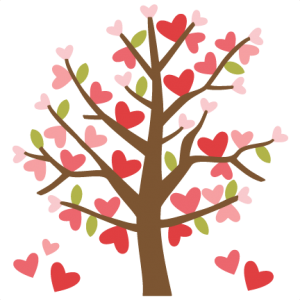
The last set of cards that I made for my grandfather (here are the links for the first and second) was using another SVG from Miss Kate Cuttables. The original image actually had one more pink layer. You can see that when I made the card, there are some spots that should have had a heart, but I figured it wasn't necessary. 


Though the image is fairly simplistic in that it's just adding one layer on top of the other, it required a lot of work in terms of gluing it together because the branches get rather thin. If I didn't have Zig glue and Tweezerbees, I don't know how I would have handled it!


I kept the rest of the design very simple by just using a piece of green patterned paper to be the grass. The sentiment is from Pink by Design's "Faith" set, which is one of my all-time favorites. 


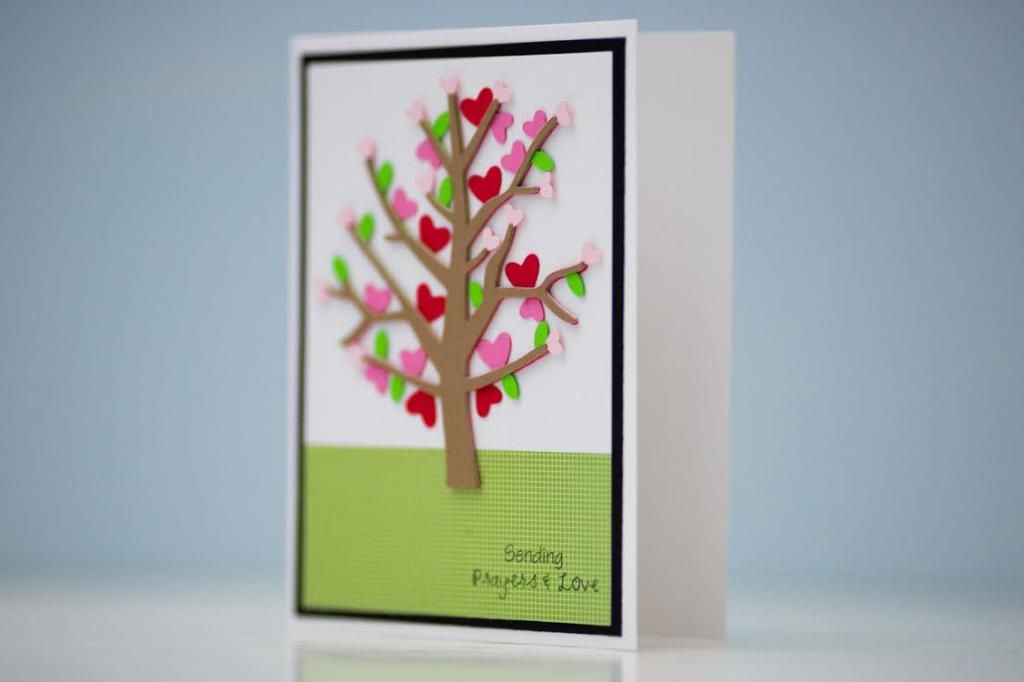
I love how all the layers give the card dimension without my having to pop anything off the card. It's a simple card yet really pretty, in my opinion!

Monday, September 22, 2014

A Sneaker for a Pastor

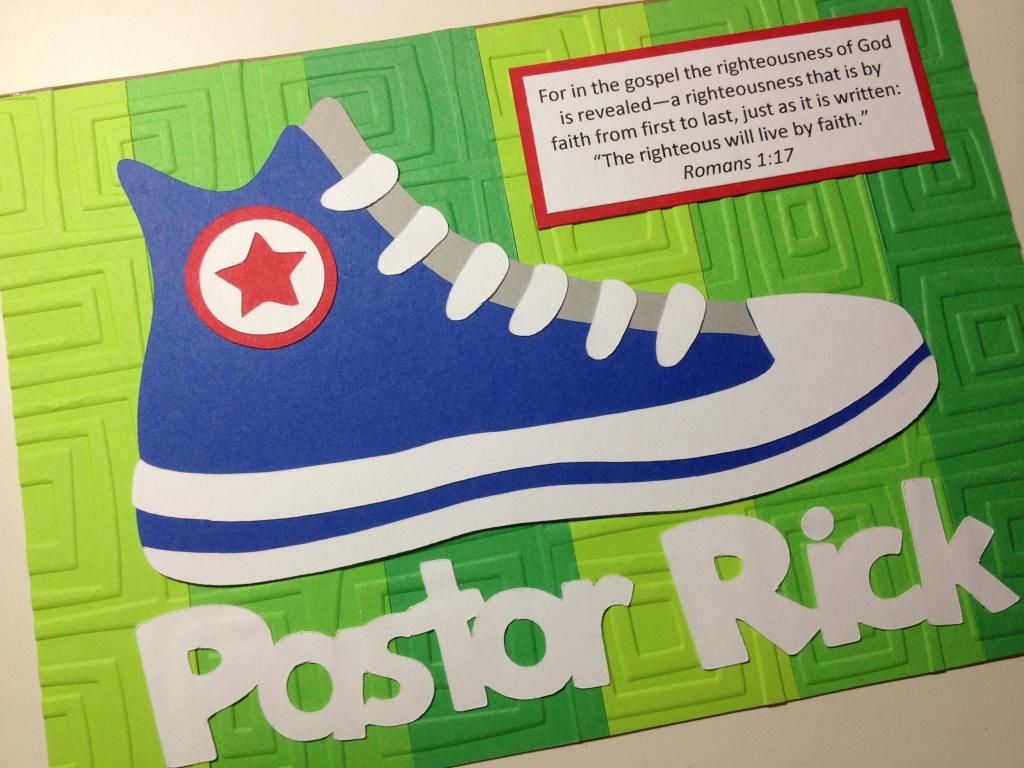
Back in August, my cousin Karen requested a different kind of "card" for a specific purpose. She wanted a sneaker, a name, and a verse on cardstock so that she could put it in a frame for her fellowship to sign for their pastor. 


Since it was clearly a custom order that I wouldn't be repeating, I actually don't think I wrote the sizes  and measurements anywhere, but I can tell you that the sneaker is from the "Nifty Fifties" cartridge, the name is from "Mickey Font" and welded together, and the embossed background is the Cuttlebug folder "Traffic Jam."

When I sent my cousin the above picture, she asked that the font be blue instead of white, so I cut the name out again and glued it on top since the white one was already adhered. Thankfully, it worked out fine. 


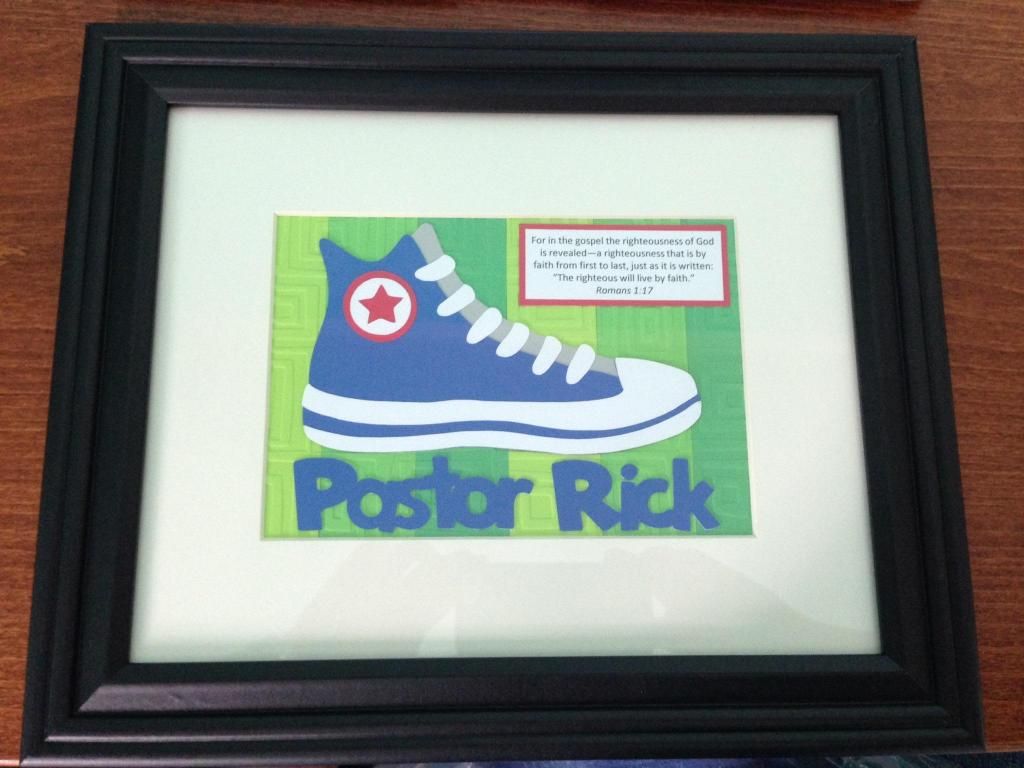
This is what the sneaker looks inside the matte and the frame. I think it turned out decently considering I actually had a bit of trouble and frustration with the sizing and figuring out if everything would fit. I know it seems so simple when you look at it, but I had tried to put the verse under the sneaker, but it just didn't work until I moved the verse to the top right corner. It's projects like these that make me happy I have a ton of options when cutting with my Cricut and now with my Silhouette!

Saturday, September 6, 2014

Penciling a Quick Thanks

Clean and simple cards are really my favorite because they look less cluttered and possibly like cards you can find at specialty stationery shops! Haha, well, maybe that's just what I tell myself. You'd think that they're easier to design, but they're actually not. When I first started crafting, I had to learn to be okay with leaving a lot of white on the card. I remember Howard used to tell me that it was okay, but it was so difficult for me to accept it as a finished card. But nowadays, I love the white on the card as evidenced by this card that has absolutely no pattern paper or fancy layers at all.


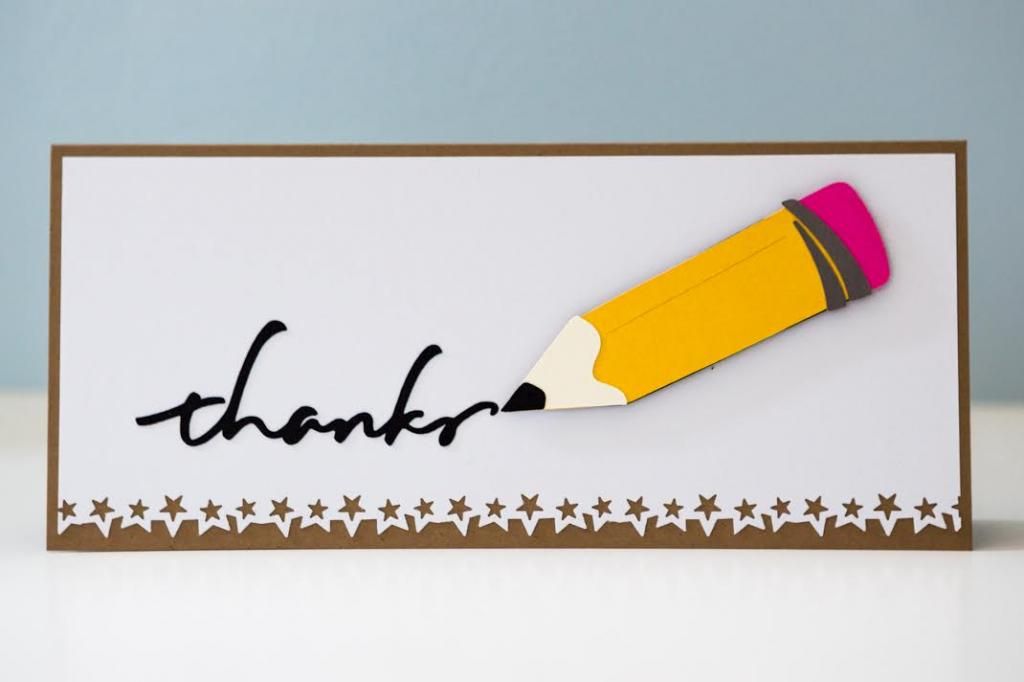
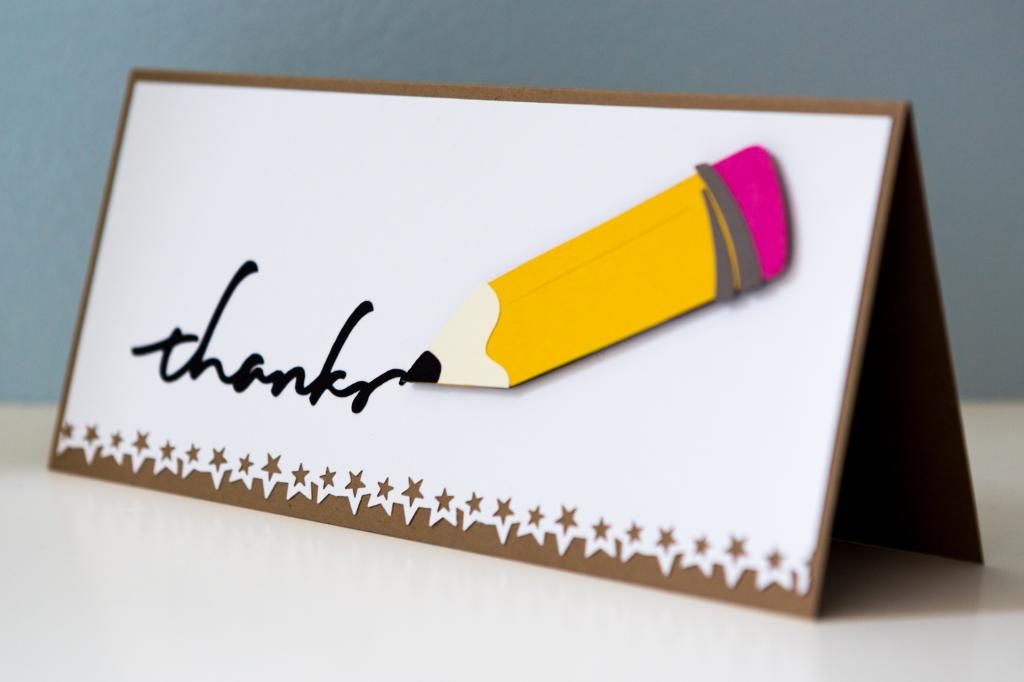
The pencil was cut from the "Locker Talk" cartridge at 1.75 inches. Since I was using the longer pencil as opposed to the stubby pencil, I chose to put everything on a 4x9 card, which means it fits perfectly in a business-sized envelope. It also made it easier to cut out the "thanks" too since I knew ahead of time that I wanted to use this specific script from  the "Wild Card" cartridge. For some odd reason, my notes say "Thanks from Wild Card at in," so apparently I forgot to jot down the size! Whoops!


Just to add a bit more to the card, I used a Martha Stewart punch for the stars on the bottom of the white layer before adhering the pencil to the card with foam adhesives for some dimension. I really hope that my customer liked this custom order and that the recipients of these cards (I believe I made 4) liked them as well!

Monday, September 1, 2014

Rainbow Smiles

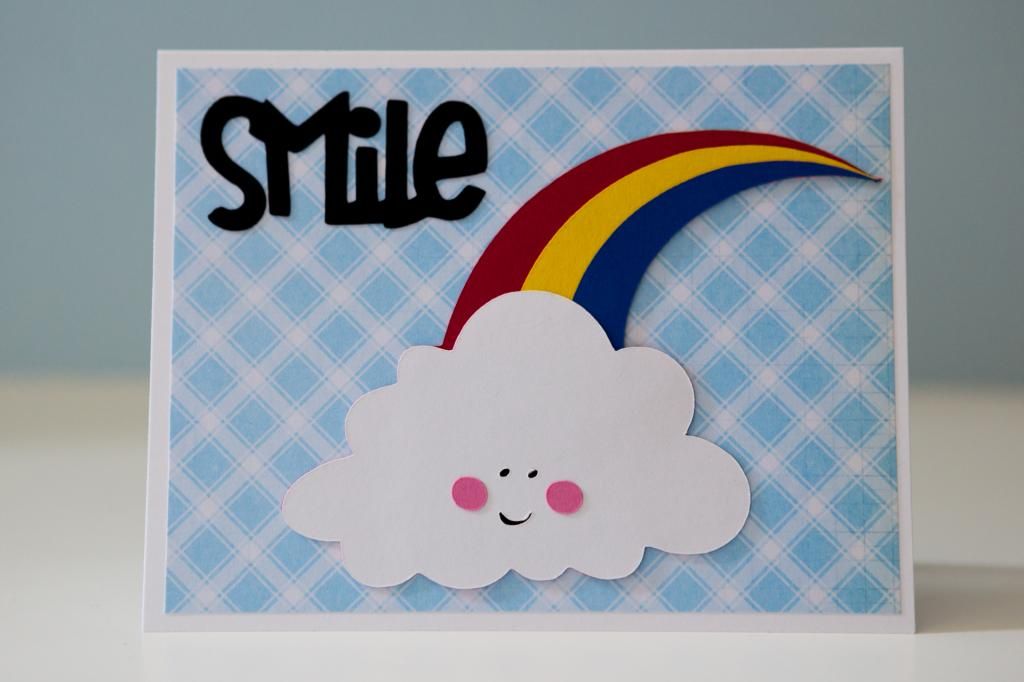
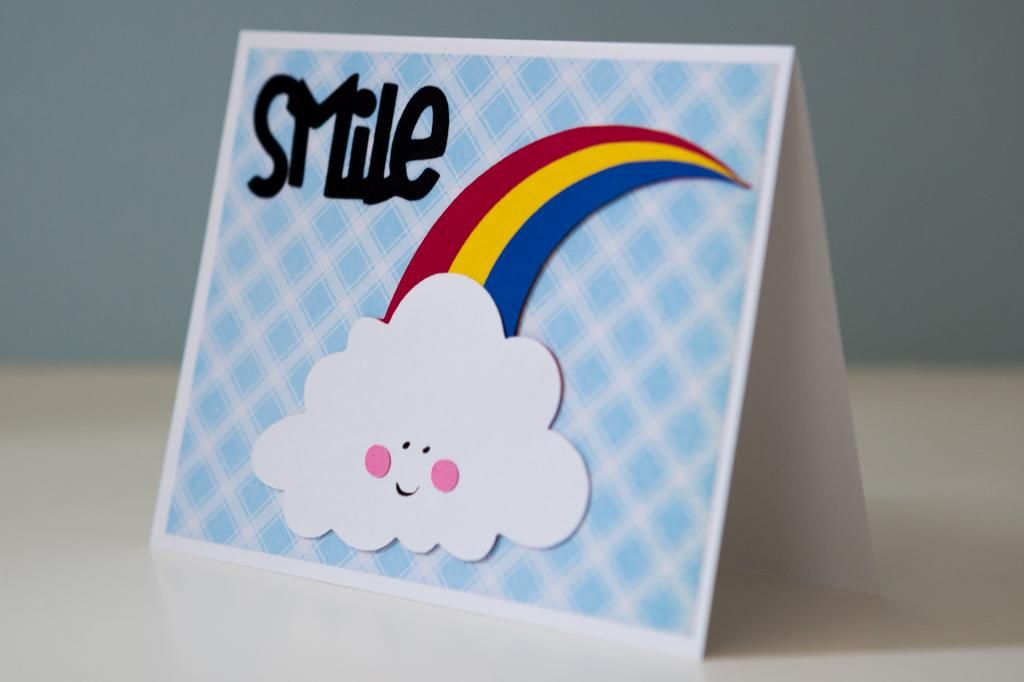
I made a very simplistic card recently for a custom order. I used the rainbow from "Simply Charmed" and cut it at 3.25 inches. I think when using this cartridge, they are much cuter when cut at larger sizes so that the eyes and smile cut out nicely. Either that or the face should just be omitted. 


I've also been going through a phase of cutting out the sentiment instead of always using a stamp. The "smile" sentiment is from the "Wild Card" cartridge and cut at 10 inches. I've mentioned it before, but the cuts on this cartridge are in relation to the base card so that's why it had to be cut at 10 inches.


It's clearly much easier just having 3 colors in this rainbow than the 7 that should be there instead. Plus, it's probably easier not having to look for a difference between indigo and violet!

Friday, August 29, 2014

Wedding Bears on Repeat

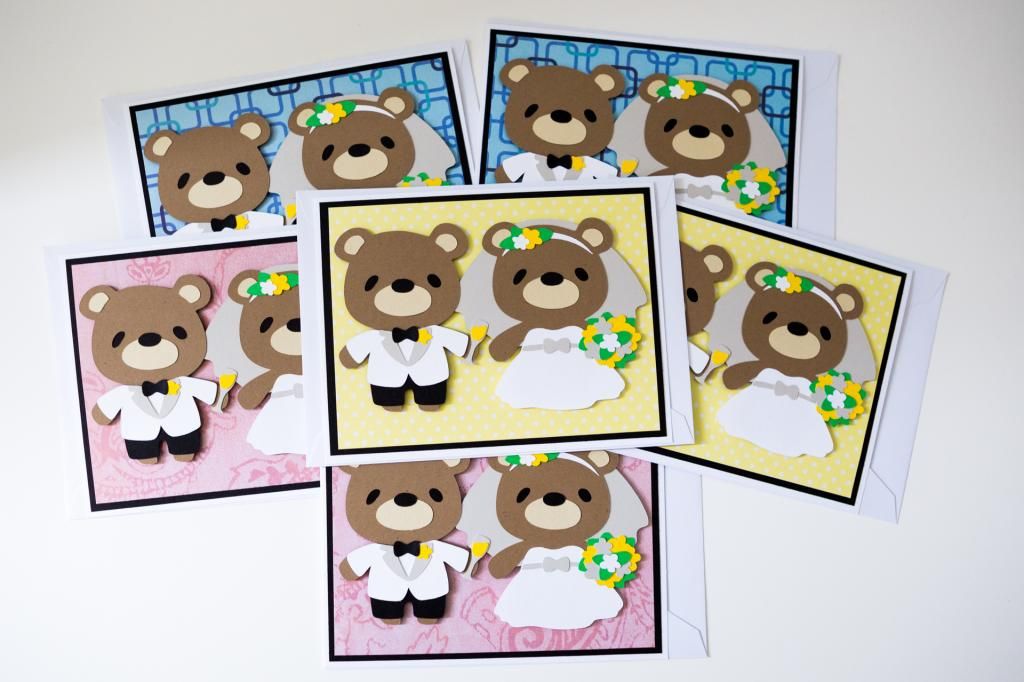
Despite the "Teddy Bear Parade" cartridge having a ton of options, I think the ones I've cut out the most are the bride and groom bears.  They're just so cute on a wedding card! And they look a little different when the background paper is changed. 


There are no sentiments on the outside of the cards since the customer requested that something be inside instead. I anticipate using these two on many more cards in the future!

Stay tuned for Lancaster updates! I started working on the travel portion of day 1. I'll post when hubs has the chance to edit his photos. Trust me; you'll want to wait. If it's just my photos, you might lose interest, haha.

Wednesday, August 27, 2014

Birthday Cupcake

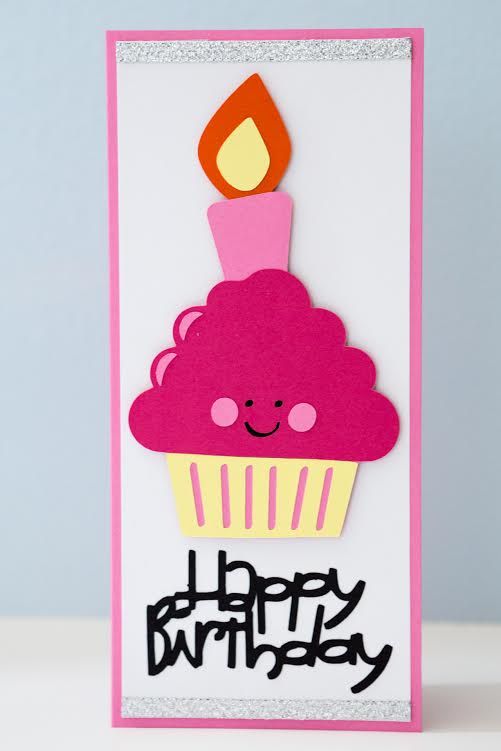
When I want to craft just for fun, I come cross a lot of cuts that I think would be fun to do for birthday cards. Then when I need to make a birthday card for a custom order, I just immediately jump to cupcakes! I think cupcakes are for all days of the year, but pop a candle in it, and it just fits!

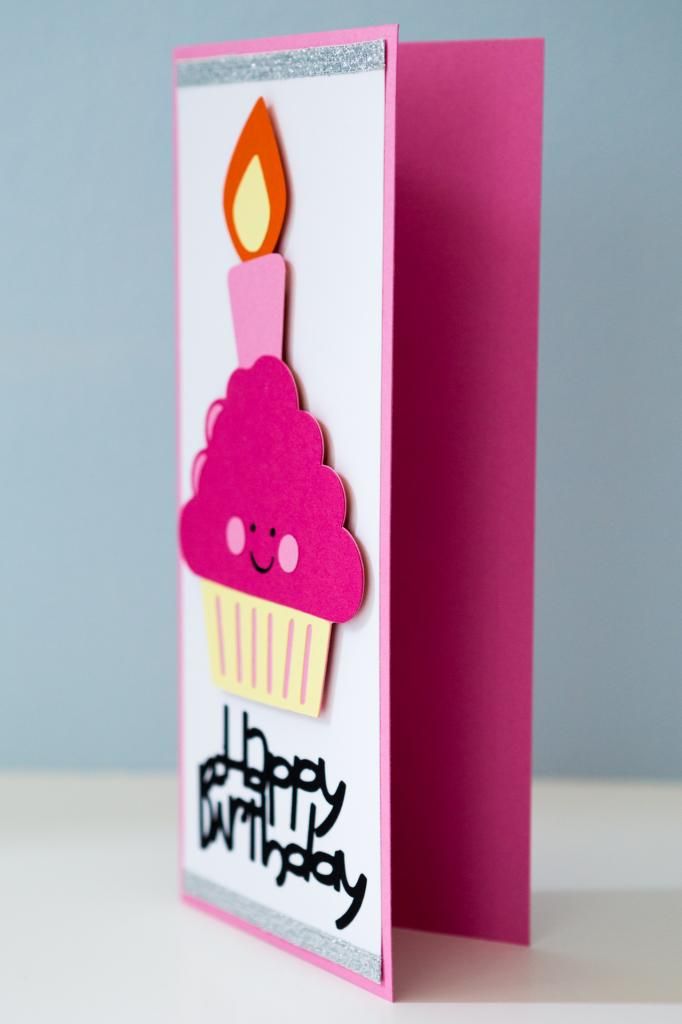
I did want to make this one a little different so I made a card base that would fit in a business size envelope. I actually really like 4x9 in cards mainly because I feel that when they are mailed, people don't immediately think of it as a card because it looks like it could just be a bill or some other important piece of paperwork.


I didn't have any specific guidelines for this card, so that made the cupcake even more appropriate. It was cut from the "Simply Charmed" cartridge at 6 in. The face cut out without any issues since it was a larger size. Then since there was plenty of room underneath, I decided to stick with a Cricut cut for the sentiment instead of using a stamp so the "Happy Birthday" is from "Wild Card" also cut at 6 in (that seems weird, but you have to understand the cartridge to know why it's 6 in; it's all relative to the size of the card base cut on the page).


I was planning on adding the silver ribbon between the cupcake and sentiment, but I glued the sentiment on too high. Whoops! I then figured I'd use it to line the edge of the white mat on the top and bottom, and I'm pretty pleased with how it turned out since the ribbon itself is really pretty. It frays at the ends, but since I taped it on the back, it's not seen. I think I'll be doing that more often!

Monday, August 11, 2014

A Biking Raccoon

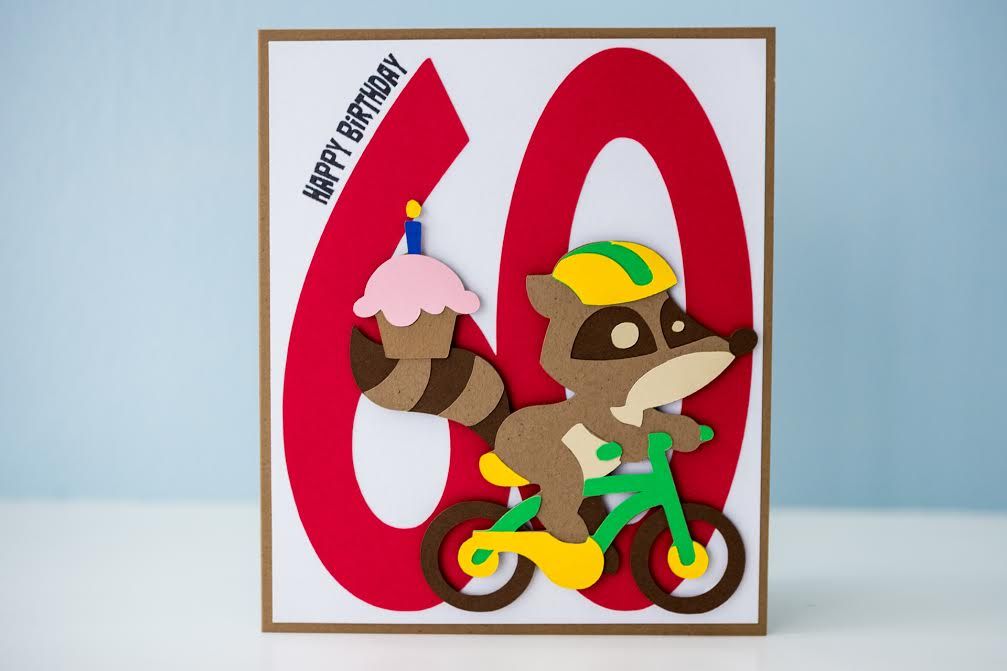
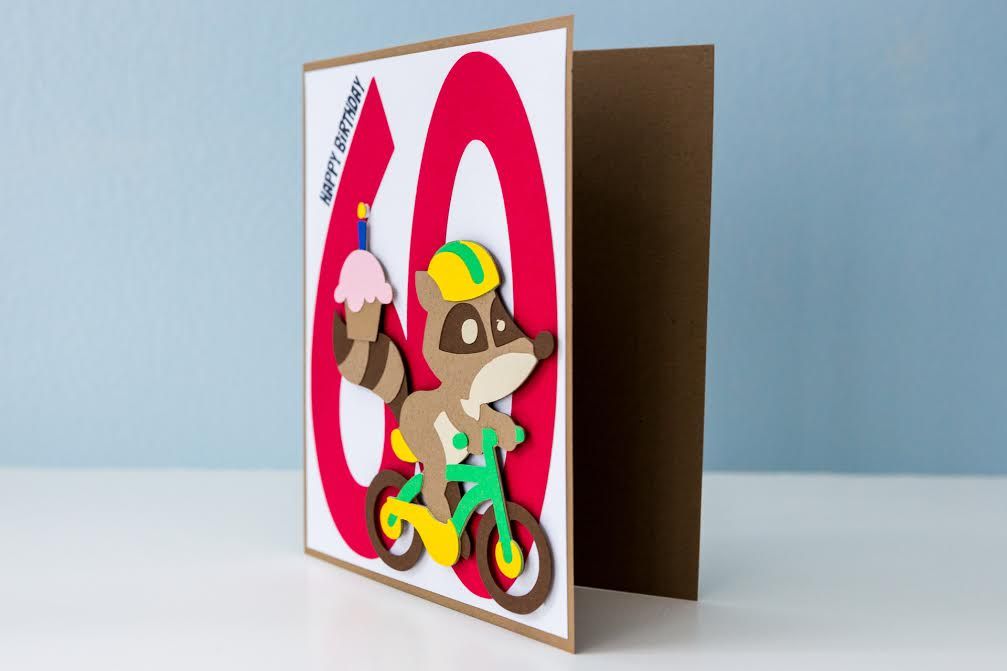
This is one of the custom orders I made recently that I was really happy with once I was finished! The customer asked for a 60th birthday card for her boyfriend's dad. She told me that he was into exercising and sports like biking and rollerblading. The image that came to mind was this raccoon from the Campin' Critters cartridge. I think I only used this cartridge once, and it was the one I wanted for a super long time. It's just difficult to find the occasions to use the images, but this was a chance for me to pull it out.


The raccoon was cut at 4 inches. Since the image was already fairly large, I decided I needed to put this on a card larger than my typical A2 size (5.5 in x 4.25 in). With my We R Memory Keepers envelope punch board, it makes it a lot easier to make varying card sizes, so this was a 5.5 in x 6.5 in card.


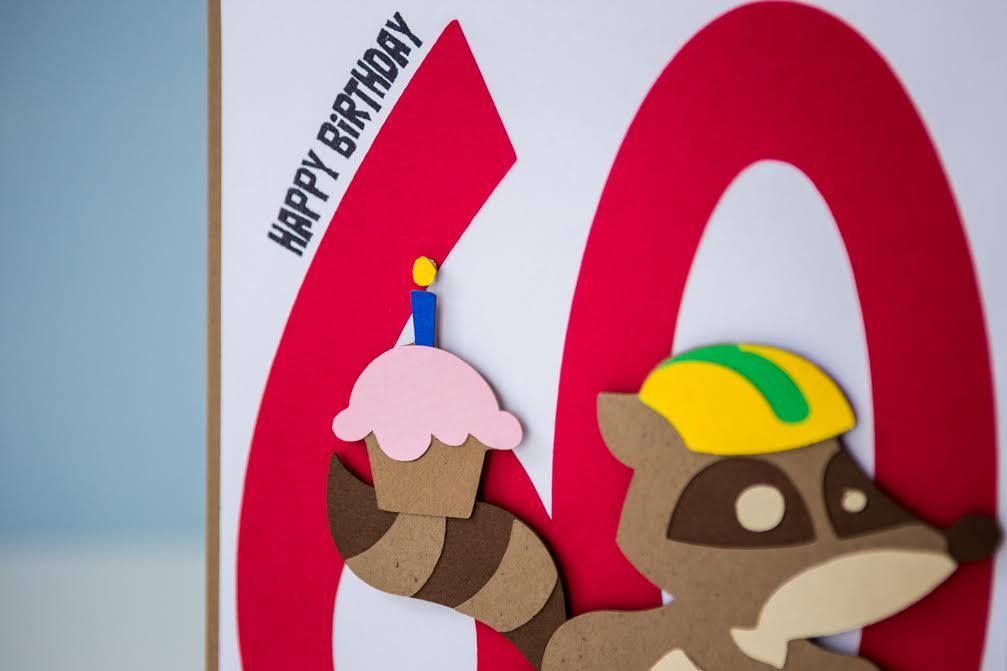
I then decided to cut out a really large "60" to put in the background. It actually took a little bit of time to find the right font for this. In the end, I used the Cricut Basic Font that's available for free via Craft Room and just stretched it to the size I needed, so I don't actually have an exact measurement for it. It worked out better that way because the original font is kind of chubby, and the numbers got lost behind the raccoon.


To make sure it was an obvious birthday card, I cut out a cupcake from Doodlecharms at 1.75 in, which is one of my original cartridges. It's so different from the more recent ones, but sometimes the basics are needed. The final touch was stamping the "Happy Birthday" sentiment, which was from Pink by Design's stamp set called "Birthday, Birthday." I curved the clear stamp a bit when placing it on my block so that it'd line up with the edge of the number. I know my customer was pleased with it, but I also hope the recipient liked it as well!

Monday, July 7, 2014

Bookworm Card

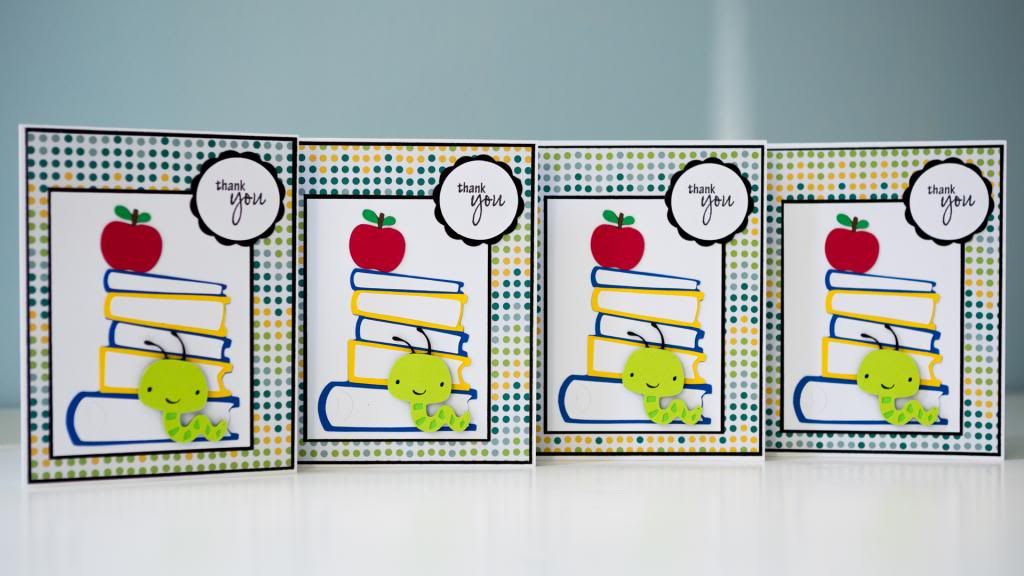
I've said it before, but custom card orders give the chance to use cuts I haven't used before! This particular card was requested for a group of school administrators. It took quite a lot of time, and it's not really one that I would want to mass produce because of all the details. However, I do really love how it turned out. I got my inspiration from this pin on Pinterest but changed it a bit. 

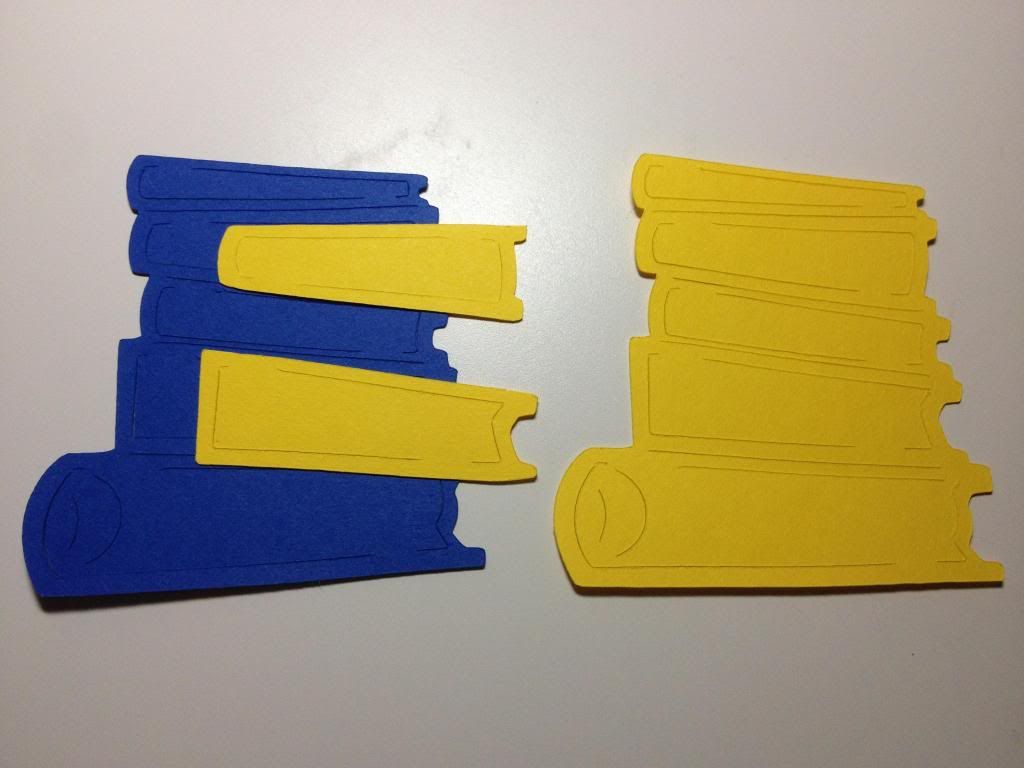
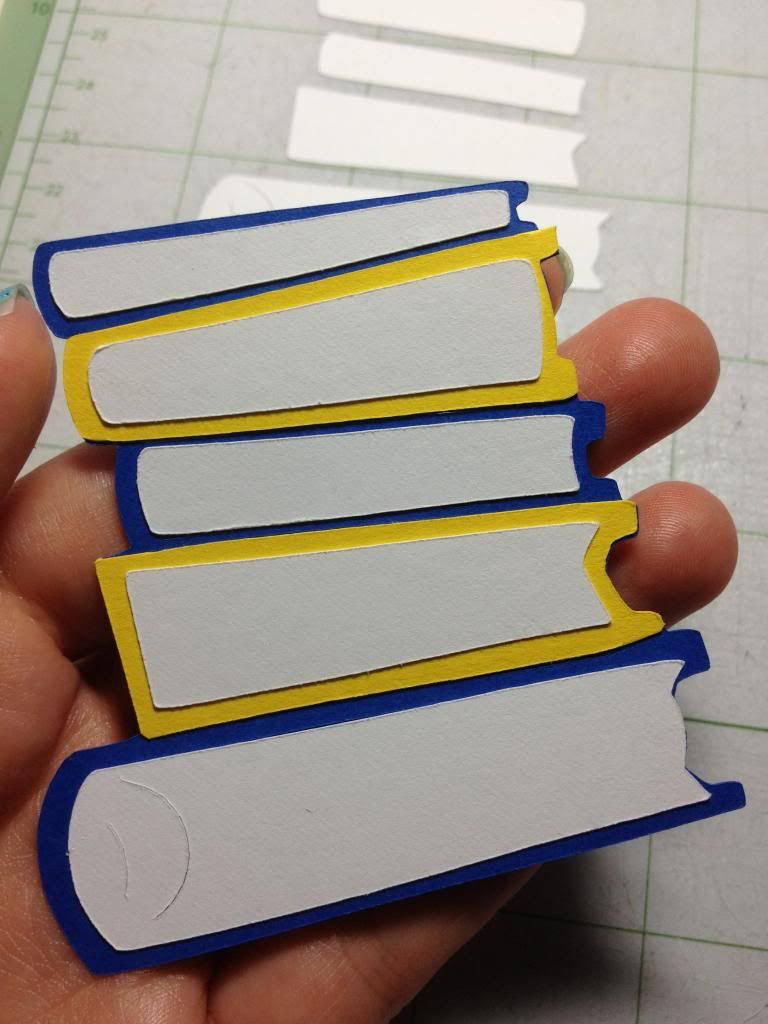
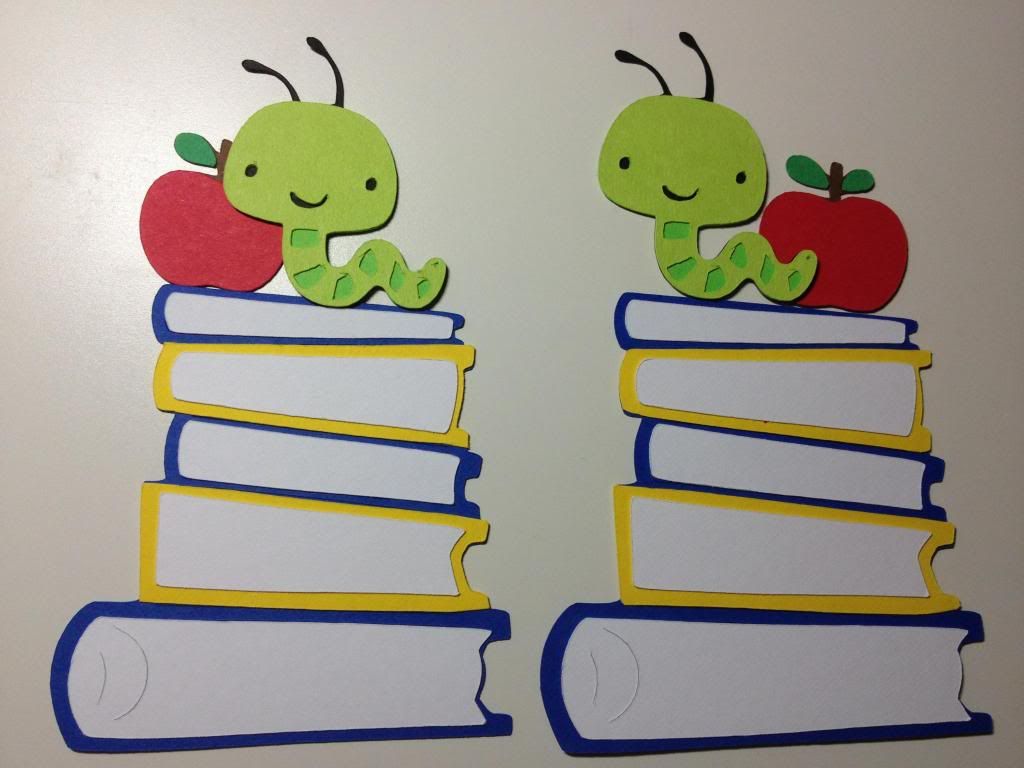
The first task was to cut out the stack of books from the "Locker Talk" cartridge at 2.75 inches. It actually cuts as one color, but I cut it out in blue and then again in yellow. I snipped the 2nd and 4th book and glued it on the blue piece so that the colors of the covers wouldn't be all the same.  


This clearly took a bit more time, but the result was worth it. I have seen others use a pencil to make it look like there are pages on the white portion of the books, but I didn't want to mess with it.


The apple was cut at 1 inch from "Create a Critter" and the worm was cut at 1.75 inches from the same cartridge. I checked the sizes on Craft Room to make sure it would work with the books. I played around with the location of the worm and apple to see where I would end up placing them. I actually took this picture to send to Howard for help with placement. I actually ended up changing the placement entirely because I wanted it to be a little shorter.


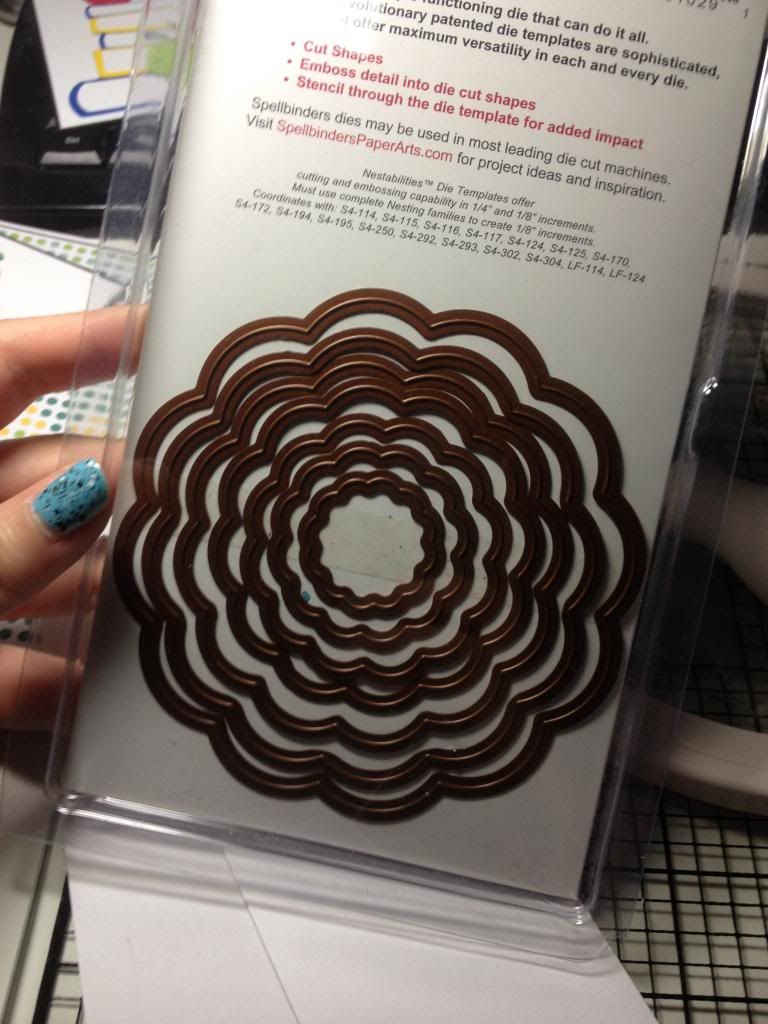
I needed a way to add the "thank you" sentiment from Pink by Design's set "Scripted Year." I used the 3rd smallest Spellbinders Nestabilities die from the Big Scalloped Circles Large. I needed a circle to fit into it, so I cut them out at 1 5/16 inches using the Martha Stewart circle cutter.


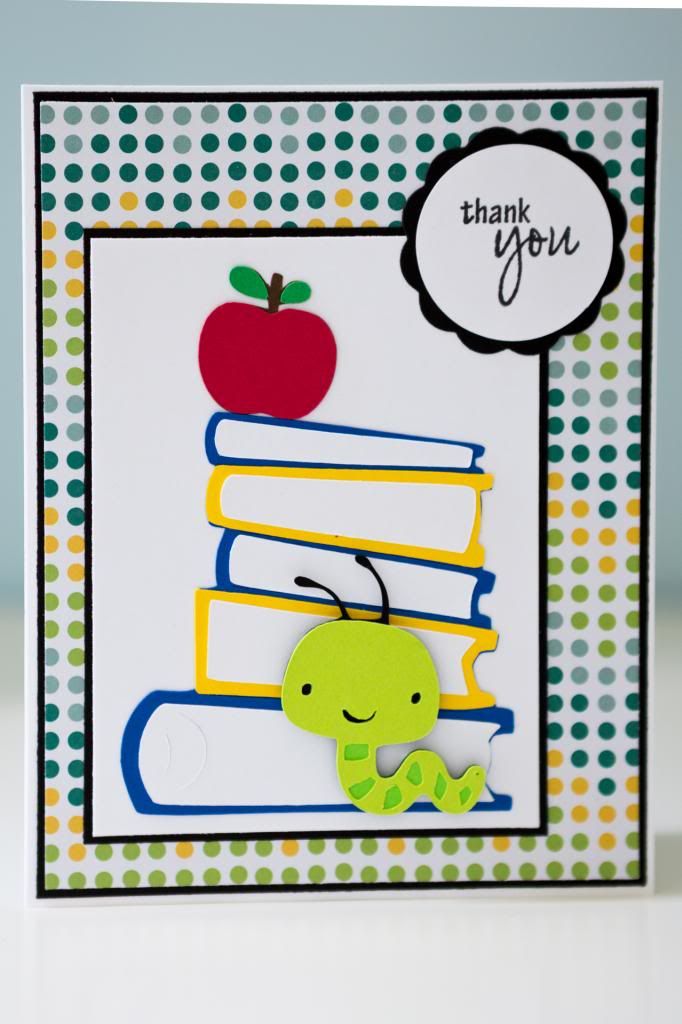
And after all that work, this is the final result!


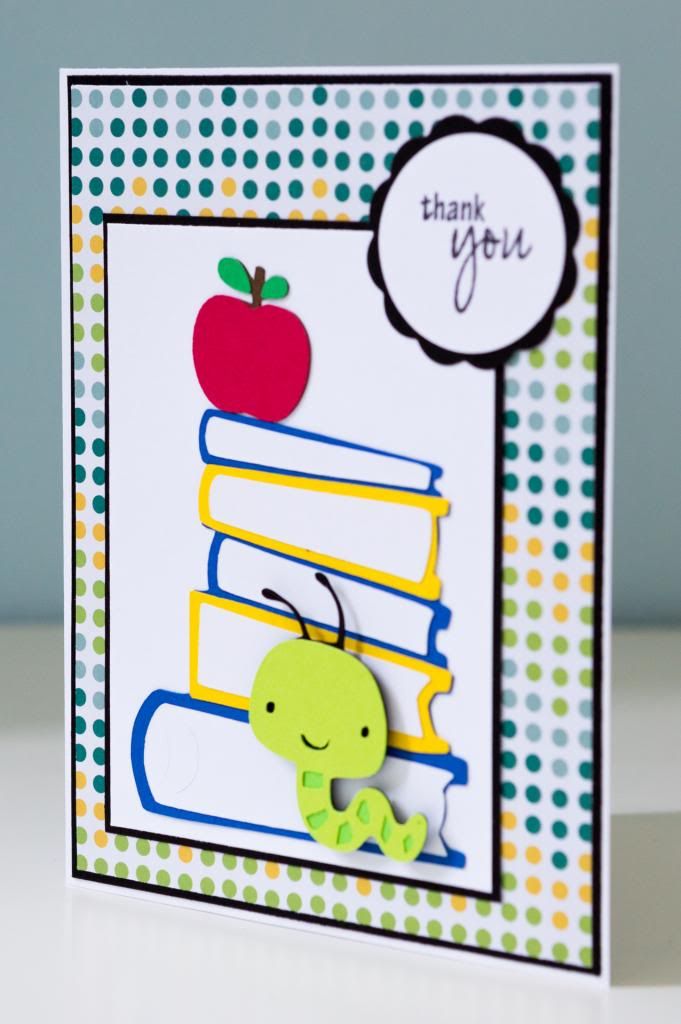
The card base was the standard A2 size at 5.5 x 4.25 inches, but I chose to make the layers thinner than normal. The larger black mat was actually cut at 5 3/8 x 4 1/8 inches, and the polka dotted patterned paper was 5.25 x 4 inches. Lastly, the white layer was 4 x 3 inches for the image itself.


The itty-bitty worm was popped up every so slightly to give it a bit of dimension. Out of all the cards I had done that week, this was by far my favorite.


The funny thing is that as much as I love books, I don't know why we positively associate worms with them or with apples! If I were reading a book, I'd be pretty upset if there were a worm in it or anywhere near me!

Monday, June 30, 2014

House Card

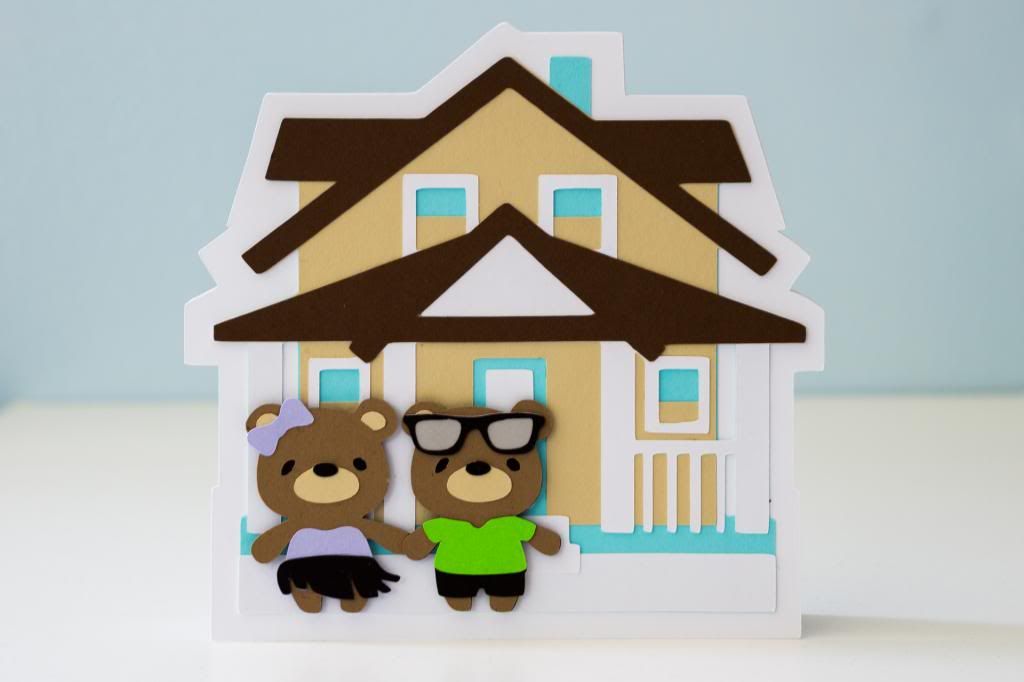
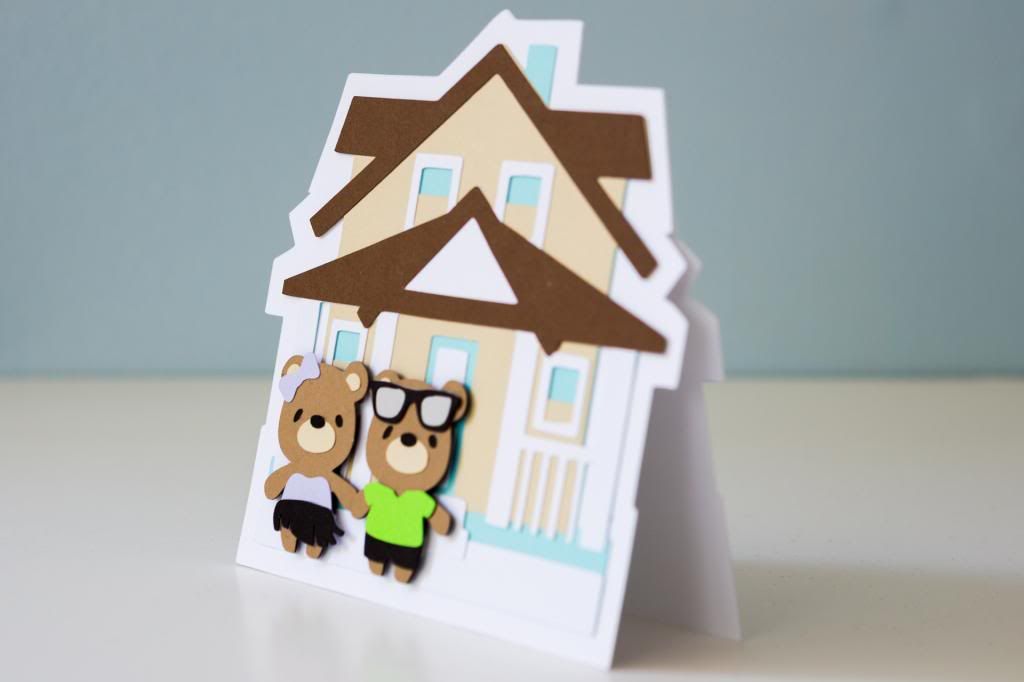
I made this shape card for a customer who wanted to thank her boyfriend for renting a house for a big birthday gathering with all of her friends. I used the house from the "Just Because" Cricut cartridge, and the bears are from "Teddy Bear Parade."


This was either done before I started getting back in the habit of recording the measurements of all the cut pieces or I just can't find where I have them saved on my computer! Nowadays, I just keep the measurements on the desktop Sticky Notes program so I can copy and paste it when I post the card on my blog. Once that's done, I can just delete those few lines. Oh well! This was clearly a unique card for a special circumstance, so the need to know the sizes because I'll need to redo it is rather unlikely!


I used the shadow feature for the house to use as the base. I cut it out twice and scored the back piece before putting adhesive on it to stick them together. I really like how this card came out, and it's always fun using a Cricut cut I've never used before!

Saturday, June 21, 2014

Love Card

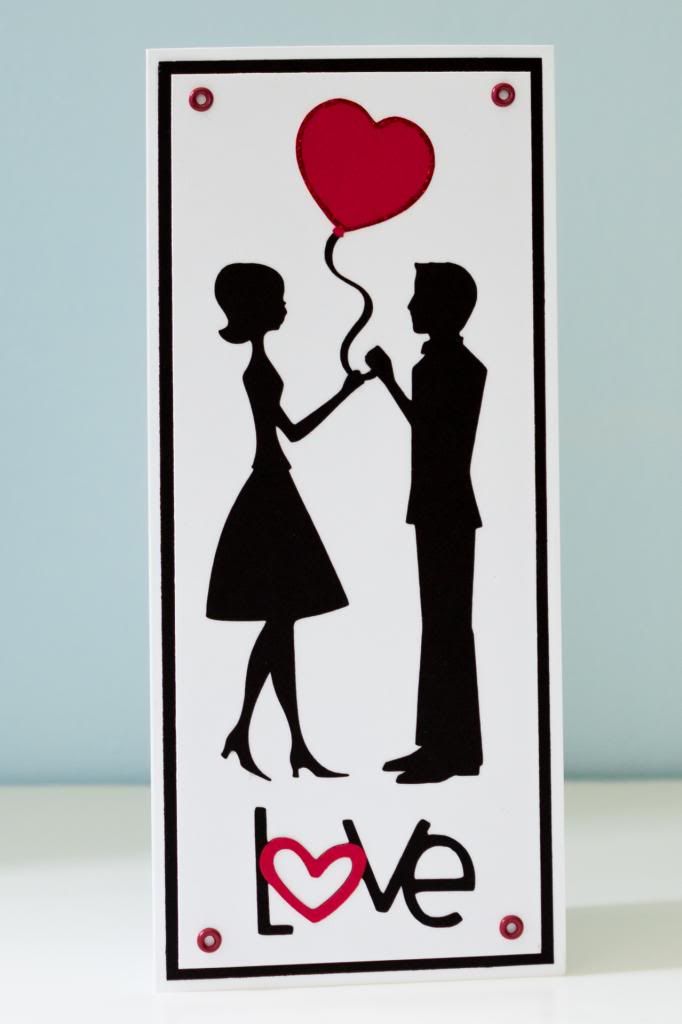
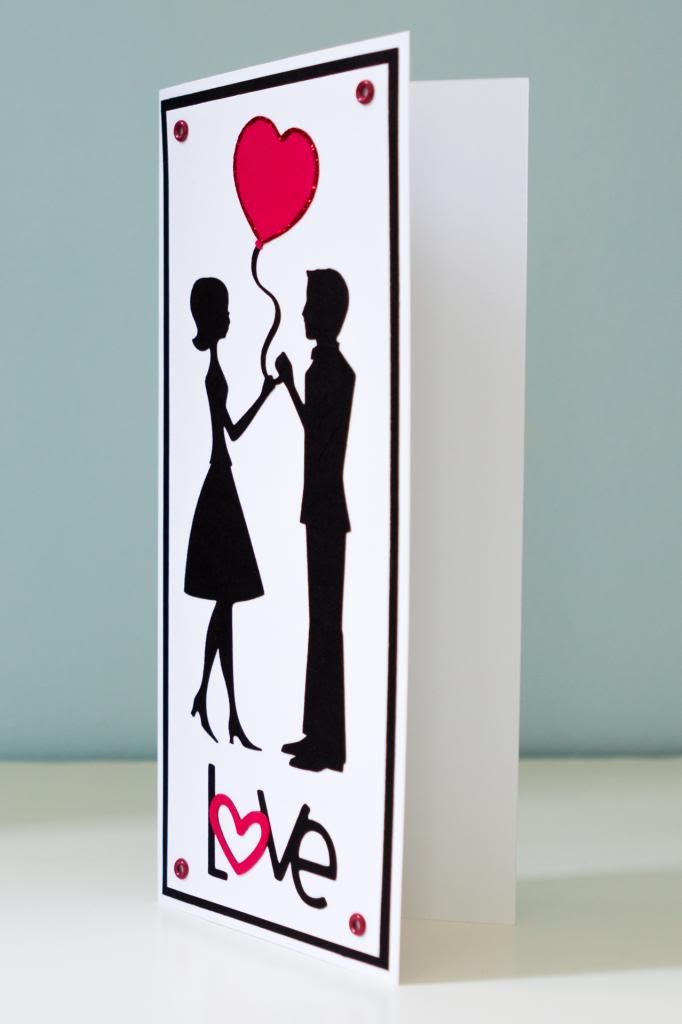
A friend recently requested a custom engagement card. Since I didn't have any information about the couple, I chose to do a clean and simple look since I wouldn't have to be very specific. I knew I was going to use some silhouettes from the "Sweethearts" cartridge, so I decided to use a 4 in by 9 in card base.


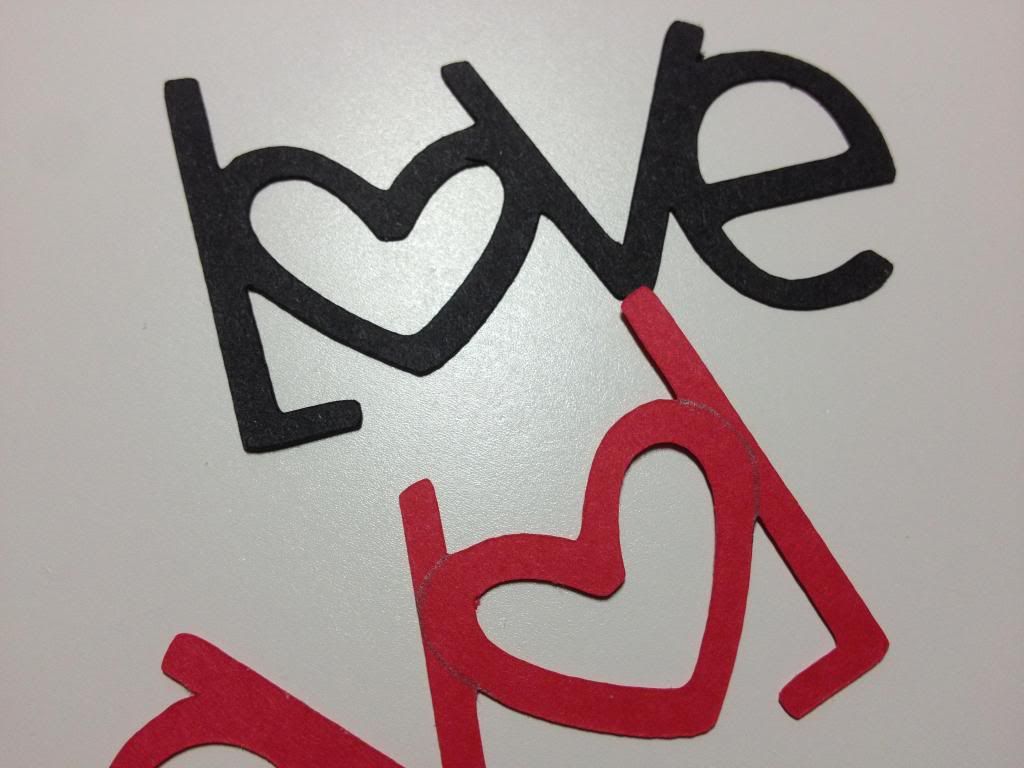
The couple was cut at 5 inches while the balloon was cut at 1.5 inches from the Sweethearts cartridge. The "LOVE" sentiment was cut at 3 inches from the "Simply Sweet" cartridge. To make it a bit more interesting look, I cut the "LOVE" sentiment in black and in red and trimmed the heart portion to glue on top. I posted this picture last week or so.


Even though I knew the card was going to be primarily black and white, I still wanted it to be a little bit more colorful so I added eyelets using my Crop-A-Dile through the top white and black layers of the card. The last touch was using a bottle of red Stickles to outline the balloon.


I thought it was pretty cool that I was able to incorporate eyelets and Stickles since I haven't used either of those things in ages. Though the card as a whole is fairly simple, I really enjoyed putting it together!

Thursday, June 19, 2014

School Bus Card

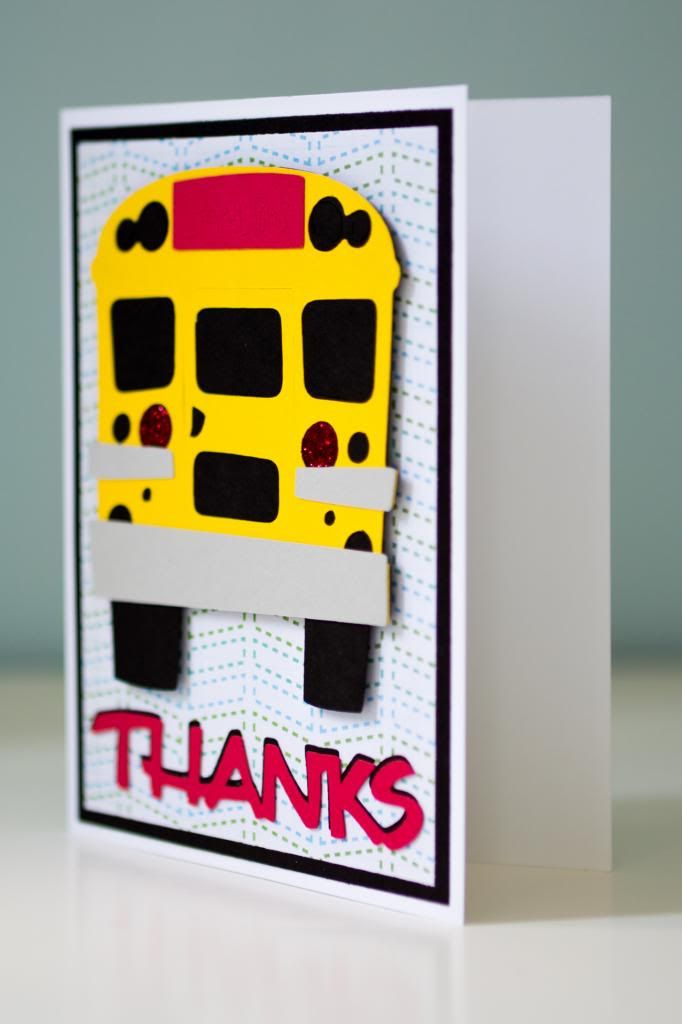
This school bus card was made for a custom order. The customer wanted cards to thank her students and parents who gave her gifts at the end of the school year. The only guidance I was given was that they had to be thank you cards, so it was very open for interpretation. I decided to do something school-related, of course, especially since I very rarely use my cartridges that have those images on them! In fact, I actually had to add "Cartridge: Locker Talk" to my list of labels since apparently I never used it before (at least on something that I posted on my blog since I know I used it once before).
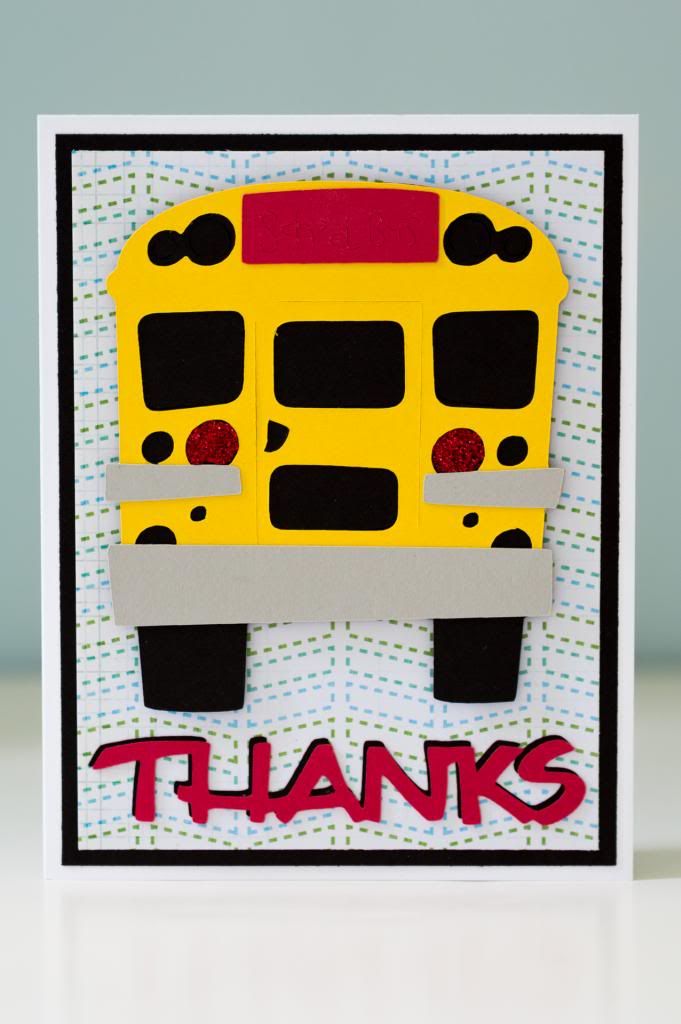

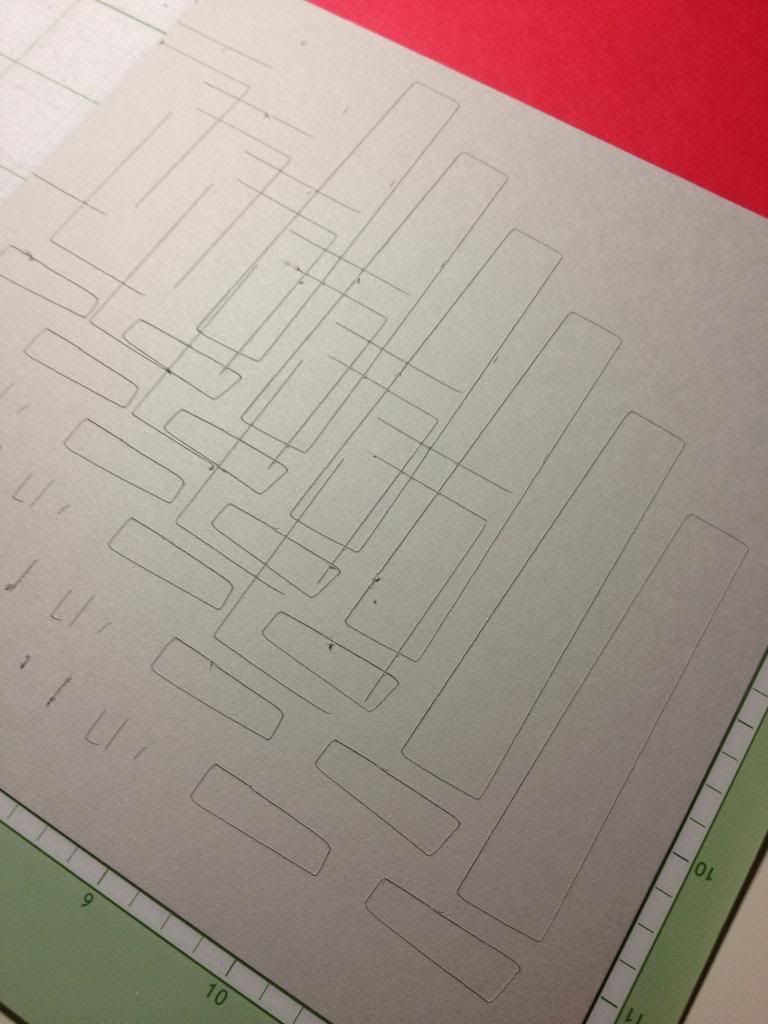
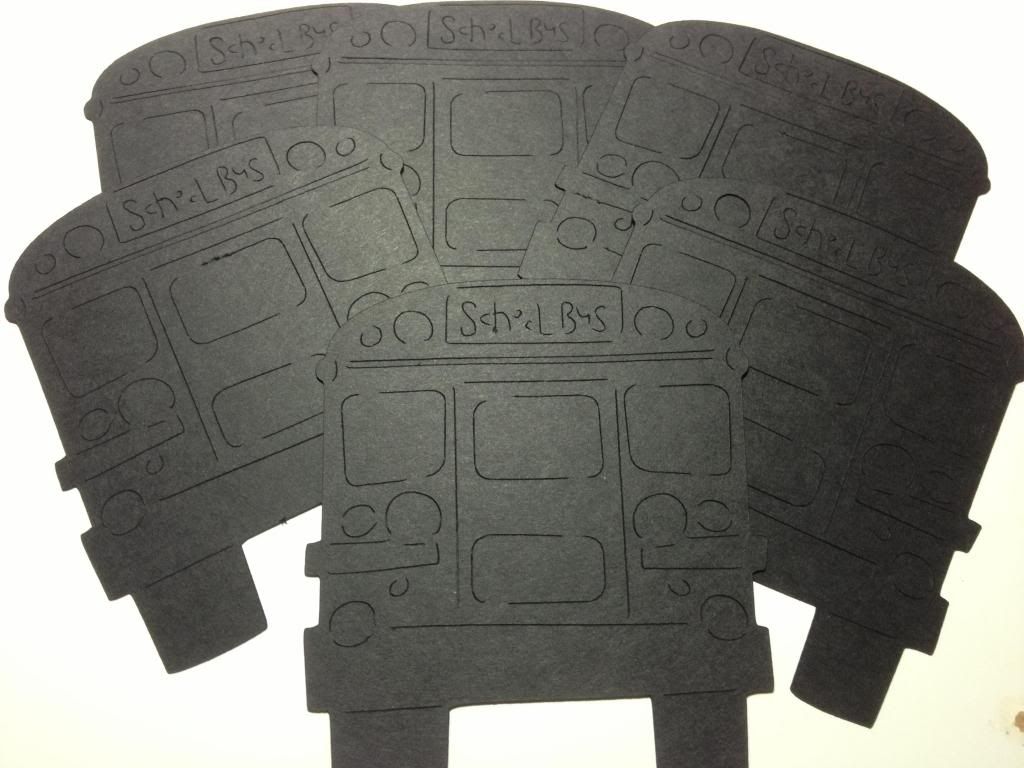
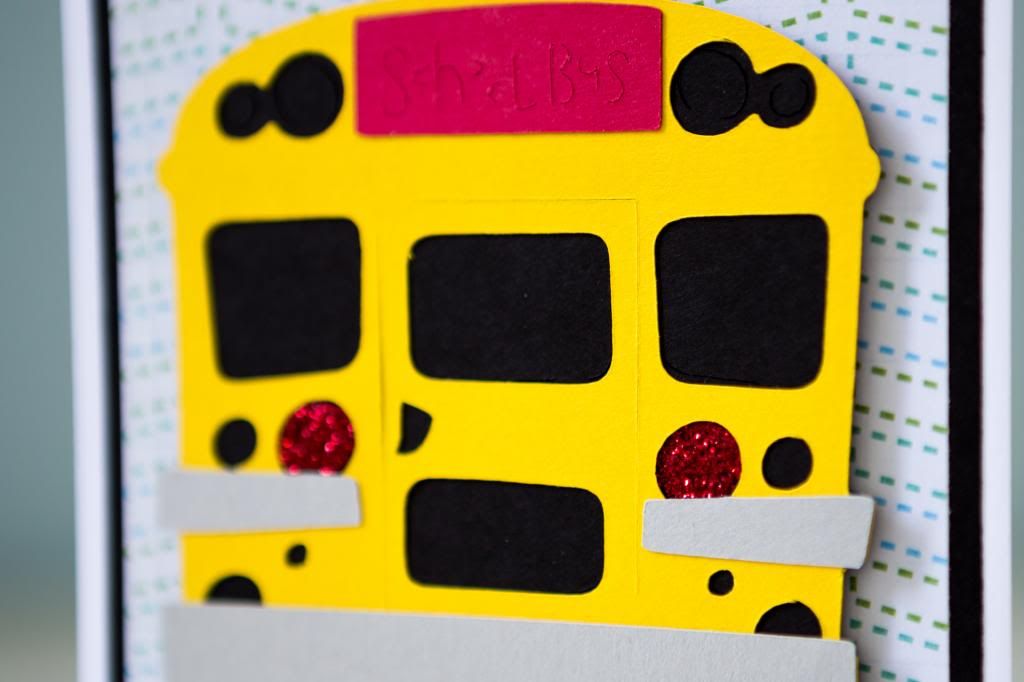
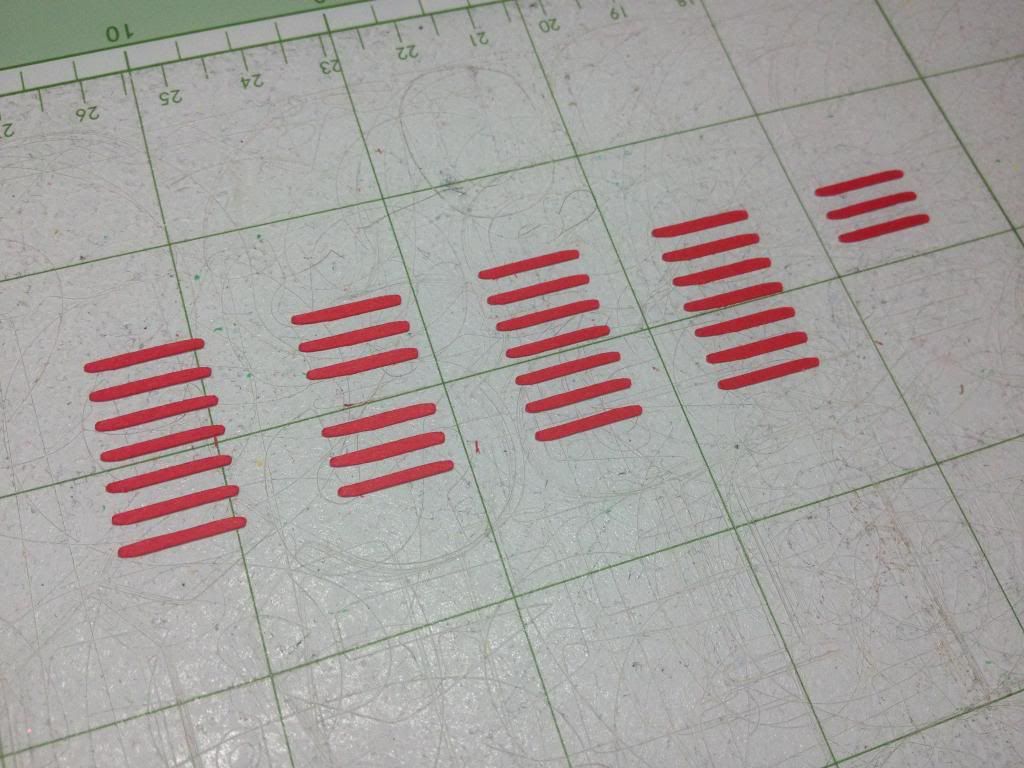
I thought the back of the school bus was very fitting for the end of the year. The image was cut from "Locker Talk" (one of my first few cartridges!) at 3.75 inches. I have to say that this was a rather frustrating image to use! A lot of the older cartridges have all the pieces cut as one layer, so that means you'd have to cut out the yellow part, the red part, and the gray part in EVERY color. Thankfully, with the Gypsy or with Cricut Craft Room, you can hide certain cuts to separate them. It also makes it easier to mass produce. Unfortunately, even though I hid certain cuts, not all of them showed as an option to hide, so they cut anyway as you can see in the picture below. 


Although the cut was a little frustrating, I still was happy with the image as a whole because of how detailed it was. This is how the first black layer looked.


The "thanks" sentiment was cut from the "Wild Card" cartridge at 0.667 inches. It seems like an odd measurement, but it's in proportion to the other images on the page since each page is supposed to have all the elements for one card. It's kind of interesting how I cut out a lot more sentiments now instead of automatically stamping them. I think that with some cards, it makes it more complete. For this one, I cut it out in red and then in black and just created a shadow with the black layer since there was no option for a shadow cut on the cartridge.


I thought the back needed a little extra something, so I used Stickles to fill in one of the circles! I'm sure it would've been more interesting to add the glitter glue to more of the circles, but it actually used up a lot of my small bottle so I kept it as is.


Lately, I've also been using an extra black mat in my layering before I put the patterned paper on the card. I think it looks better that way even though it is an extra step.


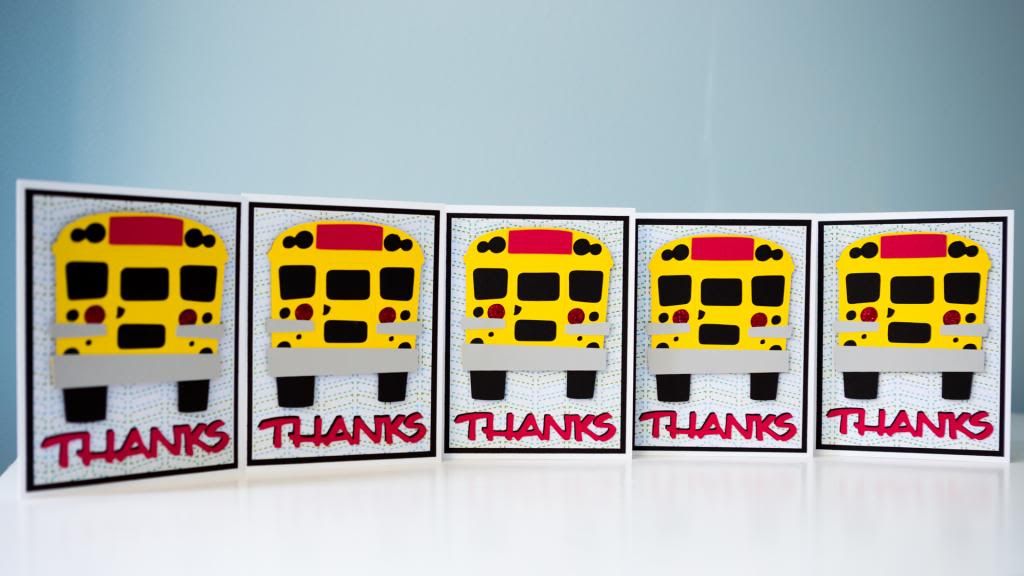
The picture shows 5 cards, but it was a complete set of 6. I consider 6 a set because I can get all the patterned paper layers from one sheet of 12x12 paper. I'm rather happy with how this card turned out and am happy I got to use what might be an otherwise obscure image!

Tuesday, June 10, 2014

Bun in the Oven

Does anyone know how the phrase "bun in the oven" originated? It's kind of funny to see pregnancy announcements where the couple puts a bun in the oven. The greatest one is when the mom goes on a treasure hunt in the kitchen for her gift!

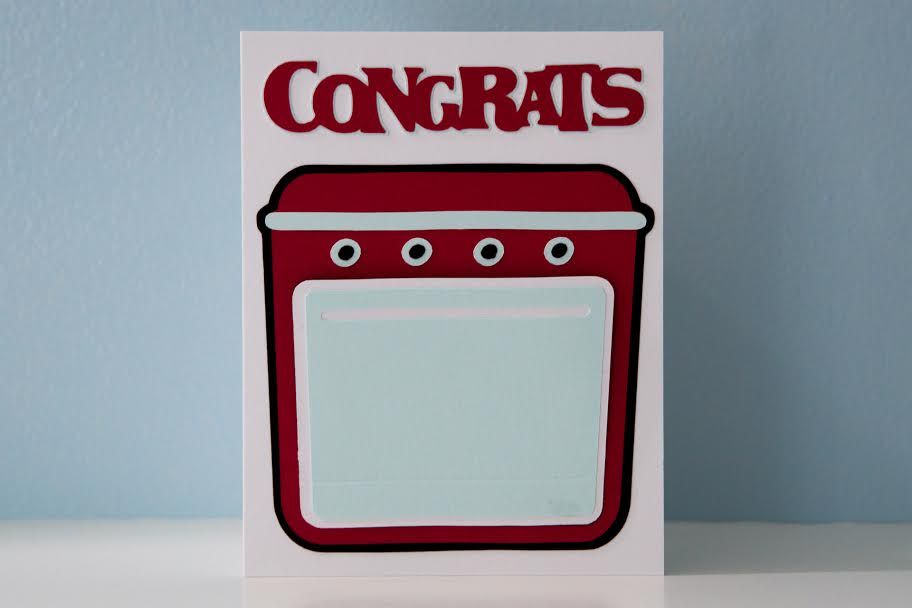
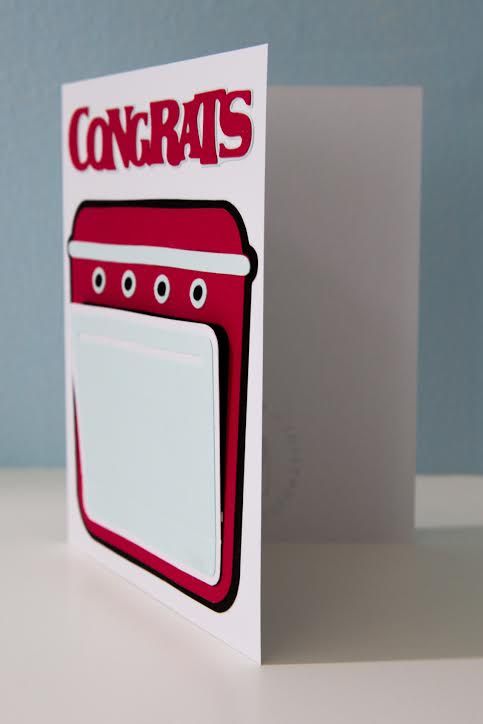
Well, the request for this custom card was for a bun in the oven to congratulate a couple who recently found out they were pregnant. Because of the wide variety of cartridges I have, that was possible!
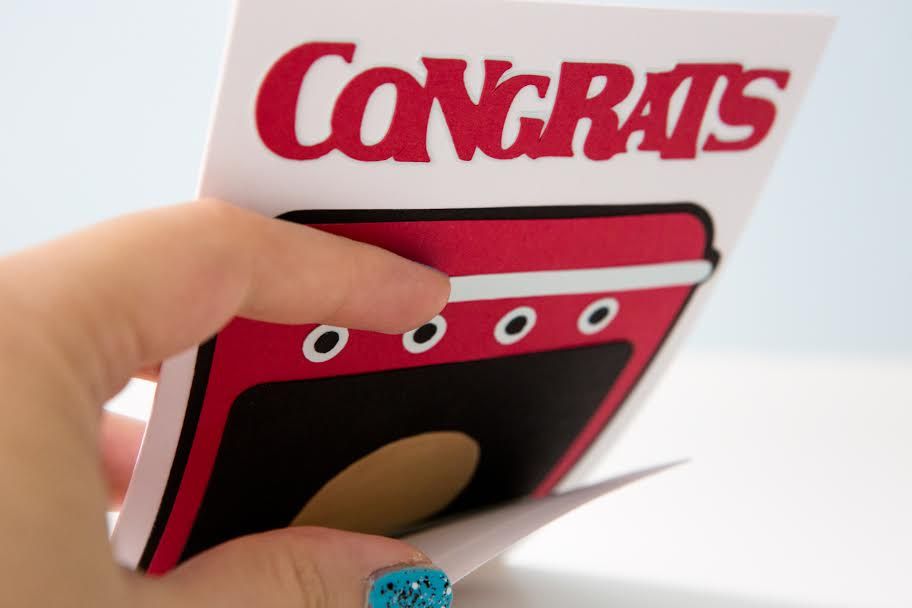

The oven was cut from the "From My Kitchen" cartridge at 3.75 inches. I followed the same color scheme as the card I food here. I adhered the two pieces of the oven door together and then scored it so that it could open, but I just didn't fold it down.


I had to enlist the help of Howard because I couldn't figure out what to do with the bun. I Googled it to see what others did, and they put in cupcakes and such. He did me a huge favor by just cutting a little piece of white paper in the shape of a bun that I just colored with a Copic marker.


Lastly, the "congrats" was cut from the "Stamping Solutions" cartridge at 0.75 inches. I used the shadow feature as well so that it would add a little bit of depth. Even though it seems a little simplistic because there's no background patterned paper or anything like that, I still like how it came out since it was a specific request. I'm sure it's not as easy to go to the Hallmark store and get a card with an oven on it!
Tuesday, June 3, 2014

Pomp and Circumstance All Day, Err Day

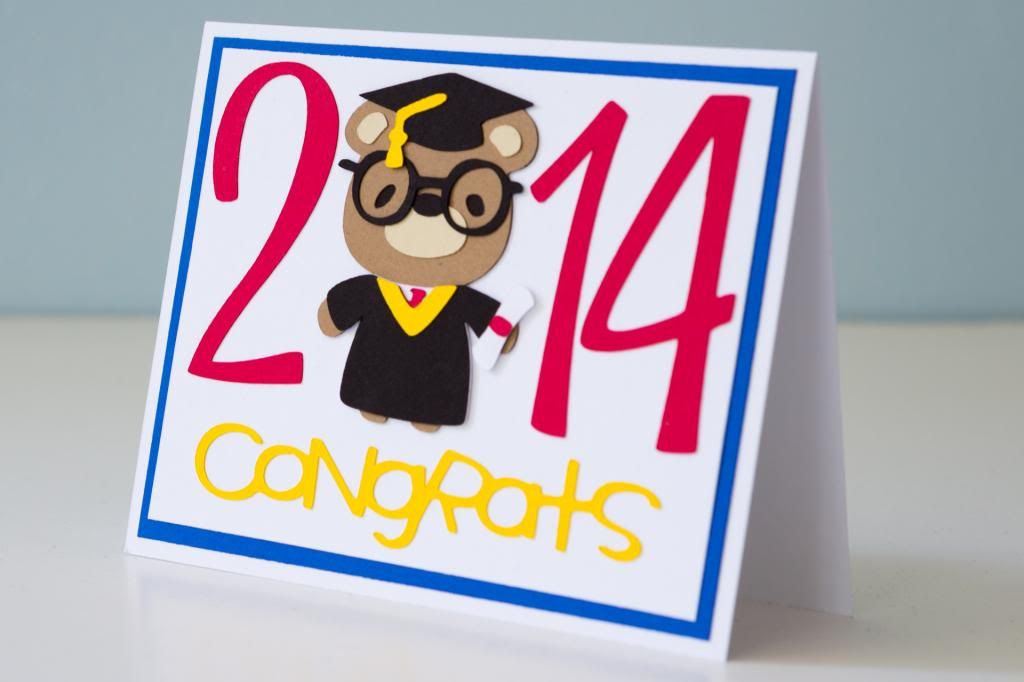
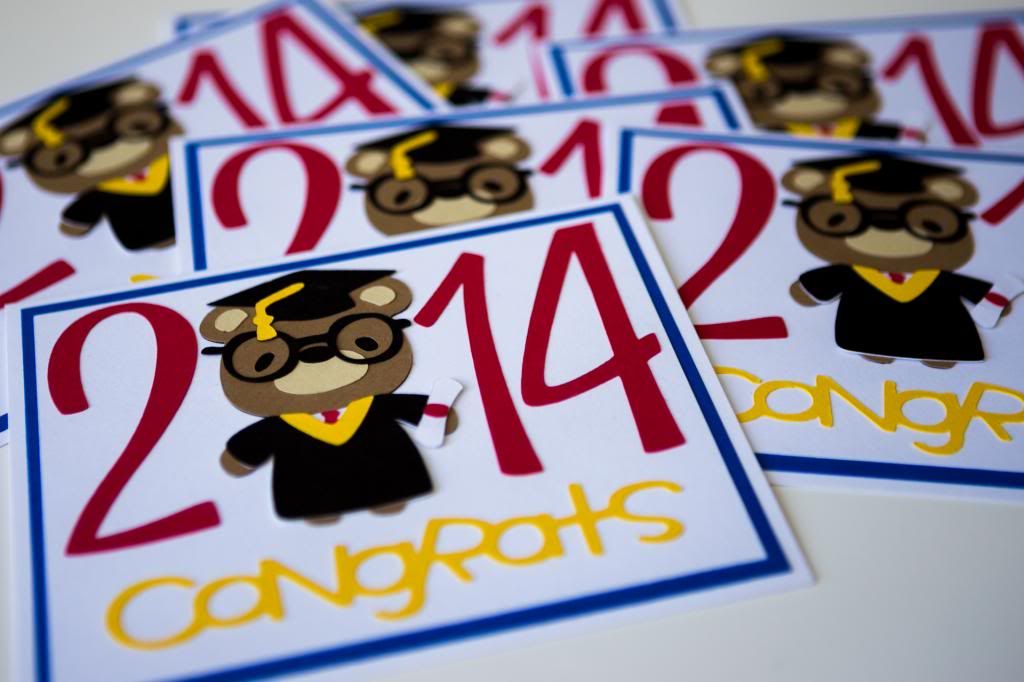
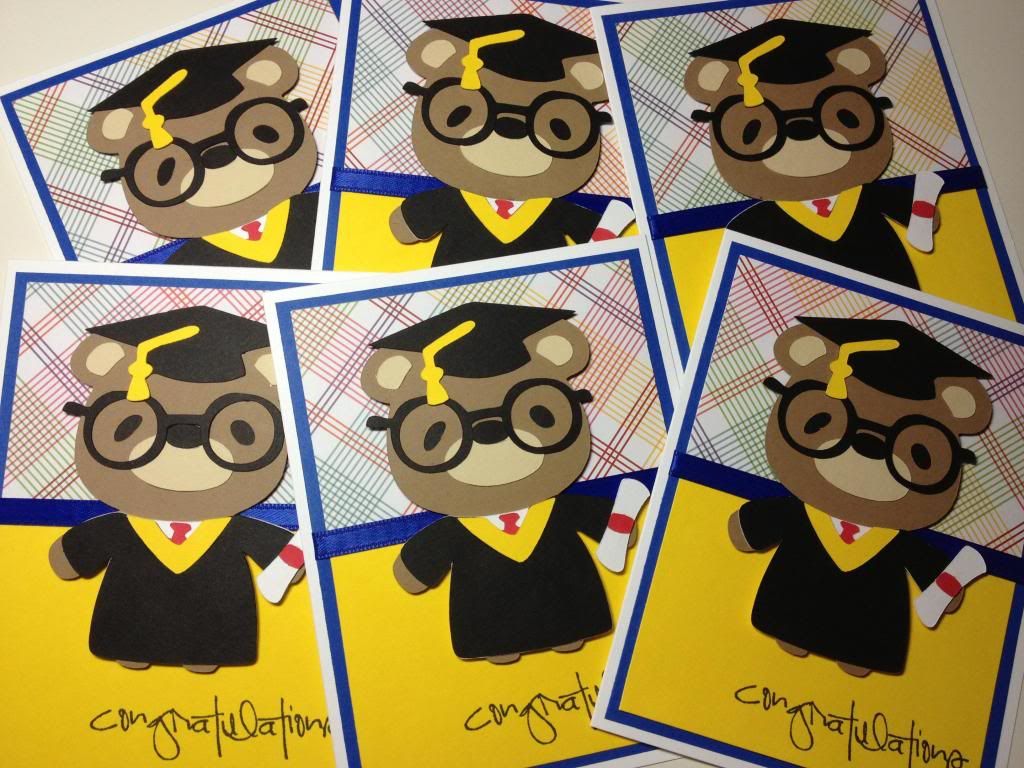
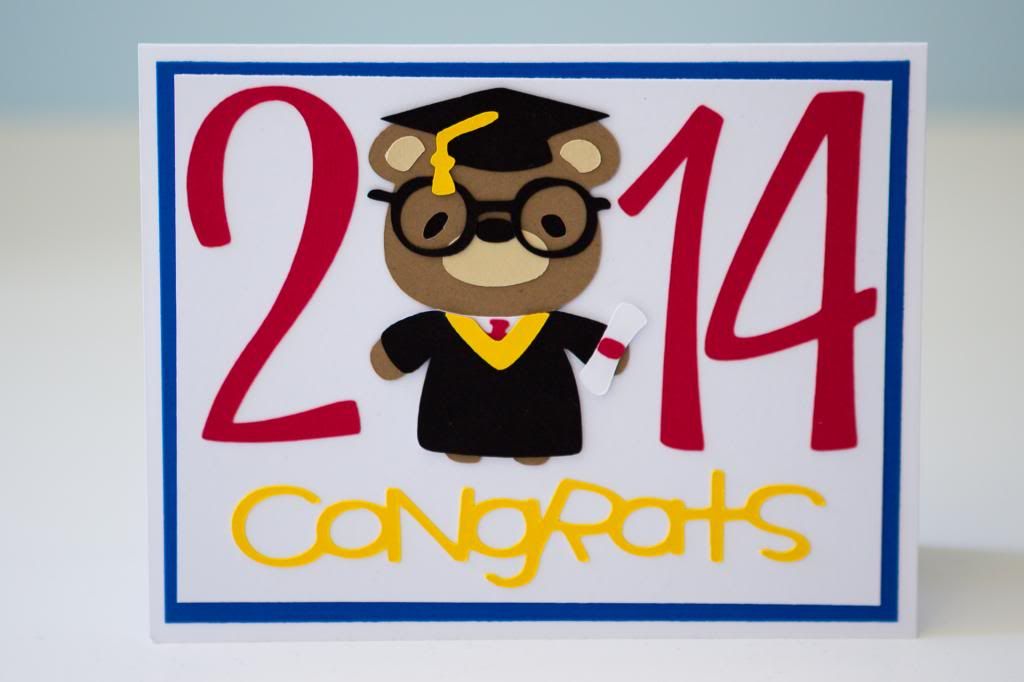
I had yet another custom order for a set of graduation cards recently, and I was initially going to make the same basic ones I did last time. However, once I got up to making them, I really wanted to do something different just for variety. Instead of cutting the larger bears, I cut the bear from the Teddy Bear Parade cartridge at 2.5 inches because I knew I wanted to use the bear as a replacement for the "0" in 2014.


The numbers were cut from the Lyrical Letters cartridge at 3.75 inches. I thought about stamping the congratulations, but because of the size of the numbers, I had a lot more space on the card than I had anticipated. Instead, I found the "congrats" cut on the Simply Sweet cartridge, which made it a lot easier on me since I didn't have to find a font and weld all the letters together nicely.


Just to add a bit more color and focus in on the design itself, I added a blue mat to the card, which I think made the card look better than putting it directly on the white cardstock only.


Hmm, how many more times do you think I'll be using this graduation bear this year? Haha.

Tuesday, May 20, 2014

Banner Bird

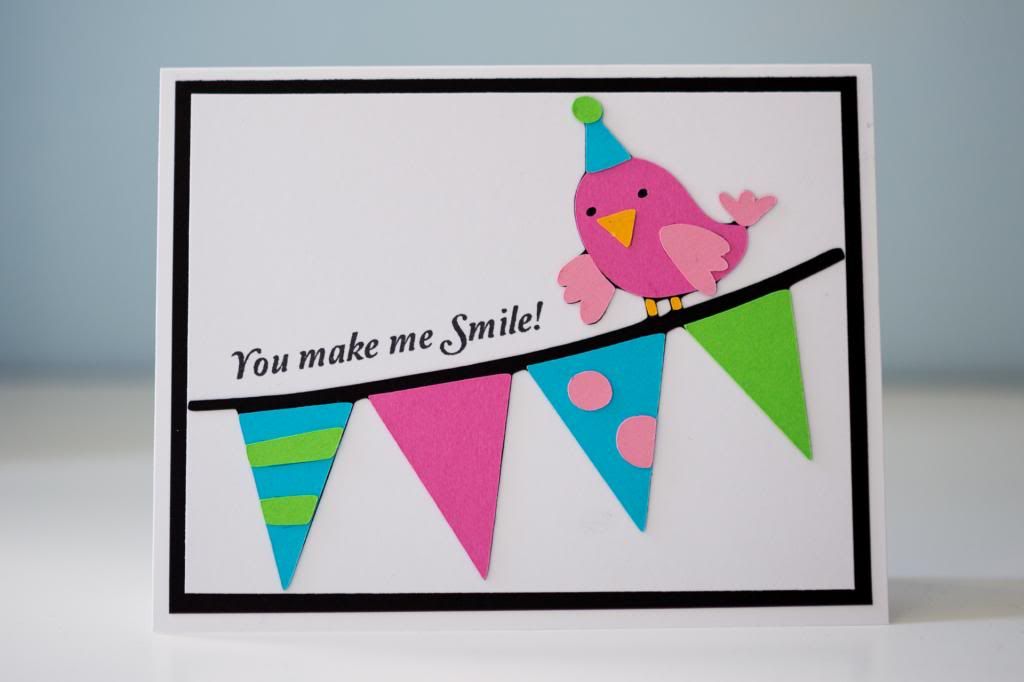
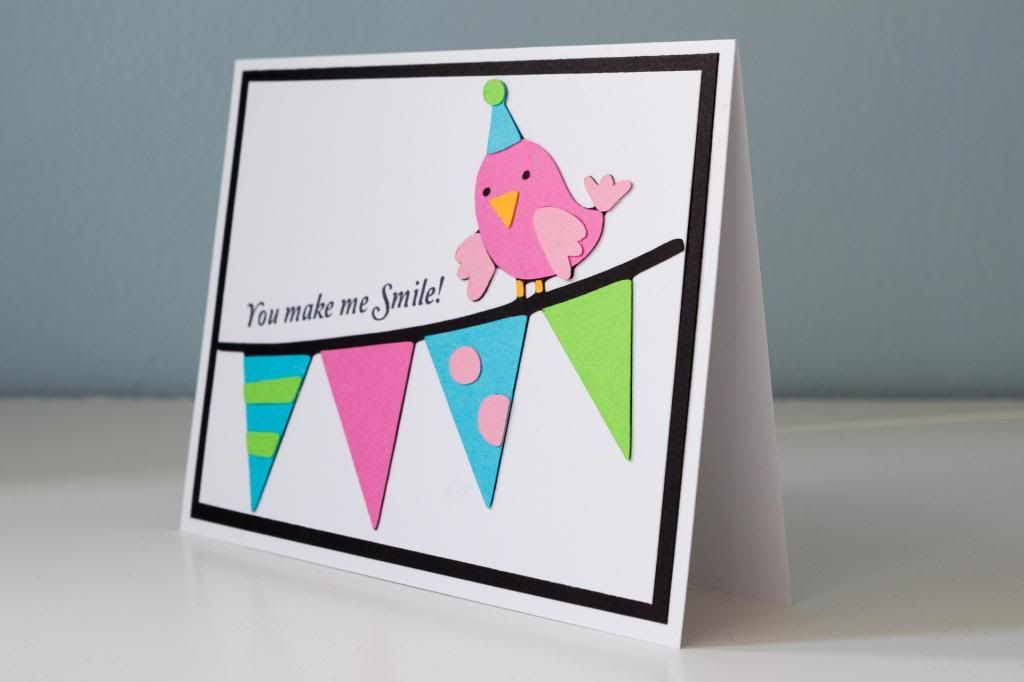
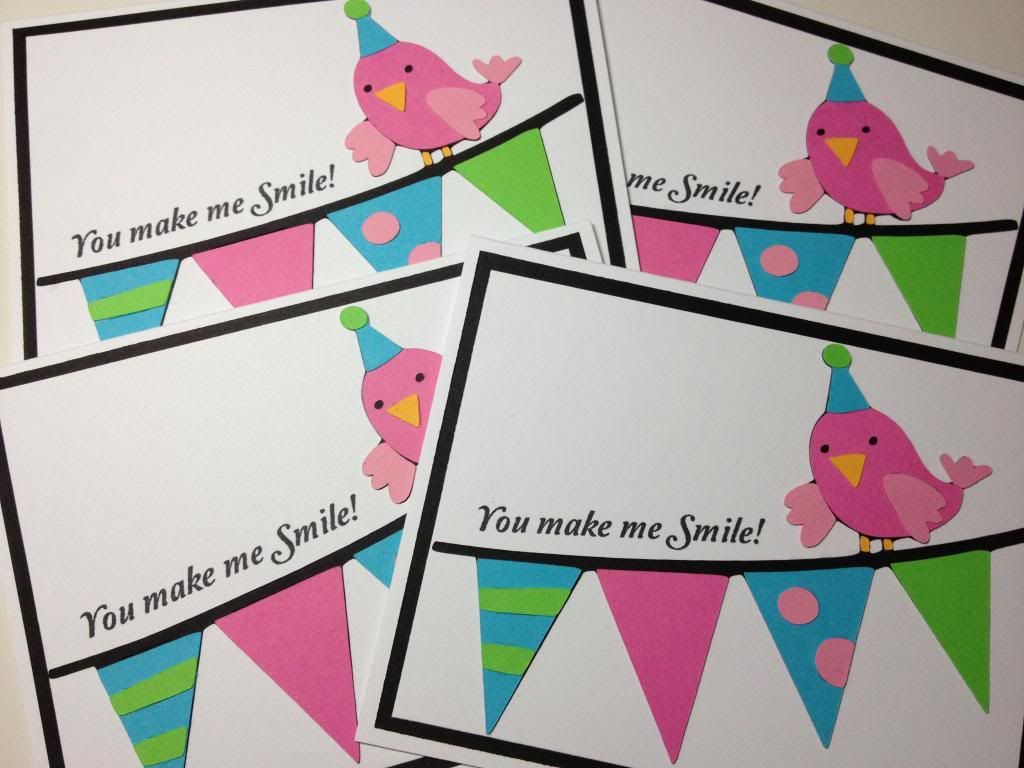
One of my recent custom card orders was for 4 thank you cards for birthday gifts. Since I wasn't given any specifics in terms of images or anything like that, I had the opportunity to use a cut from the Birthday Bash cartridge that I've never used before. 


The sentiment is from Pink by Design's "Simply Everything" set, which is one of the first ones I ordered from Sarah because of the assortment of phrases. Even though these were thank you cards, I felt that it worked to use something else other than "thank you." Plus, I wanted it to be long enough to fill in the space above the banner. Oh, and I also can't find my Inkadinkado set with all the "thank you" phrases on it! I usually bring that to school when I sub and do art projects with the kids, so it's not with my other stamps in the drawers.


I had fun making them and choosing the bright colors, but I know that if I had to make these in bulk, it'd definitely take a lot of work! The orange pieces for the bird's legs are so tiny! Thankfully, the Tweezerbees make it doable.


Custom orders really get me to use a lot of the images I've never used before! I feel as if I should go through my handbooks to see what else I can cut ...

Thursday, May 15, 2014

Graduation Bear

Because it's already May, the time for graduation is here! It's kind of crazy thinking that at the end of the school year, it can feel as if the year flew by, but throughout the first 85% of the year, it seems as if it's just crawling. 

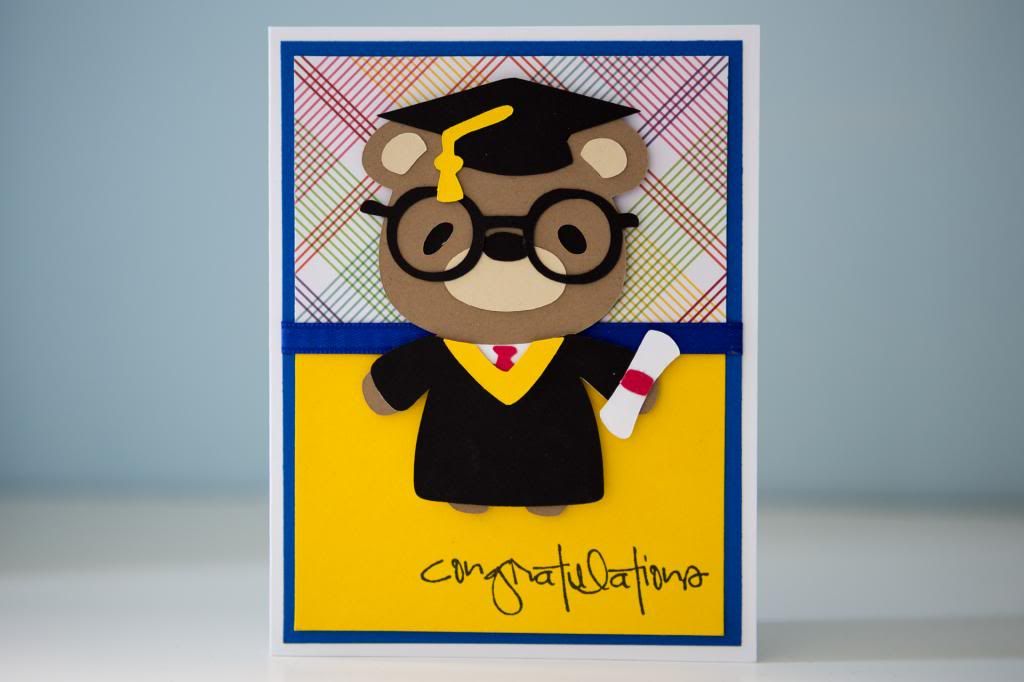
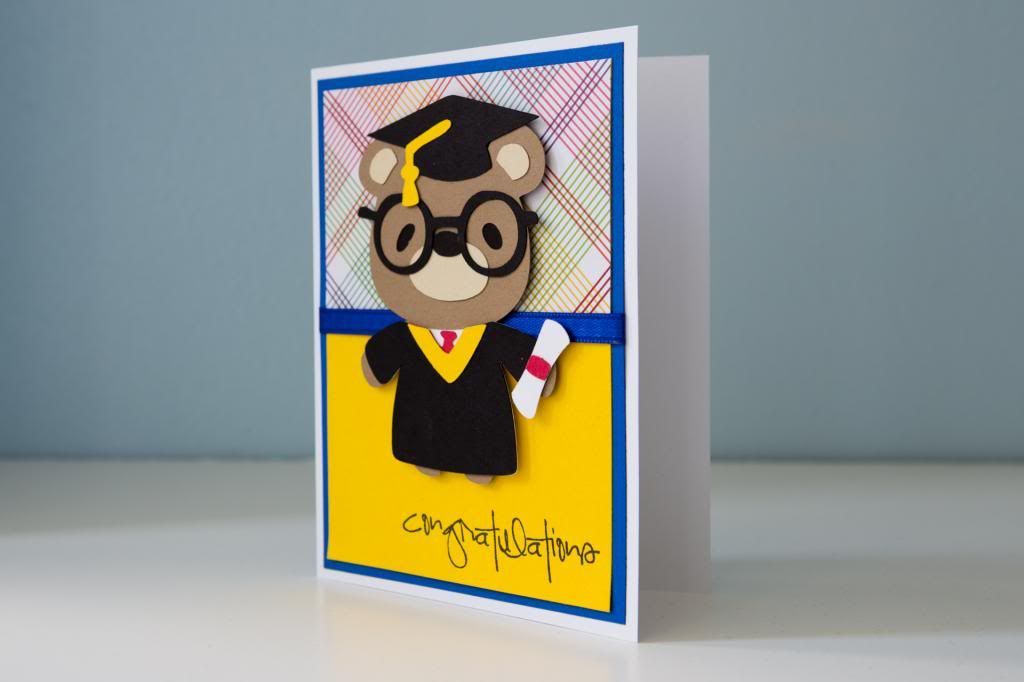
I had a custom order to fill that was for 6 graduation cards. Of course, I went back to the trust Teddy Bear Parade cartridge. I had actually seen other more basic cards on Pinterest that I wanted to try, but I figured they might be too clean and simple for a card order. 


As I've said before about this cartridge, sometimes it's strange seeing how there are so many unnecessary layers when cutting out the clothing items, but when they're put together, it makes sense because then the cut has a little bit of dimension instead of just being one flat piece. 


I thought about using the same layout that I used the last time I made graduation cards with this bear, but I don't have many sheets of the alphabet paper so I decided to change it a bit. I feel that the plaid was a little academic-looking while still being colorful, so I went with that for half of the base so as not to be too overwhelming. With some ribbon and an extra blue mat, the card was assembled. The last thing that was needed was a sentiment from Pink by Design's "Scripted Year."


Yay for completing another card order! Finishing 6 feels like an accomplishment, and it's just enough to typically utilize the full sheet of paper for particular layers. Now to focus on a large 50 card order once again!

Monday, March 17, 2014

Card x 50

I had mentioned a while back on Instagram that I had a HUGE order to fulfill because it was 50 cards! I thought to myself that it wouldn't be too difficult since I did make over 300 cards as the favors for our weddings. This ended up being a bit more difficult because they were not over-simplified but instead had layers. I initially thought I'd make a variety of designs so that I wouldn't get "bored" making the same thing over and over again, but I ended up deciding to make the same card that I made here because I knew I liked how it looked without it being too cutesy for my customer's clients.

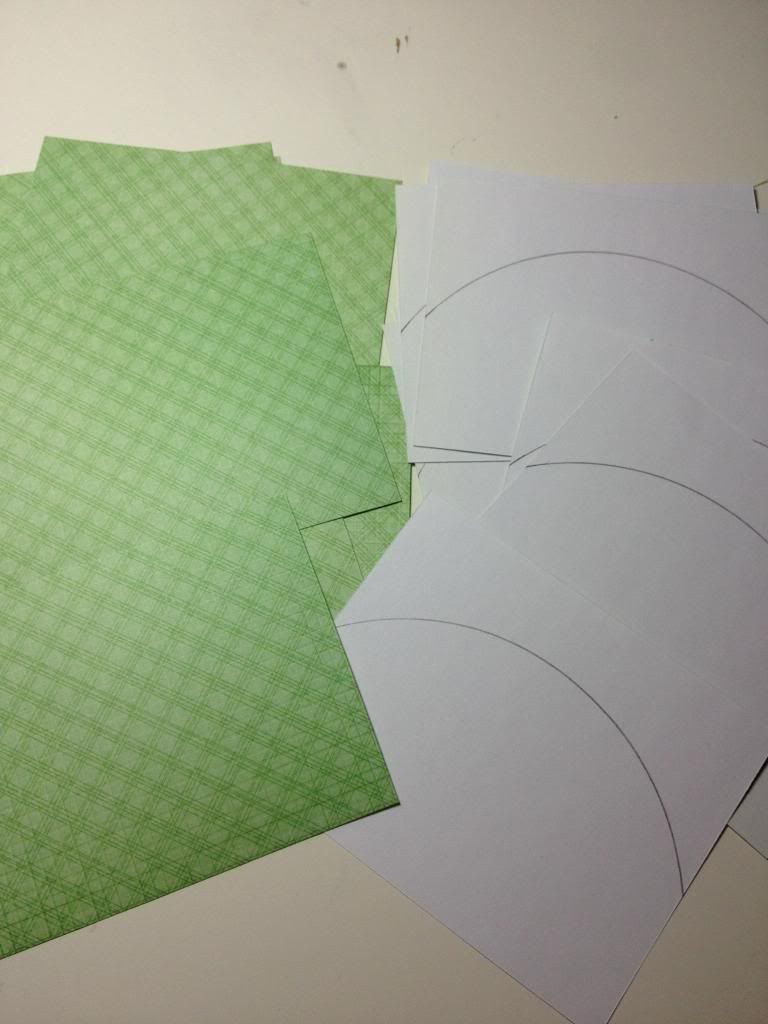
Despite having a Cricut Expression and a Silhouette Cameo and a Cuttlebug with dies and other tools to use, I actually had to use the lid of a container to trace the back of the green paper and then cut each one out to make the hills. I have to say it was kind of entertaining having to do things the old-fashioned way with tracing and cutting!


I had some good ol' Netflix and Amazon Prime (we had a free trial) on to watch TV shows while I adhered the cut layers together. 


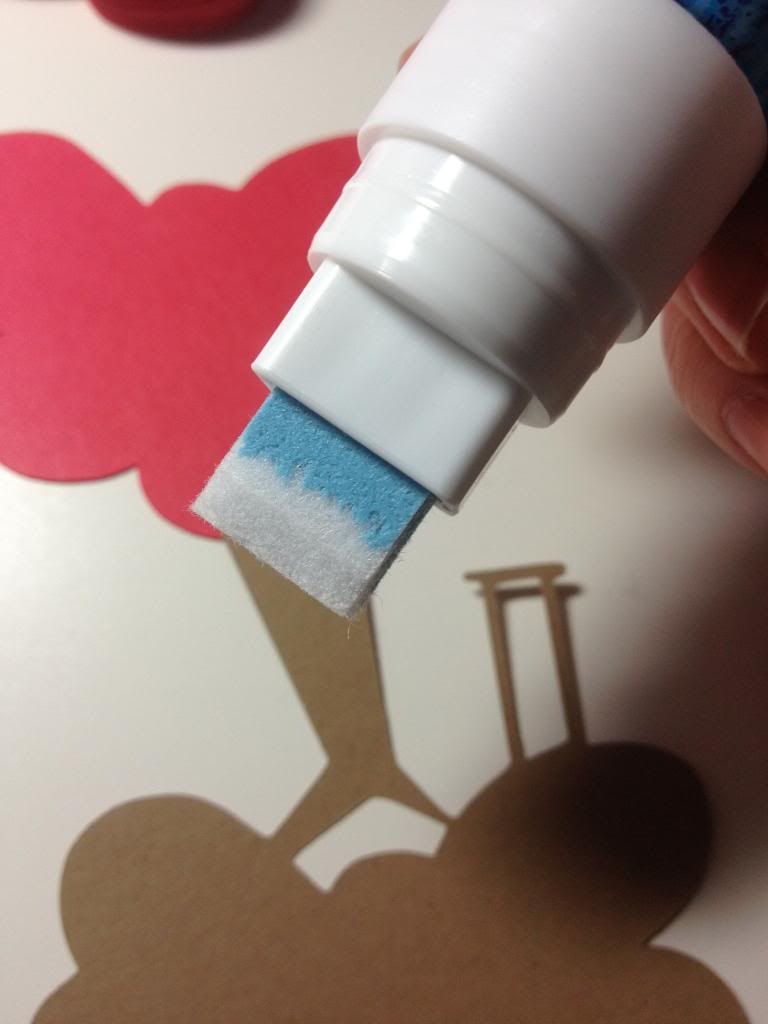
I posted this picture before, but I did have the fat Zig glue pen to glue the pieces together. I preferred using this instead of my ATG adhesive because it gave me a little bit of wiggle room to make sure everything was straight before it stuck on for good.


Each time one step was completely done, I was really excited!


The one part I was kind of avoiding was the small red piece for the swing seat. I needed to go back to the small glue pen and my trusty Tweezer Bee tweezers.


It took a bit of time to cut out the banners too since I have to use my Cuttlebug for that. I stacked the paper so that I could cut two at a time. I stamped them all and then added the foam adhesive. The sentiment "Welcome Spring" was from Pink by Design's set "Spring Has Sprung."


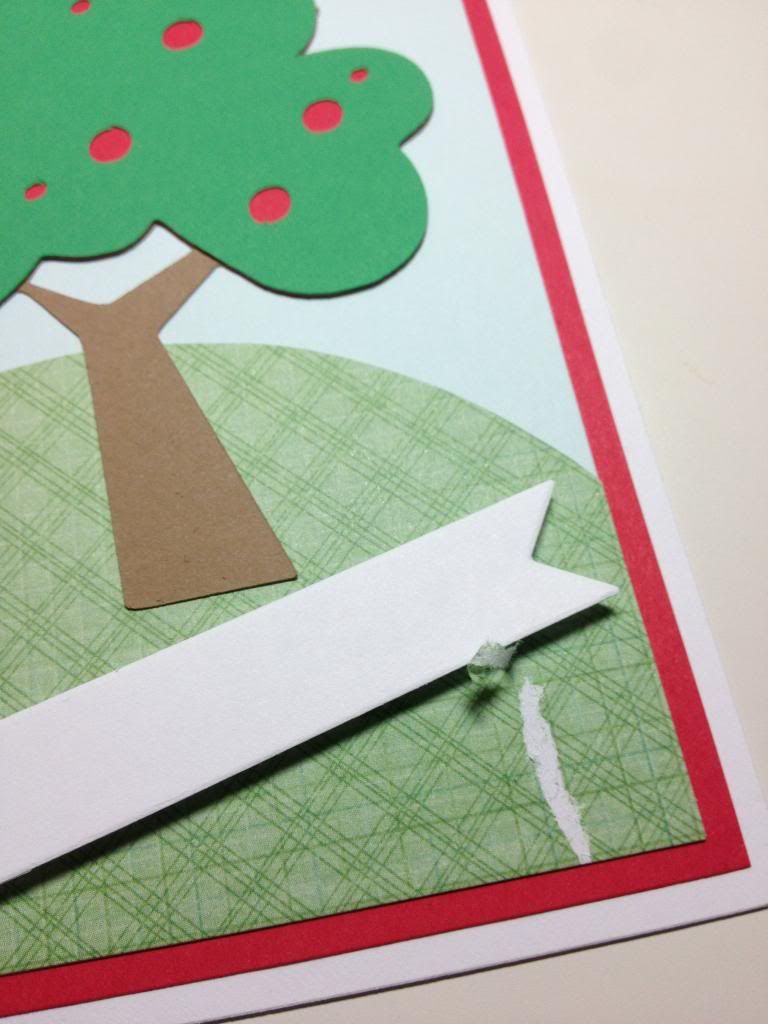
The last step was to add the banner to the front of the card. The only problem that occurred was that I had two banners stuck together and didn't realize it. Suddenly, I had a card with a banner and no sentiment since I had stamped the one on top! When I tried to peel it off, it ripped some of the patterned paper thus ruining the entire card! There was no way to salvage it. Thankfully, this is why I make extras! I had 4 extras just in case, so this rip meant I only had 3 extras to give.


As you can see, I actually had 3 slight variations with the cards. I ran out of the dark green patterned paper and had to find a replacement so there are two different hills. Then I also ran out of the super light blue paper and had to use something a little darker.


And there they are! Six boxes of cards all done and ready to be delivered! Getting some extra cash for crafting is pretty fun!