Showing posts with label Cartridge: Simply Charmed. Show all posts

Monday, September 1, 2014

Rainbow Smiles

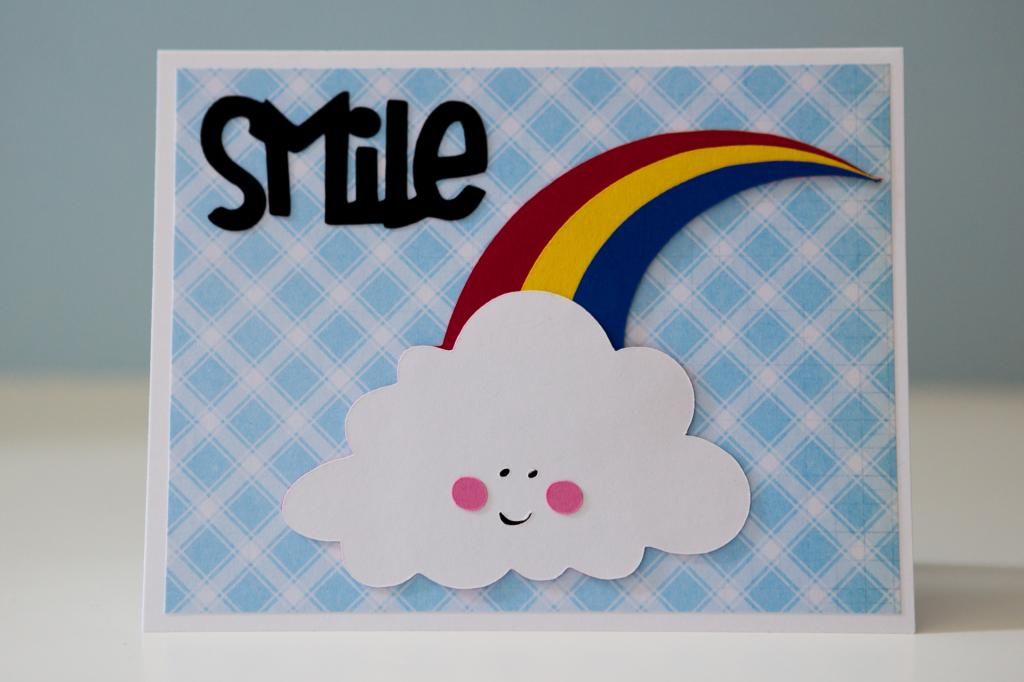
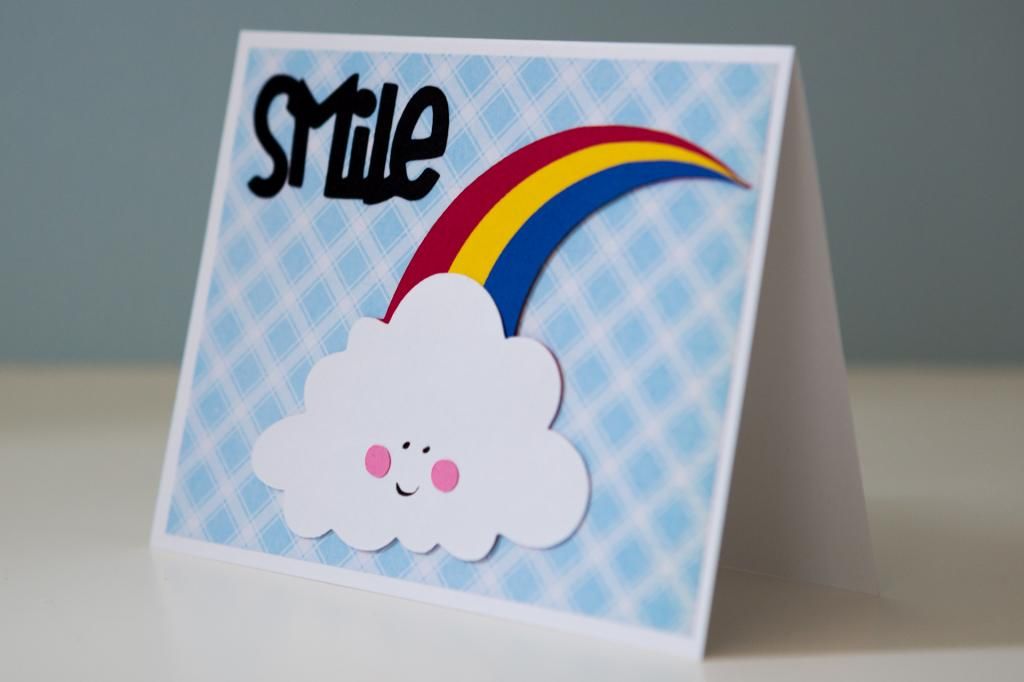
I made a very simplistic card recently for a custom order. I used the rainbow from "Simply Charmed" and cut it at 3.25 inches. I think when using this cartridge, they are much cuter when cut at larger sizes so that the eyes and smile cut out nicely. Either that or the face should just be omitted. 


I've also been going through a phase of cutting out the sentiment instead of always using a stamp. The "smile" sentiment is from the "Wild Card" cartridge and cut at 10 inches. I've mentioned it before, but the cuts on this cartridge are in relation to the base card so that's why it had to be cut at 10 inches.


It's clearly much easier just having 3 colors in this rainbow than the 7 that should be there instead. Plus, it's probably easier not having to look for a difference between indigo and violet!

Wednesday, August 27, 2014

Birthday Cupcake

When I want to craft just for fun, I come cross a lot of cuts that I think would be fun to do for birthday cards. Then when I need to make a birthday card for a custom order, I just immediately jump to cupcakes! I think cupcakes are for all days of the year, but pop a candle in it, and it just fits!

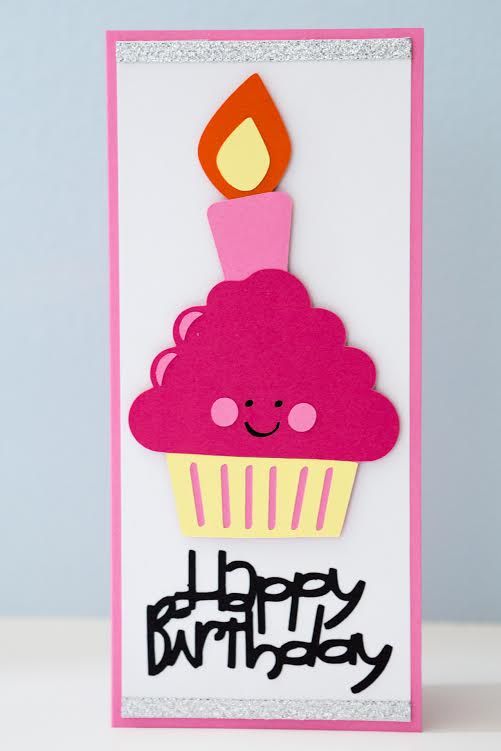
I did want to make this one a little different so I made a card base that would fit in a business size envelope. I actually really like 4x9 in cards mainly because I feel that when they are mailed, people don't immediately think of it as a card because it looks like it could just be a bill or some other important piece of paperwork.


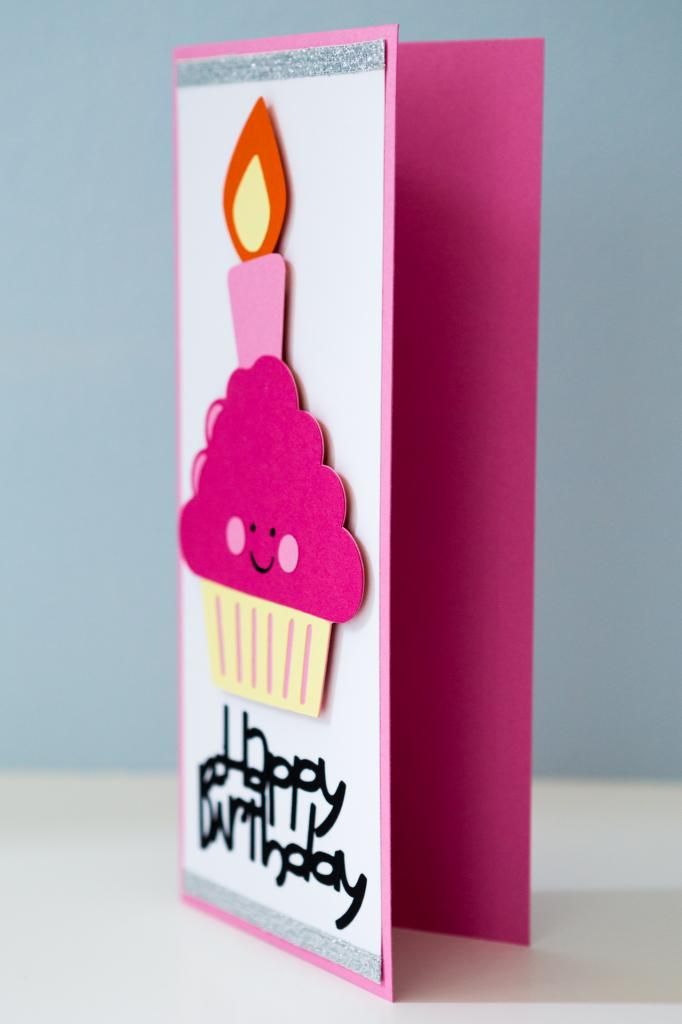
I didn't have any specific guidelines for this card, so that made the cupcake even more appropriate. It was cut from the "Simply Charmed" cartridge at 6 in. The face cut out without any issues since it was a larger size. Then since there was plenty of room underneath, I decided to stick with a Cricut cut for the sentiment instead of using a stamp so the "Happy Birthday" is from "Wild Card" also cut at 6 in (that seems weird, but you have to understand the cartridge to know why it's 6 in; it's all relative to the size of the card base cut on the page).


I was planning on adding the silver ribbon between the cupcake and sentiment, but I glued the sentiment on too high. Whoops! I then figured I'd use it to line the edge of the white mat on the top and bottom, and I'm pretty pleased with how it turned out since the ribbon itself is really pretty. It frays at the ends, but since I taped it on the back, it's not seen. I think I'll be doing that more often!

Wednesday, February 19, 2014

Happy Cupcake

Because I was out and about pretty much all day, I wasn't able to get my planned blog post written for today, so that'll have to wait until tomorrow. In my opinion, it'll be worth it though! Instead of a full recap of what happened today, I have a card for you instead! 


This simple birthday card was made using the cupcake image with candle from the Simply Charmed Cricut cartridge. Because of the eyes and mouth on the cuts, it's important to make the images fairly large so that they come out cleanly. I know that with the new Cricut Explore machine, things like that shouldn't be a problem, but I'm not about to purchase a new Cricut machine since I now have the Silhouette Cameo! 


The sentiment is from Pink by Design's set called "Birthday, Birthday." Lastly, as you can see, I decided to skip patterned paper since I couldn't find one that worked with the colors of the cupcake, so I used the Cuttlebug "Happy Birthday" embossing folder on a white mat. Sometimes I have to remind myself that that's an option because I forget to pull out my Cuttlebug! Despite having it for so long, I still love how simple it is to get an intricate embossed design on the paper for a card.

Monday, September 19, 2011

Muy Delicioso!

Back in August, one of my friends who moved to California got married.  I couldn't make it out to the wedding, but my cousin went because she was a bridesmaid.  Since she was heading to the West Coast, she asked on Facebook for any restaurant recommendations, and someone we know from our church who also lives in California gave her many suggestions.  Because of that, my cousin asked if I could make a card that had food on it.  Although this took a lot of time to do because of all the pieces, it's so far one of my favorite custom order cards!


I cut the images from Simply Charmed.  I used my Gypsy to hide all the faces because I didn't want them on this particular card.  I don't know what foods my cousin ate while in California, so I picked a variety of food that would be colorful!  My favorite is actually the ice cream cone.  Normally, I would've thought it'd be kind of plain, but the extra white pieces really make it more interesting!  I actually had to cut the hamburger out again because when it was way too large when I cut it at the same height as everything else, haha.  Monster burger!


I adhered it to white paper that was then put on the purple cardstock.  I'm loving the long cards, so I made this one 4x9 since it'd be able to fit all the food on it.  It's a great size for business envelopes.  I think that's fun too because it'll make people not suspect that it's a card, and they won't know until it's opened!  I also added the sentiment from the Inkadinkado "Thank You Words" set (I bought it for 50% off the last time stamps were on sale; I figured it'd be useful to have "thank you" in all different fonts and sizes).  The last thing I did was add the bling at the corners to tie together the purple theme.  Really fun card to make especially because there aren't many occasions for me to use these food cuts!

Tuesday, July 19, 2011

POPsicles!

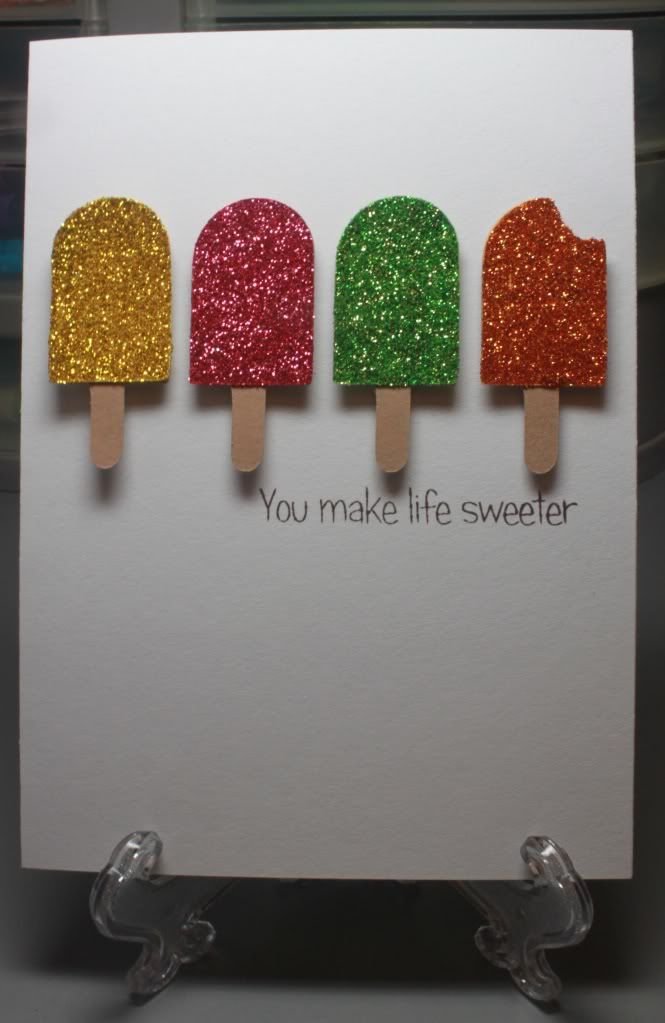
The card I'm posting right now is actually one that I'm VERY happy about because of how it looks and because I "allowed" myself to keep it simple.  I see so many cards and think that I have to have fantastic layers with different patterns, and although I do like those a LOT, I still like the simple and clean designs as well.


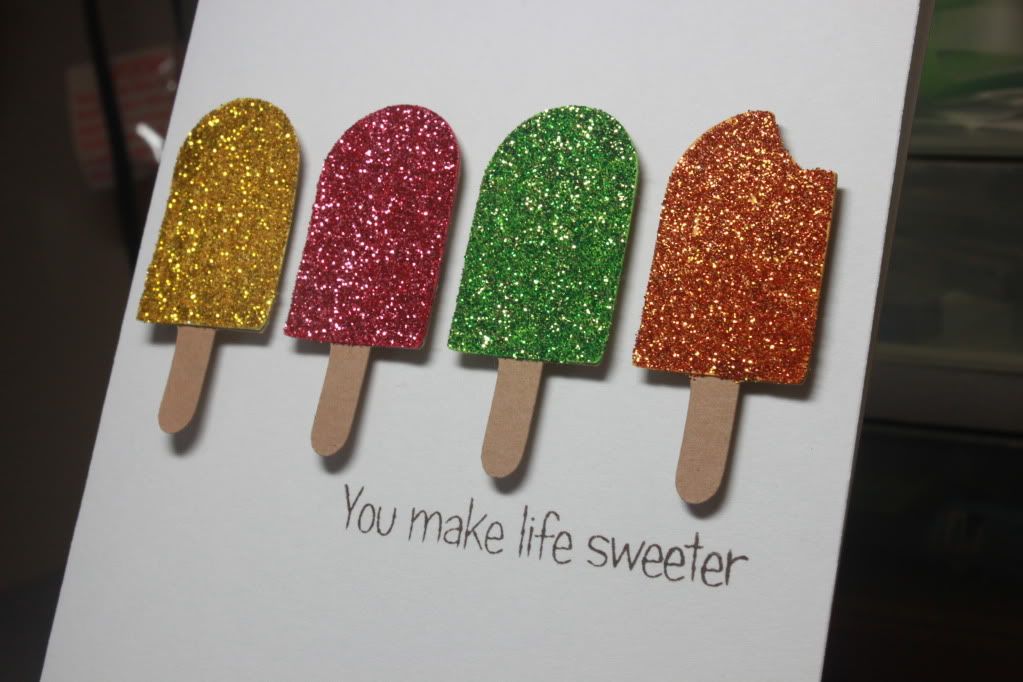
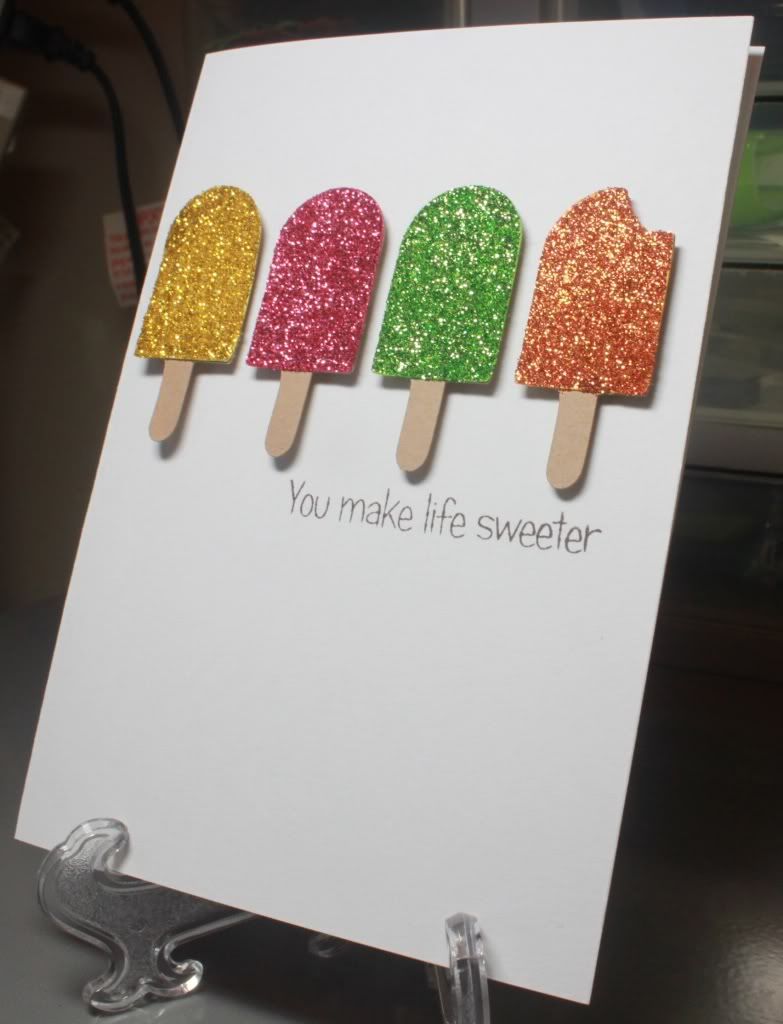
There were challenges that wanted a cool, sweet treat, and I immediately thought of popsicles because of the fact that they can be done in so many different colors!  It was easier for me to do this than ice cream cones or other treats.  Originally, I cut out 4 popsicles that had bites taken out of them from the Simply Charmed cartridge.  Then I realized that it would be cuter to have 3 full ones and only 1 with a bite taken out of it!  So I turned my Gypsy back on and cut them out again.  Boy, I just gotta say that I love my Gypsy because I'm using the tiniest scraps of paper for these cuts!  They were only cut at 1.75 inches!


Once I glued them to the sticks (and I finally opened a new Zig 2-Way glue pen ... man, I've missed having a lot of glue come out freely!), I knew it needed something more, so I pulled out my Martha Stewart glitter.  Since the pieces were so small, I didn't have to use my Mod Podge.  I just used Zig!


I love the added glitz of the glitter!  I actually had to take a ton of photos of this card because I wanted to make sure I was able to showcase the detail as well as get the glitter to shine!  I know I'm not the greatest photographer, but I think you can see it better in the above picture.  I added a sentiment from Pink by Design's "Love Always" set.  Anyway, I'm loving the simplicity of this card.  What do you think?

Here are the challenges that I'm entering:

Wednesday, July 13, 2011

Challenge: Simply Charmed + Wild Card + Embossing!

I think it's so fun to jump back between digital stamps and the Cricut.  It's way easier to use my Expression now that I finally have a Gypsy!  I haven't posted an update about that yet, but yes, I do have one now!  Yay!  I can play around with sizes and hide features and weld.  In the end, it saves a lot of paper!

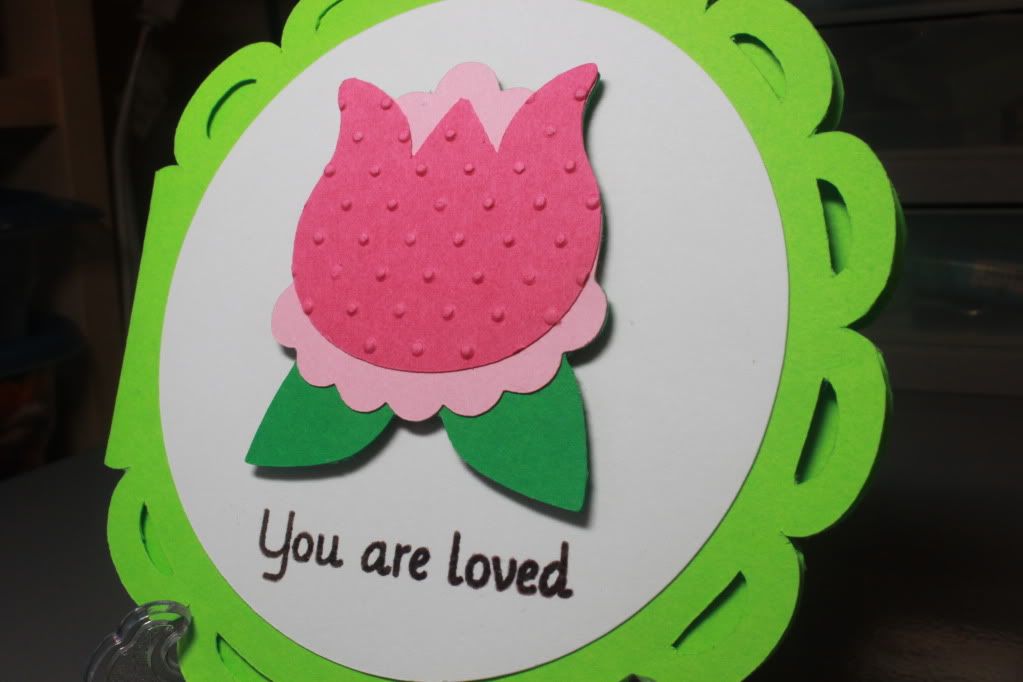
For this card, I used a flower on the Simple Charmed cartridge because the MAG challenge asks for a certain page.  It's actually a pretty fun challenge because it "forces" me to use things I may not have used before.  Now that I've actually used it, I think I might reproduce this flower for those "any occasion" cards!  If you know this cartridge though, there are a lot of cutesy faces on them.  That's the reason why I bought it in the first place.  However, I've found that it's difficult to cut them cleanly when the size is small.  That's where the "hide" feature comes in on the Gypsy!  I hid the face for this cut, which also eliminated the need for the black layer.
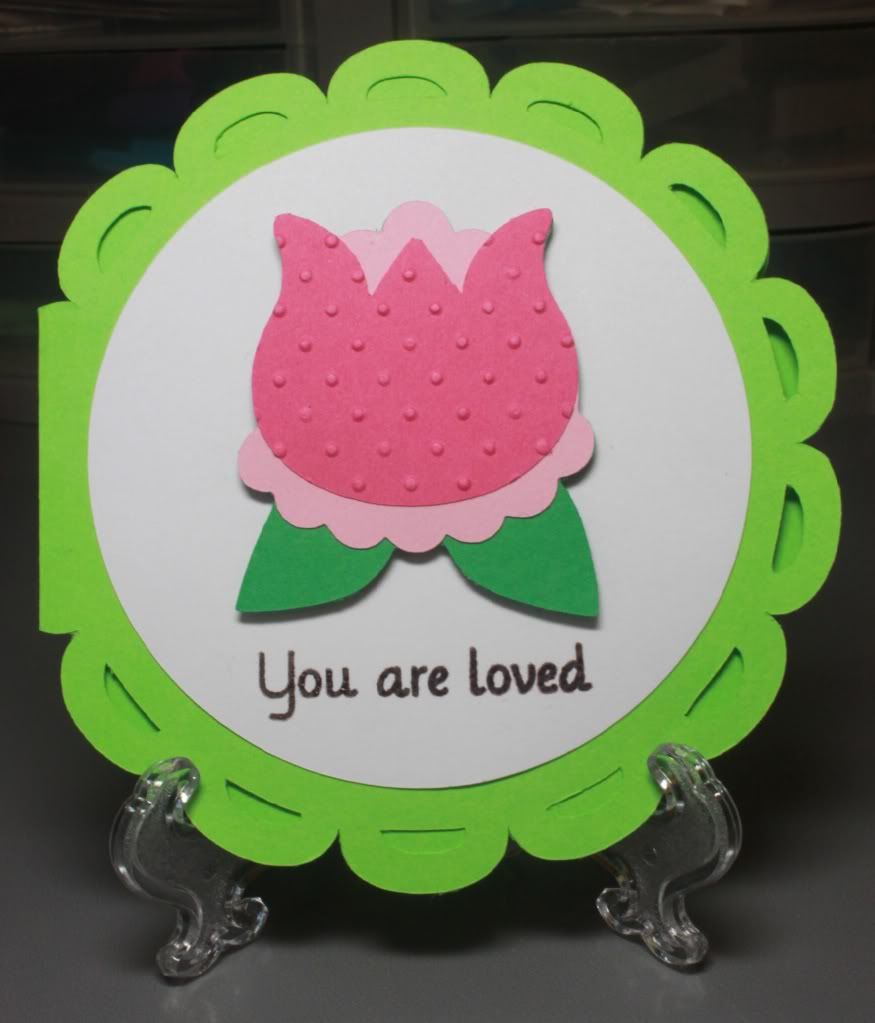

I used the scalloped circle from the Wild Card cartridge again because I intended on entering this into another challenge that required a circle.  Of course, silly me didn't realize that it was a circle card AND thank you card.  Blah.  If I had read it carefully, I would've just used thank you sentiment and been able to enter that too!  Oh well.  I'll just do it tomorrow if I have time!


I did emboss the outer layer of the flower with the Cuttlebug Swiss Dots folder.  It's kind of the go-to folder for any embossing need!  I actually also embossed the sentiment with my Ranger clear embossing powder using Stazon Timber Brown ink.  I might get back into heat embossing again!  I've read that the Ranger  holographic embossing powder can be used to make it look as if the paper is glittered paper, but I digress!  The sentiment is from Pink by Design's "Our Kids."


After I was done, I actually wasn't happy with it.  Then I went downstairs for dinner.  When I went back to look at it, it actually started to grow on me!  I guess I'm so used to having it a big busier, but this would work for certain recipients that I wouldn't necessarily be able to send a loud card to ... does that make sense?  I showed it to my mom, and she really liked it.  It's more like the cards she would send to others, so despite my initial thoughts on it, I do actually like the basic notecard look to it!

Here are the challenges that I'm entering: