Wednesday, June 29, 2011

Waste Not!

Lillian over at kweenzzone.blogspot.com accidentally bought 2 Best of Pixar cartridges.  As a contest, she asked how to use scrap paper because she has two boxes of it that she doesn't want to waste!  That's the difficulty of paper crafting.  There really can be a lot of waste if you don't find a way to be wise about how you use your paper (especially really pretty paper!!!).

Well, I just happened to organize my scraps the other day since there were people outside redoing the sidewalk and driveway, and it was too loud to concentrate on any card making.  I have a few Iris 12x12 paper storage boxes.  One of them has all the papers that I used in my Cricut, so they have the oddest shapes cut out of them!  I saved them just like that in the box, so when I needed a piece taken out, all the cut pieces would be intertwined with each other!  Very difficult to use!  And it definitely wasn't encouraging me to use my scraps!

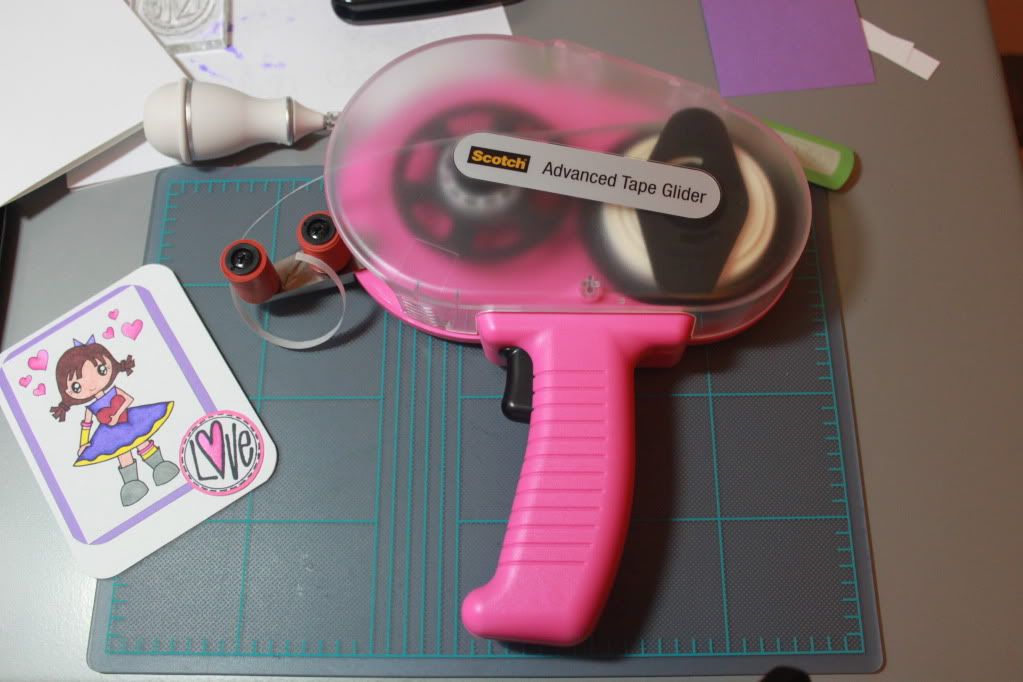
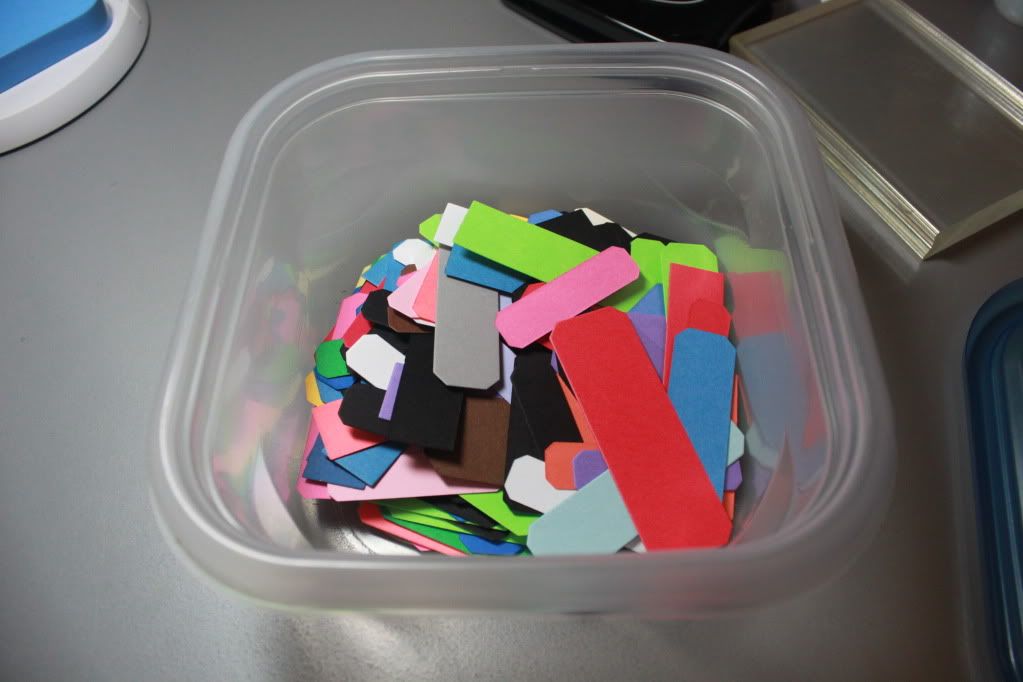
I finally decided to organize it.  I got my trusty Cutterpede paper trimmer out, and trimmed off all the pieces so that I would be left with only rectangles.  The big pieces are still in the 12x12, but every other piece was tossed in one basket so that whenever I needed a layer or border for a card, I'd dig through this stash first.


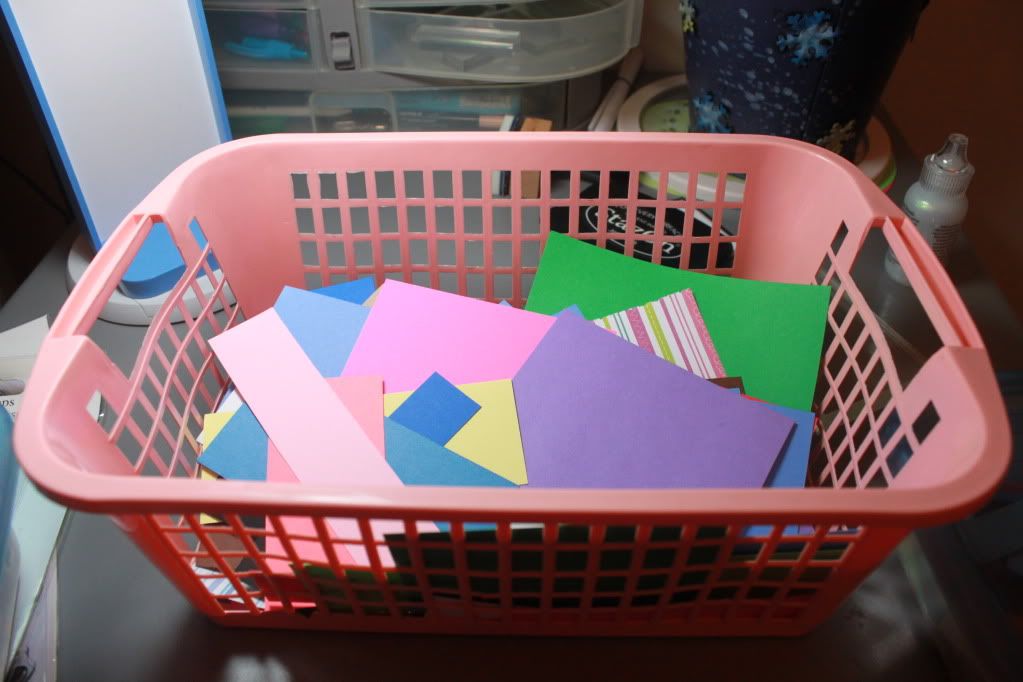
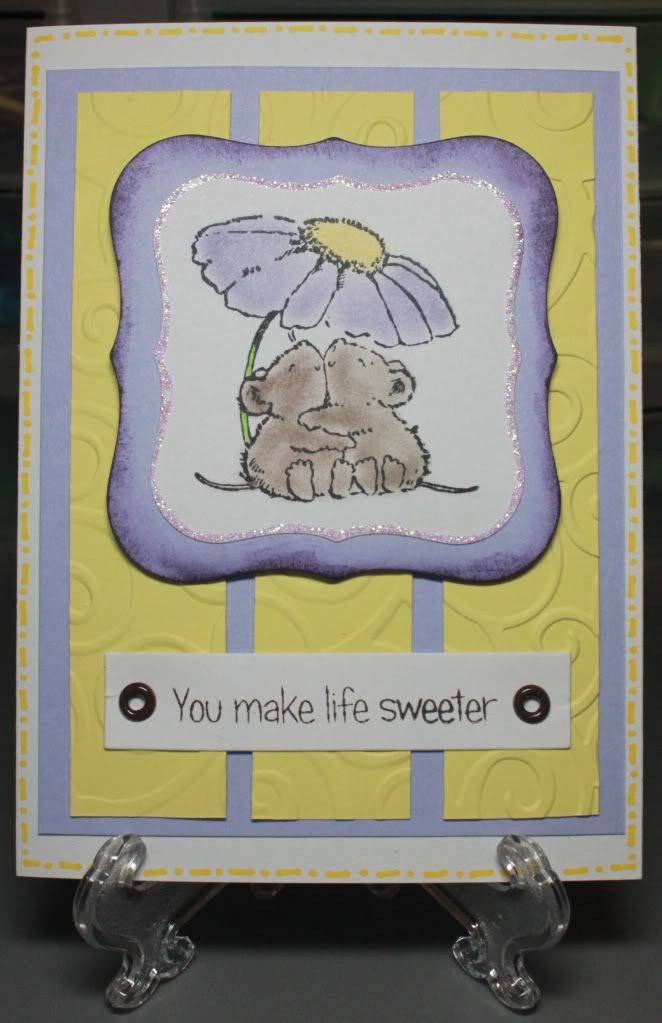
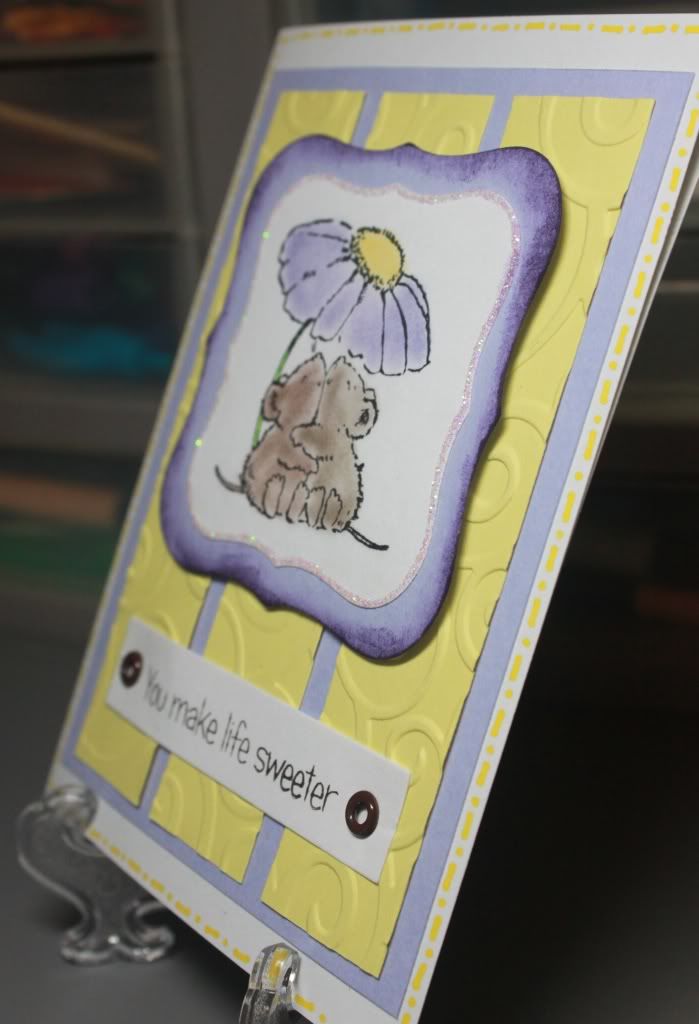
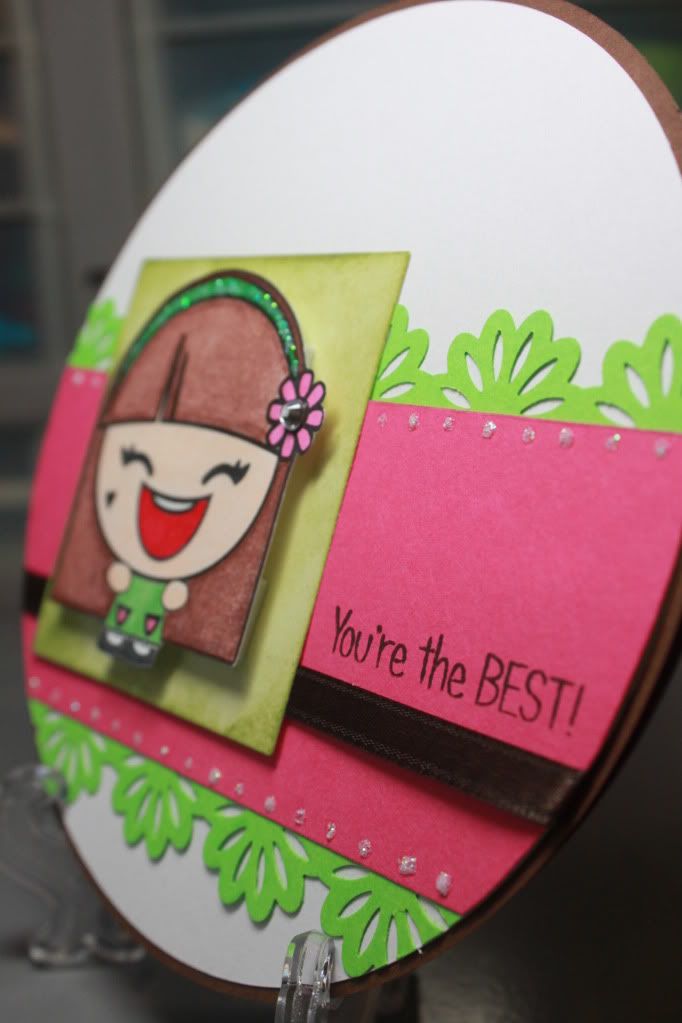
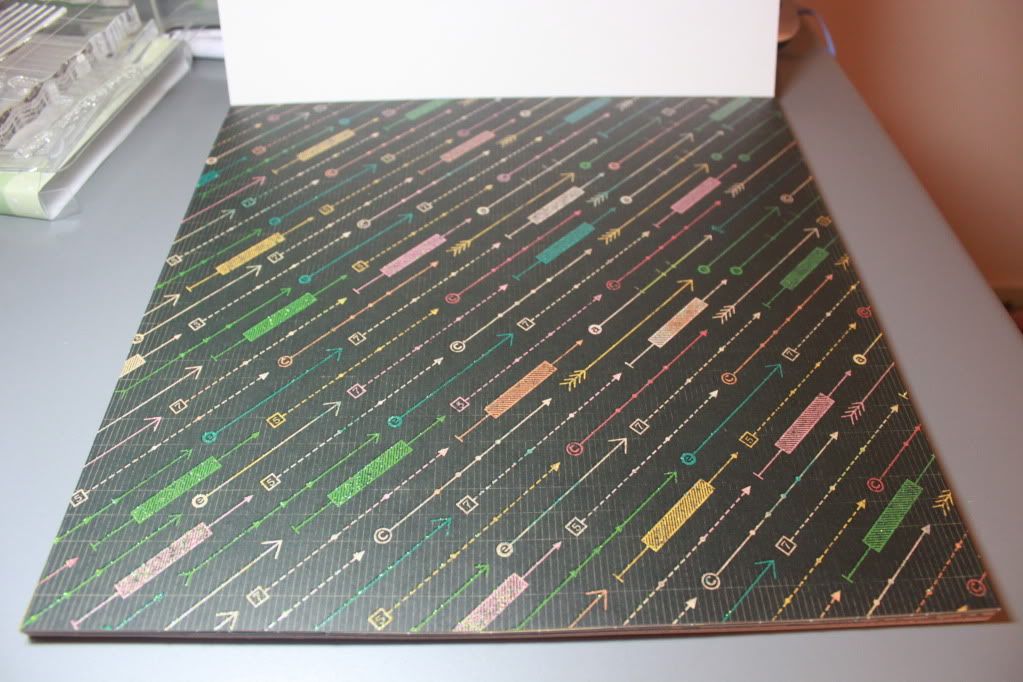
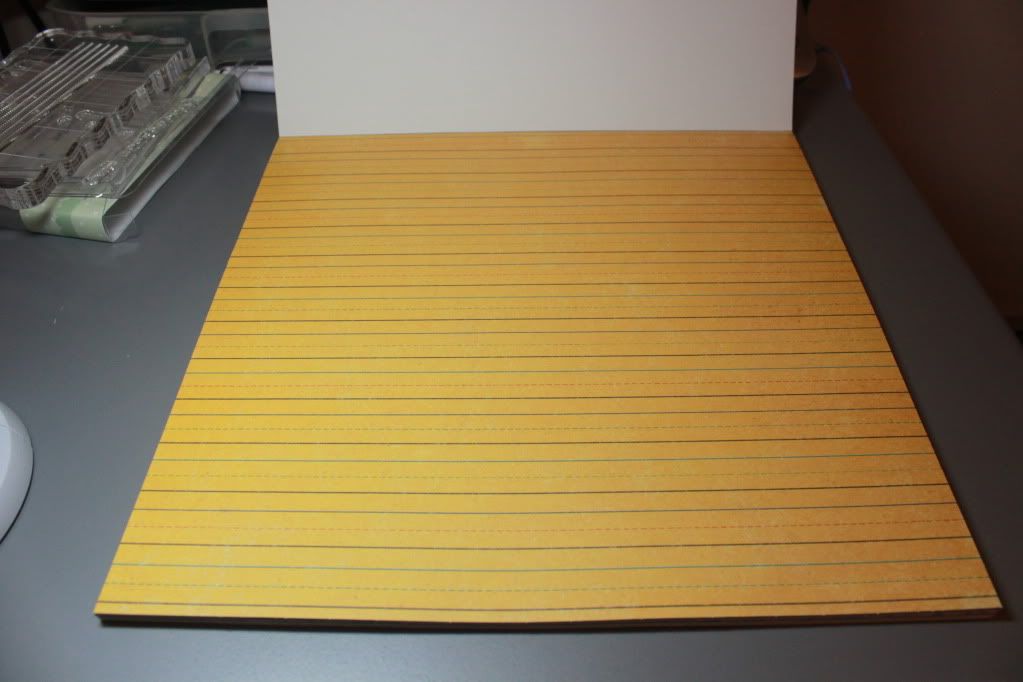
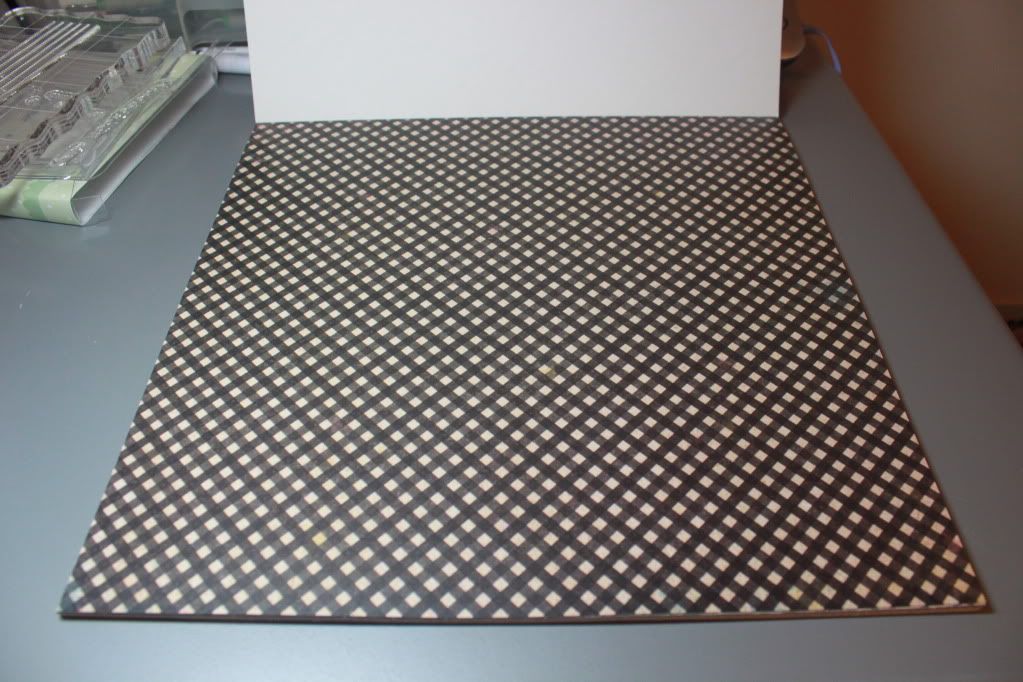
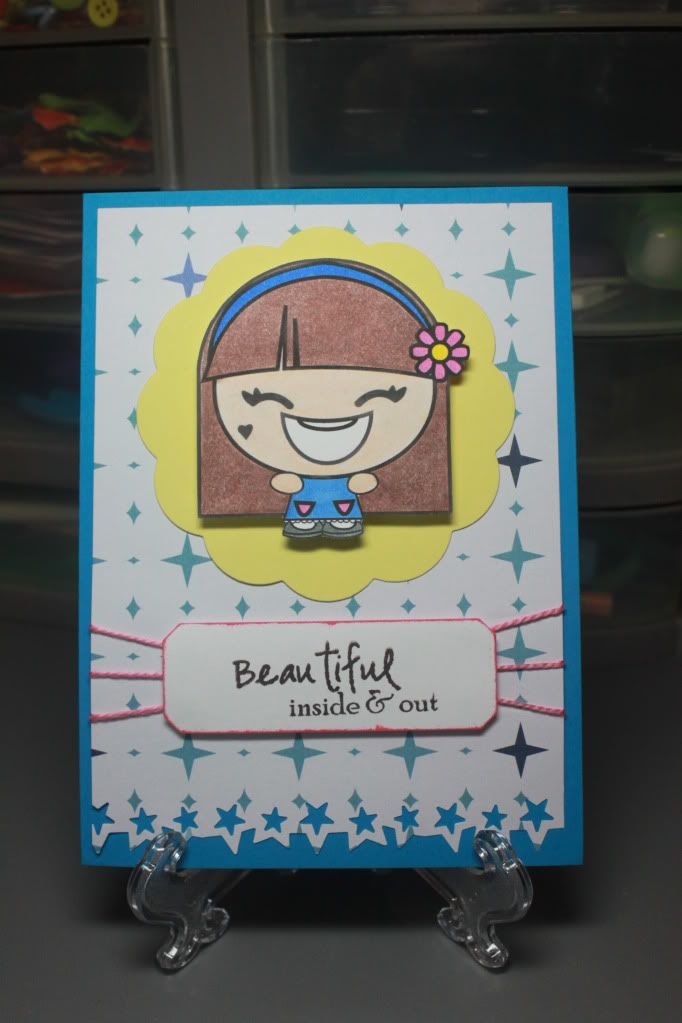
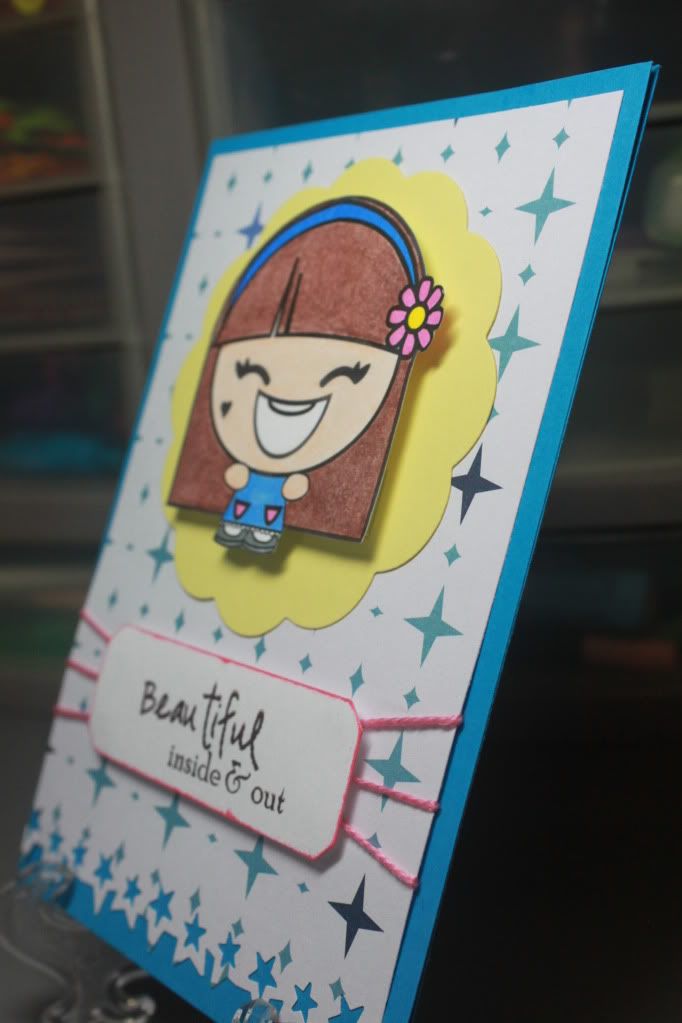
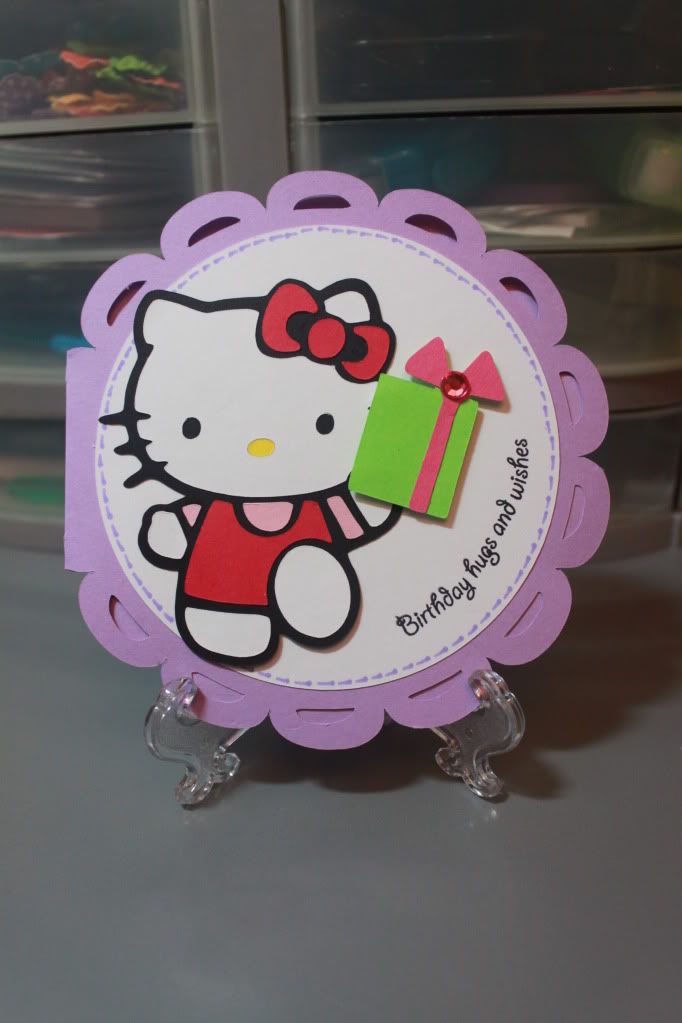
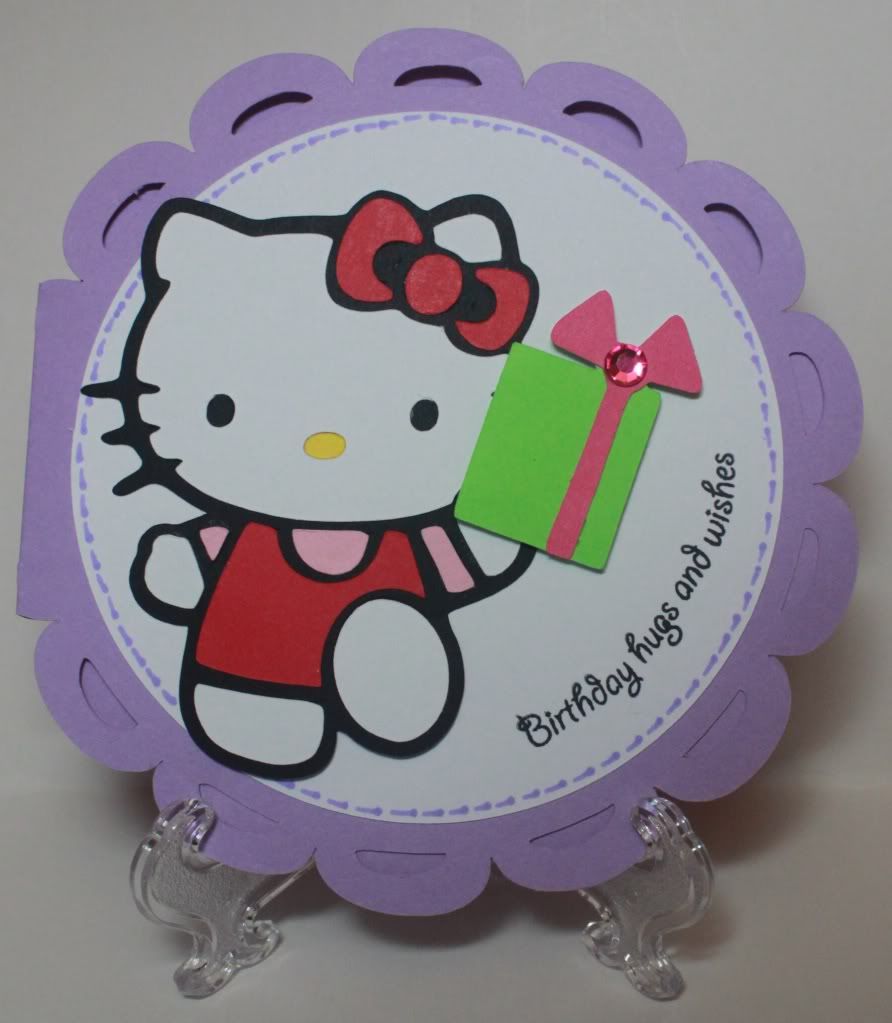
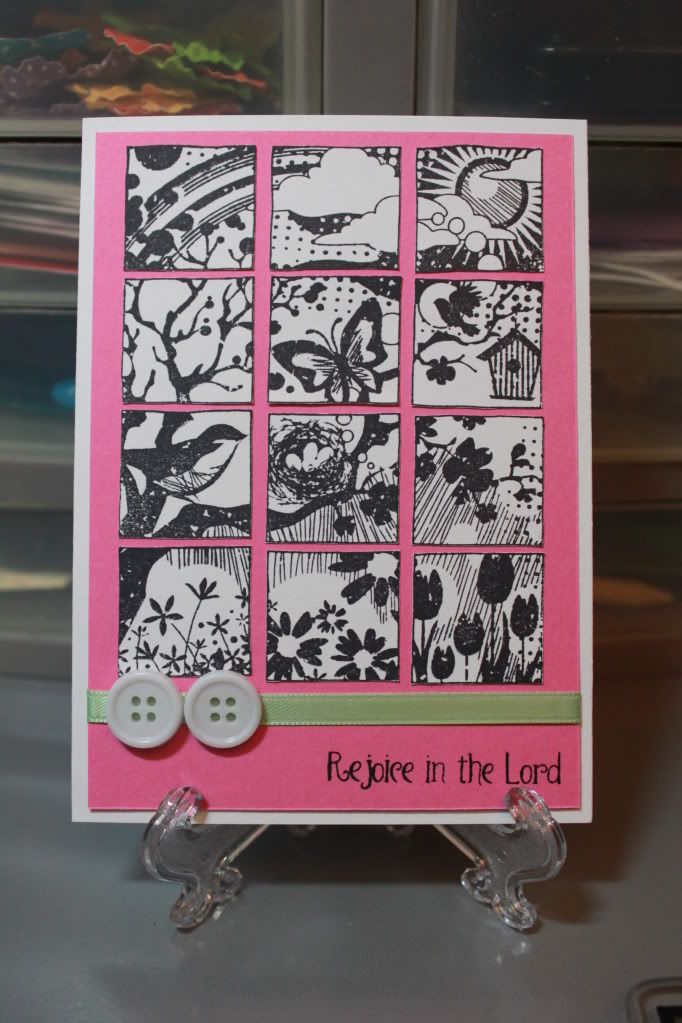
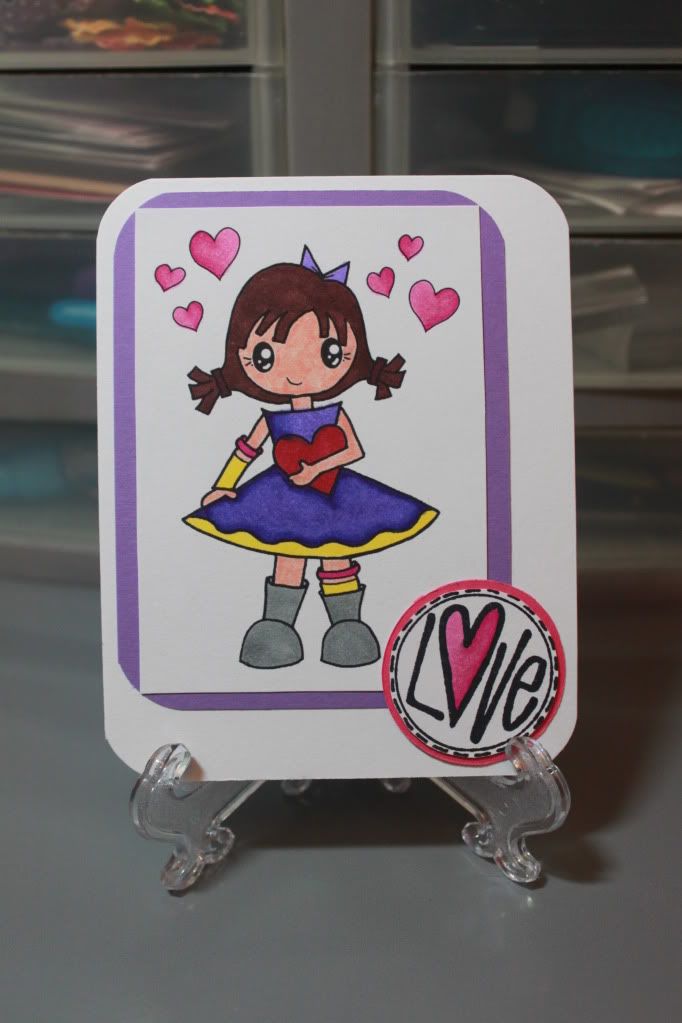
I know many people sort scraps by color, but I don't have the space to do that OR the patience!  I think it might actually be more of a hassle to do that to store AND to use.  I don't think I'd want to take out my pink folder or baggie to look for a certain size.  Plus, I am TERRIBLE with color schemes at this point.  I'd probably take out the pink, put it back in, take out the purple, put it back in, and take out the green before finally settling on BLUE!  Haha.  This way, I can take whatever color and if it's not used, I just toss it back into the basket.  On the card I made in the previous post, the yellow strips were from this basket of scraps.

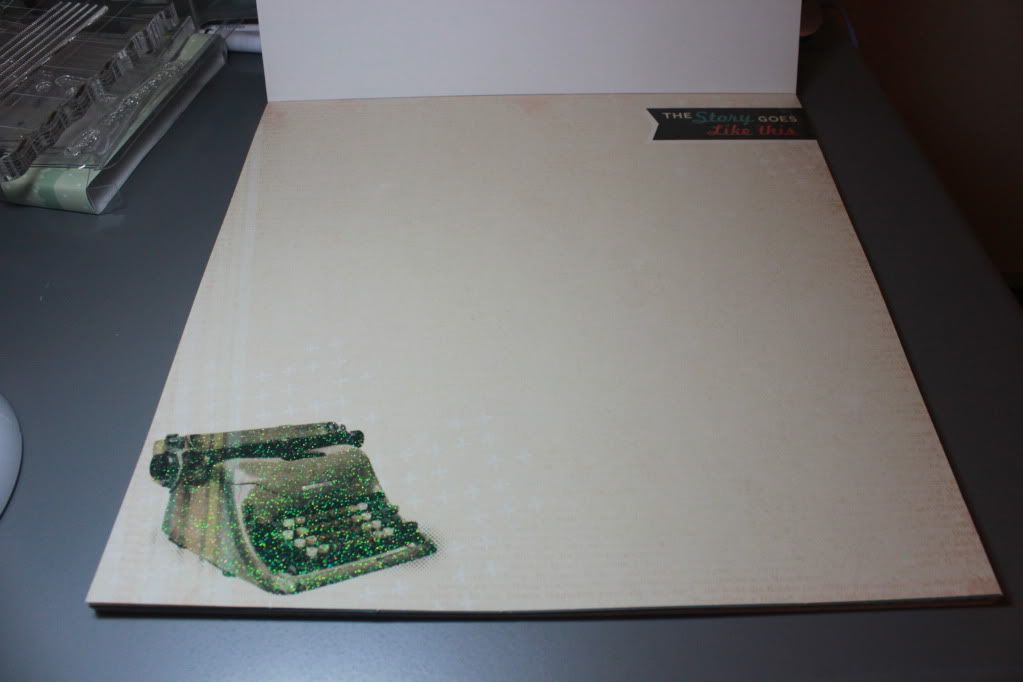
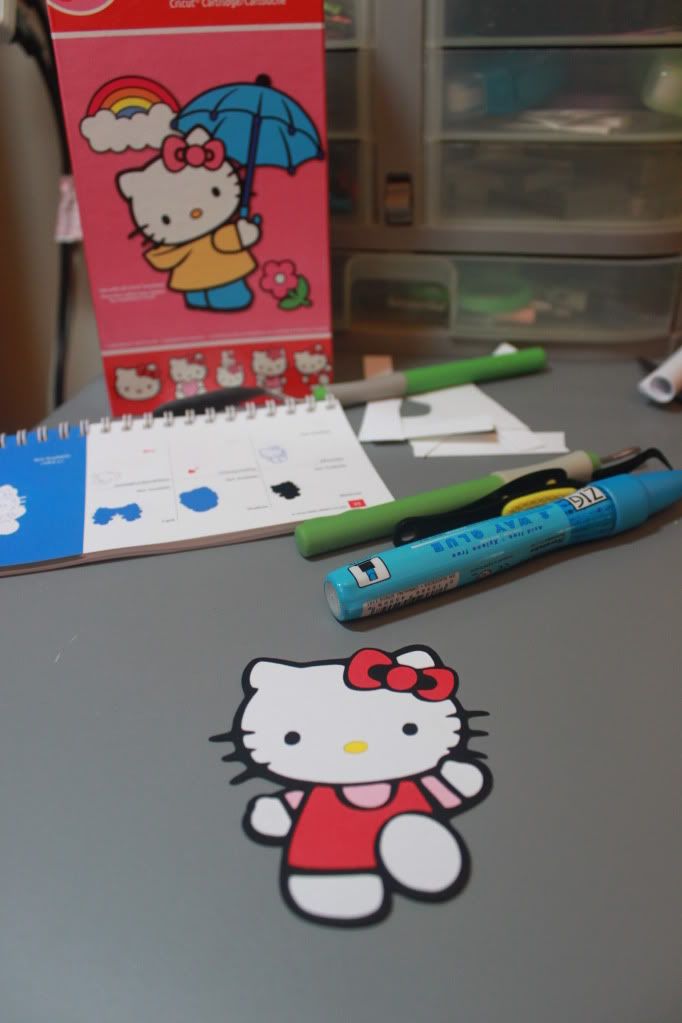
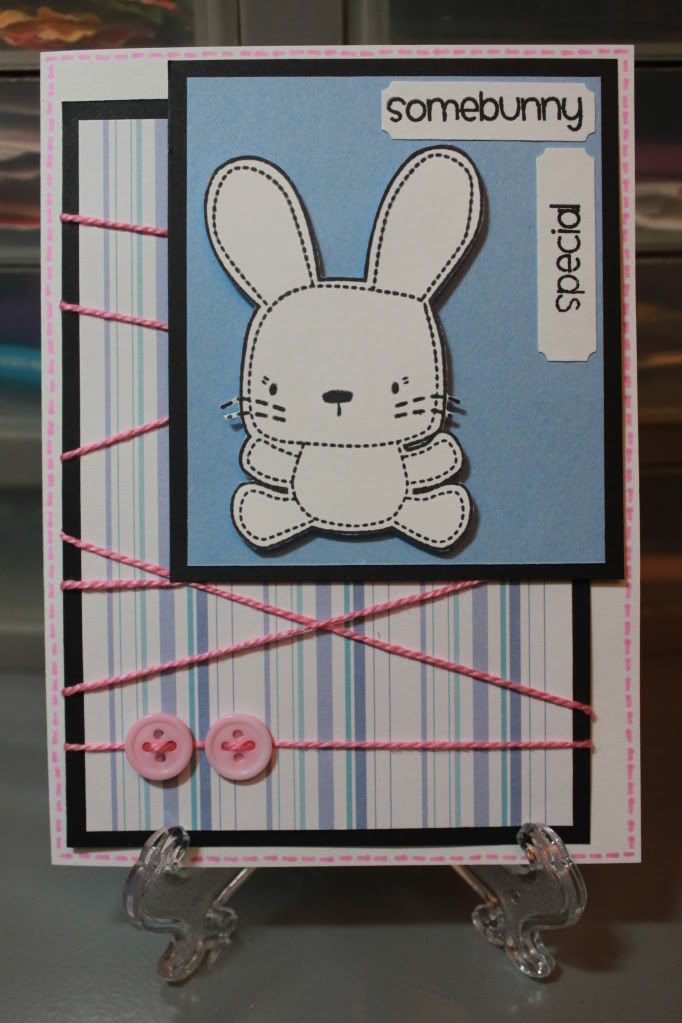
Of course, there will still other pieces that I didn't want to throw away, so I needed to do something else with them.  I recently bought labels dies from Papertrey Ink, so I was able to get really good pieces from those!  I cranked my Cuttlebug (with my scratched up B plate!) over and over again to get all of these pieces in so many different colors.  It'll be nice to have these ready to use whenever I need to attach a sentiment to my card.  I'm also thinking about using a bunch of different colors lined up for a background or something.  The plain white rectangle for the sentiment from that same card that I posted in the previous update was from this container.  It's a Ziploc container that my mom didn't want anymore (we use mainly glass for food storage now).  I "inherited" them for my scrapping supplies!


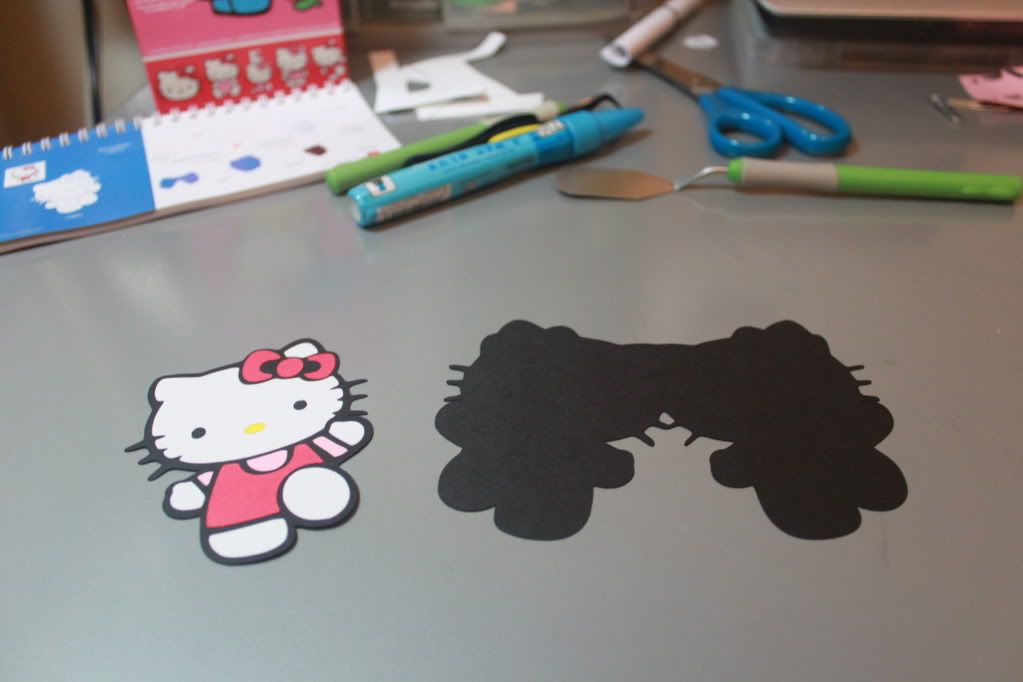
Even after trimming and using my dies, there was still residue leftover.  Well, the only thing I had smaller than those things were punches!  I have an EK Success square punch (clearance at Michaels!), a Marvy Uchida lever punch in the shape of a puzzle (clearance at Michaels!), and a REALLY small star punch ($1 bin from Target a LONG time ago).  That meant I punched and punched like there was no tomorrow!  I can use these on cards and scrapbook pages too.  I like it because if I need something, I don't have to start punching a fresh sheet of paper.


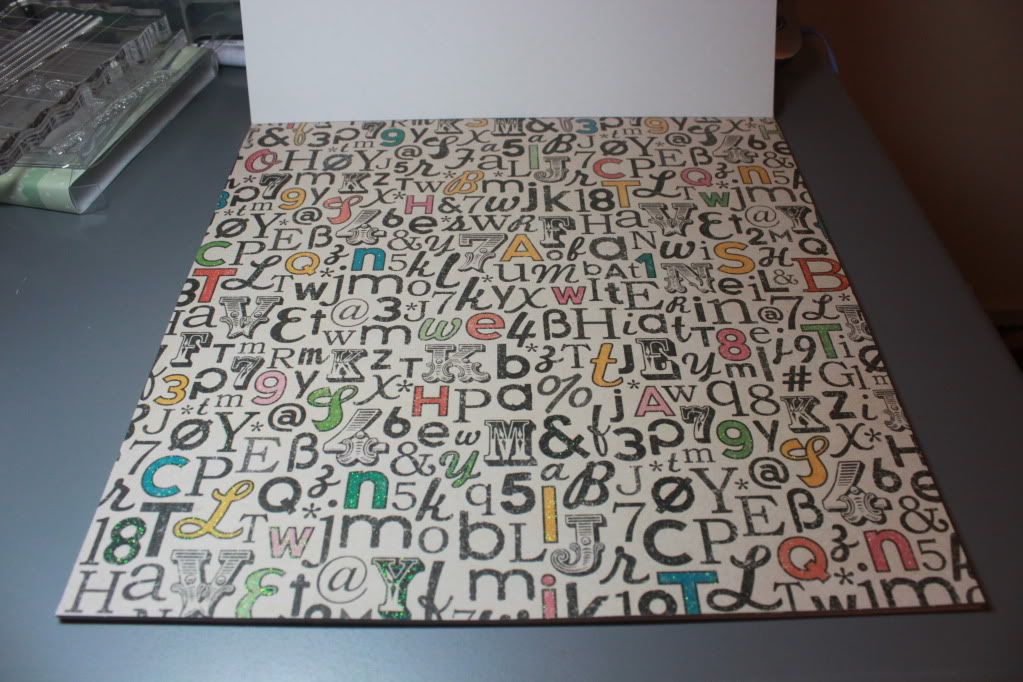
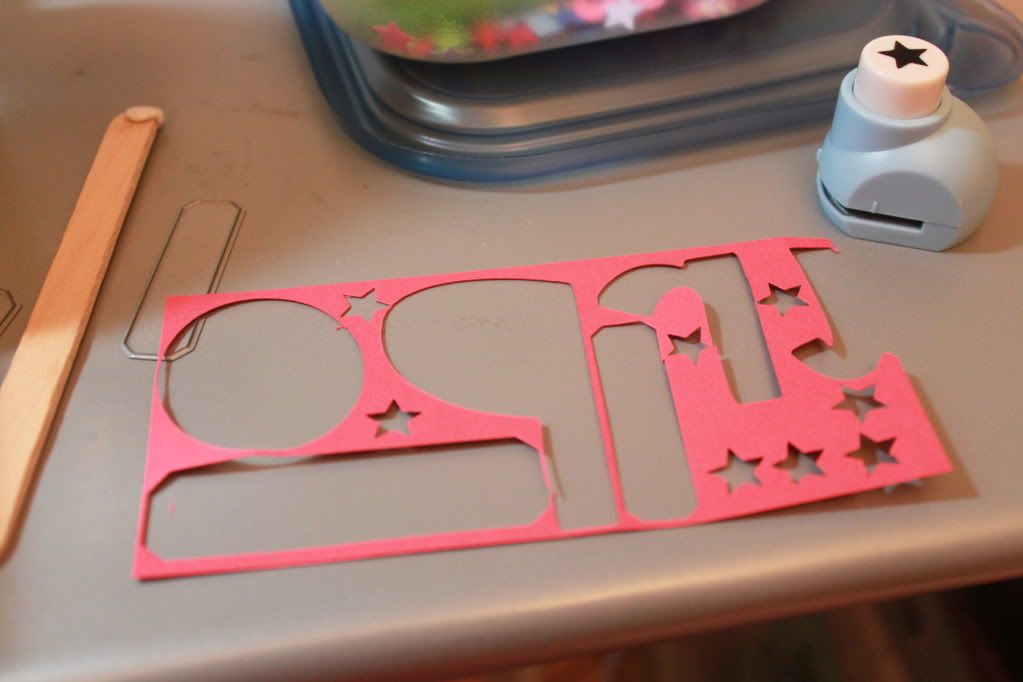
Here is an example of what I was doing to my pieces of paper.  The letters were cut out a while ago for my brother's science project.  Then you can see where I cut out the 2 pieces using the label dies.  The rest was punched out using the itty-bitty star punch.  In this pic you can see the star punch to the right, of course, but you can also see the smallest label die that I have from PTI.  To get the paper out, I put a bit of Fun Tac on a craft stick to get it out of the die without bending it.


Now that I'm all organized with my scraps (haha, until I do more Cricut cuts at least), I actually find it easier to craft.  I don't have to feel bad starting a new sheet of paper because I have so many scraps right there at my fingertips!  Waste not!

Challenge: Simon Says ... Lemon & Lavender!

The current challenge over at the Simon Says Stamp! Challenge Blog is to make a project using the colors lavender and lemon.  This is the first challenge I've ever done that had something to do with color, and I thought it'd be easy, but challenges are never that easy for me, haha!  What was easy is that they encouraged using a Penny Black stamp (not required though), and I do have a set of them!  It helped me narrow down what I was going to do.  The following stamp is from the Hugs set.    


I stamped the image with StazOn Jet Black ink and then colored it in using chalk.  These images, in my opinion, are perfect with chalk because they have a softer look to them AND I have an older rubber stamping book that explained how to use chalk using a Penny Black image!  Haha, I guess it stuck with me.  I then used the 3rd and 4th largest dies in the Nestabilities Labels One set.  The 3 yellow pieces were embossed using the Cuttlebug D'vine Swirls folder.  I haven't embossed in a while, so I knew I wanted to add that on the card.  The sentiment from Pink by Design's "Love Always" set was attached to the card using eyelets and my Crop-a-Dile.


To create more of a color contrast, I used my Distress Ink in Dusty Concord to ink the edges.  I'm glad I did that because if I didn't, I think it'd look a little too plain.  However, I did accidentally smudge a little on the white part of the card, so that's why I decided to add Stickles to the outline of the white piece!  I'm happy with that added on too.  I wanted to add more yellow, so I took a Bic Mark-It and added stitch lines around the outside.  I actually did a dash and then a dot, so it's different than my typical "only dashes" thing.  The last thing I did was put the image on the card with the flattest foam adhesive squares I had just to give it the slightest bit of dimension.  I can't believe I was still able to put a card together for a challenge despite feeling under the weather!  It did, in fact, cheer me up.  Crafting ... it's what the doctor ordered!

(Click here to be taken to the actual blog post for this particular challenge!  I'm linked as #7!)

Monday, June 27, 2011

I can't even imagine what it will be like here on my blog 1 year down the road much less 3 years down the road! Well, Melissa at Creating from the Heart is having a 3 year blogaversary, which includes a huge giveaway!  x


She has a $150 Michaels gift card, Spellbinders Grand  Labels 11, and Spellbinders Grand Calibur Machine!  That's INSANE!  Click here for her post!

Twice the Challenge!

In one of the previous challenges I entered, you saw that I used "Happy Millie" from Karber Digital.  Well, considering it's the only digi I purchased at this point, I used it again for Karber Challenge 35 (SHINE: use glitter, rhinestones, dewdrops, pearls, etc.)!  I'm going to practice using the same image until I buy more since I know buying them can get addicting!  Anyway, since I knew I was using Millie again, I wanted to combine this challenge with another one.  I know there are some bloggers out there who can enter 5 or more challenges with just one card!  Crazy!  Haha, I'm just happy I was able to do 2!

The first thing I did was color Millie.  I chose different colors this time.  I focused on green!  I know my immediate colors are usually pink and purple, but I really like the "boy" colors for these images.  Super cute!  I used my Crayola colored pencils again for the hair and face, and then I used the baby oil on a Q-tip to blend it together.  Every time I do it and see it, it still amazes me!  Everything else was Bic Mark-It Markers.  Once I got that colored and cut, I went back to The Sweet Stop Sketches blog to figure out what I was going to do with the given sketch for the week.


Just like last time, I'd be making a circle card!  Of course, it took me a while to get this done because I couldn't figure out what color scheme to use.  I actually cut out about 6 different circles trying to figure out which ones worked with what papers.  After the entire card was almost put together, I actually changed the outer circle to brown.  I think it looks MUCH better with it!


The brown circle was cut at 5 1/4 in and the white one was cut at 5 1/8 in.  The pink and green paper were scraps from my stash that I just trimmed down and organized today!  I'll post a separate update about that.  I used an EK Success border punch for the green and also decided to add brown ribbon going across the card.  The sentiment is from Pink by Design's "Our Kids" set, stamped on with StazOn timer brown.  I used Stickles to add sparkle and shine to Millie's headband and her pockets, and then I decided to dot it on the pink cardstock.  To add some extra shine, I added bling to the center of the flower.


The paper that Millie's on (again with those great foam adhesive squares!) was actually a plain white piece of cardstock cut out using my Nestabilities (love those things!).  I figured it'd be too plain, so I actually used my new ink blending tool from Inkssentials to apply the Distress Ink in Peeled Paint.  I think I'm going to love love love all the Distress Inks!!!  I really have to get my hand on the mat, so it'll be easier to blend.


I think Millie's headband is my favorite part!  Haha, I can't wear headbands in real life except when I'm home and want my hair out of my face.  However, there's a part of me that would love to be able to wear one whenever!  They remind me of my childhood, and right now, I think it'd be pretty cool if I could pull of a glittery green one!

(Haha, silly me, I didn't realize the sketch challenge was for LAST week!  I checked it today to see if the collection link was still open, and it was, but I didn't realize a winner was already chosen!  Whoops!  Click here to be taken to that post.  I'm added in as #43.)

(And even though I already posted it at the top, click here to be taken to the Karber Digital page.  I'm added in as #2.)

Sunday, June 26, 2011

The Lure of Die Cuts With a View

Since I started crafting, I was very interested in the brand Die Cuts With a View or DCWV for short.  However, I didn't want to invest in that paper for 2 reasons:
  1. It can be rather expensive because it's basically $10 for a 48-sheet paper pad (they're really $20, but they go on sale for $10 or you can use a 50% off).
  2. The cardstock is so pretty that I knew that if I had it, I wouldn't want to cut into it and actually use it!
Well, I did end up buying one on sale for $10 back in January.  The reason for that is because it was the Stack 7, and that included 180 sheets meaning it was only $.06 a sheet.  Deal!  Of course, this was a stack of patterned paper and not cardstock, which means it's flimsy.  Oh, and I apologize for the weird picture.  At first, it wouldn't rotate.  Now that it's rotated, it's distorted.  This is really a 12x12 paper stack.


After that purchase, I really only admired DCWV.  I loved flipping through the stacks at the stores and feeling their weight.  I wanted to get some (ex. Mango Frost is one that I really like with all that glitter!), but I figured that if I was cutting paper just for layers on a card, it didn't matter if it was printed paper and not cardstock.  It just wasn't worth it.  Even when I went to Marshalls and found a bunch of 8x8 stacks and 12x12 stacks for MUCH cheaper than even the best sale price at the other stores, I didn't get any other than the 8x8 Far East stack for my cousin's scrapbook.

Well, this past week, I actually bought a DCWV stack at Michaels on clearance!  It was $6.99 (too bad it wasn't $2!), but one look at the prints drew me in.  Haha, it's called the "Hitting the Books" stack, so you can tell right away why I would like something like this!


I love it so much, I did actually take a picture of every single design.  Click on the individual pics for a more detailed image if interested!


So as you can see, there was definitely a good enough reason to spend $7 on that stack!  I'd never pay the full $19.99 on it, but clearance and sales really do tempt me.  I love the glitter and the prints!  I can't wait to use this paper in a project although at the same time, I'm thinking that once I cut into a paper, I'll be sad!  I hope I don't make any mistakes!

Saturday, June 25, 2011

Challenge: Anything Goes with a Karber Digital Stamp!

Although I've made a card or two using a digital stamp before, this is the first time that I'm using a digi stamp that I actually chose and paid for!  Karber Digital has the cutest images!  I remember when I first showed Howard; he even thought they were so cute!  Well, when this challenge came up, the first thing I had to do was actually choose a digi to buy.  Initially, I was going to go with one of the Leslie images because she has pigtails and glasses, hehe.  However, I ended up choosing Happy Millie because of how versatile she is!  Her huge, cheery grin can be used for many occasions and put on a card with many different sentiments!

I used two different mediums to color her in (look at me being all fancy ... and possibly wrong, haha ... by using the word mediums).  The hair and the skin were done using Crayola colored pencils.  I blended it using a Q-tip and baby oil.  You can see in this picture how different it looks when it's blended and not.  Isn't it crazy that baby oil can make it look that much better?  Insane1


Everything else was colored in using Bic Mark-It Markers because I wanted those bright, vibrant colors!  I also decided to choose blue instead of any of the "girly" colors because I had just watched a bunch of episodes of Gilmore Girls today (I put on DVDs in the background as I craft), and in one episode in season 1, Lorelai is wearing a blue sweater with a blue headband.  That stuck in my mind, so I wanted Millie to also have blue!

I chose a patterned paper (Oriental Trading) and a colored cardstock.  I initially started off with white, but because there was a lot of white in the patterned paper, it wasn't showing much of a contrast.  I then used a scalloped circle from my newly purchased Nestabilities dies.  I chose yellow because I wanted it to be a bright card, and there was also yellow in the flower on Millie's headband.


The sentiment shape is from a Papertrek Ink labels die.  I stamped the sentiment from Pink by Design's "All Girl" set with Stazon Timber Brown (gives it a softer quality instead of being so dark and harsh with black).  I added the craft thread and wrapped it around the back.  When I did that, I didn't realize it was so high up, so that's when I decided to punch out some stars at the bottom using a Martha Stewart border punch.  Before I adhered the sentiment though, I figured it could use something more, so I just used a Tim Holtz Distress Ink Pad in Worn Lipstick to get the edges to stand out.


As you can see, Millie as well as the sentiment are on foam adhesive squares to give the card some dimension.  I love how that can make all the difference in a card sometimes!  Well, what do you think?  How did I do with my first purchased digi stamp?  Either way, I definitely had fun using it!  Plus, looking at her huge grin put me in a good mood too!  Hope it put you in a good mood as well!

(Click here to be taken to the actual blog post for this particular challenge!  I'm linked as #9!)

Friday, June 24, 2011

Challenge: Shaped Birthday Card with Sentiment

On top of sleeping as much as I can, this summer I'm trying to enter challenges on other blogs.  Not only are prizes super fun (woohoo!), they also really get me to think outside the box.  If you've been following my blog, you know that most of my cards are pretty much the same ol' same ol'.  Well, the challenge this week at Birthday Sundaes was to "create a shaped birthday card {no squares/rectangles allowed} and include birthday wording/sentiment on the card front."  For me, that would definitely be a challenge!

When I started, I wasn't quite sure where I was going with it.  I used a new cartridge for it though - Hello Kitty Greetings!  It was the one I won through a blog candy giveaway from Theresa over at Scrappers Anonymous.  The first thing I cut out was an image of Hello Kitty herself (cut at 3 1/2 inches)!


Then I thought I'd use the card feature on this cartridge for the actual shaped card, but when I cut it out, it wouldn't really match up.  Plus, it was super small.


I decided to change my idea and instead took out another card that I've never used before - Wild Card!  I've seen many people use the doily card, and I wanted to use it too!  It cut very easily at 5 inches.  Of course, it was a birthday card, so I cut out a present from Sweet Treats at 1 1/2 inches.  Then I had to choose a sentiment.  I picked one from Pink by Design's "Take the Cake" set.  As you can see in the following picture, I decided to curve the sentiment on the acrylic block a bit since I wanted it to line up with the circle card.


Since it was a challenge card, I actually tried it out on scrap paper to make sure I Had the right pressure.  Haha, and you'll also see that this was not the final design because I changed the location of the present to her other hand.  Oh, and the picture spoiled the fact that I added some purple faux stitching with one of my Bic Mark-It markers!  Here's the final result after it was all put together:


And just because Howard has been telling me it's better to shoot with a white background, I pulled out my folded poster board to shoot that way.  I was having a ton of issues with it though, and they all kept coming out super crooked.  Haha, thankfully when I uploaded the 73 million I took, I just cropped it in Paint.  No fancy-shmancy Photoshop here!


You can see that I used those lovely foam adhesive squares to pop up the present.  Plus, I added a bit of bling to the bow!  I love it when I get to add bling to the actual image!


Though it may not be that creative as compared to the really talented crafters out there, I like how it turned out.  I was able to use carts I've never used before, and I was able to step away from those darn rectangle cards!  I might just have to go back to the safety of a rectangle card after this, but I did enjoy the challenge!

(And just because I think it's so cool when I add my link to any site, click here and you can see my card at #48!)

Thursday, June 23, 2011

Using Craft Thread Instead of Twine

For those of you who follow blogs and the latest trends, you'll notice that one of the hugest things lately is baker's twine in many different colors.  I like how people use it to tie bows or thread buttons or wrap cards.  I imagined it was also much easier to use than ribbon!  It just creates a different look.  I, however, was not willing to invest in twine.  Though there are many sites that have it cheaper than others, I wasn't sure how much I would like it and what colors to get.  I also knew that I'd be worried about wasting twine on a card by cutting off more than I needed!

That problem was solved when I remembered that they had packs of craft thread or floss at AC Moore!  I thought, "Ooo, if I use a 50% off coupon, I can get a TON of colors for only a few dollars!"  And that's exactly what I did!  I bought the huge jumbo pack for about $6.  Please don't mind the crazy yellowing in this picture.  It was clearly before I got my Ott-Lite!!!


I had it for a while, but I never used it until last week.  I decided to try wrapping it around the base cardstock.  The rectangles in this card were kind of based off a sketch with 3 rectangles, but I realized I couldn't finish the whole thing since I didn't have enough room.  Either way, I do like that it's different than what I normally make, and I threw in some patterned paper in there as well as the craft thread!


I used a lot of tape to secure it in the back because I wasn't sure if it would stay.  Of course, you can't see it because it's adhered to the card itself!  The bunny stamp is from a Sandy Lion set that I found on clearance at Michaels for $5.  It's probably one of my favorite sets (that and the "boy" version too!).  The sentiment is very Pink by Design as always!  


When I initially "finished" this card, it didn't have the buttons or sketched dashes around it.  The latter was easy to add on, but the buttons required a bit more work.  I actually pulled the bottom right corner of the rectangle off the card so I could pull the tape off that piece of floss.  I then threaded the 2 buttons onto the floss and then used a bit of ATG to adhere it in place.  I think the addition of the buttons makes it more balanced because before that, the button seemed kind of empty.

Wednesday, June 22, 2011

12 Stamps = 1 Image

I bought this stamp last year at one of AC Moore's big clearance times.  The funny thing is that despite having it for a really long time, I never knew that each individual stamp was actually part of a larger picture!  Haha, I thought each square was an individual image.  I just bought it because it was $2.50, and I figured I could use all the words and phrases that came along with it!  When I finally saw that it was one image, I knew I had to try it.

I stamped each individual stamp on white cardstock.  I actually was able to do 3 at a time since I have a larger acrylic block.  I then cut out each square before gluing it on the card base.  As simple as this card may look, it actually took quite a long time!  


I searched my Pink by Design sentiment stamp sets for something that would fit this image, and I think the "Rejoice in the Lord" worked well because of how the picture reminded me of spring and all living things.  I just added ribbon and buttons and then I was done!  Even though this card wasn't showcasing a technique, I still like how it turned out because of the stamp itself.

Tuesday, June 21, 2011

Love Those Digi Stamp Freebies!

This card was made using a freebie image from Pixie Dust Studio.  I seriously do love those freebies!  It's helping me get into the fun of digital stamps without having to spend at this time.  Here you can see that I have to color an image on top of a scrap piece of paper just in case it bleeds.  You can also see that it's perfect to use to test colors.


See?  This is how much it can bleed.


I love that they put the markers in a great case.  It makes it easier to see everything all nice and neat.   Plus, as you can see, there's a little space at the bottom to keep markers in "place" when in use (those are from the other set, but I just stuck them there so you could see).  I think it's just plastic there to keep it balanced, haha, but I like that I have a little spot to keep my table neater as I'm coloring.


After it was colored, I quickly assembled it on a card.  You can see the blending that I did in the hearts around the girl and for the heart in "LOVE."  Shading is so much fun!


While making this card, I ran out of adhesive in my ATG gun!  I was surprised despite the fact that it's clearly obvious that I was almost done since you can see the roll.


I better look into getting refills!  I'm going through more adhesive at a faster rate now that I craft more than I did at the beginning.  I either have to stock up using 50% coupons (gotta get the acid free since I don't have 2 separate guns for cards and scrapbook pages with photos) or order online.  Maybe I'll do the store thing first since I've been ordering many things online recently!


If you don't already have an ATG gun, I'd highly recommend it!  Although I messed up when I first started using it, I got used to it and now don't even think about it when running some adhesive down the page (in the beginning, I wasn't letting go of the trigger at the right time or picking it up off the paper correctly).  It's cheaper in the long run instead of getting small ones.  Plus, this tape is VERY sticky!  I love that I only paid $13 for mine including 2 rolls of tape whereas it costs more than that at the stores even with a 50% coupon.  Crafting tools are almost as much fun as the final products!