Showing posts with label Shape Card. Show all posts

Tuesday, August 19, 2014

Smile for the Camera!

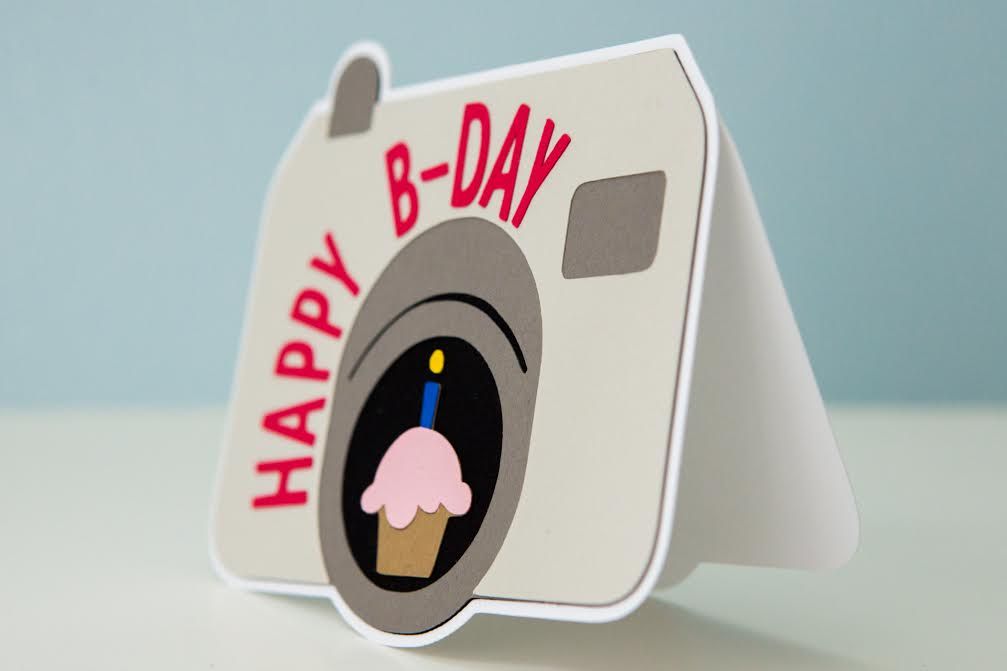
As the end of the summer approaches, the ability to fill custom orders is also coming to a close. It just takes up too much of my time to make cards with specific needs when I just want to craft for fun in my free time instead. In most cases, I actually really like the cards that are made for individuals because they're usually more complex than mass produced cards. This is definitely one of those cards.

The customer mentioned that the recipient of this birthday card really enjoyed photography, so I decided to make a shape card using the camera image from "Create a Critter." I cut it at 4 in so that it would fit inside a standard A2 envelope. I also cut out the white shadow layer twice to use for the actual card base. As always, I scored the back piece of the card and adhered it there as opposed to welding the pieces together before cutting it out on my Cricut. I much prefer doing it this way so that it doesn't mess with the original image being used.


To make it birthday specific, I cut out the cupcake from the "Doodlecharms" cartridge at 1.5 inches as if a cupcake were being photographed. Of course, I might have done that incorrectly in that it should have been glued upside down? Is that how it works with the mirror? Or maybe it's just a mirrorless camera. Haha, I'm sure it's okay upright.


Lastly, I cut out the letters using the font from "Boys Will be Boys." I discovered that font recently since I kind of forget that some image cartridges have fonts as well. I like that it's narrow and basic without the loops and curves that I like for more feminine cards.

Every time I make a shape card, I ask myself why I'm not making more of them considering they're a bit more unique than what can be found in the stores!

Monday, June 30, 2014

House Card

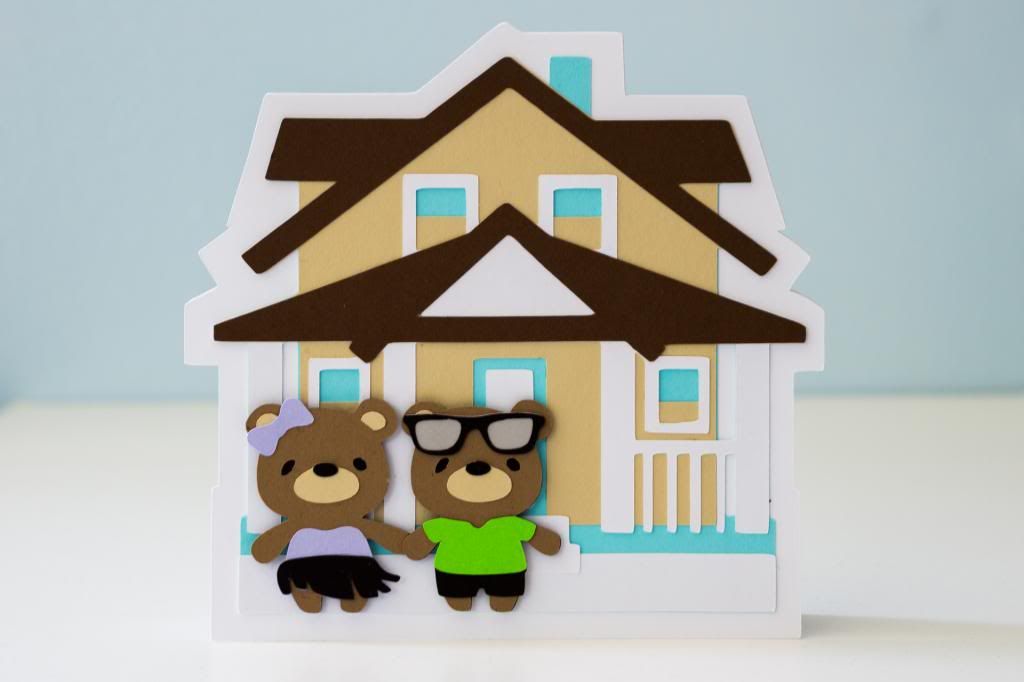
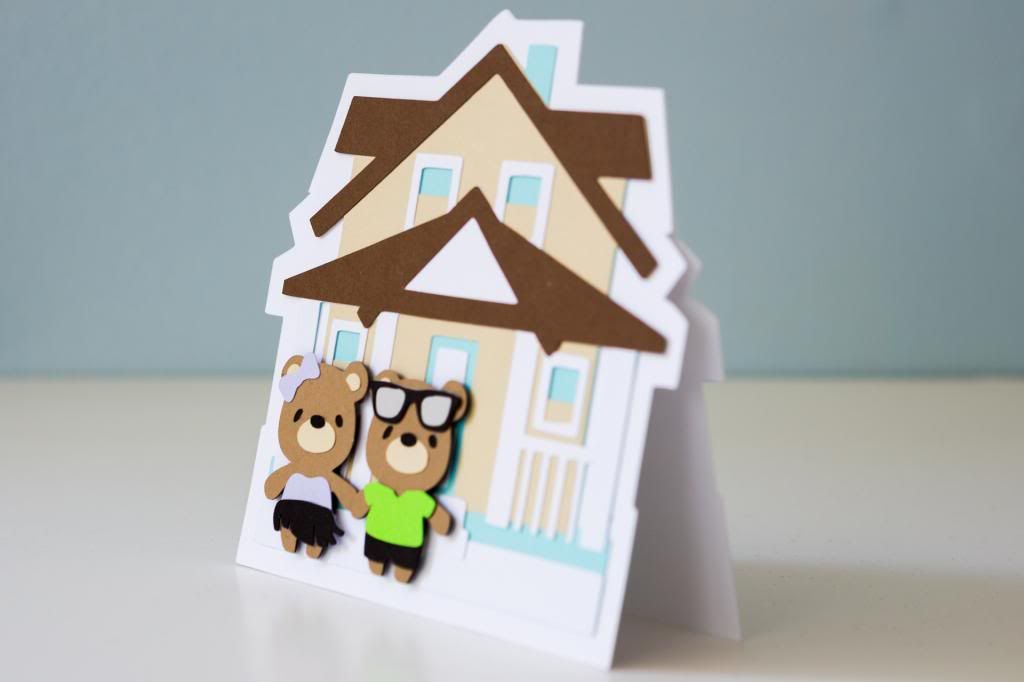
I made this shape card for a customer who wanted to thank her boyfriend for renting a house for a big birthday gathering with all of her friends. I used the house from the "Just Because" Cricut cartridge, and the bears are from "Teddy Bear Parade."


This was either done before I started getting back in the habit of recording the measurements of all the cut pieces or I just can't find where I have them saved on my computer! Nowadays, I just keep the measurements on the desktop Sticky Notes program so I can copy and paste it when I post the card on my blog. Once that's done, I can just delete those few lines. Oh well! This was clearly a unique card for a special circumstance, so the need to know the sizes because I'll need to redo it is rather unlikely!


I used the shadow feature for the house to use as the base. I cut it out twice and scored the back piece before putting adhesive on it to stick them together. I really like how this card came out, and it's always fun using a Cricut cut I've never used before!

Sunday, June 15, 2014

For My RIGHT-HANDED Father

Happy Father's Day! Each year, it's always interesting seeing the kinds of things that are written about fathers on social media. First of all, they're mainly written by daughters, and secondly, I've also noticed that there's definitely a difference between those who are Asian and those who aren't. I've seen some of my Disney friends write about how their dads are their best friends and how they're so grateful that they can tell them anything. In all honesty, that kind of baffles my mind because that's not really how it works when you're a daughter with a Chinese father!
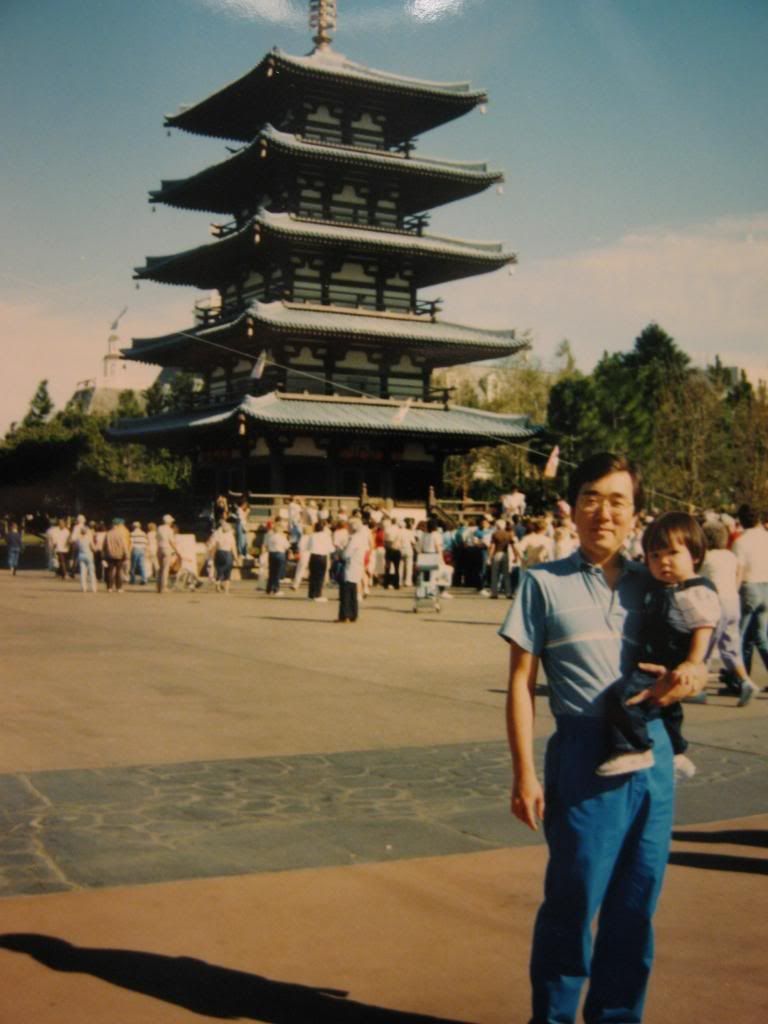

Though my dad has never been the kind of person to verbally shower me with love, he shows how much he cares in so many different ways. Growing up, I didn't understand why he couldn't just say "I love you," but now I know that in his eyes, making sure our family had everything we needed and providing a good life for us was his way of showing his love. It's kind of like having to read between the lines. Even though I am married and living out of the house, he still does those seemingly subtle things.

For example, I still drive to my parents' house on work days so that my mom and I only take one car to school. On snowy days, my dad knows just how difficult it is for me to park sometimes with the mountains of snow blocking the regular spots. He will just have me pull into the driveway and then move my car for me so that I can just get to work without having that to stress me out. Another example is that when he does food shopping on Sundays in Chinatown or when he goes to Top Tomato closer to home, he'll buy an extra avocado or two and give it to me along with bagels since he knows how much I like them and don't really get it myself because they're expensive.

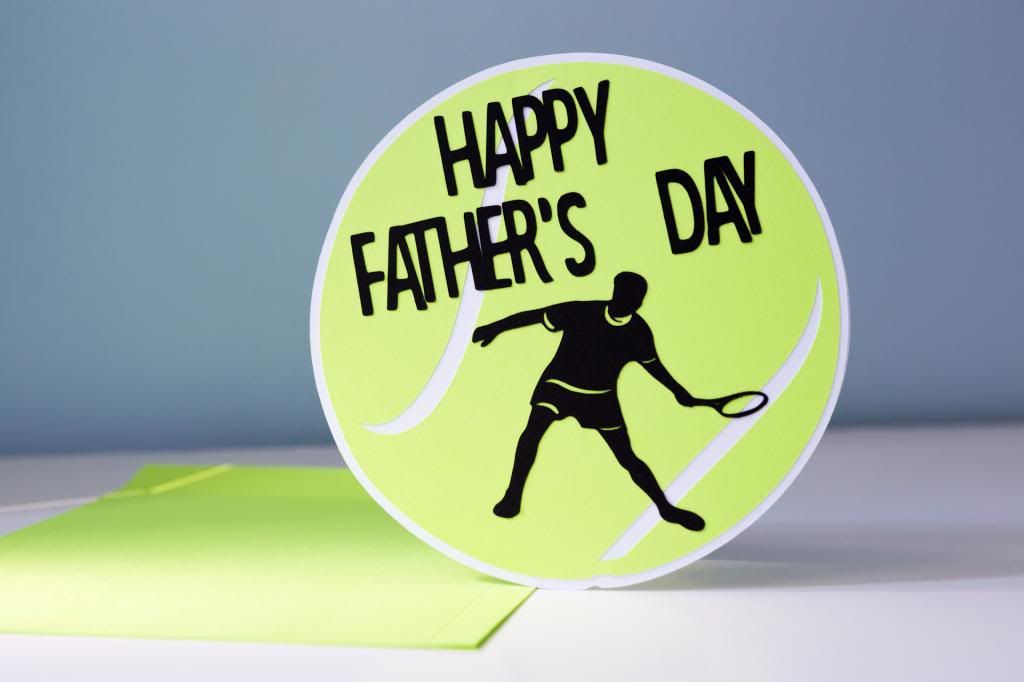
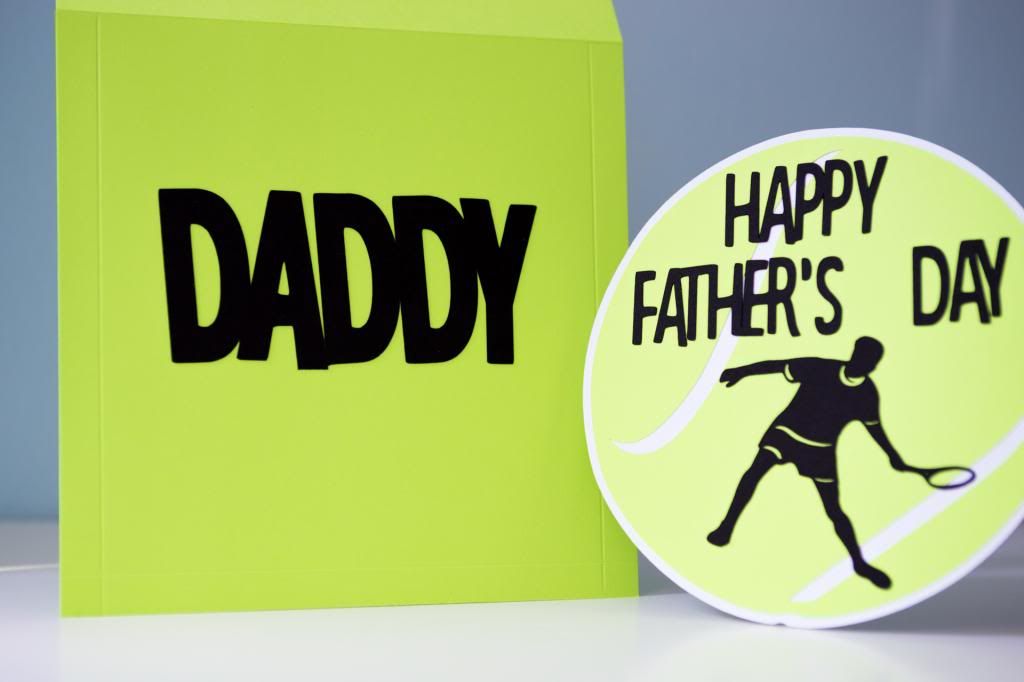
And even today, I know that my dad appreciated the card I made and gave to him today because he kept mentioning it and talking about it during lunch and in the car on the way home from church. Of course, he was teasing me saying that I made a mistake by making the tennis player left-handed. Take a look at it!


I made it last night knowing that the only way I could really let him know I appreciate him is by writing it down and giving it to him in a card. I didn't even make a Mother's Day card for my mom (sorry, Mom!), but I know that when school is out, I can take her out for lunch and we can just talk and talk and talk. I know that because of the relationship we have, I don't have to wait for the cards to express my gratitude. That's why it was important to me to make the card especially since I know he's been stressed lately taking care of my grandma.

For the tennis ball image and the tennis player, I actually used a cartridge I hadn't touched before called "Sports Mania." The ball was cut out at 6 inches (how awesome is it that I happened to have paper that's similar to the Wilson tennis ball color?!), and I cut two of the shadows in white to use for the actual card base. Knowing now that there's no way to make an envelope that big on the envelope punch board, I will make sure I don't make them any larger than 6 x 6! The shadow made it just a little bit over, so I had to figure out another way to make some sort of an envelope.

The tennis player was cut at 3 inches. I actually thought in my mind, "My dad is a rightie," but it didn't occur to me that I could just easily flip the image before I cut it out (yes, or flipped it before I glued it, but the cut edges would show more). Whoops! Dad was saying that he wanted to take a picture of it and show it to all his tennis buddies, but I put the guy on backwards!

Lastly, I used the cartridge "Boys Will Be Boys" because I liked the font on it. A lot of my other fonts on cartridges like "Lyrical Letters" and such are too loopy or cutesy. I used the text box to type out the letters, so on Cricut Craftroom, the text size was 1 and then I decreased the letter spacing to -3 so that most of them were welded together.


Like I said, I couldn't make an envelope with the punch board or with the score board. So I ended up cutting out a 7.5 x 7.5 square, scoring half an inch in, and applying adhesive to stick the two pieces together. The second piece was a little longer just so that I'd have a flap to close the envelope. I cut out the letters using "Boys Will Be Boys" again.

Even though I made a mistake with the right-handed and left-handed thing, I still think it came out pretty well considering it's very specific for my tennis-loving dad. I remember that as a kid, I didn't understand why he was always playing tennis after work. I used to think that he must love tennis more than he loved me, but I really didn't understand the differences between how men and women think and function until I started dating and got married. Now I understand that he needed a breather and to release some stress from his job, and I'm glad that he's still so fit and into the game now because of the exercise and the friends he has made through it! Maybe since he's such a great player, he can learn to play with his left hand so that this card is more appropriate ...

Friday, January 24, 2014

A Deliciously Sweet Birthday Card

The College and Early Career group at my church often passes around cards at the beginning of Sunday School so that everyone can sign them for birthdays. It's kind of funny how some people attempt to do it secretly while others just blatantly skip the recipient when passing it around because we all know what everyone's doing! My sister-in-law Sharon is in charge of keeping track of the birthdays and bringing the cards for everyone to sign.

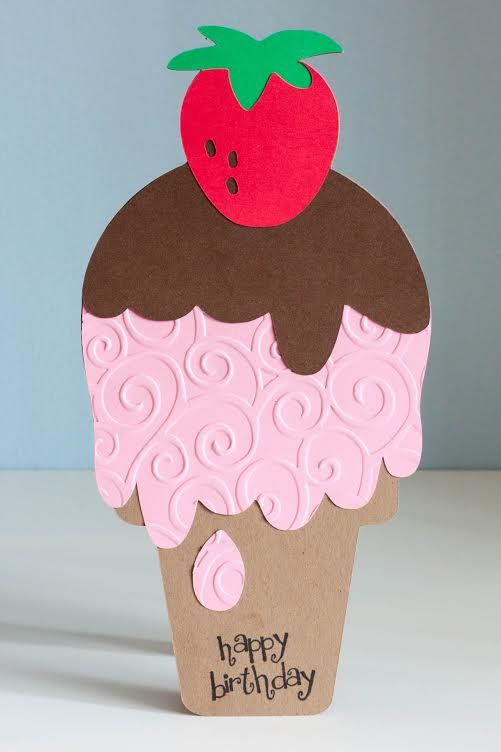
Well, Sharon's birthday was at the beginning of this month so one of our leaders asked me to make a card for her. Howard and I looked at the options on the Sweet Treats Cricut cartridge and both liked this ice cream cone. I decided to make a large shape card just to make a bit more interesting. I cut it out at 8 inches. 


I did cut the chocolate syrup layer again in green, but I just didn't put down paper to cover the entire portion on the mat since I only needed the top part of the strawberry. I don't know why they didn't make an extra piece for that because if cut out exactly as it is in the handbook, the strawberry top would be brown too. Oh well. With Cricut Craft Room or a Gypsy, it's a lot easier to avoid wasting paper.

To add a bit more dimension, I used the D'vine Swirls Cuttlebug folder to emboss the pink ice cream. I would have done something more for the cone, but I couldn't get the sandwich correct with what I had. Plus, I didn't want it to look too busy. It worked out in the end since I needed a spot to stamp the happy birthday sentiment from Pink by Design's "Birthday, Birthday."

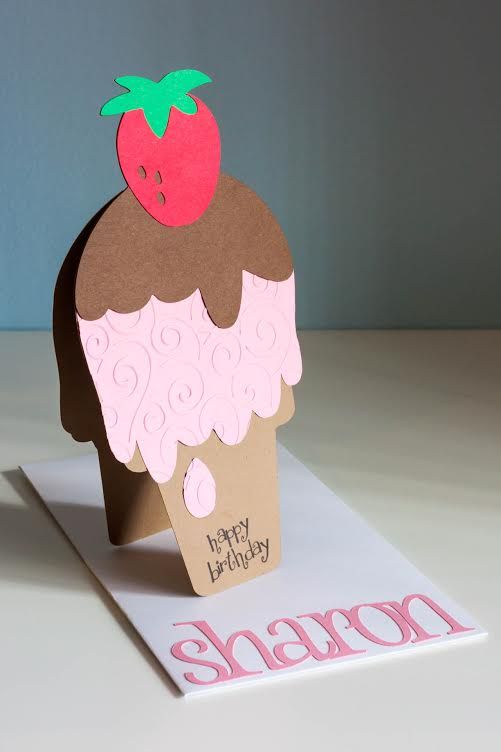
As you can kind of see in the picture below, I don't weld the front and back of the card in Cricut Craft Room. Instead, I cut out two of the same base pieces and score the back piece so that it can fold. Then I just use my ATG to attach them together. I prefer doing it this way because I think it looks better not having a flat top. Plus, there'd be no way for me to fit 16 inches on my cutting mat.


I finally had the opportunity to use my We R Memory Keepers envelope punch board! I had taken a picture of it along with a sneak peek of this card in a recent blog post. I did make it a little bit bigger than it needed to be, so next time I'll know that I can stay more true to the sizes on the board. I used a font from Lyrical Letters and welded the letters together for the front of the envelope. Now that I have the punch board, I'm looking forward to making more shape cards just like this one.