Showing posts with label Cartridge: Doodlecharms. Show all posts

Tuesday, August 19, 2014

Smile for the Camera!

As the end of the summer approaches, the ability to fill custom orders is also coming to a close. It just takes up too much of my time to make cards with specific needs when I just want to craft for fun in my free time instead. In most cases, I actually really like the cards that are made for individuals because they're usually more complex than mass produced cards. This is definitely one of those cards.

The customer mentioned that the recipient of this birthday card really enjoyed photography, so I decided to make a shape card using the camera image from "Create a Critter." I cut it at 4 in so that it would fit inside a standard A2 envelope. I also cut out the white shadow layer twice to use for the actual card base. As always, I scored the back piece of the card and adhered it there as opposed to welding the pieces together before cutting it out on my Cricut. I much prefer doing it this way so that it doesn't mess with the original image being used.


To make it birthday specific, I cut out the cupcake from the "Doodlecharms" cartridge at 1.5 inches as if a cupcake were being photographed. Of course, I might have done that incorrectly in that it should have been glued upside down? Is that how it works with the mirror? Or maybe it's just a mirrorless camera. Haha, I'm sure it's okay upright.
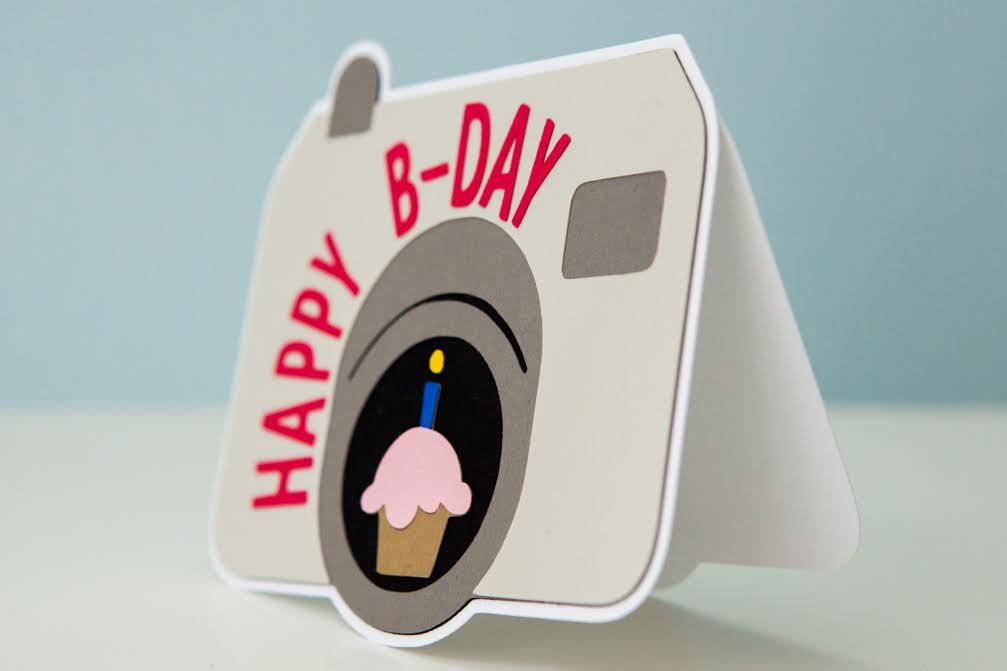

Lastly, I cut out the letters using the font from "Boys Will be Boys." I discovered that font recently since I kind of forget that some image cartridges have fonts as well. I like that it's narrow and basic without the loops and curves that I like for more feminine cards.

Every time I make a shape card, I ask myself why I'm not making more of them considering they're a bit more unique than what can be found in the stores!

Monday, August 11, 2014

A Biking Raccoon

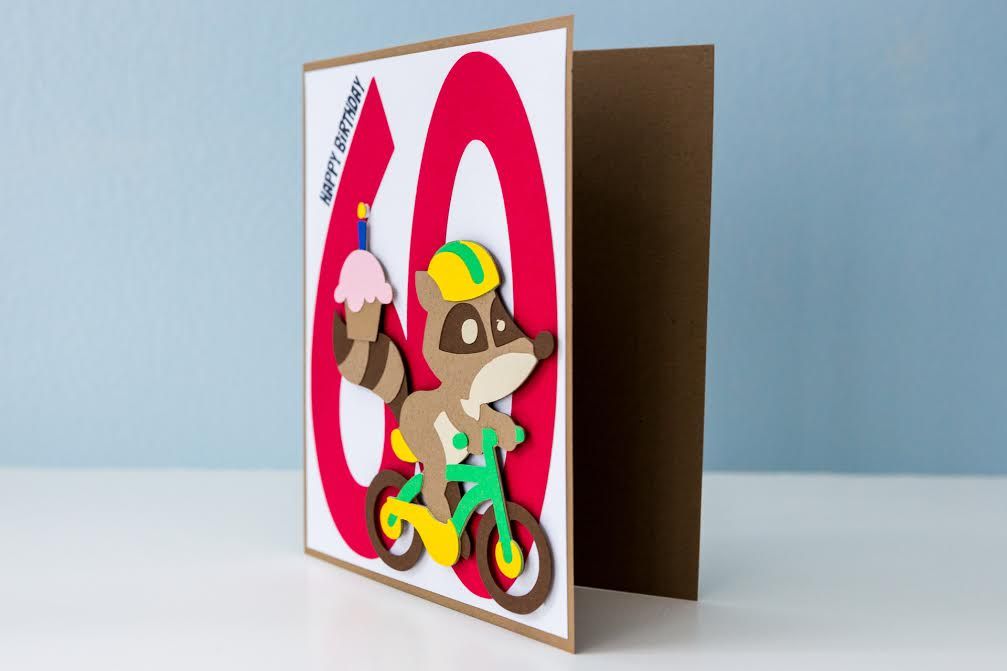
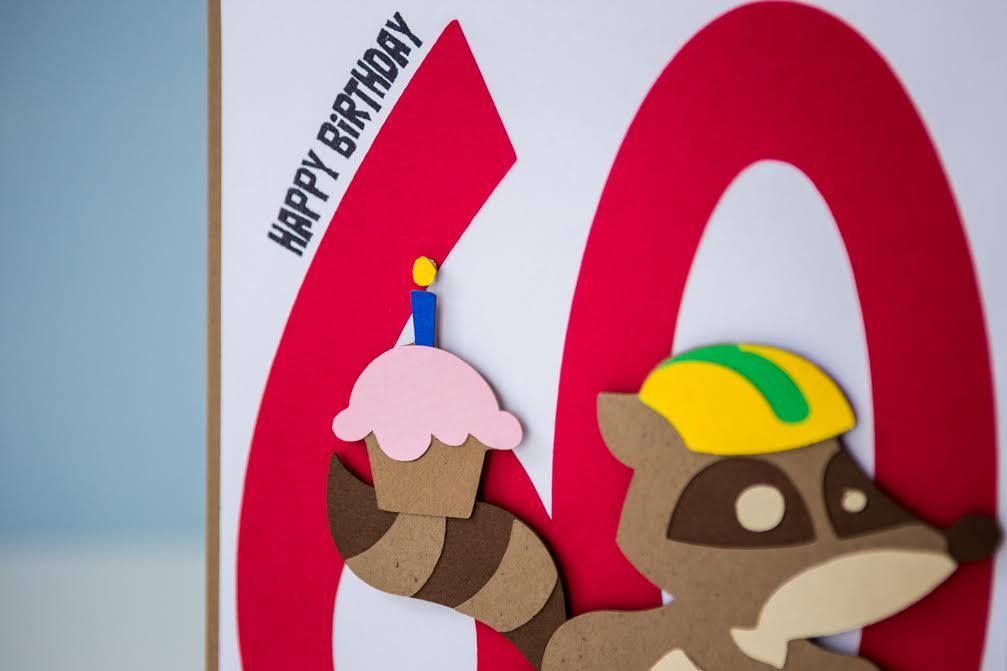
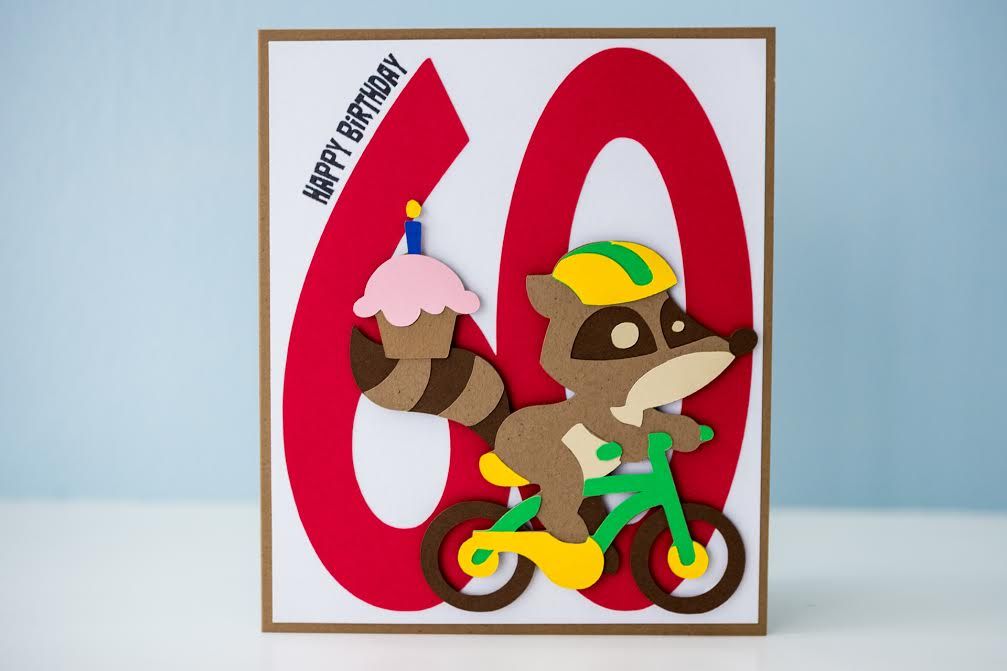
This is one of the custom orders I made recently that I was really happy with once I was finished! The customer asked for a 60th birthday card for her boyfriend's dad. She told me that he was into exercising and sports like biking and rollerblading. The image that came to mind was this raccoon from the Campin' Critters cartridge. I think I only used this cartridge once, and it was the one I wanted for a super long time. It's just difficult to find the occasions to use the images, but this was a chance for me to pull it out.


The raccoon was cut at 4 inches. Since the image was already fairly large, I decided I needed to put this on a card larger than my typical A2 size (5.5 in x 4.25 in). With my We R Memory Keepers envelope punch board, it makes it a lot easier to make varying card sizes, so this was a 5.5 in x 6.5 in card.


I then decided to cut out a really large "60" to put in the background. It actually took a little bit of time to find the right font for this. In the end, I used the Cricut Basic Font that's available for free via Craft Room and just stretched it to the size I needed, so I don't actually have an exact measurement for it. It worked out better that way because the original font is kind of chubby, and the numbers got lost behind the raccoon.


To make sure it was an obvious birthday card, I cut out a cupcake from Doodlecharms at 1.75 in, which is one of my original cartridges. It's so different from the more recent ones, but sometimes the basics are needed. The final touch was stamping the "Happy Birthday" sentiment, which was from Pink by Design's stamp set called "Birthday, Birthday." I curved the clear stamp a bit when placing it on my block so that it'd line up with the edge of the number. I know my customer was pleased with it, but I also hope the recipient liked it as well!

Tuesday, February 25, 2014

Snowmen 'n Plaid

Boy, we've sure had a lot of snow this winter, haven't we? It's kind of crazy that the year that I'm not teaching, the school has a bunch of snow days and snow delays! But realistically, I was much happier knowing I'd be home on those days because I was already stressing for my mom's sake. If I had to drive as well, I'd be in full panic mode! Our location is good because we don't have to shovel when we live in an apartment building, but it's kind of a little bit difficult for me to think about driving from here. 

Regardless of how you might feel about snow, snowmen are the absolute cutest. I've actually never made a full-sized snowman in my life. The one time there was a lot of snow when I was a kid, my aunt, uncle, cousin (they lived next door) and older brother decided to build one out in our backyard. I remember watching from the kitchen sliding door wishing I could be outside too, but I happened to have a fever. Oh well. Maybe one day I'll make one carrot and all with my kiddies!


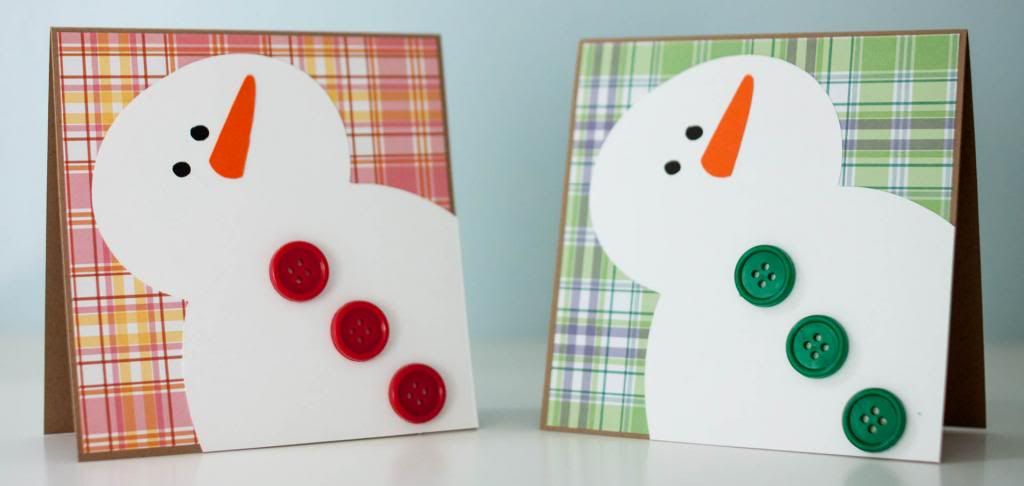
For these cards, I followed a similar format to one I found online made by Lisa's Handmade Cards. I like to include the link of the original blog post when I "scraplift" a card, but my pin on Pinterest shows that the domain name is no longer being used, so I'll just post a link to the pin.


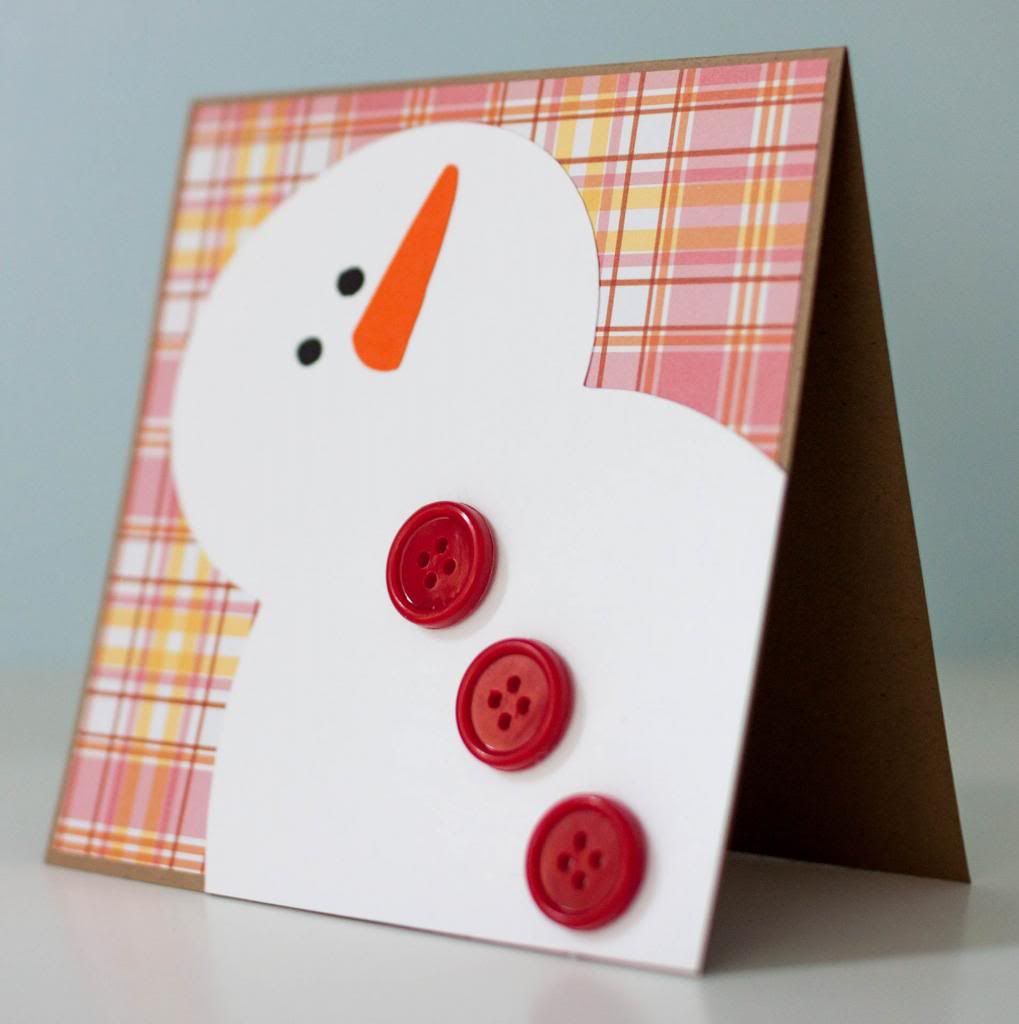
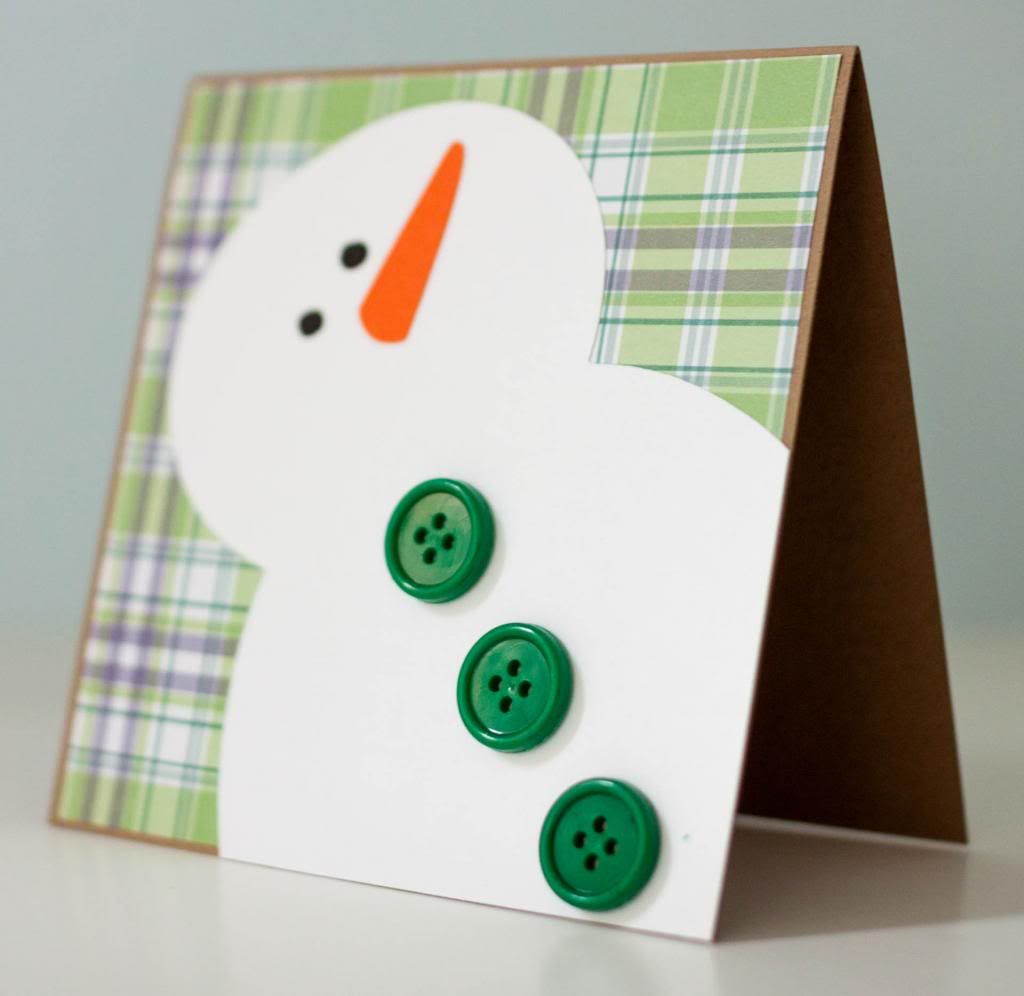
I used the snowman cut from the Doodlecharms Cricut cartridge and kept it pretty simple because I wanted the buttons to be the focal point of the card. Lisa's original card included a scarf, which I attempted to recreate, but the size of the buttons I had just made it look off. 


Personally, I really like that the snowman is tilted and coming off the plaid layer and even the card itself. It gives it more character than just making it upright. I thought this was also the perfect opportunity to use interesting background paper since the image is so plain, so I had fun going through my paper and choosing these two versions of plaid. I decided not to include a sentiment so that it could be used for any occasion. How fun would it be to send this card in the middle of a hot summer instead of right now during this cold winter?

Saturday, February 22, 2014

For All The Babies!

It just seems like the perfect time to post these baby cards since our friends Enoch and Shirley announced on Facebook that they're expecting baby #2! Howard and I have been praying for them pretty much every single night along with the other moms-to-be that we know right now. It's so exciting when other people have babies because then we can get excited for them without having kids of our own just yet, haha.


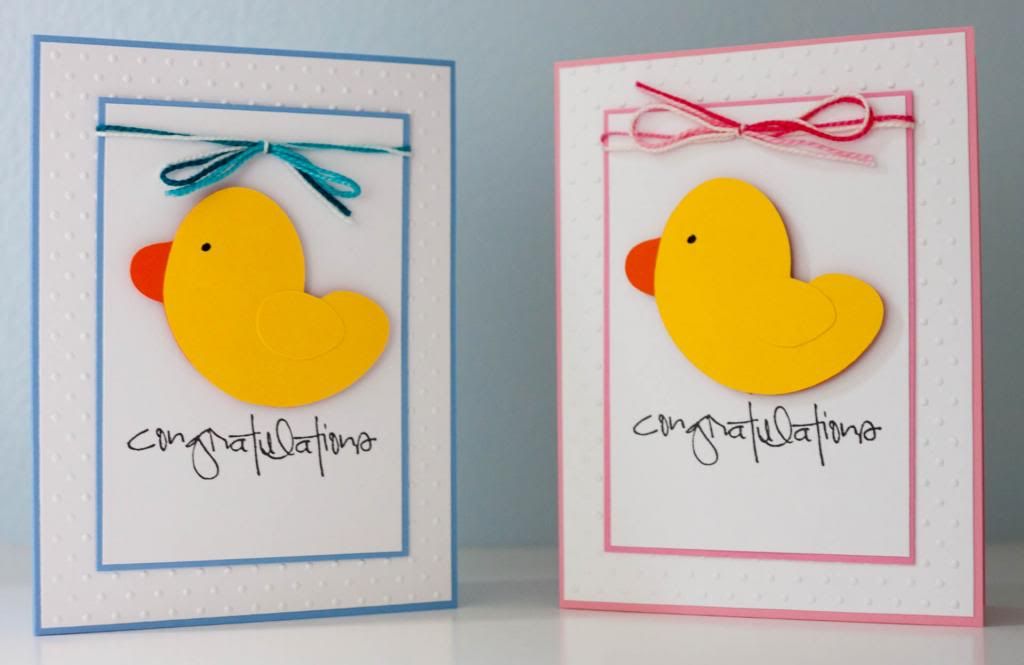
As you've seen in the past, there are times that I see fantastic cards on Pinterest that really catch my eye. I use a lot of cards as inspiration, but sometimes I just don't see how anything can be changed, so I end up just "scraplifting" the original card. This is the case with these duck cards. The original crafter is Silke Shimazu, and you can see her card on her blog "Get Inky with Silke" by clicking here.

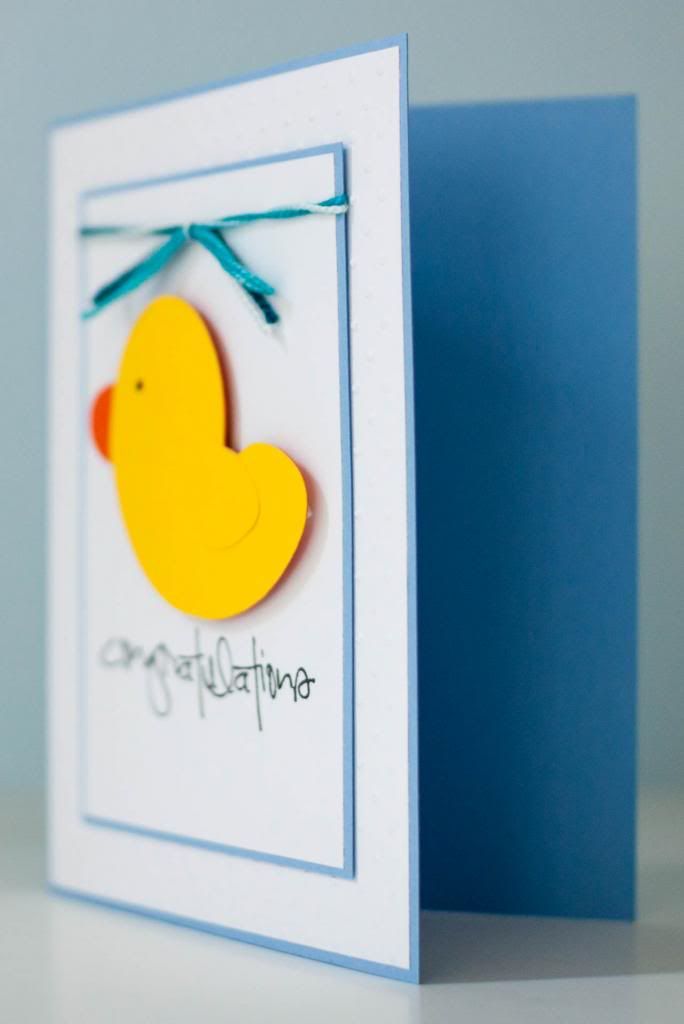
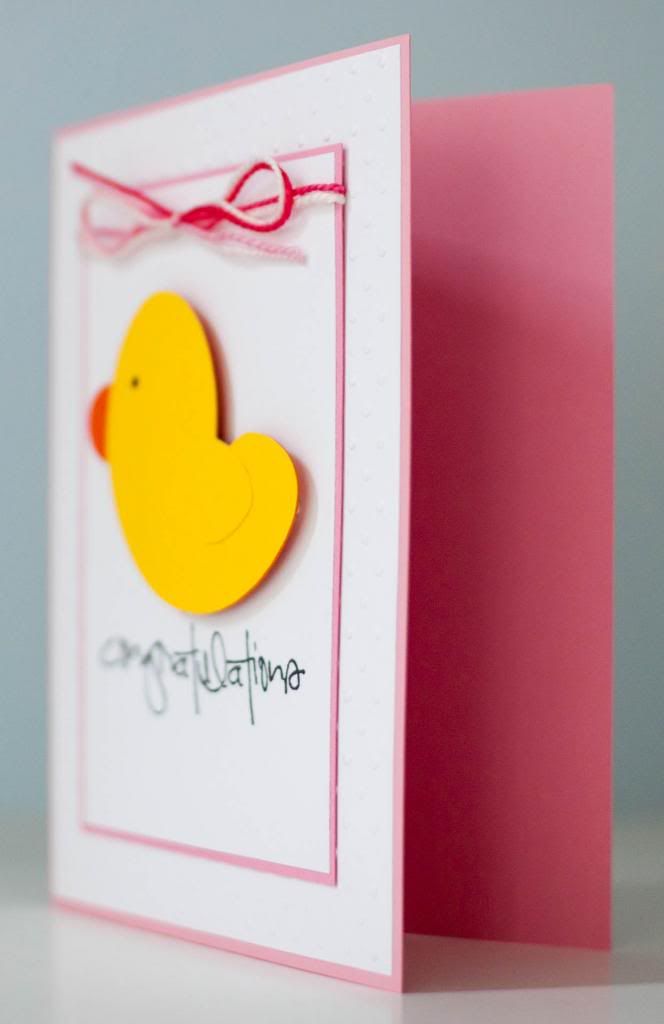
The only slight change I made was that I did want the ducks from the Doodlecharms Cricut cartridge to be a little bit bigger. I also didn't have much ribbon at the time, and I'm also not the greatest at tying it neatly so I used embroidery thread instead. I like how each thread is comprised of a bunch of different colors to add a little extra something as opposed to just using solid blue and pink. 


The bottom white layer is embossed with the Cuttlebug "Swiss Dots" folder to add dimension. Lastly, the sentiment is from Pink by Design's set called "Scripted Year." Thanks, Silke, for creating this wonderful card!

Saturday, July 28, 2012

Pink by Design Two Year Anniversary Extravaganza: Challenge 2

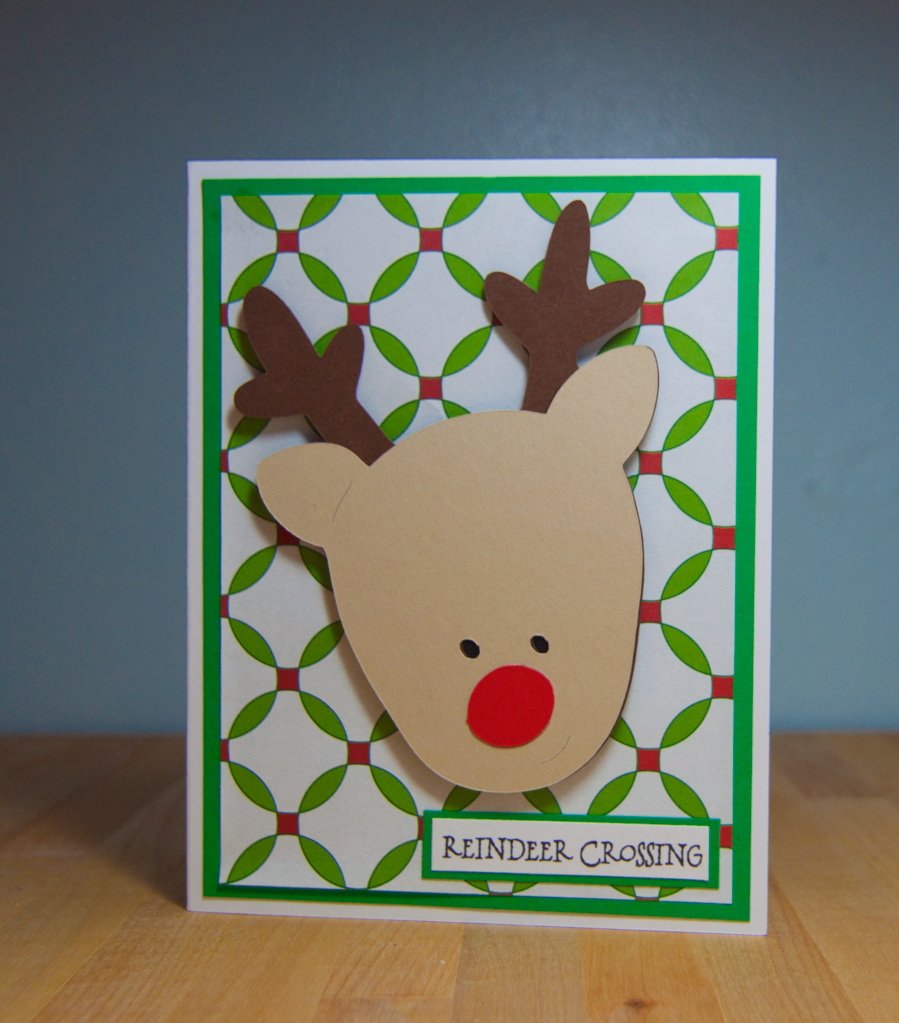
The theme for Challenge 2 was a favorite holiday!  I'm super excited to be able to celebrate Christmas with my husband this year.  My plan a while back was to get Disney stockings so that we can fill them with fun little gifts instead of having to buy anything major (we're still in save mode as newlyweds!).  The little things would be edible stuff like a bag of almonds for him or Hershey's drops for me and other fun goodies like Lego mini-figurines for him and $1 stamps for me!  With that excitement in my mind, I just had to make a Christmas card.


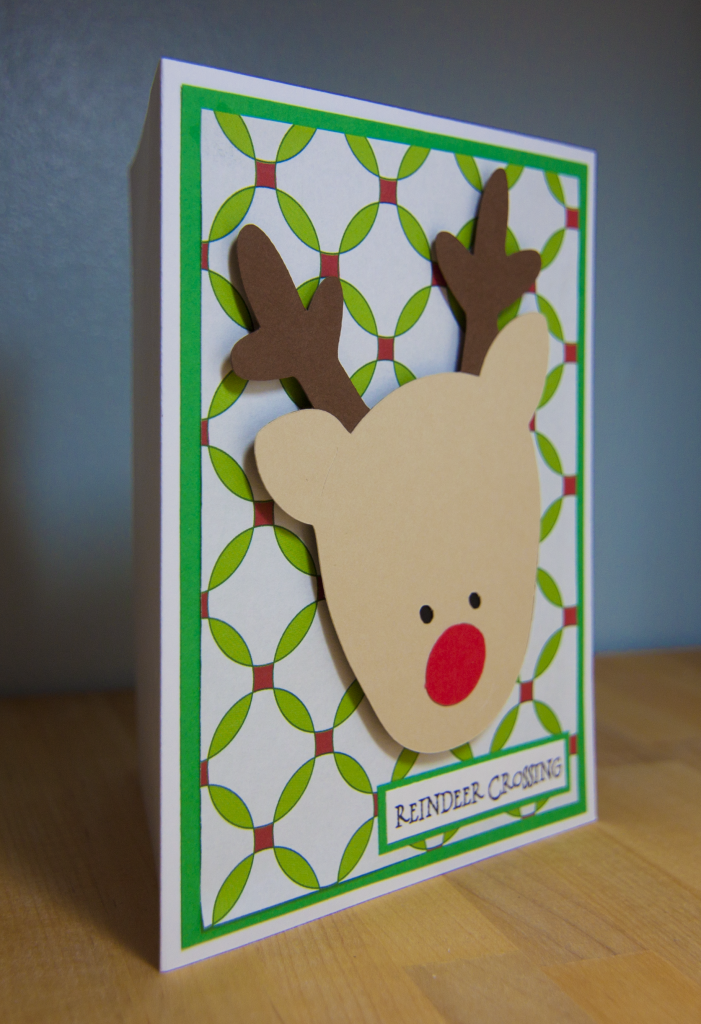
I used the cute reindeer from the Doodlecharms cartridge and then pulled out my one stack of Christmas paper that I bought last year from Recollections called "Bright and Jolly."  I have to be conscious in using more patterned paper because I'm so used to sticking to solid colors.  Patterned paper can really make a difference, I think!


The sentiment came from Pink by Design's set called "Christmas Wishes."  I adhered that to the bottom corner and then used foam adhesive to pop up the reindeer.  Even though it's only July, it makes me ready for Christmas!