Showing posts with label Digital Stamps. Show all posts

Tuesday, August 26, 2014

No More Fussy Cutting!

I think every time I write a post about the Silhouette, I will feel as if I need to compare it to the Cricut! I think they're in two different classes, but in terms of which machine has more capabilities, that is definitely the Silhouette. One of the most amazing things that it can do is the Print and Cut feature. Basically, you can just print whatever you want  from your printer, and then feed it into the Silhouette machine to cut for you! That means there's no more need for fussy cutting digital stamps!!! It would open up even more options if I had a color printer, but this is still enough to wow me! 

I watched a random video on YouTube and followed the directions and paused it so I could do each step as well because I had read that some people avoided it because it was difficult. It really wasn't, but I did have to figure some things out for myself. In short, the image is printed out on the paper with registration marks. Then when it is fed into the machine on the mat, it detects the registration marks to know where to cut. CRAZY! There's also the option of having it cut on the outer edge of the image or with an offset, which is what I did.

I chose a Pink Cat Studios gnome digital stamp, but this is what happened on my first attempt.
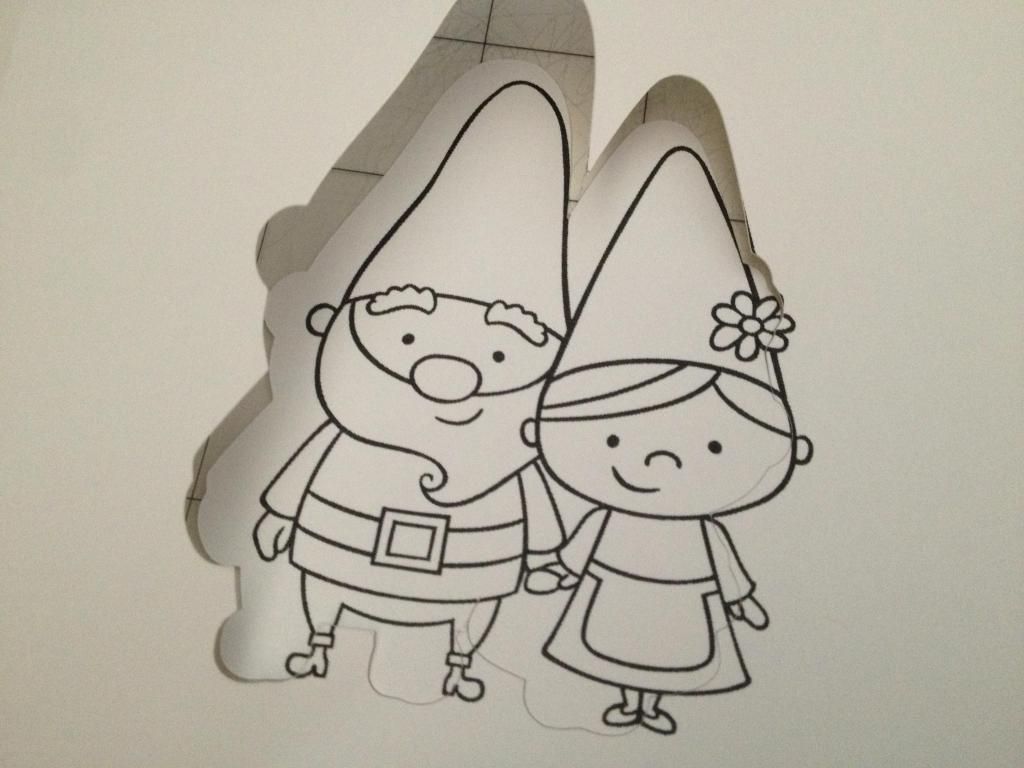

Whoops! I forgot to change the paper size to 8.5x11, so all the registration marks were missing. I had to click around to figure out what I did wrong. Once I adjusted it, I tried it again but forgot to put in cardstock so it cut out on copy paper. Despite that, it was fine because I just changed the blade settings. It cut so perfectly! I went through a digital stamps phase, but then I stopped using them because I got a little annoyed at having to do all the fussy cutting, which is basically taking the time to cut all the small details by hand.
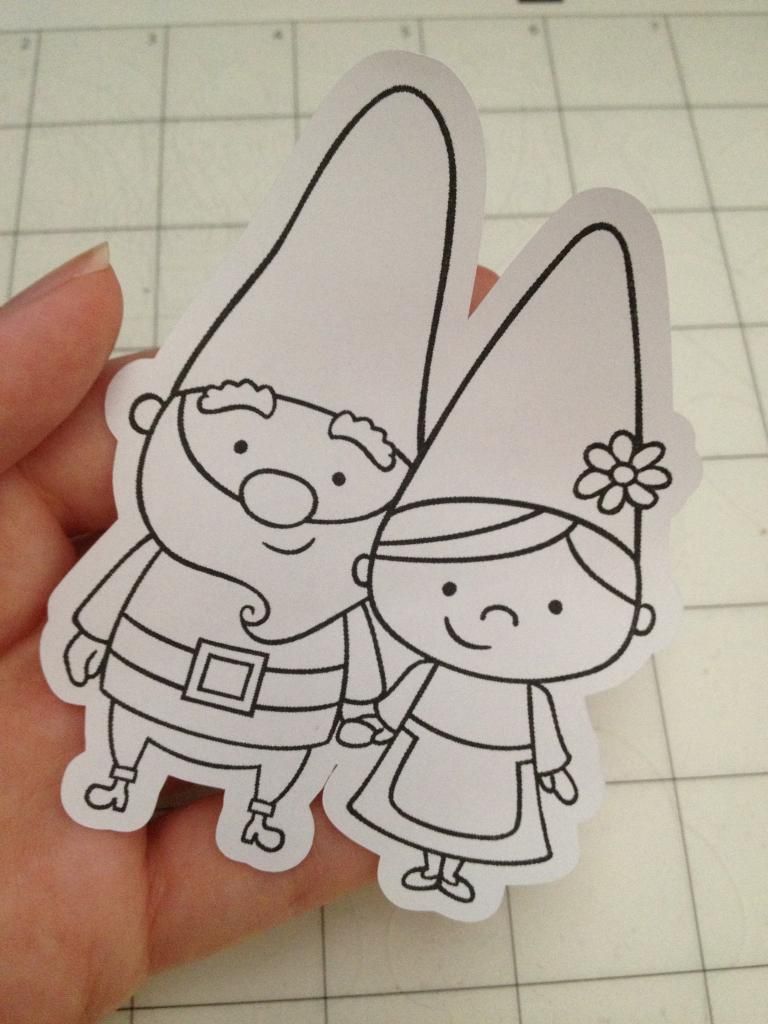

I decided to try it one more time to make sure I really did get it down and remember all the steps, so I used a different Pink Cat Studio digital stamp. I love this birthday dinosaur, but it's time-consuming having to cut around the candle and the spikes. Now I don't have to! I made this offset a little smaller, so it's closer to the black line, but next time, I think I want to see what happens when I decrease it even more! I think it can cut directly on the line, but I actually prefer the white outline.
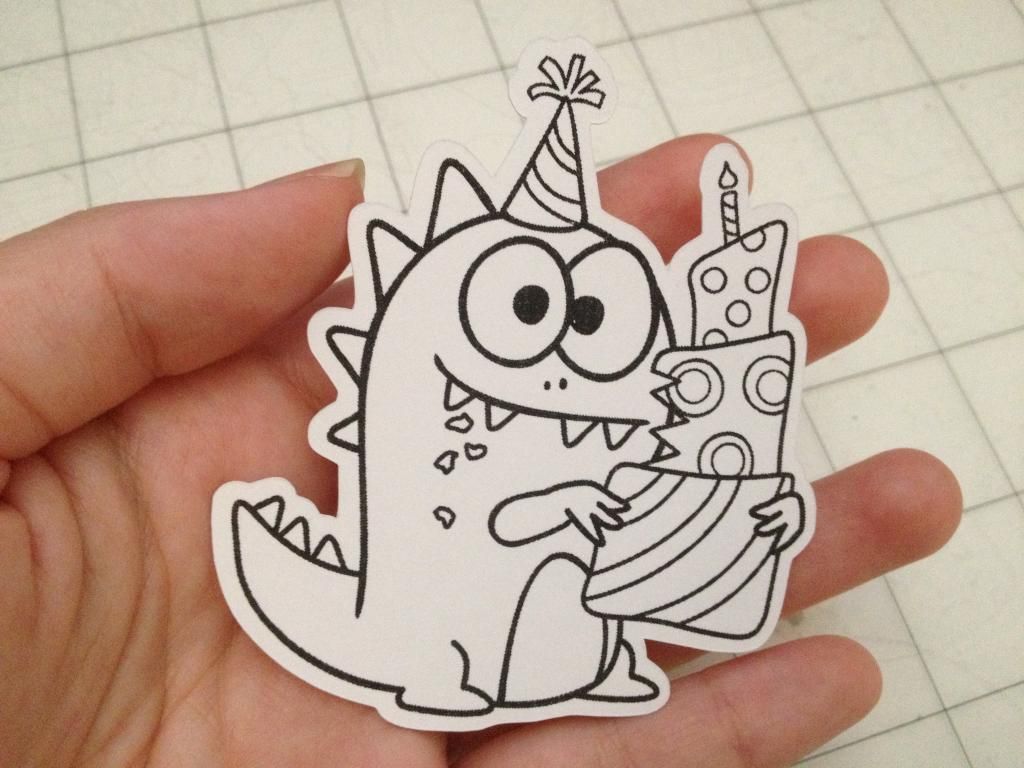

I'm just going to continue to be amazed at all the things this machine can do!

Thursday, March 6, 2014

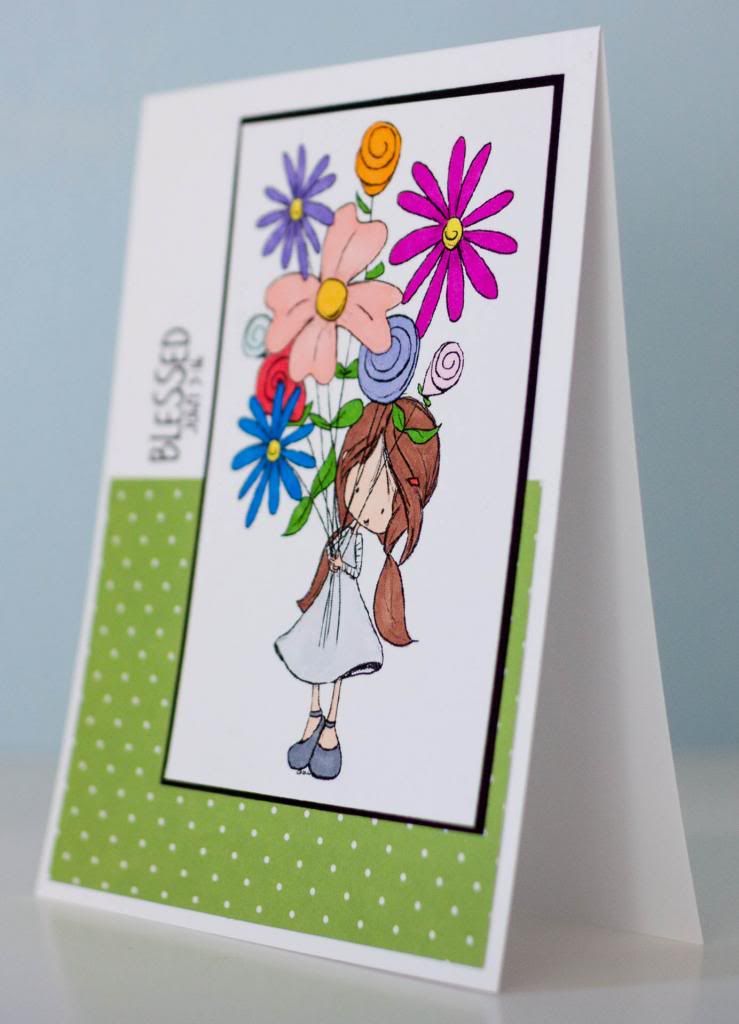
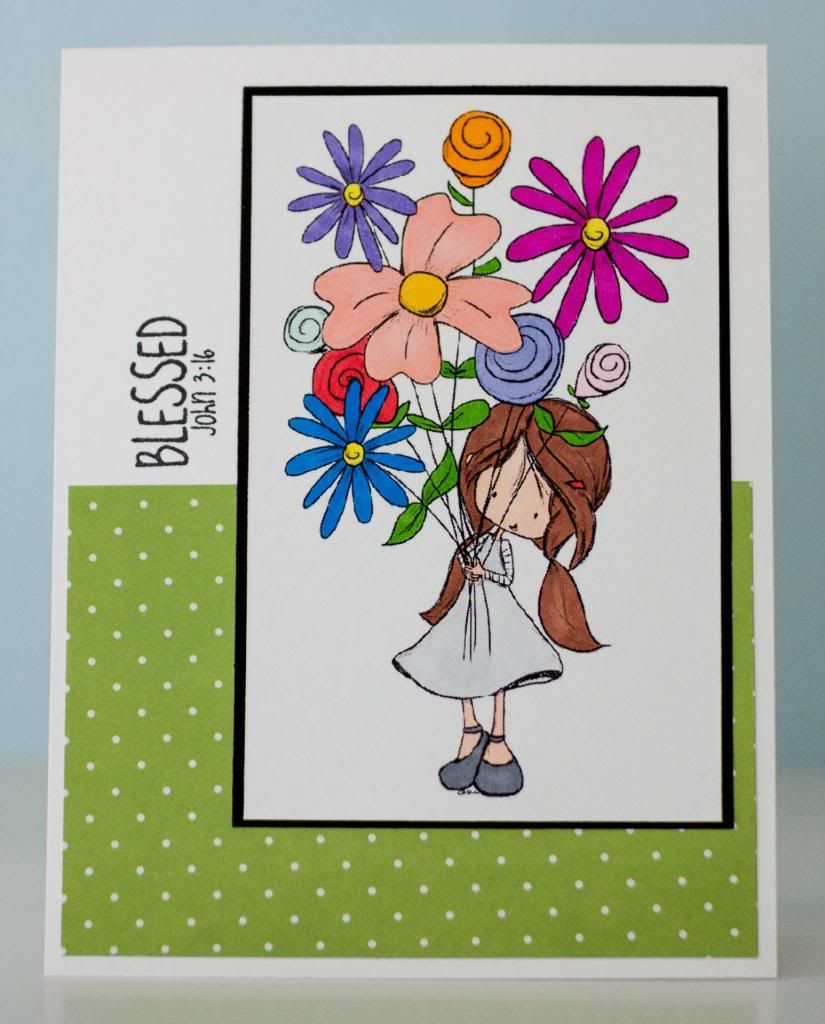
Blessed

Despite having my Copics for a bit of time, I never truly learned how to blend the colors together because I never bought the correct paper that wouldn't bleed. I know that the coloring itself doesn't compare to what I see other crafters use, but I still really enjoy using digital stamps anyway. This card was made using the Wryn Blooms digi from Tiddly Inks that I downloaded a while back when it was offered as a freebie.


Because the flowers were so colorful, I decided to keep Wryn's dress fairly muted and used an extremely light gray. I didn't want her outfit to make the entire image be too loud. But then, of course, I needed some pretty patterned paper on the white cardstock so I chose a green polka dot as the layer. I think it reinforces the whole growth and flowers and nature feeling of the image. 


The sentiment is from Pink by Design's set called "Pray." The reason I chose it is because when I see flowers growing in nature, I like to think that they're a "bouquet" given to me by God. I've mentioned before that I'm not a girl who likes receiving flowers, but when they're growing along the side of the road, I just have to smile and think about how blessed I am to have a God who loves me!

Wednesday, February 5, 2014

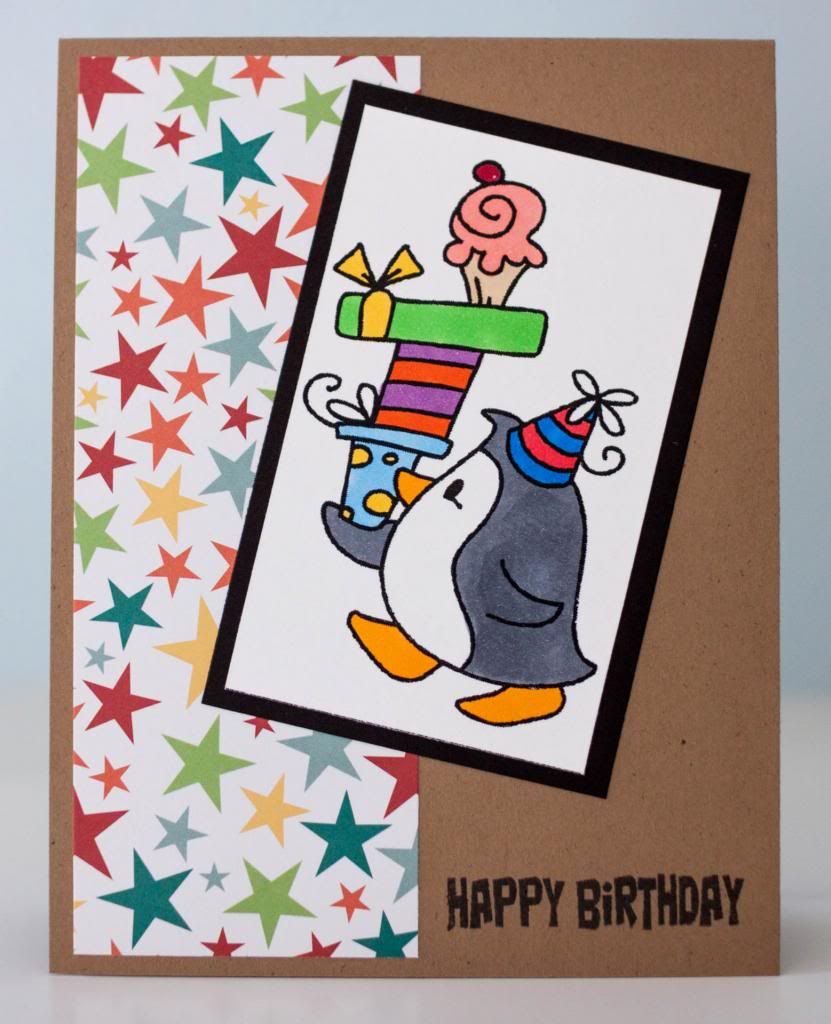
Penguin Birthday Wishes

Though I tend to prefer crafting with my Cricut, there times where I just want to sit and color. It can be so therapeutic, and I know I'm not the only one who believes so! I just caught up on my friend's Disney trip report where she brought coloring books with her for the long car ride! I know Cricut cards seem more complex, but digital stamps can sometimes be easier when I want a colorful card.


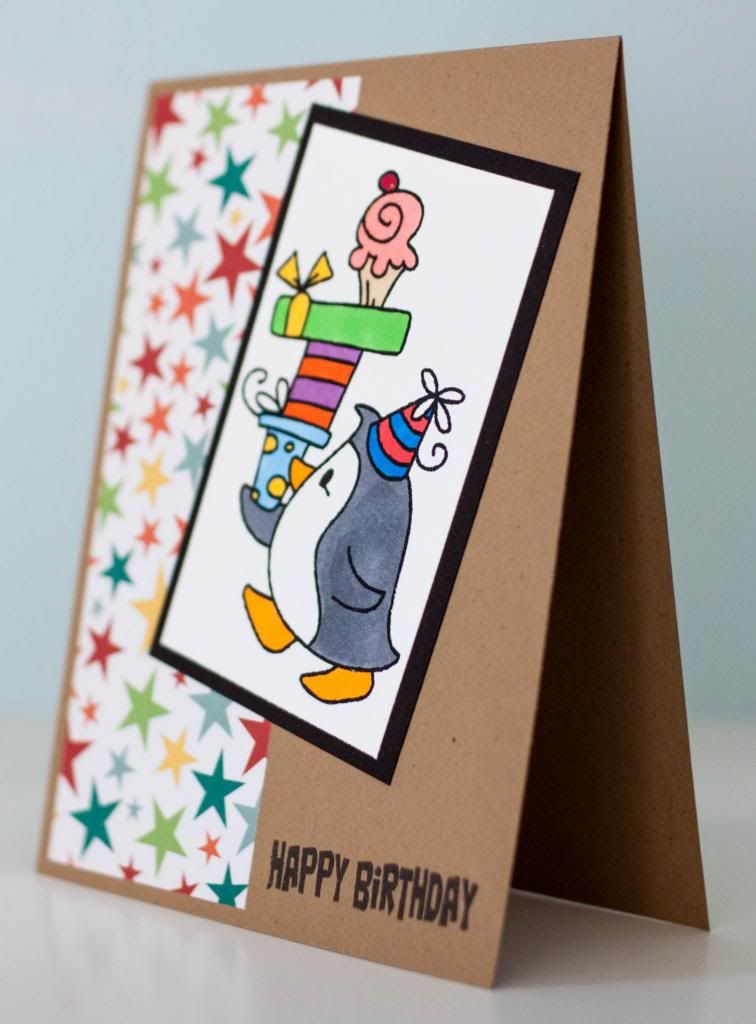
This birthday penguin digi stamp is from Bugaboo Digi Stamps. You can find it here for $3, but I was able to snag it when it was offered as the freebie on Friday. I used my Copics and my Bic Mark-It Markers to color the image. It's not fancy in the slightest, but I love the bright colors. That's why I also used a colorful piece of patterned paper on the kraft cardstock so that the image is easily the focal point. The sentiment is from Pink by Design's set called "Birthday, Birthday."


I will be entering this card in the February Anything Goes Challenge at the Catch the Bug Challenge Blog.

Sunday, January 19, 2014

Tiddly Inks Challenge #124: Clean and Simple

It's been ages since I've made a card and entered a challenge, but the new year seemed like the perfect opportunity because it seems as if I've been crafting and blogging more this January compared to all of 2013!  I only had 22 posts last year; it's kind of sad to know that I didn't take the time to write things down! I think it's because of Instagram, haha. I am hoping to be much more consistent with writing things down because if I can cultivate the habit of recording memories on a more daily basis, it'll be second nature when Luke and Leia (the twins we joke that we're going to have when we decide to have kids) come into the picture!

The current challenge on the Tiddy Inks blog is "Challenge #124 - Clean and Simple (CAS)."  I have only a couple of the Tiddly Inks digital stamp freebies, but the one I wanted to use is called "Wryn and Emmy - BFF."  Last November, I just happened to be up late at night when I saw that a $3 off code was posted on the Facebook page for the next 30 orders since they wanted to make sure their previous problems of customers getting error messages was completely fixed.  There was no minimum order amount, so the digital stamp I chose was exactly $3.  I wanted something that wouldn't be too specific so that I could use it for any occasions, and this one fit the bill exactly.


As you can see, the digital image actually shows both girls from head to toe.  I decided to print them out at 5 inches since I was going to cut it down to fit the 4 inch square card base. 


I colored the girls in with Copics and Bic Mark-it markers.  Clearly, I have not yet mastered blending and shading with Copics, but that's because I never purchased the correct paper so that the colors wouldn't bleed past the lines.  Maybe one day I'll get into it, but for right now, I don't mind.  The reason I wanted Copics was to have a wider range of colors.  This card would not look the greatest, I think, if they both had the same brown hair color if I used Crayola markers!  Those markers are also the best in getting skin tones, so I'd have to say that the few colors I purchased were definitely worth the investment.


The sentiment was from Pink by Design's set "Friends to the End."  It's kind of a "plain" card, but I actually prefer the clean and simple designs.  My husband Howard was the one who told me years ago that it's okay to have a lot of white on a card, and I really do agree!  I also figured I'd do something different this time by not centering the images, and I'm happy with how it turned out.  Those two girls will look as cute as ever regardless of where they are on the card!

Tuesday, August 28, 2012

Karber Challenge #49: Hobbies & Leisure Activities

A while back, Karber released a freebie image that I was excited to save since it was something I never would purchase on my own.  I'm all about cutesy images, which is why I have Karber's Millie and Leslie digi stamps.  This gave me an opportunity to work with something new.


I actually enjoyed making this card although I admit it was a bit difficult to color!  I'm all about thicker lines, haha, because I'm like a kid and sometimes have issues staying within the lines.


I added 2 strips of patterned paper to the back to keep more of the white on the card.  The image was printed rather large, so I didn't want anything else to draw attention away from it.  The sentiment is from Pink by Design's set called "Love Always."  Maybe I'll work with different digi images again in the future!

Thursday, August 4, 2011

Happy EVERYTHING!

Over the past few days, I've realized that crafting depending on my mood is way more fun than crafting solely for challenges.  Though challenges are great when I've lost my "mojo" and don't quite know where to start, I've gotten to the point where I think I know my own personal style and don't care that much to change it (of course, that doesn't mean I don't want to experiment with new techniques!).  However, sometimes it just happens to be that what I want to do matches a challenge, and that's what happened today!  I was in the mood to work with the Happy Millie digi from Karber.

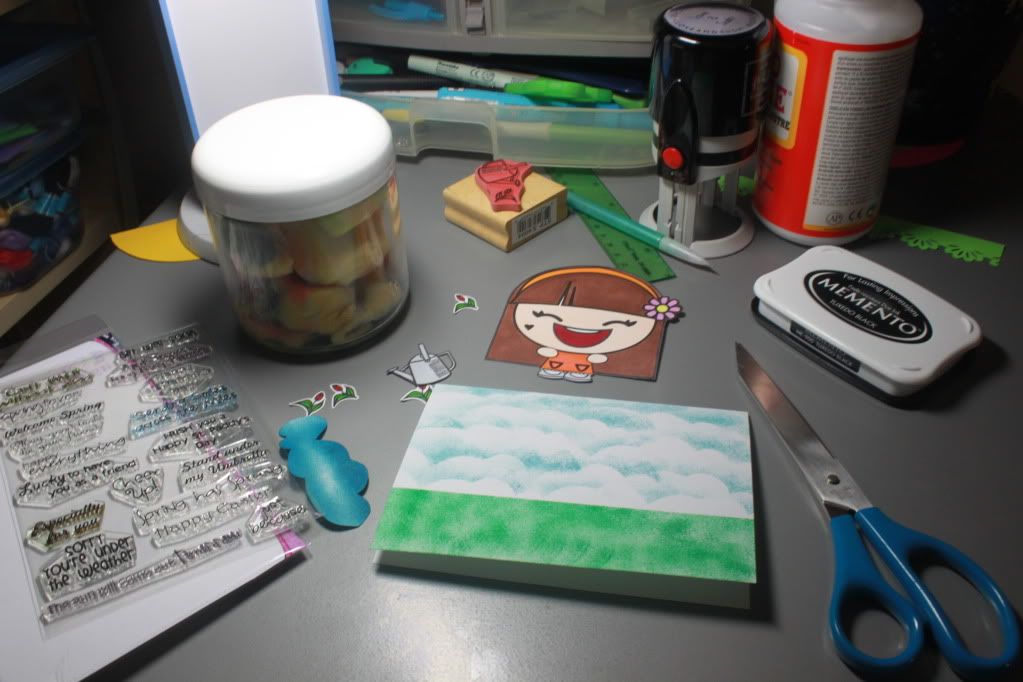
Since the challenge was to show a hobby or leisure activity, I wanted Millie to hold a watering can to show gardening.  I created a little scene on the card by inking the bottom of the card green, and then using that same cloud technique I used on the "Summer Lovin" Grease-esque card, I made the sky.  In this picture, you can see how I'm kind of spread all over the place as I'm sure most crafters are!  That jar of spongy material is actually from when I crafted YEARS ago.  I still had it, and I actually like how it works better than the Inkssentials stuff!  Of course, it's probably because I'm not using the tool properly.  


You can see everything ready to be assembled though.  All the pieces were cut, and I had the Pink by Design "Spring Has Sprung" set out and ready to use.  Oh, and I also switched to Memento!  Previously I was using StazOn, but since I bought Copics, I had to get new ink.  Let me say that this stuff is amazing.  It's so much easier to ink; it really is a "juicy" ink pad!  I had read other crafters use that word, and I just didn't get it until now.  Before I finish this digression, you can also see my new PSA Essentials stamp that I won from my popsicles card over at CAS-ual Fridays!  Woohoo!  And the Mod Podge is out from the He"ART" Journal pages I did last night for The Greeting Farm.


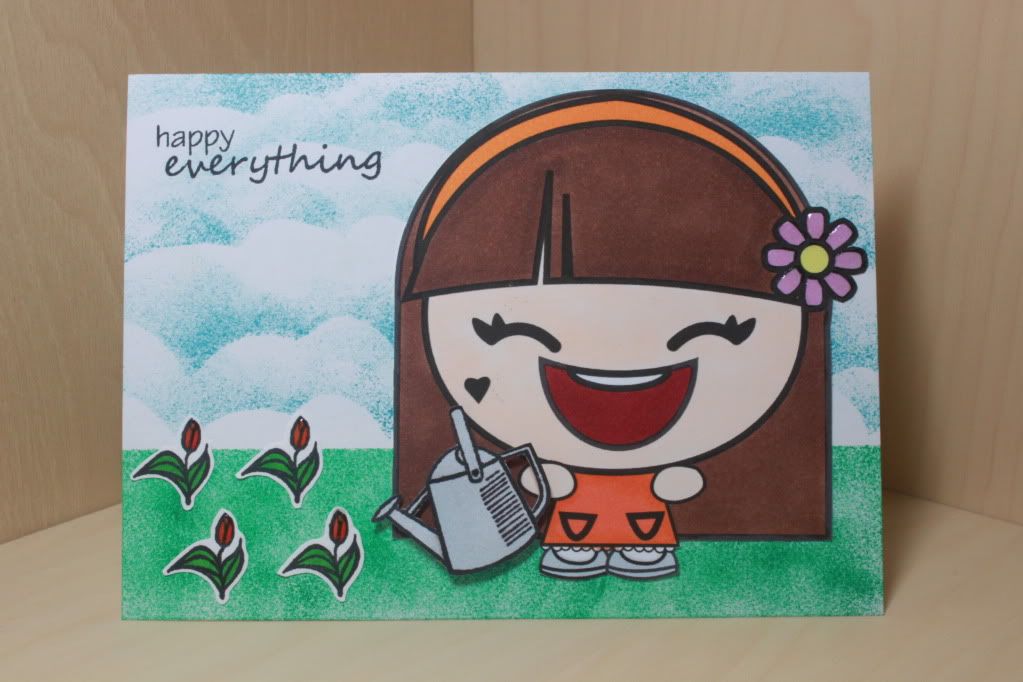
Okay, so that's the finished card!  I like how it turned out because I think it's my first "scene" card.  Millie looks happy doing just about anything!  I was going to use a spring-time sentiment, but since I put this in my Facebook store, I kept it a bit more general.  Oh, I also added Glossy Accents to Millie's flower in her hair as well as the red parts of the tulips.  And of course, how could I not pop something up on a card?  Haha, it's pretty much a given!  


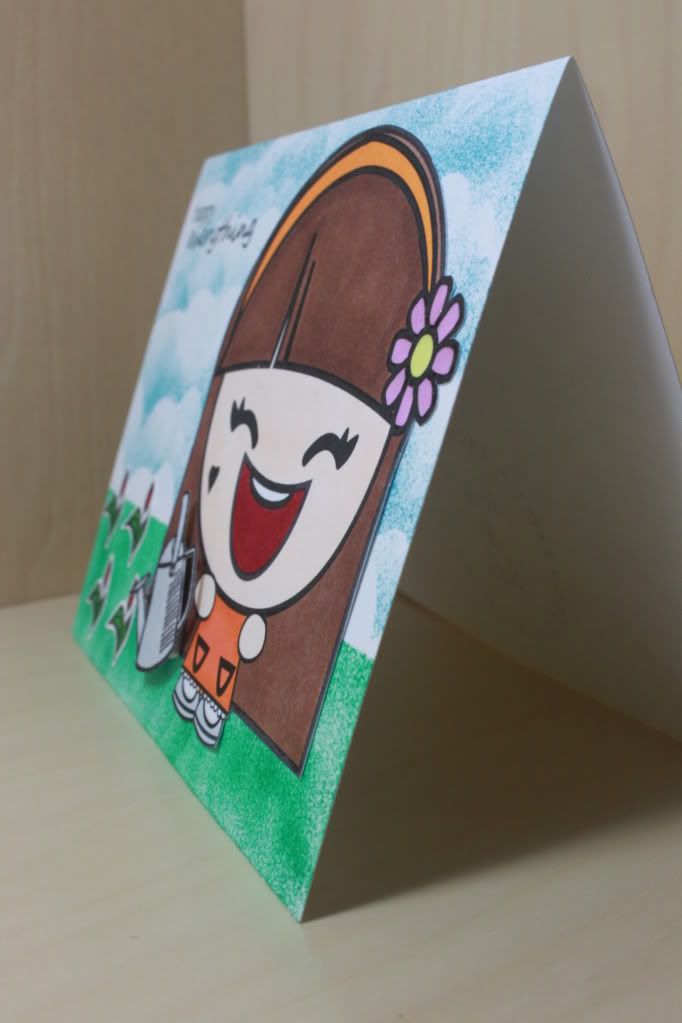
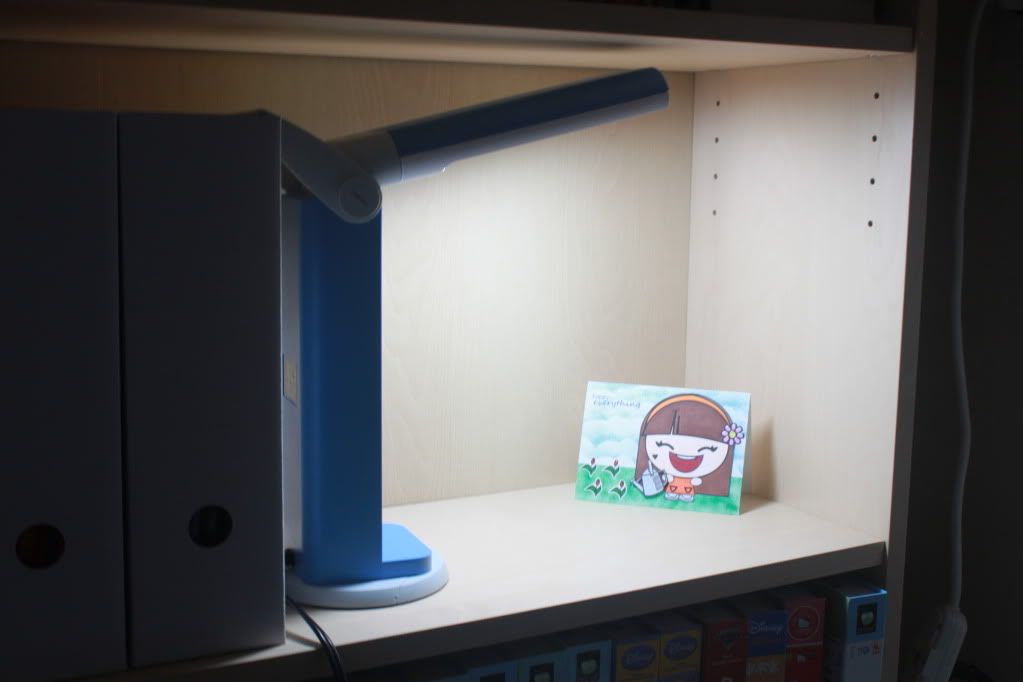
The last picture is just to show you how I've been taking my photos now.  Howard really doesn't like the clutter in the back of my previous pictures, and I didn't like how things were still dark even though I was using my Ott-Lite.  I tried the bookshelf on the other side of my room that got my direct sunlight, but it's a dark mahogany and wasn't bright enough.  Then I realized I could use the bookshelf next to my crafting table.  I just have to remove my big card box and eyelet box as well as 2 magazine holders filled with supplies from the shelf, and then I have enough room.  What do you think?  Haha, it's a lot easier than having a light box that would have to be set up and then taken down each time!


Here is the challenge that I'm entering:

Tuesday, July 19, 2011

Pink Pink Pink!

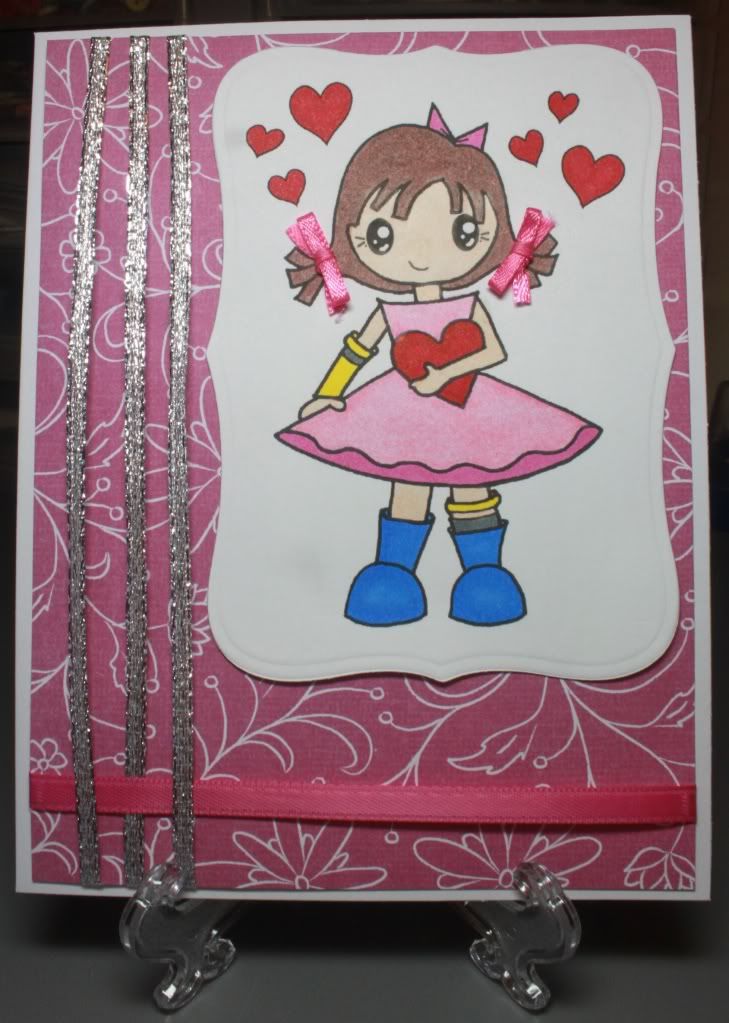
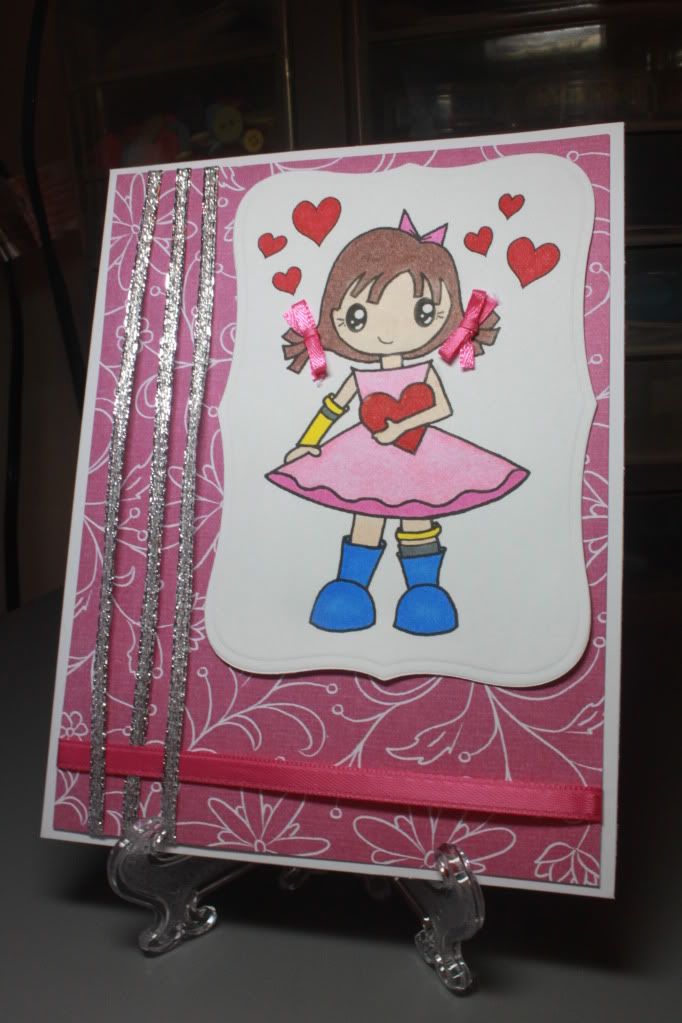
I love being able to switch from cards made with the Cricut to cards made with digis!  It always takes me a while to get into it though.  It's probably because I haven't yet cleaned up the mess I made from my previous project, haha.  Well, after I tidied up my desk and my floor that was covered in scraps (I cut them down to usable pieces), I worked on this card using a Pixie Dust Studio freebie called "Pixie Pie is catching hearts."


I used the sketch at Tuesday Morning Sketches to plan out the layout of my card.  It was a pretty easy sketch to use mainly because it was a rectangular card!  Those of you who have been following me for a while know that circle and shape cards are difficult for me!


The first thing I did was cut out Pixie using my Nestabilities.  I also embossed it.  I love that these dies can do that as well!  It really gives it a little extra something.  Then I colored Pixie in using the Crayola + baby oil technique (hair, skin, and light pink part of her dress) as well as Bic Mark-It makers.  I recently remembered that I had like more compact "Q-tips" that I had never used for makeup from my aunt's wedding years ago.  They don't fuzz up like Q-tips do, and they have a point on one end.  I'll have to go to the drug store to get more of these!  I'm loving how easy they are to work with!  Plus, I'm sure they're much cheaper than whatever products are sold at the craft stores!  Don't get me wrong; I love Michaels and AC Moore.  I just would rather spend my money on other things if I can get inexpensive tools at CVS or Rite Aid!


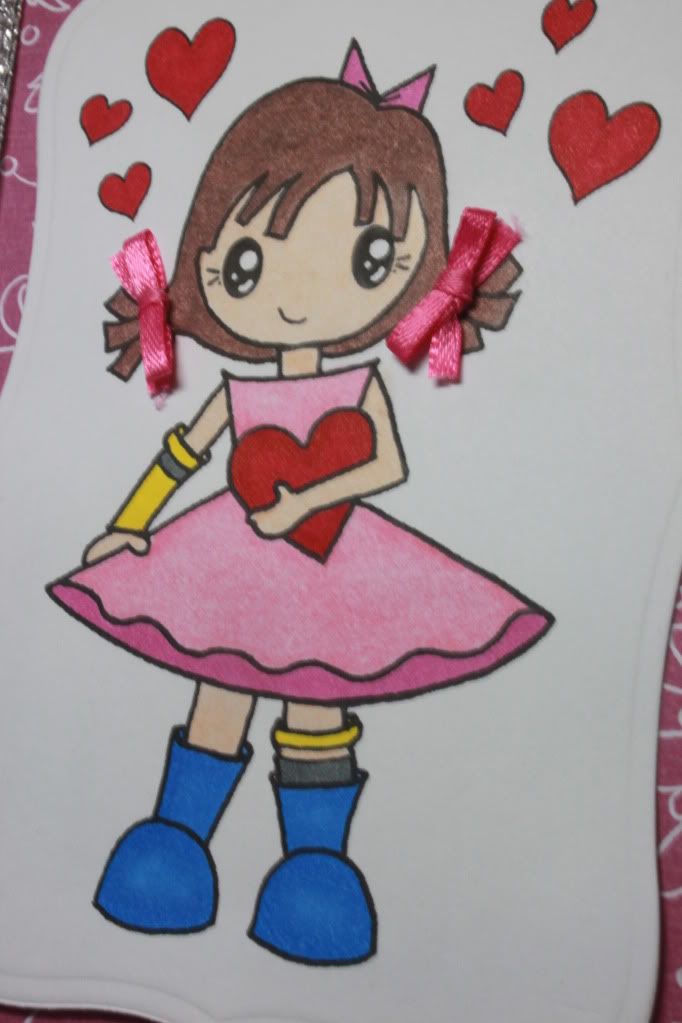
Though the above image isn't a clear picture, I wanted to post a close-up picture of Pixie's boots.  Using just one color of my Bic Mark-It markers, I tried to achieve a shadow-type or blended look.  Can you see that the center is lighter than the rest of the boot?  Haha, maybe I'm just getting excited over something so minuscule and silly.


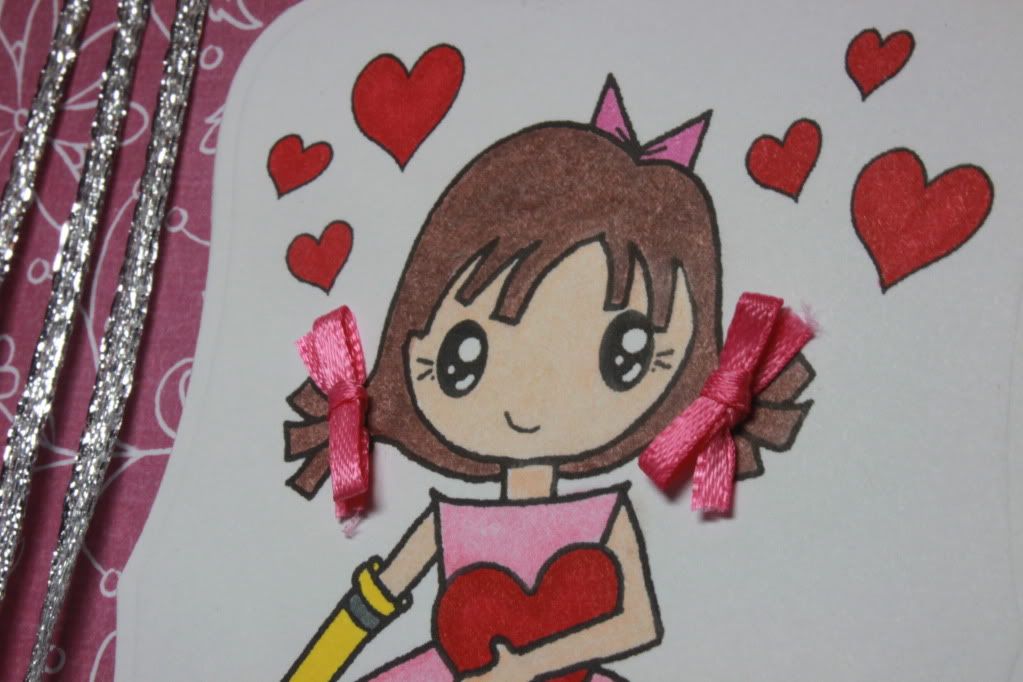
I did want to post and showcase the picture above because of those teeny-tiny bows!  Aren't they just awesome?  I was able to do them using a comb I had in my room.  I watched those YouTube videos on making small bows with a fork, and I was able to do it myself even though it took a while to get used to handling such thin ribbon.  In this close-up, you can also see that I should probably get a new pair of Cutterbee scissors to use JUST with ribbon as many suggest as my scissors aren't sharp enough to cut without leaving those little fraying edges.


Well, that's my card!  What do you think?  Even if it's not the best of the best, I think it's still an improvement from my first Pixie card (you can see the card I made with this same image here)!

Here are the challenges that I'm entering:

Friday, July 15, 2011

Guys Don't Make Passes ...

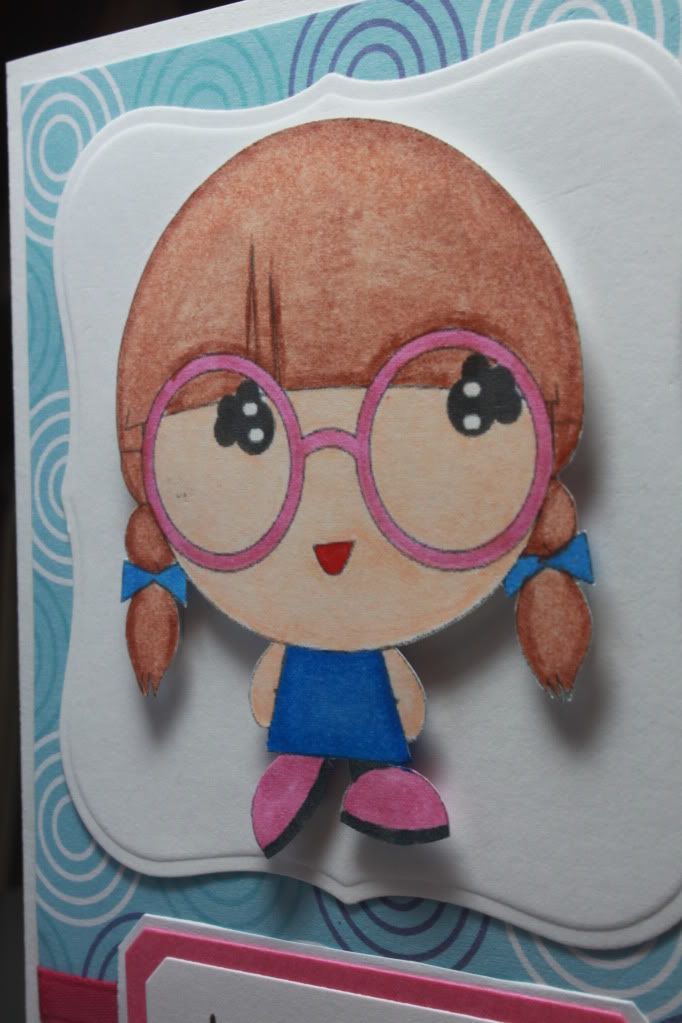
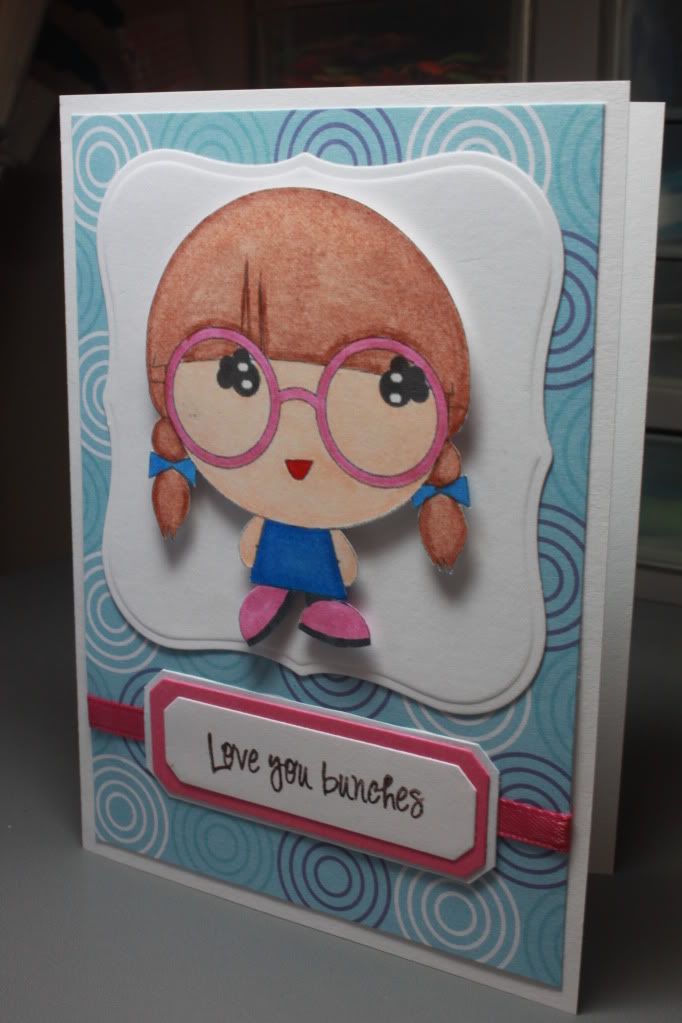
... at girls who wear glasses.  Or do they?  Hehe, of COURSE they do, otherwise I wouldn't be engaged right now!  Although ... Howard did date me when I had contacts ... just kidding!  On the Saturdays that he just comes over to hang out at my house, I usually don't bother with contacts.  Too bad I don't look as cute as Leslie does with her glasses!  That's why when I won the Karber Challenge #35 (woohoo!), I asked for "Thinker Leslie" as my digi prize!


The first thing I did when I was ready to start coloring her in was to color her glasses pink!  The reason for that is because when I was in elementary school, I got my first pair of glasses that were P-I-N-K!  Yeah, I'm not quite sure what I was thinking, haha.  Leslie can surely pull it off though!


I had a bit of a harder time coloring in Leslie as opposed to Millie since Leslie's lines are thinner.  That's why it's not blended as well.  I do wish after the fact that I made Leslie's hair darker too.  [edit: I emailed Berenice at Karber about the lines, and she emailed me back right away and told me that a lot of crafters actually prefer the thing lines to showcase the coloring.  Now that I hear that, I do see that there's a different look to Leslie because the lines are thinner.  Of course, I'm still in preschool when it comes to coloring, so that's why it was harder!  Berenice was kind enough to send me a Leslie in a thicker version!  YAY!  Now it'll be easier to stay within the lines, hehe.  Can't say it enough how much I <3 KARBER!]


I used Nestabilities Labels One to cut out the white cardstock, and this was the first time that I embossed it too!  I've seen videos on it, but I never tried it myself because I didn't want to bother figuring out the sandwich.  I had a mat (not the tan mat, but the Sizzix black mat) and used that along with 2 pieces of a cut up cereal box.  Those things added to the embossing B plates worked really well!  It adds something extra to it, I think!  

I used a Papertrey Ink die for the pink label, and I hand cut the white one behind it.  I initially had a different sentiment on it, but I didn't stamp it that well so to fix it, I actually stamped the "Love you bunches" (from Pink by Design's "Our Kids") on a white die cut and adhered it right on top of the first sentiment!  I actually like how it looks a lot more than the original!  It's the first time I had 3 layers for the sentiment!  It's all about learning and experimenting, right?

Here are the challenges that I'm entering:

Thursday, July 7, 2011

Challenge: A Sketch + Anything Goes Theme!

After having been away from crafting for a while due to our church's summer retreat, I was really eager to get back into it!  I admit that it took a while to get used to it again though.  I kept thinking about it that I was actually kind of afraid to start!  I was sure I'd mess something up, but thankfully, it was still just as fun as I remember it!  I decided to make some cards for challenges when my mom asked if I could make a card for my cousin's birthday.  I was able to combine his card with 2 challenges.

The image I picked was from Pink Cat Studio.  I recently purchased the Dinosaur Value Pack #1 that included the image "Rex Loves Cake."  Perfect for a guy's birthday card!  That's why my mom had to ask me to make one; most of my cards are kind of girl-focused.  I colored him with Bic Mark-It Markers as always.  Since I've been away from the markers and shading for a bit, I wasn't entirely happy with how it came out.  I was going to keep adding layers to get it to blend better, but I was afraid that if I did, I'd mess it up and have to start all over again.  I do think, however, that it does look better on the card than it does in this close-up picture.


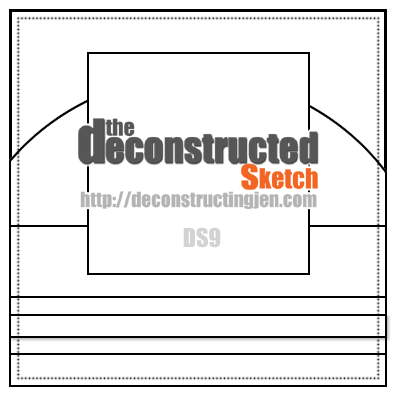
Then I followed the sketch challenge over at deconstructingjen.com.  My use of the sketch and my coloring skills is nothing like those posted there done by the design team, but gosh, I do like trying!


This is the final result!  I cut the cardstock to make a 5in square card, and I worked with what I had for all the separate pieces.  The base cardstock and the white layer were the only two "new" pieces I cut into.  Everything else was from my scrap basket.  It's actually easier for me to do it that way because otherwise I'd be going through tons of paper stacks to try to find something that coordinates.  In actuality, I did try to combine another challenge involving dots with this one, but I could not find masculine polka dot paper!  Haha.


I used the thinnest foam adhesive square that I had just to add some dimension without being too out there.  For some reason, I think that guys don't want it to be popping out that much.  I have no clue what I think that!  


I used a Bic Mark-It maker for the dashes on the green circle, and I used my Recollections "Snow" Opaque Marker for the white dots on the blue square (easily cut out with my Nestabilities).  The sentiment is from Pink by Design's set "Take the Cake."  I realized that I should probably buy the "Happy Birthday" set because I actually only have one sentiment stamp that says it!  Everything else is a pun or something cutesy.  


I like that the card opens from the top.  I think it's fun when cards do that, haha.  Is that a weird thing to say and think?  Hmm, what else can I tell you about this card?  Oh, I tried to use a stamp and VersaMark to get some dots on the green paper, but it just looked funny, so I had to throw that piece away.  Thank goodness I only needed half the circle!  And the full circle was actually cut in a card I posted last week or so when I made the circle card for the latest Karber challenge.  I may cut and "make a mistake" in that I end up not using it on that card, but I will end up using it eventually!

Here are the challenges that I'm entering:

Monday, June 27, 2011

Twice the Challenge!

In one of the previous challenges I entered, you saw that I used "Happy Millie" from Karber Digital.  Well, considering it's the only digi I purchased at this point, I used it again for Karber Challenge 35 (SHINE: use glitter, rhinestones, dewdrops, pearls, etc.)!  I'm going to practice using the same image until I buy more since I know buying them can get addicting!  Anyway, since I knew I was using Millie again, I wanted to combine this challenge with another one.  I know there are some bloggers out there who can enter 5 or more challenges with just one card!  Crazy!  Haha, I'm just happy I was able to do 2!

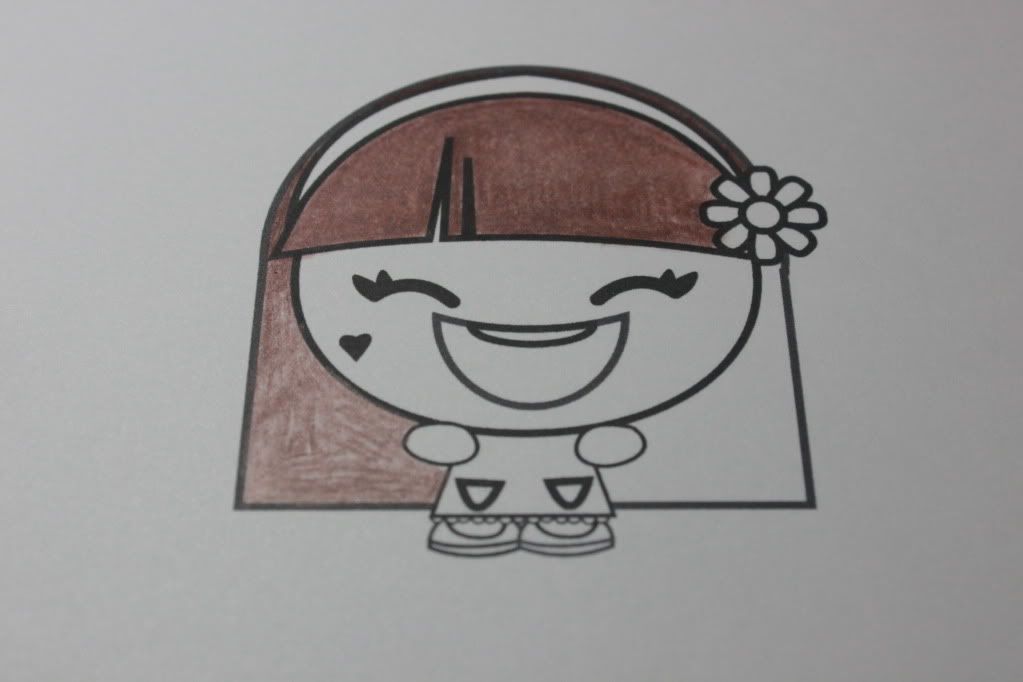
The first thing I did was color Millie.  I chose different colors this time.  I focused on green!  I know my immediate colors are usually pink and purple, but I really like the "boy" colors for these images.  Super cute!  I used my Crayola colored pencils again for the hair and face, and then I used the baby oil on a Q-tip to blend it together.  Every time I do it and see it, it still amazes me!  Everything else was Bic Mark-It Markers.  Once I got that colored and cut, I went back to The Sweet Stop Sketches blog to figure out what I was going to do with the given sketch for the week.


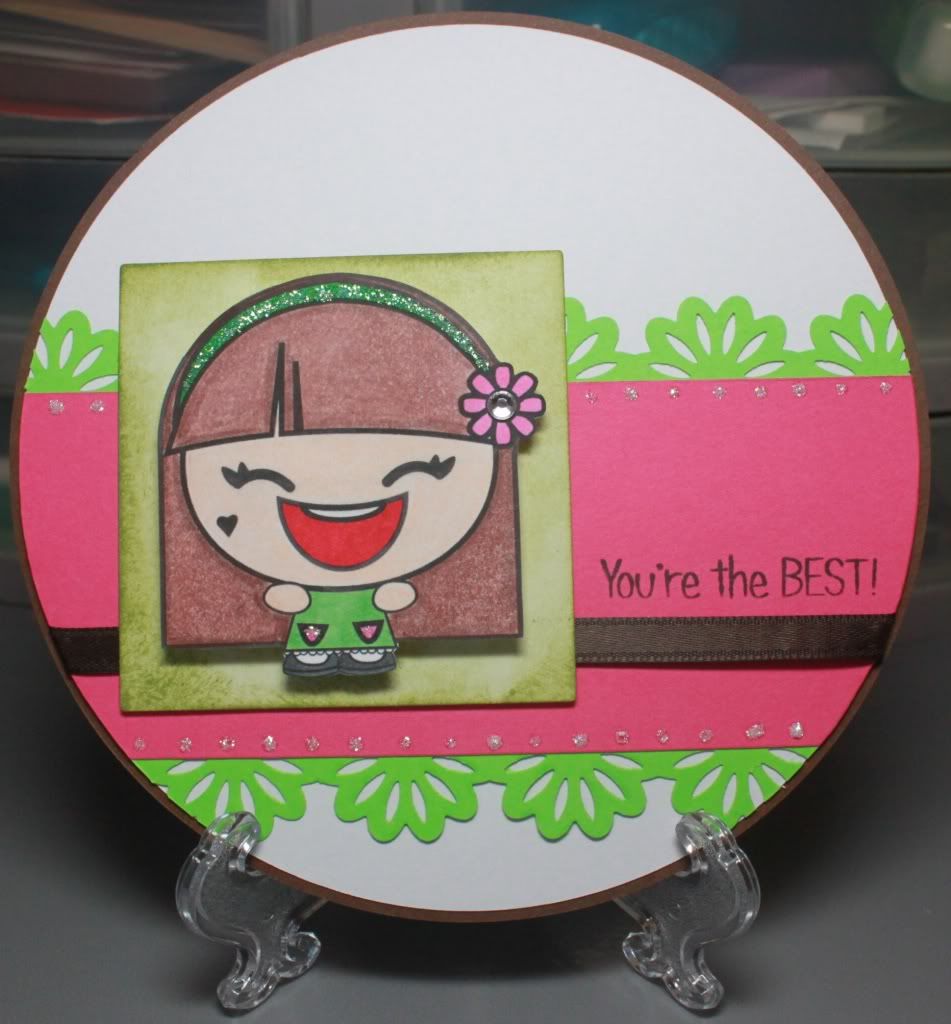
Just like last time, I'd be making a circle card!  Of course, it took me a while to get this done because I couldn't figure out what color scheme to use.  I actually cut out about 6 different circles trying to figure out which ones worked with what papers.  After the entire card was almost put together, I actually changed the outer circle to brown.  I think it looks MUCH better with it!


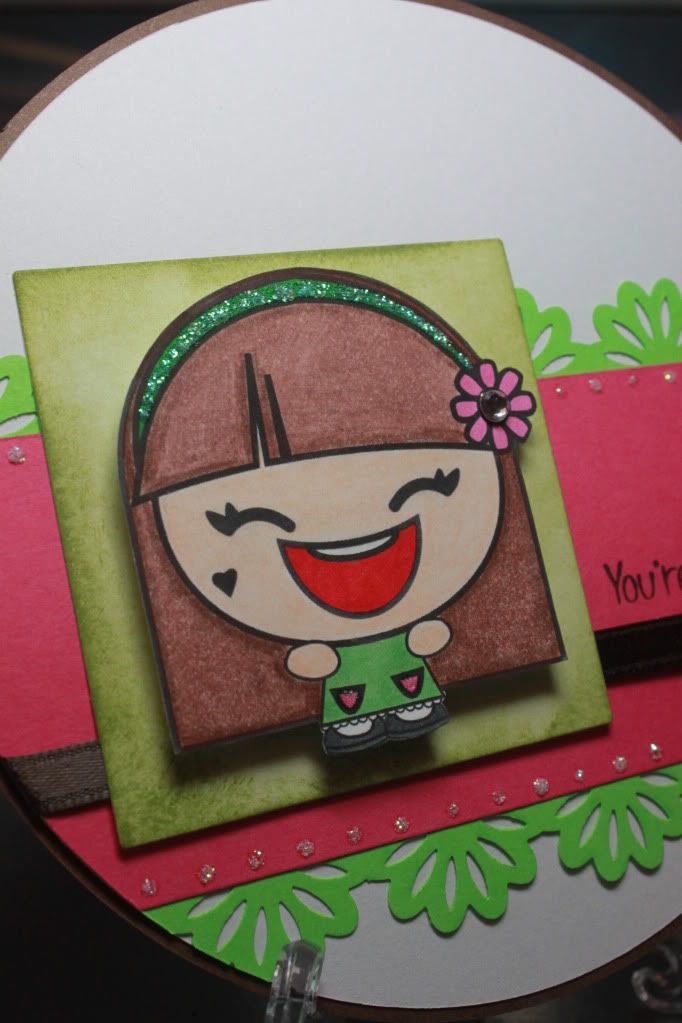
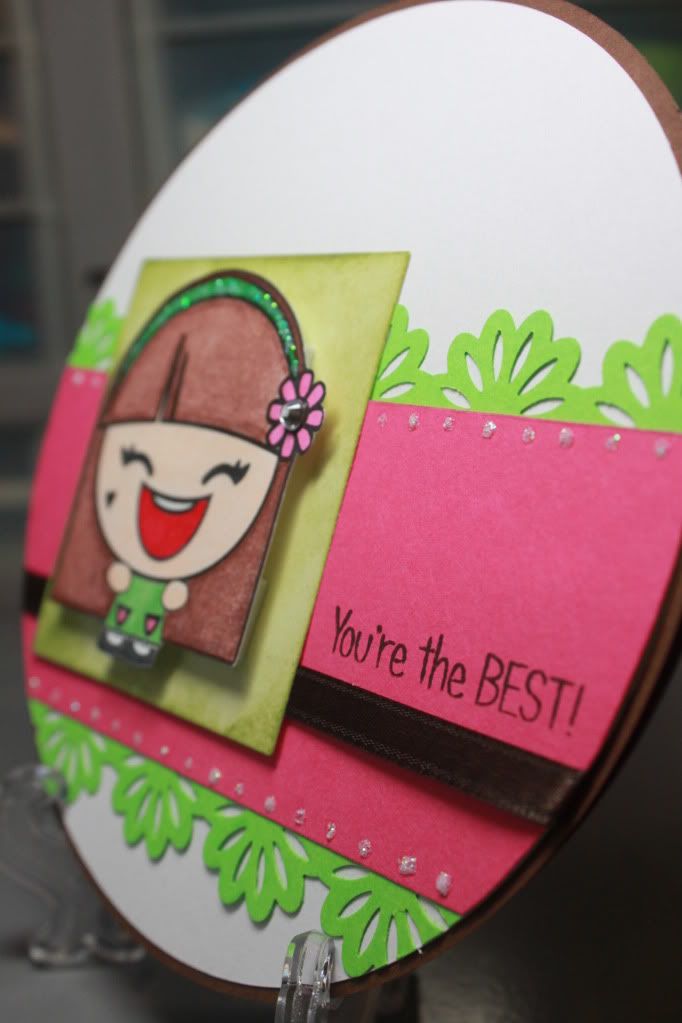
The brown circle was cut at 5 1/4 in and the white one was cut at 5 1/8 in.  The pink and green paper were scraps from my stash that I just trimmed down and organized today!  I'll post a separate update about that.  I used an EK Success border punch for the green and also decided to add brown ribbon going across the card.  The sentiment is from Pink by Design's "Our Kids" set, stamped on with StazOn timer brown.  I used Stickles to add sparkle and shine to Millie's headband and her pockets, and then I decided to dot it on the pink cardstock.  To add some extra shine, I added bling to the center of the flower.


The paper that Millie's on (again with those great foam adhesive squares!) was actually a plain white piece of cardstock cut out using my Nestabilities (love those things!).  I figured it'd be too plain, so I actually used my new ink blending tool from Inkssentials to apply the Distress Ink in Peeled Paint.  I think I'm going to love love love all the Distress Inks!!!  I really have to get my hand on the mat, so it'll be easier to blend.


I think Millie's headband is my favorite part!  Haha, I can't wear headbands in real life except when I'm home and want my hair out of my face.  However, there's a part of me that would love to be able to wear one whenever!  They remind me of my childhood, and right now, I think it'd be pretty cool if I could pull of a glittery green one!

(Haha, silly me, I didn't realize the sketch challenge was for LAST week!  I checked it today to see if the collection link was still open, and it was, but I didn't realize a winner was already chosen!  Whoops!  Click here to be taken to that post.  I'm added in as #43.)

(And even though I already posted it at the top, click here to be taken to the Karber Digital page.  I'm added in as #2.)

Saturday, June 25, 2011

Challenge: Anything Goes with a Karber Digital Stamp!

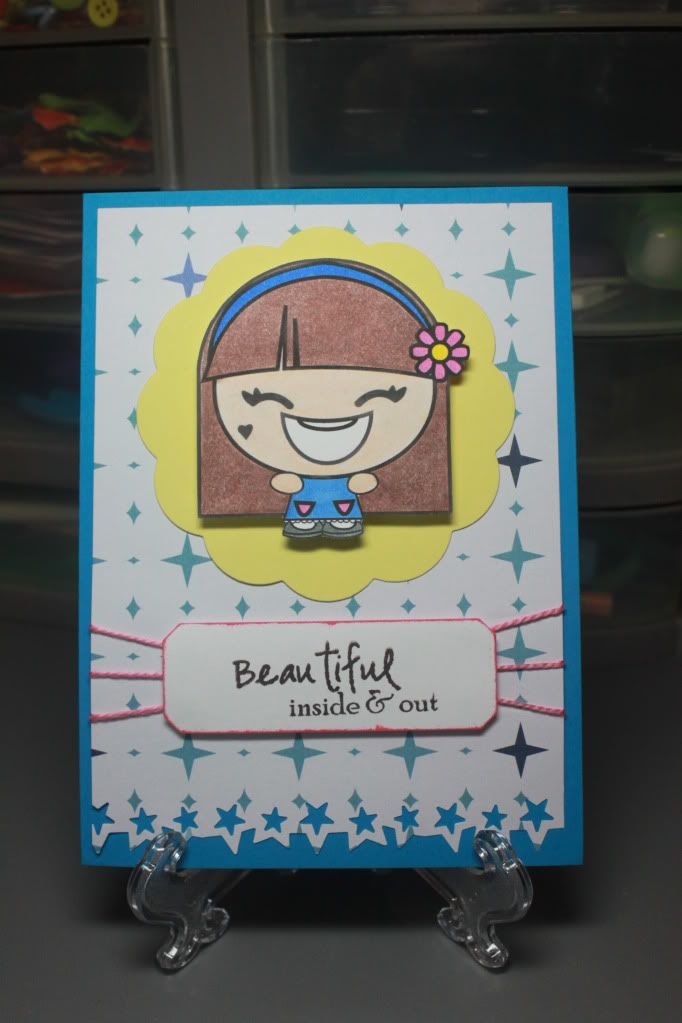
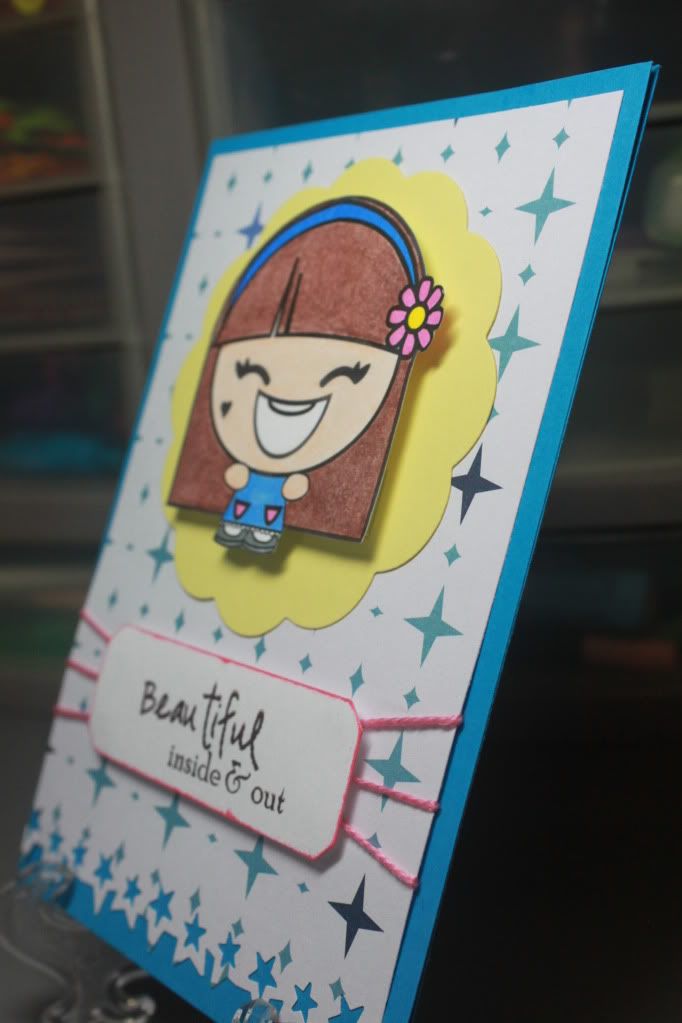
Although I've made a card or two using a digital stamp before, this is the first time that I'm using a digi stamp that I actually chose and paid for!  Karber Digital has the cutest images!  I remember when I first showed Howard; he even thought they were so cute!  Well, when this challenge came up, the first thing I had to do was actually choose a digi to buy.  Initially, I was going to go with one of the Leslie images because she has pigtails and glasses, hehe.  However, I ended up choosing Happy Millie because of how versatile she is!  Her huge, cheery grin can be used for many occasions and put on a card with many different sentiments!

I used two different mediums to color her in (look at me being all fancy ... and possibly wrong, haha ... by using the word mediums).  The hair and the skin were done using Crayola colored pencils.  I blended it using a Q-tip and baby oil.  You can see in this picture how different it looks when it's blended and not.  Isn't it crazy that baby oil can make it look that much better?  Insane1


Everything else was colored in using Bic Mark-It Markers because I wanted those bright, vibrant colors!  I also decided to choose blue instead of any of the "girly" colors because I had just watched a bunch of episodes of Gilmore Girls today (I put on DVDs in the background as I craft), and in one episode in season 1, Lorelai is wearing a blue sweater with a blue headband.  That stuck in my mind, so I wanted Millie to also have blue!

I chose a patterned paper (Oriental Trading) and a colored cardstock.  I initially started off with white, but because there was a lot of white in the patterned paper, it wasn't showing much of a contrast.  I then used a scalloped circle from my newly purchased Nestabilities dies.  I chose yellow because I wanted it to be a bright card, and there was also yellow in the flower on Millie's headband.


The sentiment shape is from a Papertrek Ink labels die.  I stamped the sentiment from Pink by Design's "All Girl" set with Stazon Timber Brown (gives it a softer quality instead of being so dark and harsh with black).  I added the craft thread and wrapped it around the back.  When I did that, I didn't realize it was so high up, so that's when I decided to punch out some stars at the bottom using a Martha Stewart border punch.  Before I adhered the sentiment though, I figured it could use something more, so I just used a Tim Holtz Distress Ink Pad in Worn Lipstick to get the edges to stand out.


As you can see, Millie as well as the sentiment are on foam adhesive squares to give the card some dimension.  I love how that can make all the difference in a card sometimes!  Well, what do you think?  How did I do with my first purchased digi stamp?  Either way, I definitely had fun using it!  Plus, looking at her huge grin put me in a good mood too!  Hope it put you in a good mood as well!

(Click here to be taken to the actual blog post for this particular challenge!  I'm linked as #9!)

Tuesday, June 21, 2011

Love Those Digi Stamp Freebies!

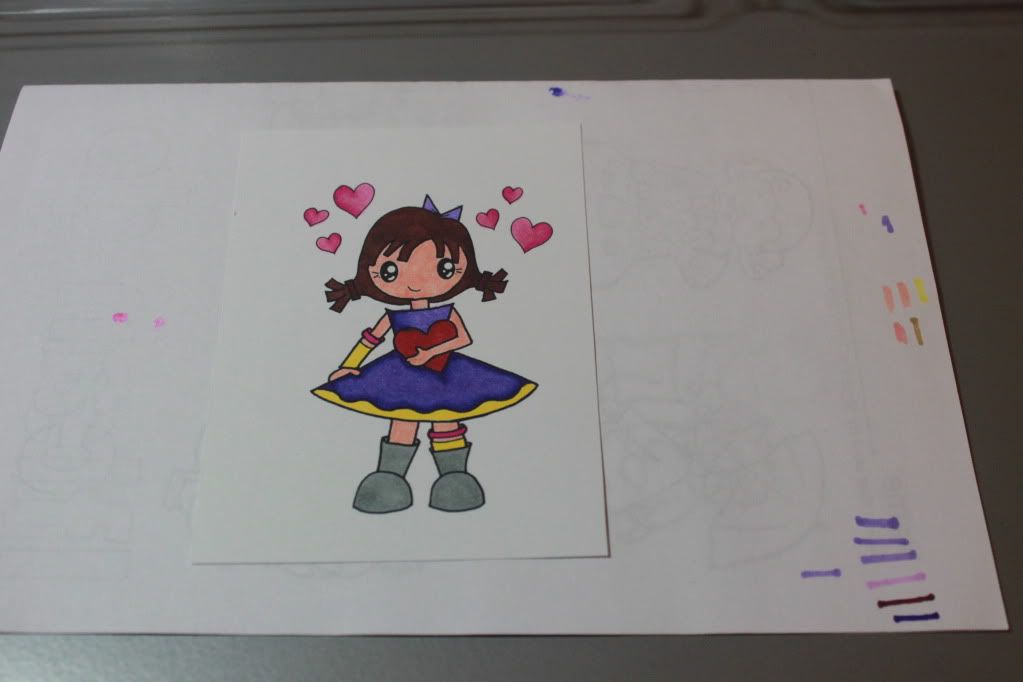
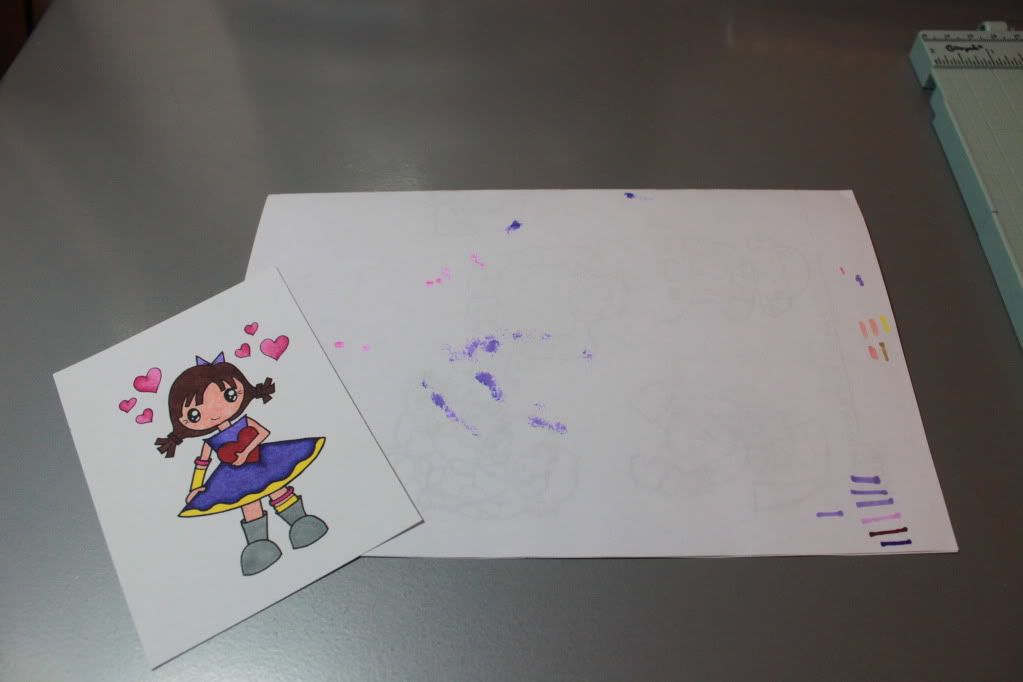
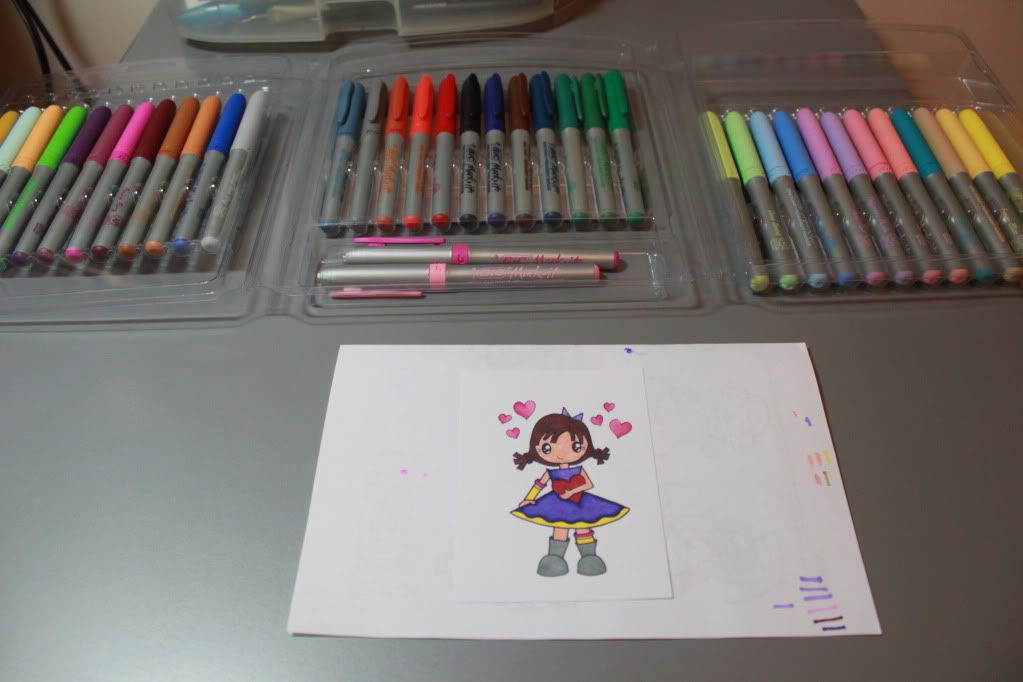
This card was made using a freebie image from Pixie Dust Studio.  I seriously do love those freebies!  It's helping me get into the fun of digital stamps without having to spend at this time.  Here you can see that I have to color an image on top of a scrap piece of paper just in case it bleeds.  You can also see that it's perfect to use to test colors.


See?  This is how much it can bleed.


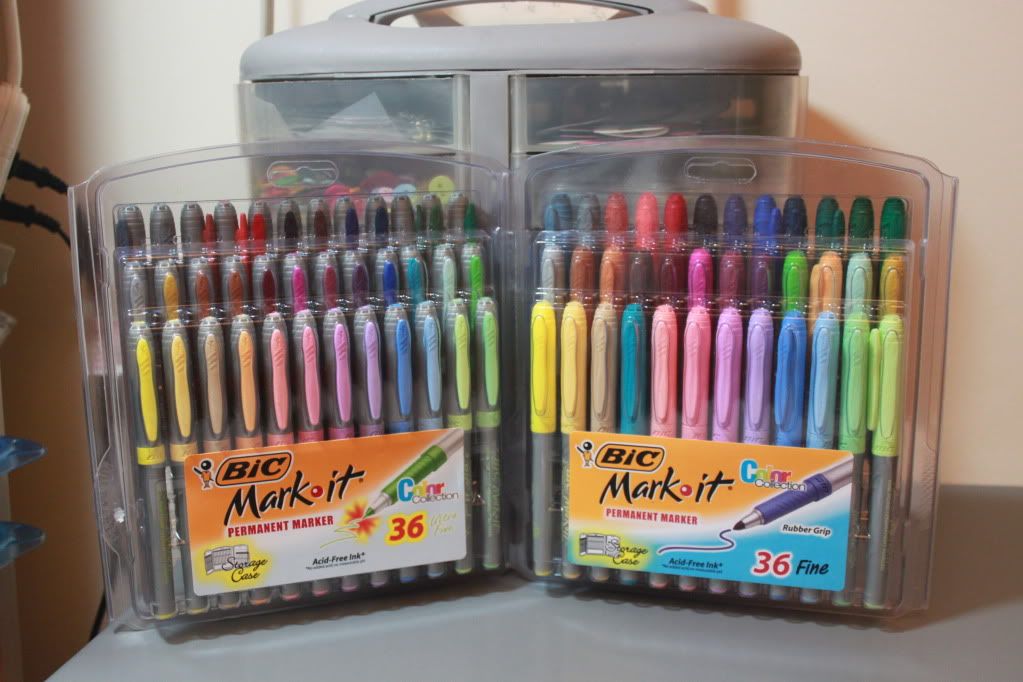
I love that they put the markers in a great case.  It makes it easier to see everything all nice and neat.   Plus, as you can see, there's a little space at the bottom to keep markers in "place" when in use (those are from the other set, but I just stuck them there so you could see).  I think it's just plastic there to keep it balanced, haha, but I like that I have a little spot to keep my table neater as I'm coloring.


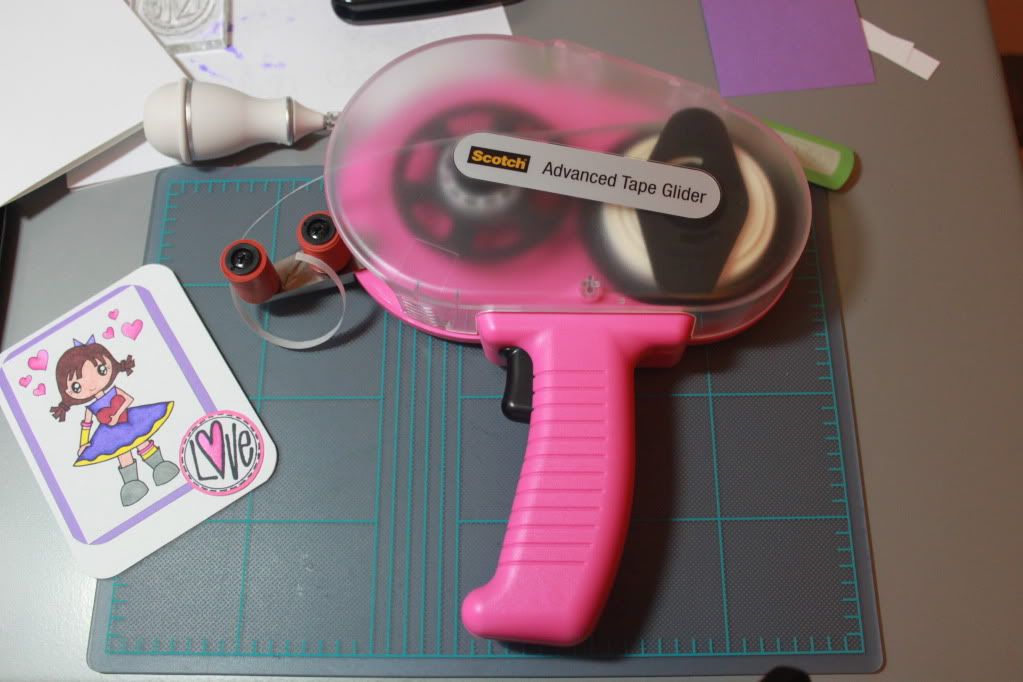
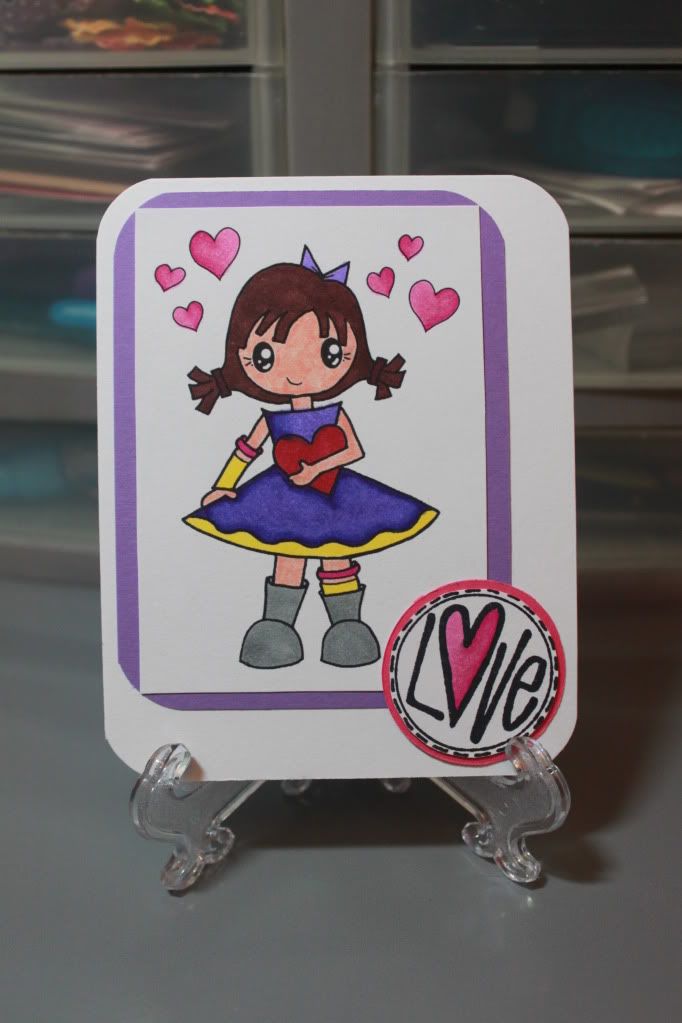
After it was colored, I quickly assembled it on a card.  You can see the blending that I did in the hearts around the girl and for the heart in "LOVE."  Shading is so much fun!


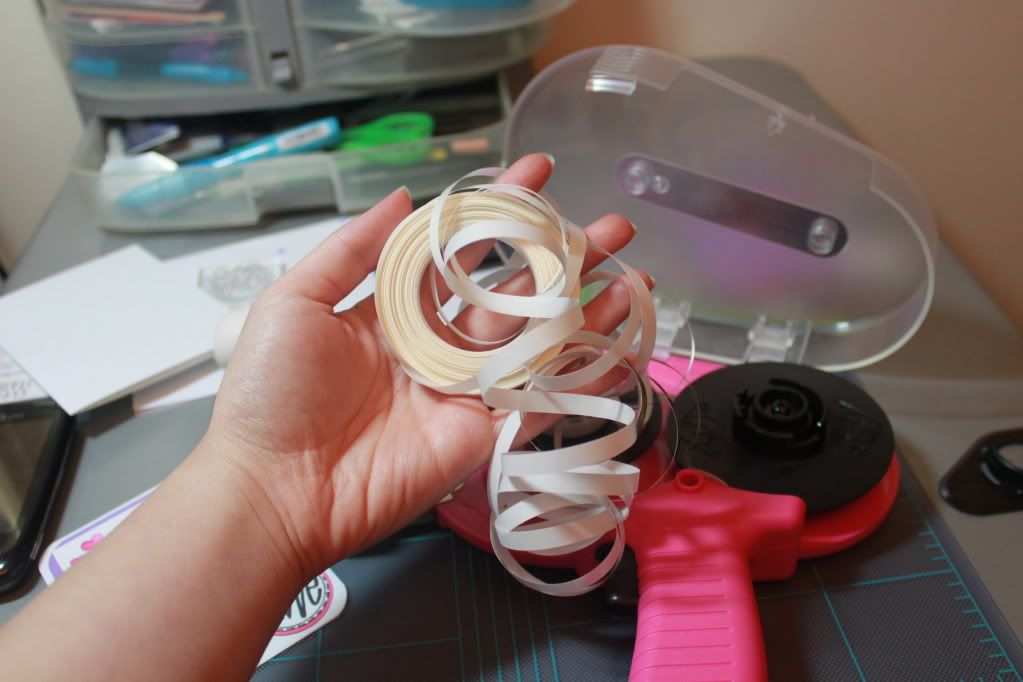
While making this card, I ran out of adhesive in my ATG gun!  I was surprised despite the fact that it's clearly obvious that I was almost done since you can see the roll.


I better look into getting refills!  I'm going through more adhesive at a faster rate now that I craft more than I did at the beginning.  I either have to stock up using 50% coupons (gotta get the acid free since I don't have 2 separate guns for cards and scrapbook pages with photos) or order online.  Maybe I'll do the store thing first since I've been ordering many things online recently!

If you don't already have an ATG gun, I'd highly recommend it!  Although I messed up when I first started using it, I got used to it and now don't even think about it when running some adhesive down the page (in the beginning, I wasn't letting go of the trigger at the right time or picking it up off the paper correctly).  It's cheaper in the long run instead of getting small ones.  Plus, this tape is VERY sticky!  I love that I only paid $13 for mine including 2 rolls of tape whereas it costs more than that at the stores even with a 50% coupon.  Crafting tools are almost as much fun as the final products!

Thursday, June 16, 2011

Winning My First CHALLENGE!

(And my love for Pink by Design!)

For those of you who are on Facebook, you may have already seen that I did indeed win my first challenge!  Over on the Pink by Design message board, there was a "Cricut-less Challenge."  It was basically a challenge to make anything withOUT the Cricut.  That's kind of strange for some people because at this point, most projects are done with the machine, but recently, I've actually been getting into non-Cricut things just because it's less noisy (and less set-up of the paper on the mat).  Anyway, that thread can be found if you click here.  

I kept checking the board over and over again to see if I was the winner.  It wasn't even posted that there'd be a prize for the winner, but I was still itching to know!  I was actually happy with my project.  It was in a previous entry, but I'll post it again here:


What was great was that I just got the markers and I just got into digi stamps.  Even being a newbie though, I still wanted to win!  I mean, who doesn't want to win?  When I entered the Pink Stamper challenges on National Scrapbooking Day, I wasn't happy with those projects.  I did them very rushed just because of the deadline, and it was during the school year.  Well, I decided to check Facebook one more time last night and since I'm a fan of the Pink by Design page, I saw the notification saying, "Did you win the challenge?" so I checked one last time and saw this:


I just about jumped out of my skin!  I was so exhausted and was on my way to take a shower, but I saw this and was thrilled!  I immediately told Howard, and he was so happy too!  Ahhhh, how exciting!  After my shower, I came downstairs to my desktop to email, and the prize is a $10 gift certificate to Pink by Design (it was originally $5, but then I got another email saying it was a mistake and was supposed to be $10).  The PBD stamp sets are $16.99, but I've only gotten them with a code for a certain percentage off.  Plus, I usually spend enough to get free shipping and it comes VERY quickly with EXCELLENT customer service.  I've emailed them a bunch of times before and after my orders with them!  I love Sarah and Mr. Pink Cricut (her husband, I believe).  They answer any and all questions so quickly (one time it was within minutes of my asking).  Plus, Sarah used to be a teacher too, so she totally understands the life of a teacher!

I can't say enough about this great company!  I know I've written it elsewhere, but before I bought sentiment stamps, I looked at a LOT of different companies.  I checked out the message boards and blogs to see what people used, and I settled on PBD because of the fact that there were a ton of options in terms of the actual phrases but mainly because they did NOT look like they were typical fonts used on Microsoft Word!  If it's going to be plain and unoriginal, I might as well just print it out or write it myself.  I like the fonts that PBD has.  Click here to be taken to the stamp page.  I have 60 days to use it, so I have one in mind that I want (I have some saved in my Wishlist), but I'm going to wait a bit to decide.  Maybe there'll be something I want in the next release!

Anyway, I just had to write about it here because I couldn't believe I actually won!  So exciting!  Stay tuned for some more cards that I've made (and a post about blog candy that I won a few weeks ago)!

Wednesday, June 15, 2011

Make a Deal: Digital Stamps for Cards ($1 per card)!

It was only a few days ago that I discovered the world of digital stamps.  At first I was thinking, "Aren't they just pictures online that you can color?  Why not get actual stamps?"  However, my mindset has completely changed.  It makes sense to have digital stamps!  The few reasons that I came up with in terms of the advantages of digital stamps are as follows:

  1. They're cheaper than individual wooden stamps.  At the craft stores, it's difficult to get very cute wooden stamps cheaply because it would require constant visits with those lovely 50% coupons (I don't bother using 40% coupons anymore since Michaels, AC Moore, and Joann all accept competitor coupons and there's usually one of them with a 50% for the week).  As I went through my wooden stamps, I realized that the majority of them were from the $1 bin because I couldn't afford to buy all the expensive ones!
  2. They require less storage space than actual stamps.  Of course, being that they're digital stamps, they just get stored on the computer.  No need to make room for it in the craft room!  Or for me, it'd be more like, my craft corner!  As I begin accumulating more supplies, I realize why so many people have huge craft rooms (just search "craft room tour" on YouTube!).  I'll never get to have THAT much because I don't see how it's possible to keep track of everything, but I am outgrowing the corner of my room.
  3. They can be resized.  Obviously with traditional rubber or clear stamps, you can only use the image size of the actual stamp.  With digi stamps, I can make it smaller or larger depending on the need.  I didn't realize that that was a huge deal too until I was resizing some freebies depending on the card size I was using!

All in all, I have gotten to really enjoy digital stamps and already have a good collection of freebies.  However, the amount of freebies out there is pretty limited, of course.  Everyone is trying to make a buck whether it's it's just a career or it's a side hobby.  Well, I admit, I'm also out here trying to make a buck as well!  That's why I've decided to start selling my cards!  I will eventually get into selling my cards made from the Cricut as well, but I'm hoping that Cricut Craft Room will be released first so it'll be easier to make my cuts by hiding certain contours and checking out sizes as well as welding letters together.

HERE'S THE DEAL: You pay me for the price of the digital stamp you want used in your card.  You can even tell me what colors you would like to be used in terms of the coloring.  Most of the digi stamps are only $3.  In return, you get a card for every dollar spent.  So if you give me $3 for the digital stamp, you get 3 cards in return!  The reason why this is deal for you is because you get a handmade card (again, with whatever colors and whatever sentiments you'd like) for only $1 whereas I get to increase my digi stamp collection!      

Here are the digital stamp sites that have really cute images!  Just click on the name to be taken to the site.

  1. Pink Cat Studio Digi Stamps: The site has super cute images of dinosaurs, gnomes, and owls!
  2. Bugaboo Digi Stamps: Very different look than the previous site.  They're simply drawn, but they're so adorable!  It has many cute bears even though they don't have big huge grins.  There are a bunch of categories that make it a little easier to shop although there are a ton!
  3. Pixie Dust Studio: This site has all the images with pretty much the same eyes, those cutesy big eyes.  There is even a Harry Potter set.  I've started seeing that a bunch of digi designers have gotten into HP.  Oh, and there are gnomes on this one too!  Haha, what's with the gnomes?
  4. Digital Stamps by Lori Boyd: You can view the options by clicking on the menu on the left side of the page.  Cute images with teeny-tiny dot eyes!  Very different than #3.
  5. The Greeting Farm: This site has smaller sized people.  They're just itty-bitty!  But they have a lot of options in terms of occasion so there's really one that fits any card purpose.
I already posted a picture of the first card I made using a digi stamp in the previous post about the Bic Mark-It markers.  Here are a few more!  

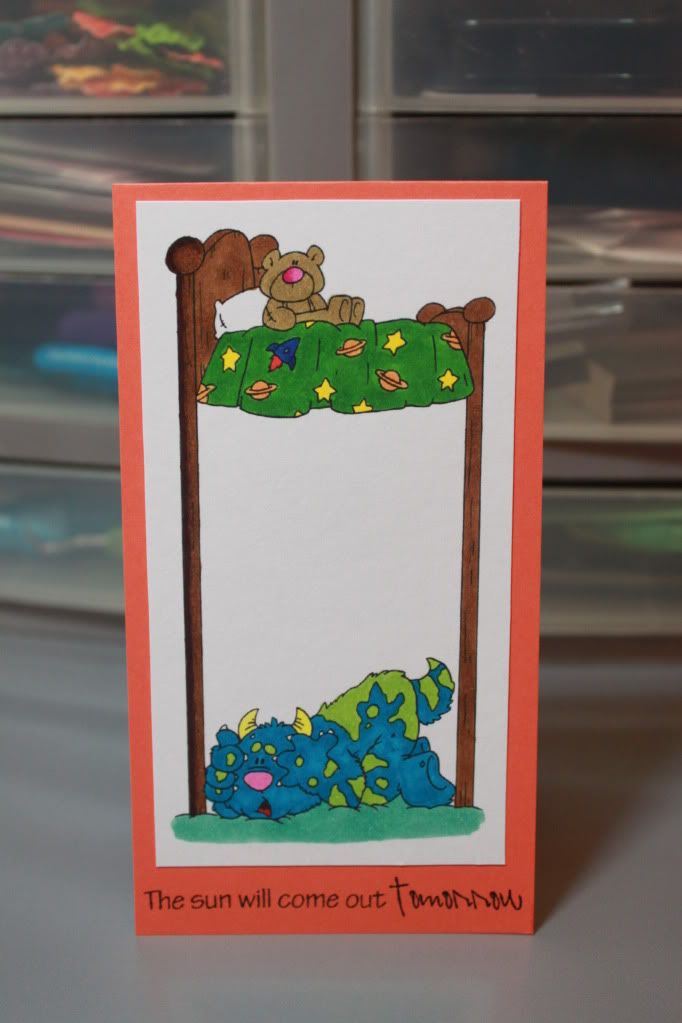
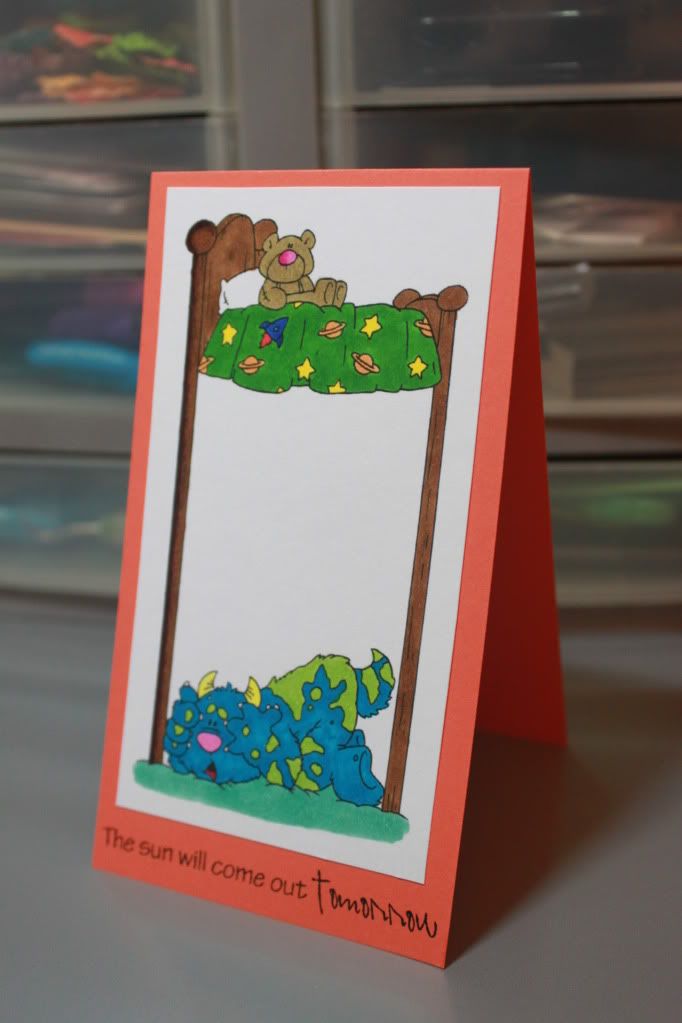
This is the Scaredy Monster digi stamp from Dustin Pike.  It was a freebie that I saved as I went through his site.  I love that the monster is the one under the bed!  


The sentiment is from Pink by Design.  I was looking for something that would fit, and that sentiment was just perfect!  Don't worry, little monster!


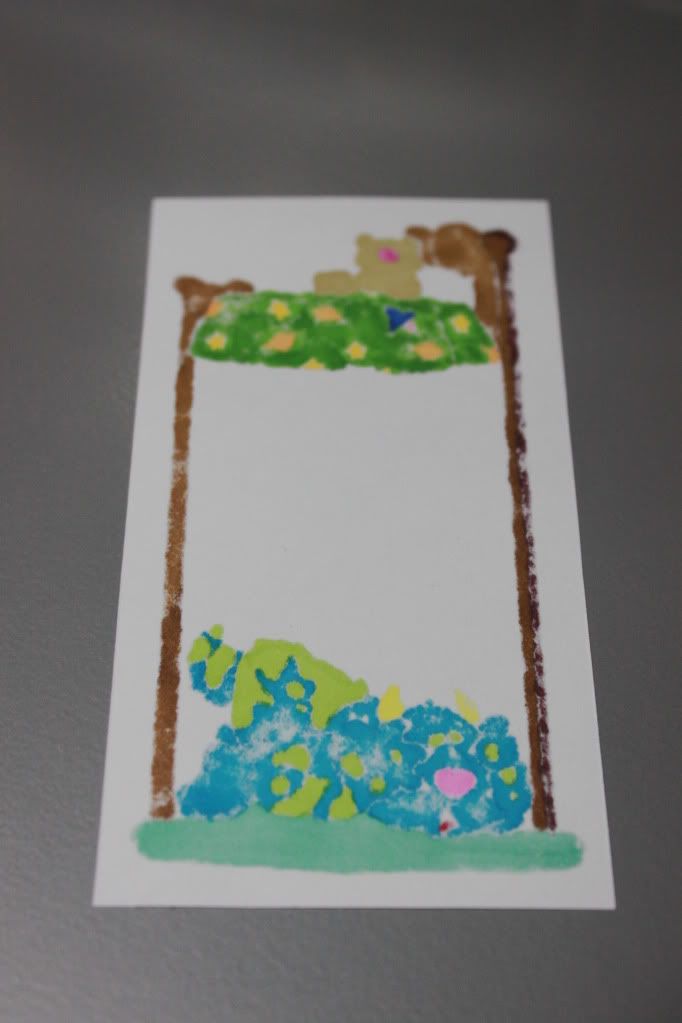
A random picture that I wanted to include was the back of the cardstock after I used my Bic Mark-It markers to color it!  Look how saturated it gets!  Love the color!  For your cards, I'll be using either Bic Mark-Its or colored pencils.  Colored pencils, you say?  How good could that look?  Oh, with a bit of baby oil and a blending stump?  You'll see!  That's the next process I'll be showing on my blog so stay tuned!  


This next freebie was from Bodil's scrappeverden, which is actually a blog on blogspot that's in Norwegian!  Oh Google translate, how I love you!  You can also see that I made the background on the cardstock by just stamping on the regular white cardstock.  I purposely have a few stamp sets that are patterns and decorative so I can make it a bit more interesting to look at!


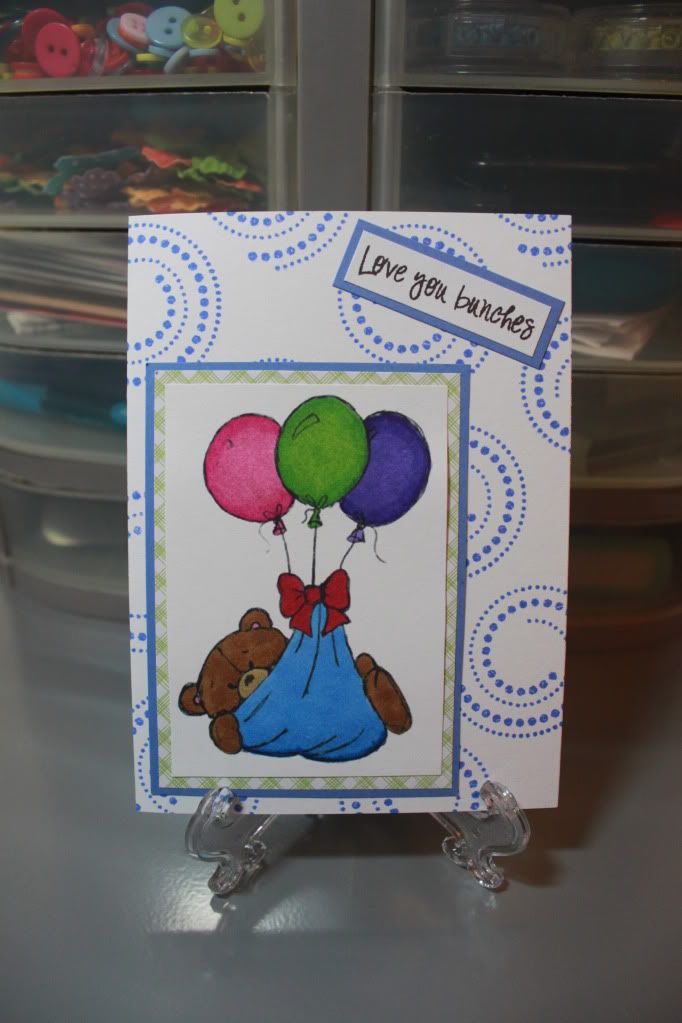
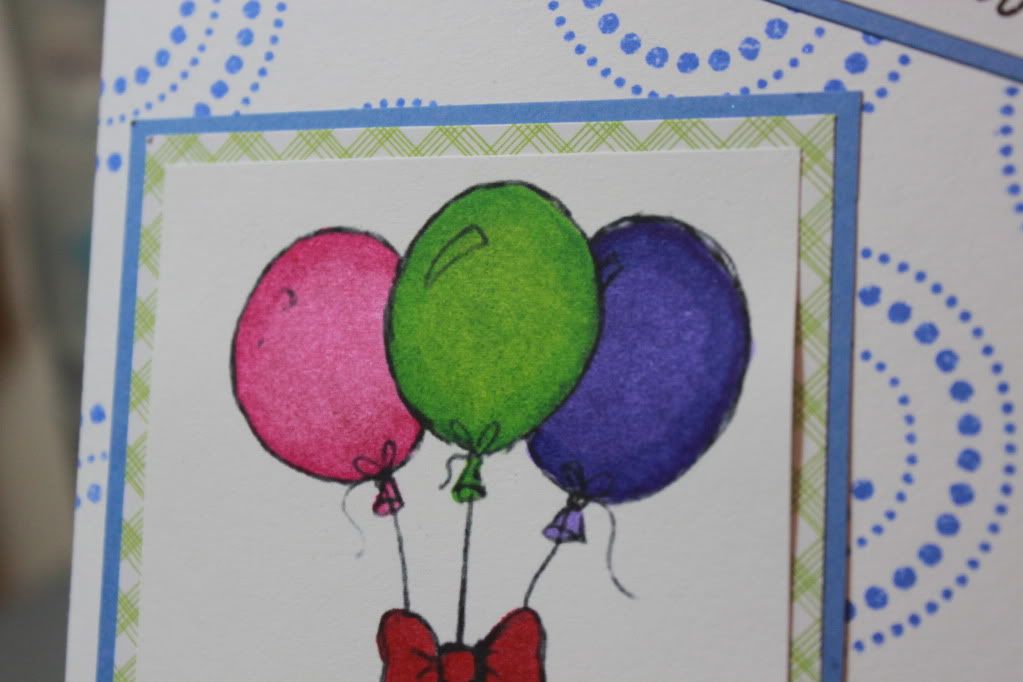
The sentiment is from Pink by Design again.  Most of my sentiments will be from those sets.  Hmm, I should probably list the sets that I have if someone decides to take me up on this "digi stamp for a card" offer.  Anyway, I focused in on the balloons so you could see how I'm getting a hand on this blending thing!  Each balloon is colored with 2 different markers.  When I showed this to Howard, he said that it was the best one in terms of technique!  I love learning new things!  


What do you think?  Good deal?  Well, if you do think this is a good deal, comment below (take a look at those sites and let me know if anything interests you, and I'll let you know if it's doable)!  Right now this deal is going to be for those I know personally because it'll be easier to deal with the money and card exchange.  I hope someone out there is interested!

Monday, June 13, 2011

New Markers for Coloring

Last Friday was my last official day of work as it was the day of the 8th grade graduation as well as the luncheon.  Once the actual ceremony was over, I felt fine.  I had to present the subject award for ELA as always, but I also had to do a few new things this year.  I presented 2 other awards (one was just given to me to present, and the other required another prepared explanation), and then I also had to help give out the diplomas (I handed them to the principal).  What got me through the day was that I knew I'd head on over to Staples afterwards to pick up my new toy!

I purchased the Bic Mark-It Permanent Markers in Fine and Ultra-Fine.  As I said in the video, they were actually the full price of $19.99, but I asked someone for help and got someone to print out the online prices for me to price match.  Yay!  I got BOTH sets for the price of just ONE set!
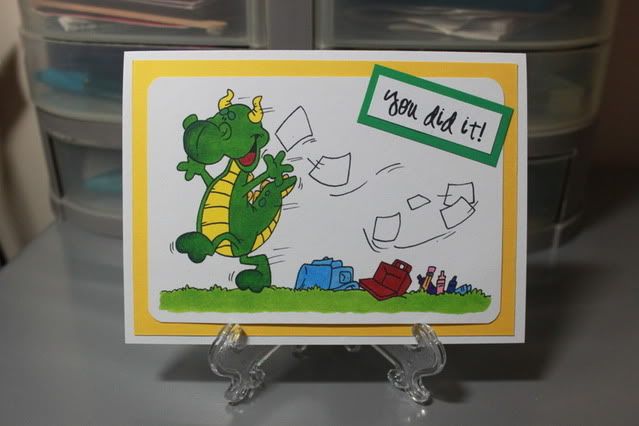
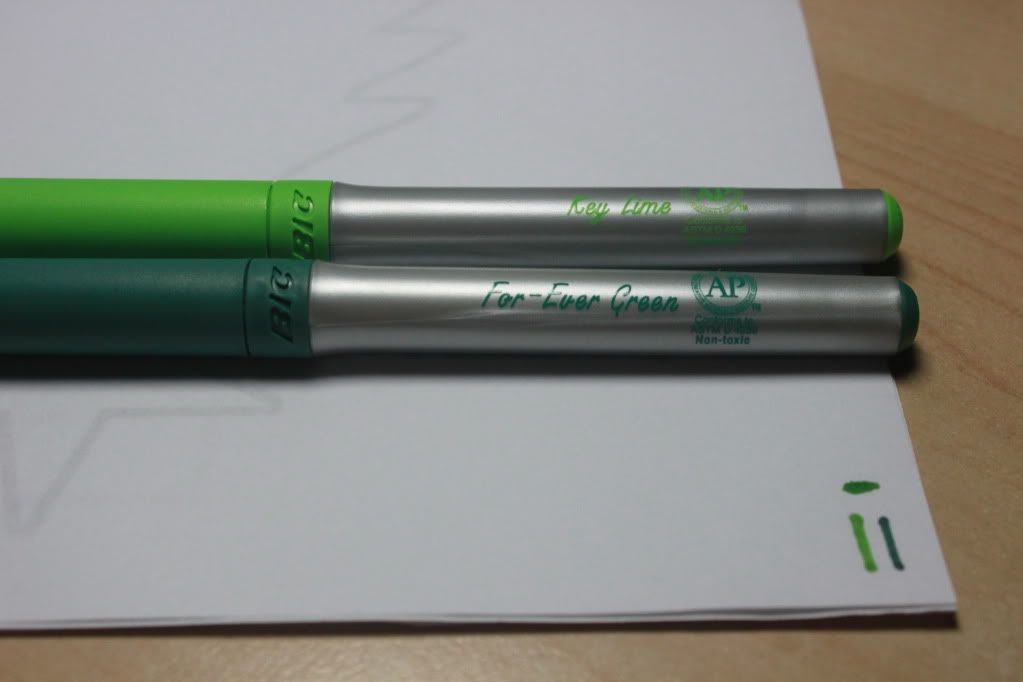
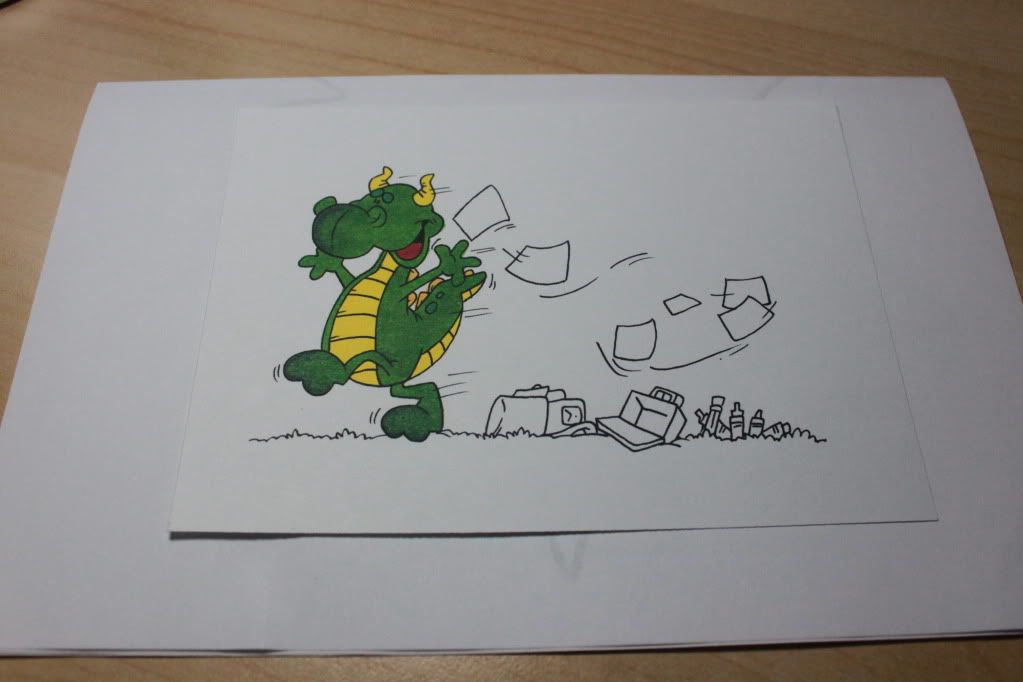
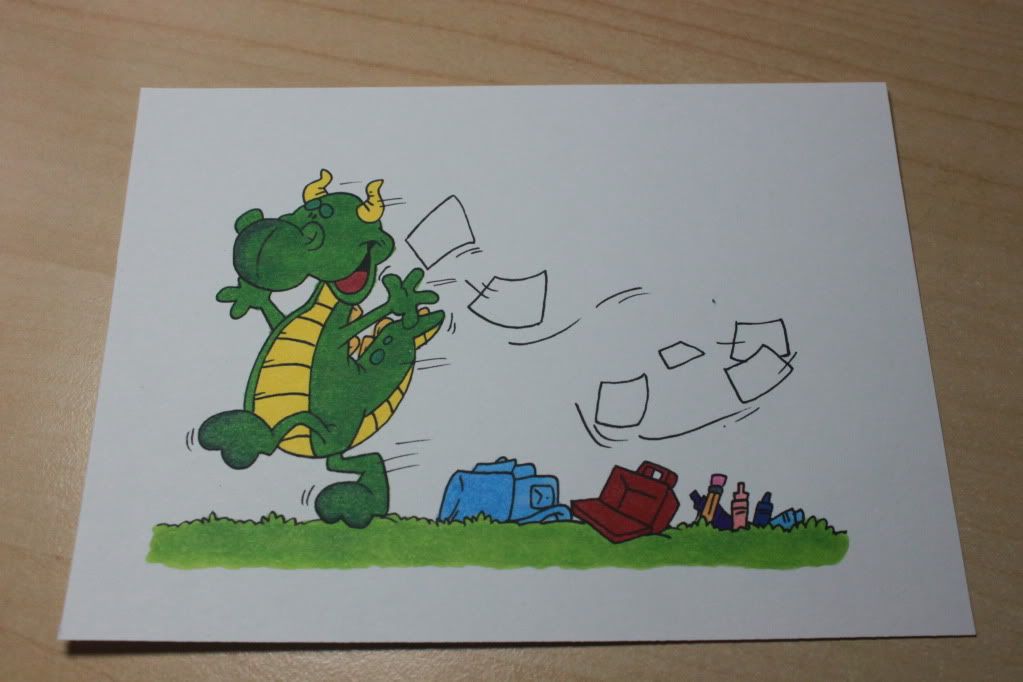
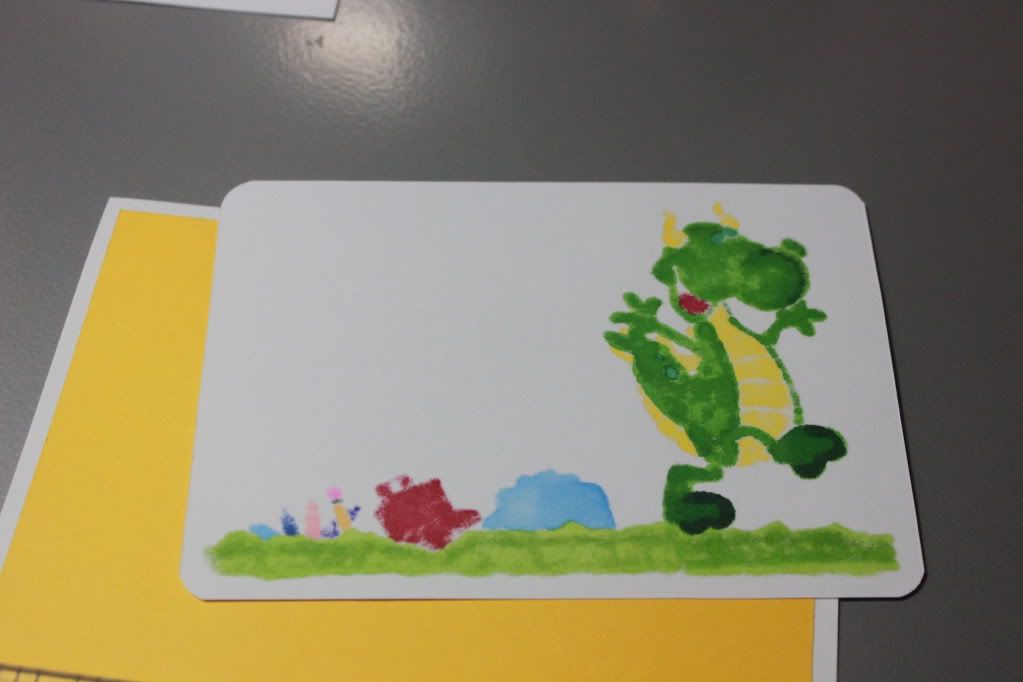
The dinosaur freebie from Dustin Pike was the first thing I colored.  I tried to blend, but I didn't really do it that well.  However, I like that I tried!  These were the two colors I used, Key Lime and For-Ever Green.  I used scrap paper underneath to test out the colors.  I also realized I needed it because when I first started coloring without it, it bled through with all the saturation and stained my computer table!  Thank goodness I was able to take it off!  Oh, you can also see that the scrap paper is the back of  a paper that had a Christmas tree on it.  I'm using the copies of the literacy projects I had made during the school year.  These were the extras.  Glad I lugged them home!  I'll use 'em and THEN recycle them instead of recycling right away.


I colored the dinosaur and was doing fairly well and then BAM, I colored outside of the lines!  Haha.  I couldn't believe it was like, all the way at the end when I was almost done!  Oh well.  I still used it anyway!  You can see it to the side of the dinosaur's mouth.


I didn't shade for the rest of the card because the things were too small, and I didn't want to ruin it even more.  I love the options for colors though.  Can you imagine how different this would have been had I only had my 8 Crayola markers?  I wouldn't even had a different shade of green for the grass.

I was pretty happy with my first colored image!  And of course, it's very appropriate now that school is finally over for the year!  It went by pretty quickly, but it was probably one of the most frustrating years of teaching (other than my first, of course, but that's frustrating for ALL teachers).  I took this pic just so you could see how saturated the cardstock was.  I don't know why it won't rotate.  It is rotated in Photobucket though.  I hoping it'll be corrected.


Attaching it to cardstock and layering it really made it look even better.  I chose the yellow cardstock to bring out the dinosaur's tummer (aka stomach).  Plus, for such a happy image, I think it deserved cheerful cardstock!  The sentiment is from Pink by Design's "Our Kids" set.  It has a lot of encouragement stamps for kids in school, but they can be used for anything, which is why it's probably going to end up being one of my favorites.


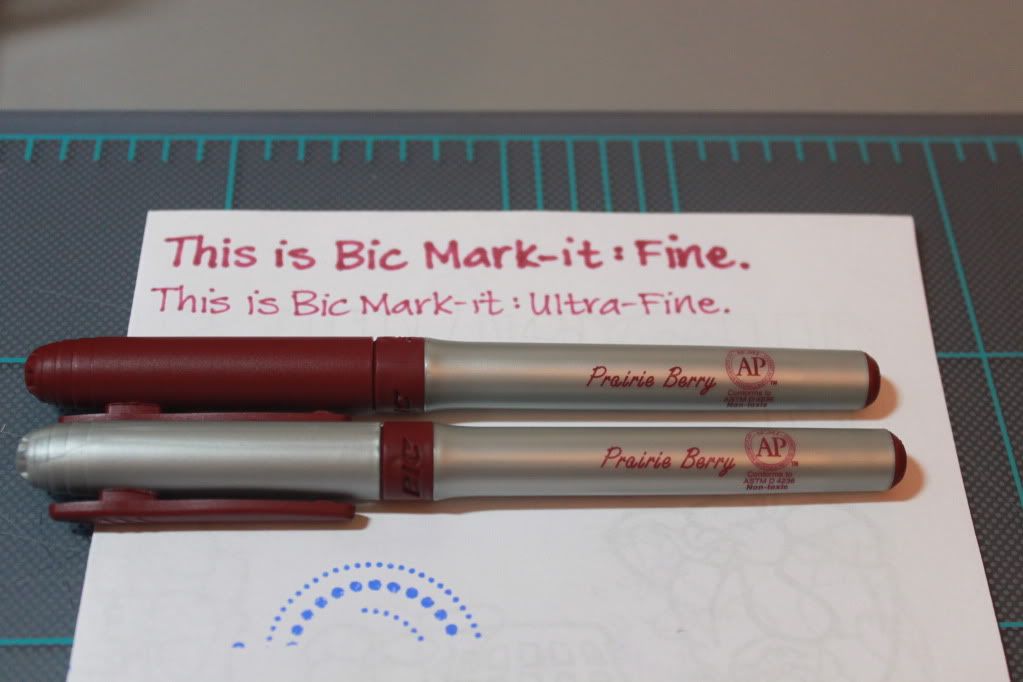
I'll post a picture of the other card in the video as well as others I've made some other time.  As promised in the video, here are pictures of the markers themselves.  It's pretty cool that they decided to make the Fine markers with the fully colored cap and the Ultra-Fine with the silver cap.  That way you don't have to look at it closely to see which one you need in case they get mixed up or in case you store markers by color or just in a big tub.  I wouldn't have thought of that, but that simple design decision will definitely be useful!


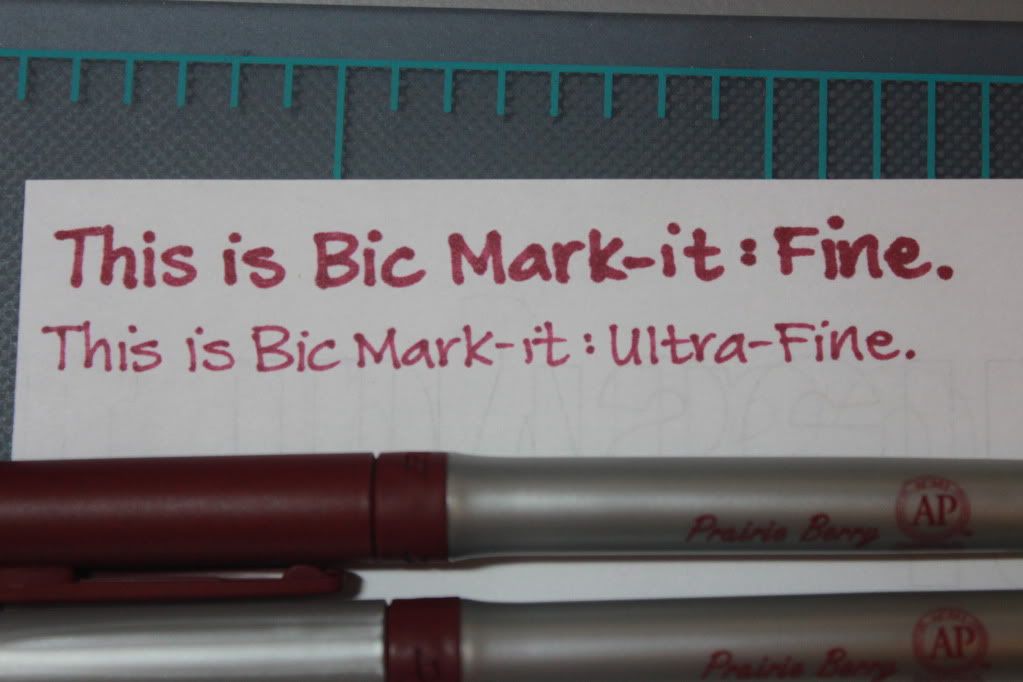
Lastly, this is the kind of pictures I was looking for when I was doing my research on these markers.  I wanted to see the actual difference between the Fine and the Ultra-Fine.  You can see that you could still write with the Fine, but for scrapbooking, the Ultra-Fine would be much easier.  Plus, the latter would also be good for coloring in small, detailed parts.


I'll definitely be making more projects with my new toys!  All 72 of them!


That's it for now!  I made and submitted this card in a Pink by Design challenge to make a project without the Cricut or other die-cutter.  You can find that thread on the message board here: Cricut-less Challenge.  I'm happy that I can actually participate in challenges because of the SUMMER!