Showing posts with label Cartridge: Nifty Fifties. Show all posts

Monday, September 22, 2014

A Sneaker for a Pastor

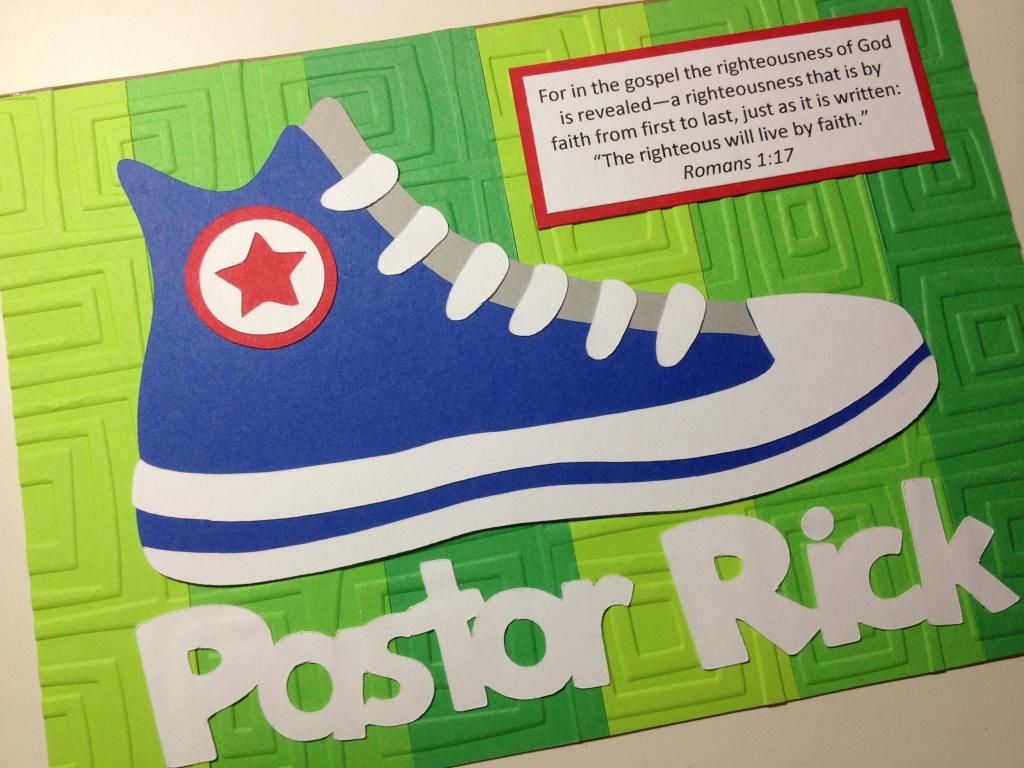
Back in August, my cousin Karen requested a different kind of "card" for a specific purpose. She wanted a sneaker, a name, and a verse on cardstock so that she could put it in a frame for her fellowship to sign for their pastor. 


Since it was clearly a custom order that I wouldn't be repeating, I actually don't think I wrote the sizes  and measurements anywhere, but I can tell you that the sneaker is from the "Nifty Fifties" cartridge, the name is from "Mickey Font" and welded together, and the embossed background is the Cuttlebug folder "Traffic Jam."

When I sent my cousin the above picture, she asked that the font be blue instead of white, so I cut the name out again and glued it on top since the white one was already adhered. Thankfully, it worked out fine. 


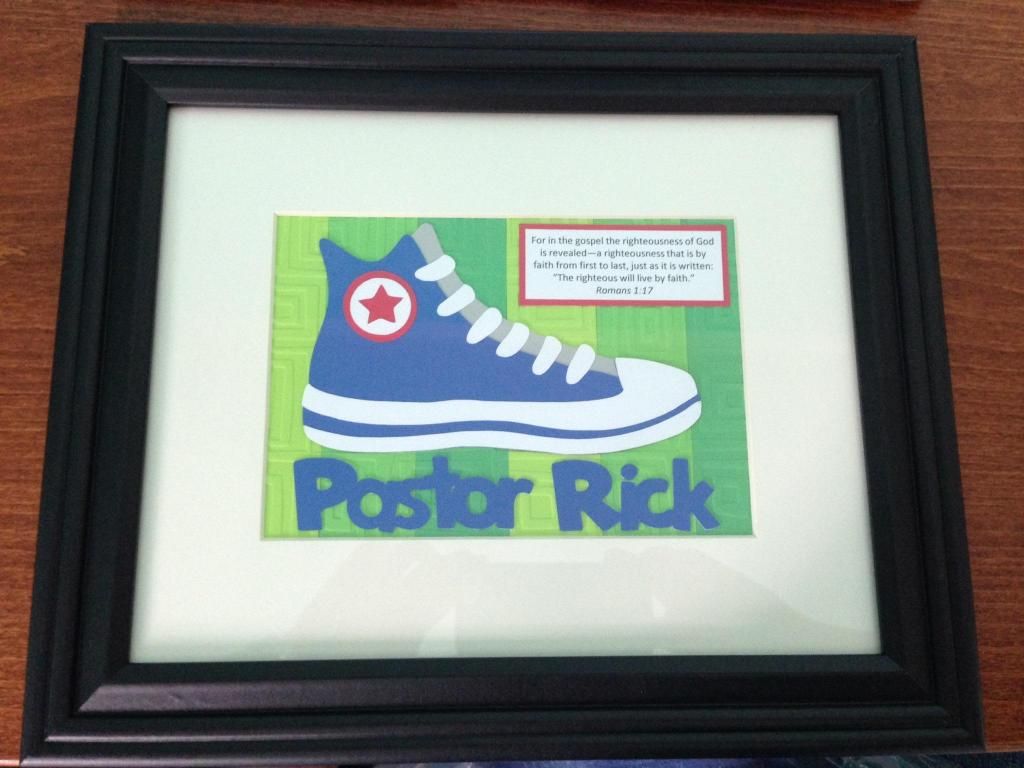
This is what the sneaker looks inside the matte and the frame. I think it turned out decently considering I actually had a bit of trouble and frustration with the sizing and figuring out if everything would fit. I know it seems so simple when you look at it, but I had tried to put the verse under the sneaker, but it just didn't work until I moved the verse to the top right corner. It's projects like these that make me happy I have a ton of options when cutting with my Cricut and now with my Silhouette!

Saturday, July 28, 2012

Pink by Design Two Year Anniversary Extravaganza: Challenge 3

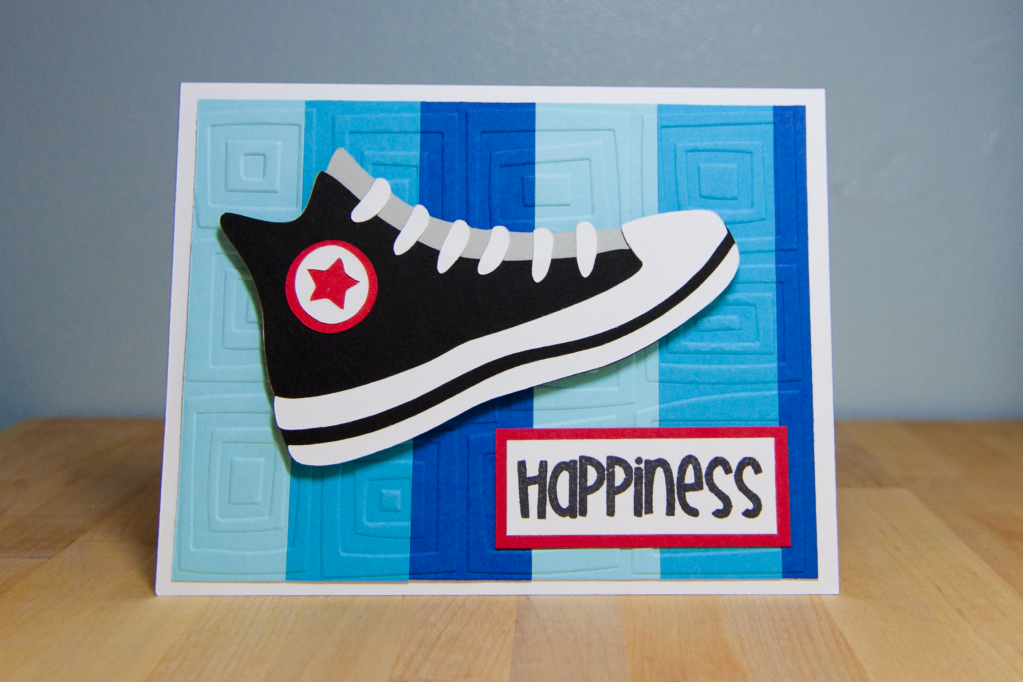
Pink by Design's third challenge was to use wet or dry embossing on the card.  I had already used wet embossing for the white words on my door sign so my materials and tools were all out, but I thought I'd do dry embossing on this one since my Cuttlebug hadn't been used in so long!


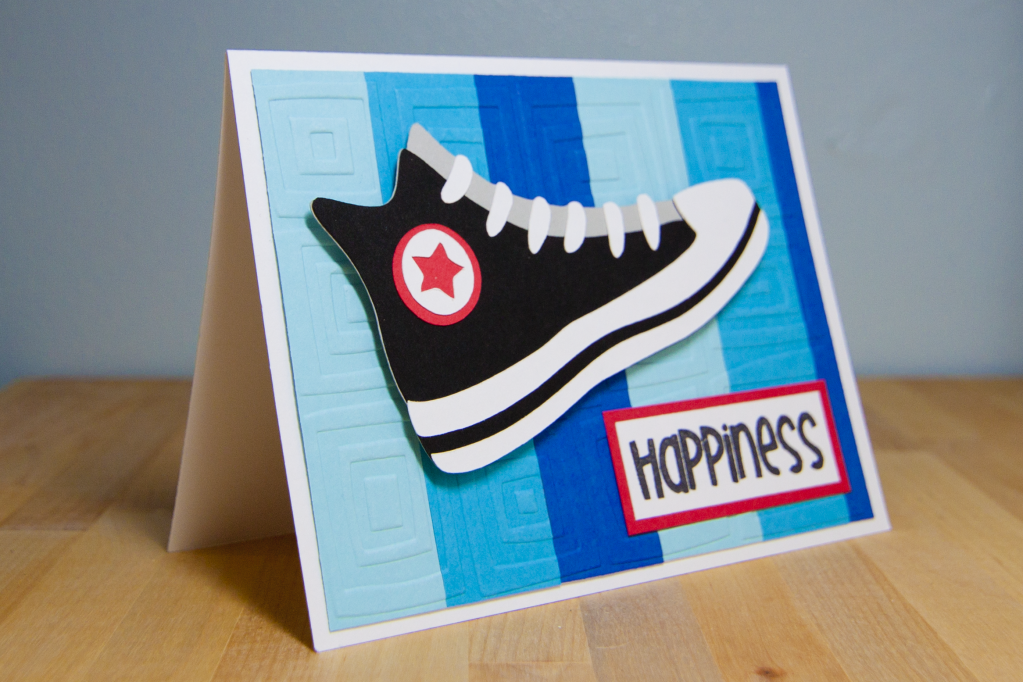
I cut out the layer for my card in white, but then I decided to glue on strips of blue cardstock so that I could have some variety in color.  I think I'll try this again in the future but attempt a rainbow!  I purposely chose blue for this project because (1) I had the most variety of blue in my scraps and (2) I need to make more boy cards!  I'm always using pinks and purples.  Even when I use green, I usually have pink with it too!


I used the Cuttlebug folder calling "Traffic Jam" for my base.  The sneaker came from the Nifty Fifties cartridge even though it looks like a more modern high-top Converse.  No, I didn't remember the name; I had to ask hubby!  I'm "old" in that I already wear New Balance and Crocs, haha.  The sentiment came from Pink by Design's "Big Thoughts" set.  I love just how bold the words are in some sets and just how delicate they are in other sets.  Moving on to the next challenge!

Wednesday, July 27, 2011

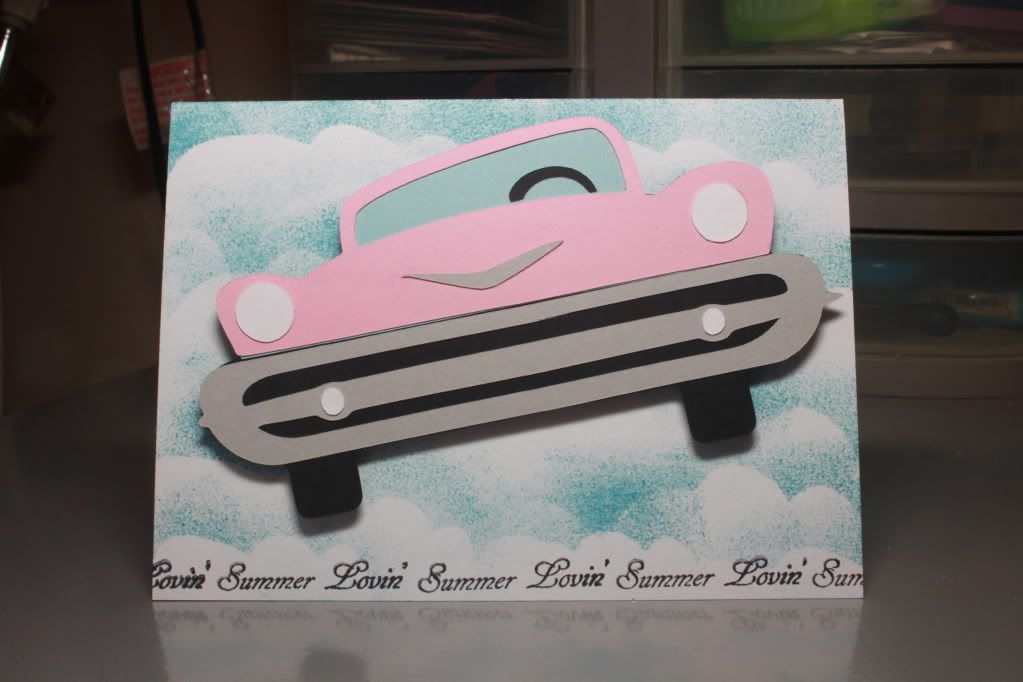
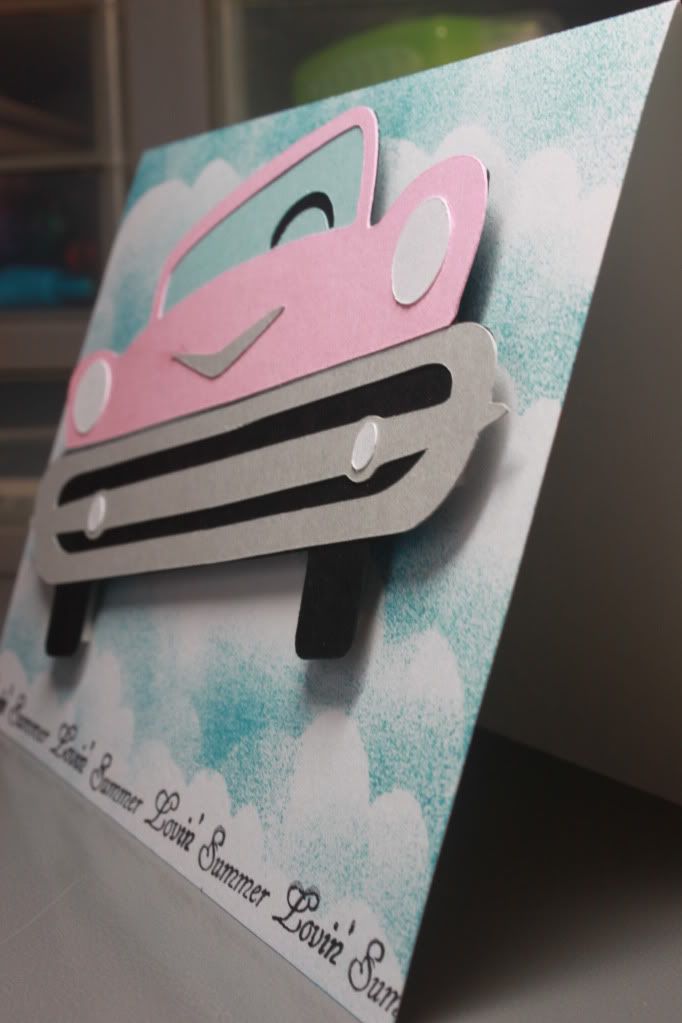
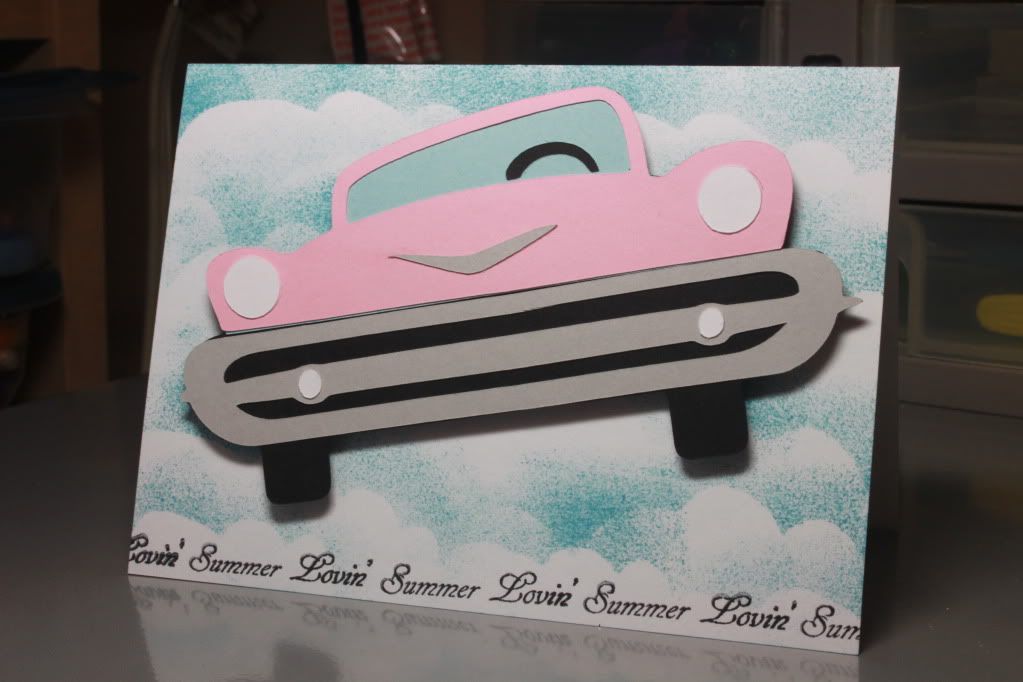
Summer Lovin' Had Me a Blast

One of my favorite movies growing up was actually Grease!  I don't know why I loved it so much.  The plot line is actually really terrible when you think about it because at the end of the movie, Sandy changes who she is just to get Danny's attention!  Despite that, I still loved the songs and the wacky one-liners (ex. "A hickey from Kenickie's like a Hallmark card, when you care enough to send the very best.").  And of course, who can forget the final scene of the movie when Danny and Sandy sit in the car and drive away before it suddenly starts floating up into the air!  Well, as you can see, that was the inspiration for this funky card!


The car is from Nifty Fifties, which was one of the cartridges I knew I "had" to have when I first saw it.  I'm sure I've said it before, but I belong in the 50s.  I would've loved living during that time period!  I cut it out at 2.75 inches if I remember correctly.  I know I wasn't that original because I used the colors that are shown in the handbook.  It was only after I had it all cut out that I thought of Grease mainly because I was searching for a sentiment and came across "Summer Lovin" in Pink by Design's "Simply Everything" set!   


It all fell in place after I picked the sentiment.  I thought of the scene, and used a random cloud shape cut out of scrap paper, some random foam, and Distress Ink in Broken China to make the clouds in the background.


After I took the pictures, I actually tried Glossy Accents for the first time for the windshield.  WOW, that stuff is amazing!  I wasn't sure if I was going to mess up the card, but it came out pretty nice.  The silly thiing that I did was leave the black steering wheel uncovered.  Haha, in most cars I've seen, the steering wheel is also behind the windshield, so that should've been covered too!  I did fix it later on, but it wasn't as smooth.  Now I know for next time!

Here are the challenges that I'm entering:
- - - - - - - - - - - - - - - - - - - -


Weekly linking party at You Had Me @ Craft!  I love these linking parties because it really gives you a chance to find new bloggers to follow! I have a TON already in Google Reader, but when I finish going through them all, I'm always sad and want more.  Join in for some fun!

Friday, June 17, 2011

Using a Card Sketch

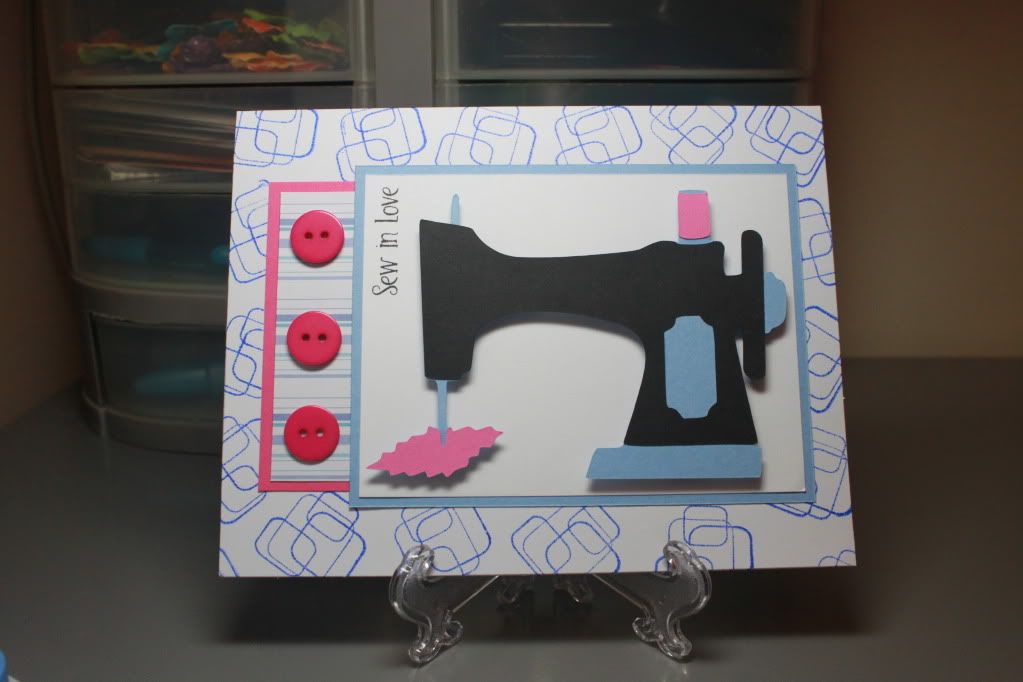
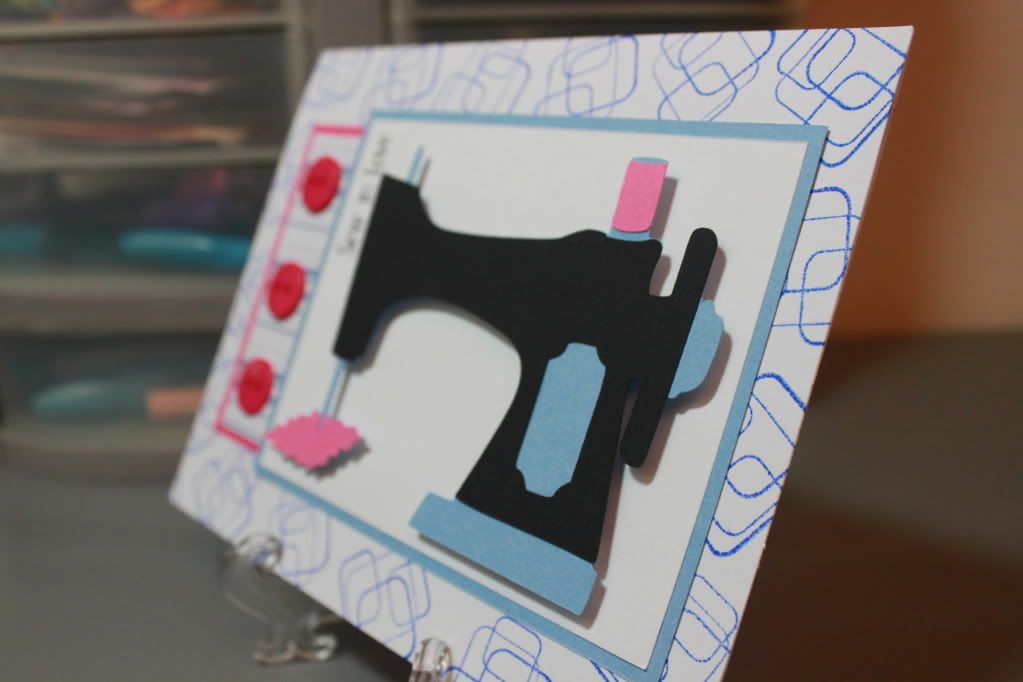
I have a tendency to always make my cards look exactly the same as the previous one!  I tend to center and layer the same way with only a few variations.  With that being said, I was really eager to try a new format without straying TOO far from what I'm used to!  I'm still learning after all!  I had Howard pick out a past card sketch for me from Card Positioning Systems.  He chose sketch #181.


It's not THAT different from what I normally do, but it's different enough!  Plus, those 3 squares there would mean that I'd be able to use some of my embellishments!  Sketches are really just sources of inspiration.  They don't have to be followed exactly, but for me, I pretty much did since I needed the help!  This is the card I made using that sketch.


I had the sewing machine cut out already from the Nifty Fifties cartridge.  A while ago, I was into just Cricut-ing and piecing together, so I had a few things saved.  Since I was using a white card base, I used an Inkadinkado stamp from the Circles and Squares Inchie set to add some blue to the background.  I also was initially going to layer the striped paper by itself, but because of the background, it was getting kind of lost, so I added the extra pink layer.  I like that there's an extra splash of color since there's only 2 pieces of pink on the sewing machine.  

The buttons were the best part!  I rarely use buttons even though I have a bunch.  I like that the sketch gave me a reason to use 3 buttons, and I think they matched well with the pink paper (all my buttons are from Oriental Trading).  I attached them by just swiping the button on some ATG tape from my gun (without pressing the trigger).  

I used the foam adhesive squares also from Oriental Trading to give the cut some pop.  I stopped doing that for a while because I wasn't using Cricut cuts and also because I didn't want to run out!  Well, I won't run out now since I just received my order of 4 extra packs of the 2248 squares for $5 each.  Way cheaper than the other brands out there.  They may not be as pretty, but they're behind the image and do the job!  

The last thing I did was add the sentiment "Sew in Love" from the Pink by Design "Be Mine" set.  As you can tell from my previous blog update, I love this company!  I was going to try out for the Design Team, but I'm not quite at the point where I can come up with creative projects just yet.  I was lured by the prospect of free stamps, but I know I'm just not ready yet!  Maybe in the far off future!  Right now, I'll just focus on updating this blog as often as I can!


Well, what do you think?  I'm excited to be able to use more sketches in the future!  It'll help me break out of my same ol' same ol' rut!