
This school bus card was made for a custom order. The customer wanted cards to thank her students and parents who gave her gifts at the end of the school year. The only guidance I was given was that they had to be thank you cards, so it was very open for interpretation. I decided to do something school-related, of course, especially since I very rarely use my cartridges that have those images on them! In fact, I actually had to add "Cartridge: Locker Talk" to my list of labels since apparently I never used it before (at least on something that I posted on my blog since I know I used it once before).

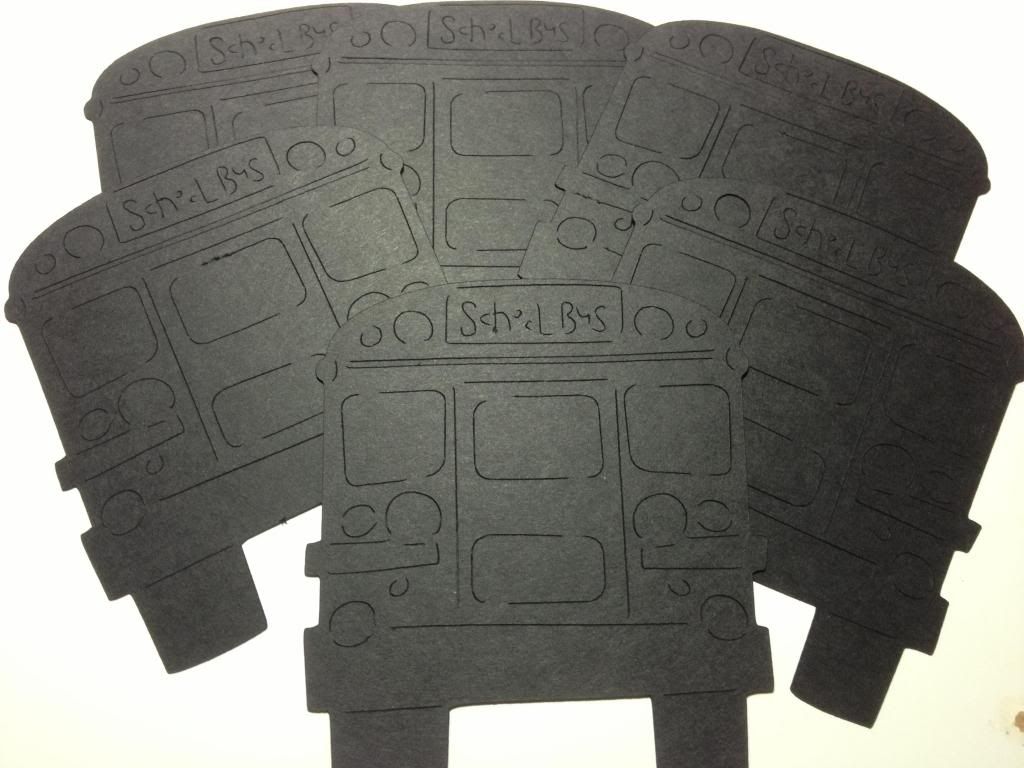
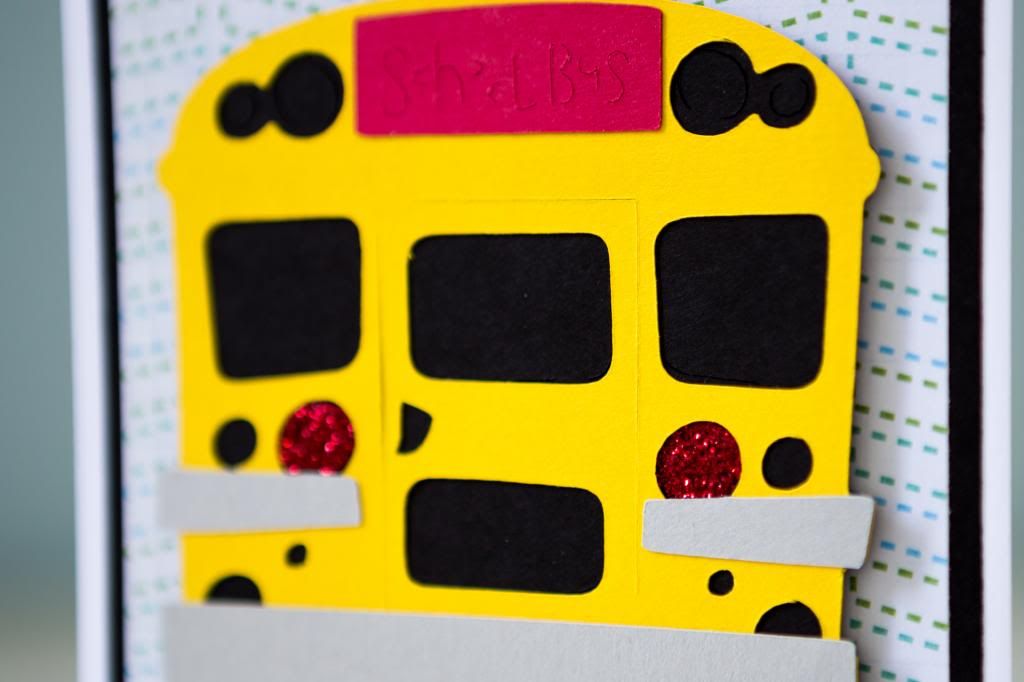
I thought the back of the school bus was very fitting for the end of the year. The image was cut from "Locker Talk" (one of my first few cartridges!) at 3.75 inches. I have to say that this was a rather frustrating image to use! A lot of the older cartridges have all the pieces cut as one layer, so that means you'd have to cut out the yellow part, the red part, and the gray part in EVERY color. Thankfully, with the Gypsy or with Cricut Craft Room, you can hide certain cuts to separate them. It also makes it easier to mass produce. Unfortunately, even though I hid certain cuts, not all of them showed as an option to hide, so they cut anyway as you can see in the picture below.

Although the cut was a little frustrating, I still was happy with the image as a whole because of how detailed it was. This is how the first black layer looked.
The "thanks" sentiment was cut from the "Wild Card" cartridge at 0.667 inches. It seems like an odd measurement, but it's in proportion to the other images on the page since each page is supposed to have all the elements for one card. It's kind of interesting how I cut out a lot more sentiments now instead of automatically stamping them. I think that with some cards, it makes it more complete. For this one, I cut it out in red and then in black and just created a shadow with the black layer since there was no option for a shadow cut on the cartridge.
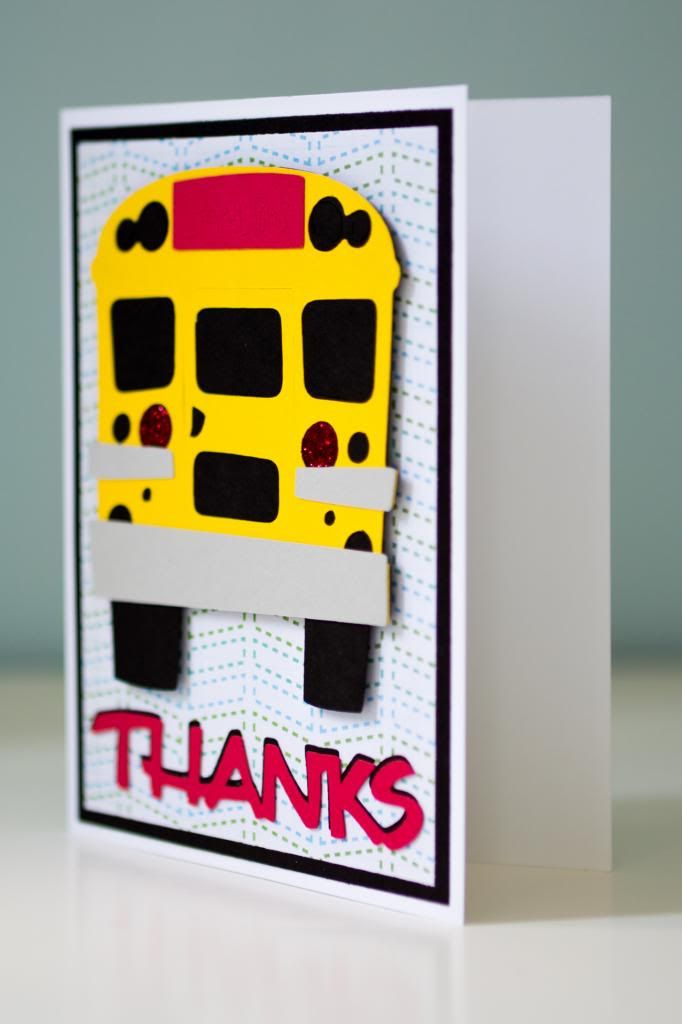
I thought the back needed a little extra something, so I used Stickles to fill in one of the circles! I'm sure it would've been more interesting to add the glitter glue to more of the circles, but it actually used up a lot of my small bottle so I kept it as is.
Lately, I've also been using an extra black mat in my layering before I put the patterned paper on the card. I think it looks better that way even though it is an extra step.
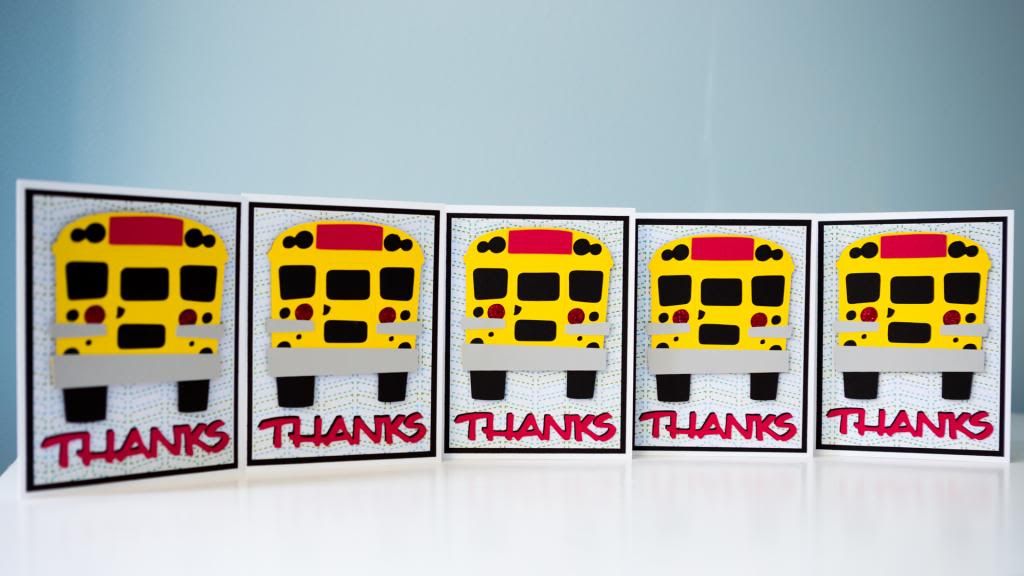
The picture shows 5 cards, but it was a complete set of 6. I consider 6 a set because I can get all the patterned paper layers from one sheet of 12x12 paper. I'm rather happy with how this card turned out and am happy I got to use what might be an otherwise obscure image!
No comments:
Post a Comment