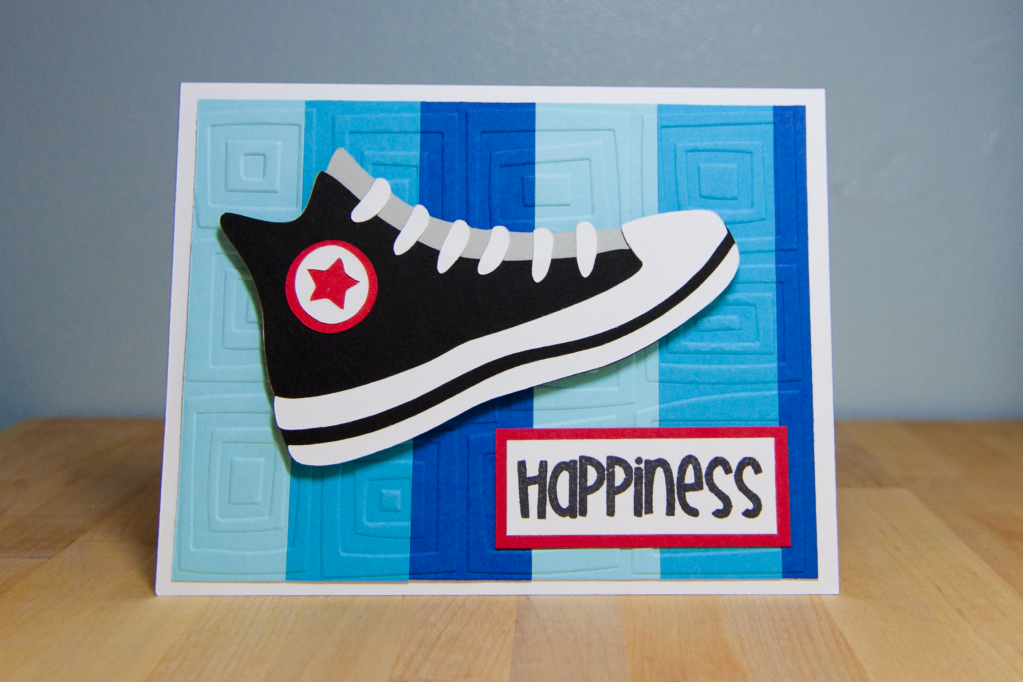
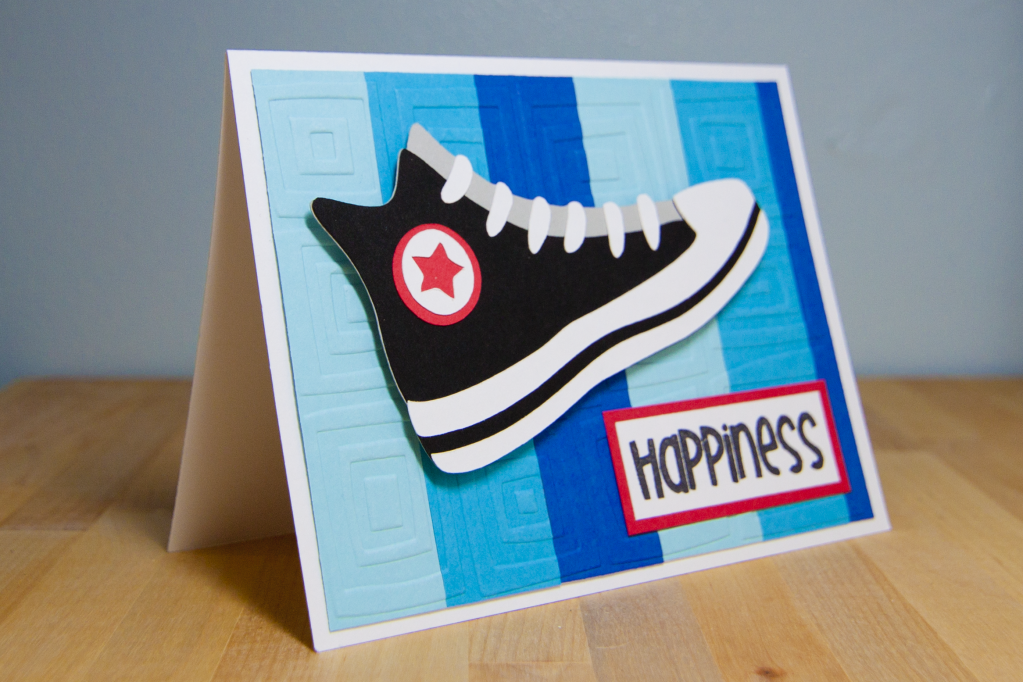
Pink by Design's third challenge was to use wet or dry embossing on the card. I had already used wet embossing for the white words on my door sign so my materials and tools were all out, but I thought I'd do dry embossing on this one since my Cuttlebug hadn't been used in so long!
I cut out the layer for my card in white, but then I decided to glue on strips of blue cardstock so that I could have some variety in color. I think I'll try this again in the future but attempt a rainbow! I purposely chose blue for this project because (1) I had the most variety of blue in my scraps and (2) I need to make more boy cards! I'm always using pinks and purples. Even when I use green, I usually have pink with it too!
I used the Cuttlebug folder calling "Traffic Jam" for my base. The sneaker came from the Nifty Fifties cartridge even though it looks like a more modern high-top Converse. No, I didn't remember the name; I had to ask hubby! I'm "old" in that I already wear New Balance and Crocs, haha. The sentiment came from Pink by Design's "Big Thoughts" set. I love just how bold the words are in some sets and just how delicate they are in other sets. Moving on to the next challenge!
Saturday, July 28, 2012
Pink by Design Two Year Anniversary Extravaganza: Challenge 2
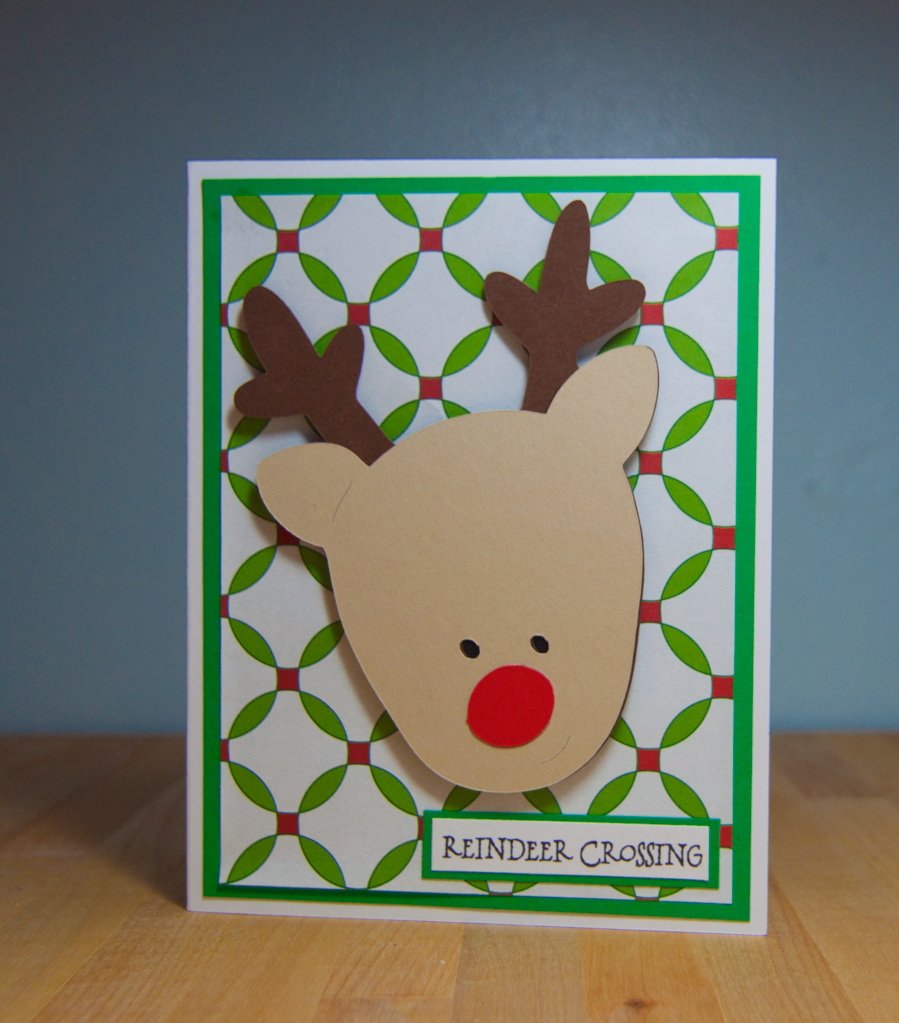
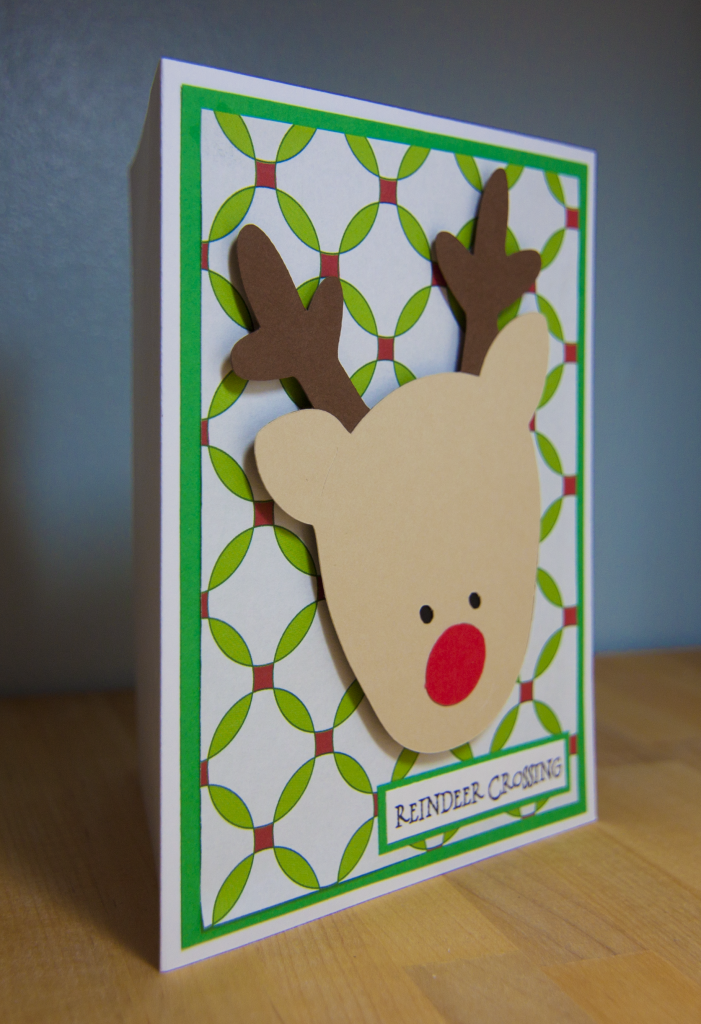
The theme for Challenge 2 was a favorite holiday! I'm super excited to be able to celebrate Christmas with my husband this year. My plan a while back was to get Disney stockings so that we can fill them with fun little gifts instead of having to buy anything major (we're still in save mode as newlyweds!). The little things would be edible stuff like a bag of almonds for him or Hershey's drops for me and other fun goodies like Lego mini-figurines for him and $1 stamps for me! With that excitement in my mind, I just had to make a Christmas card.
I used the cute reindeer from the Doodlecharms cartridge and then pulled out my one stack of Christmas paper that I bought last year from Recollections called "Bright and Jolly." I have to be conscious in using more patterned paper because I'm so used to sticking to solid colors. Patterned paper can really make a difference, I think!
The sentiment came from Pink by Design's set called "Christmas Wishes." I adhered that to the bottom corner and then used foam adhesive to pop up the reindeer. Even though it's only July, it makes me ready for Christmas!
I used the cute reindeer from the Doodlecharms cartridge and then pulled out my one stack of Christmas paper that I bought last year from Recollections called "Bright and Jolly." I have to be conscious in using more patterned paper because I'm so used to sticking to solid colors. Patterned paper can really make a difference, I think!
The sentiment came from Pink by Design's set called "Christmas Wishes." I adhered that to the bottom corner and then used foam adhesive to pop up the reindeer. Even though it's only July, it makes me ready for Christmas!
Pink by Design Two Year Anniversary Extravaganza: Challenge 1
In celebration of Pink by Design's two year anniversary, Sarah, Kyle (Mr. Pink!), and the Design Team have planned challenges for the entire day on the hour! There will be prizes for each challenge, and a free stamp set if every challenge is completed! I'm hoping I can finish all the challenges. It's a great way to get myself crafting since otherwise I'd probably just be sleeping all day, haha.
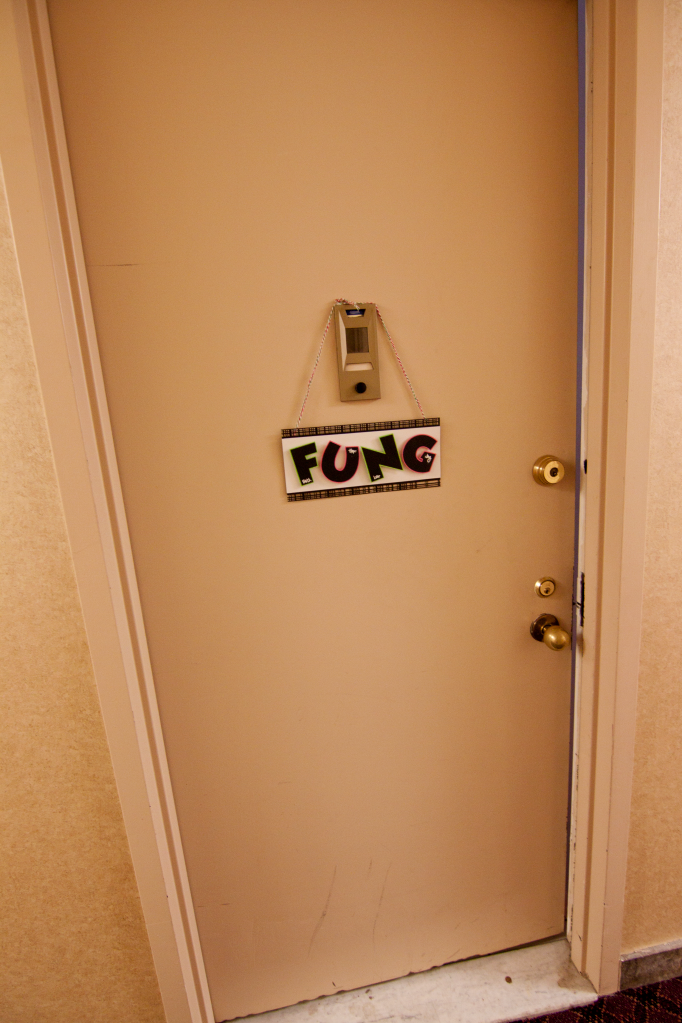
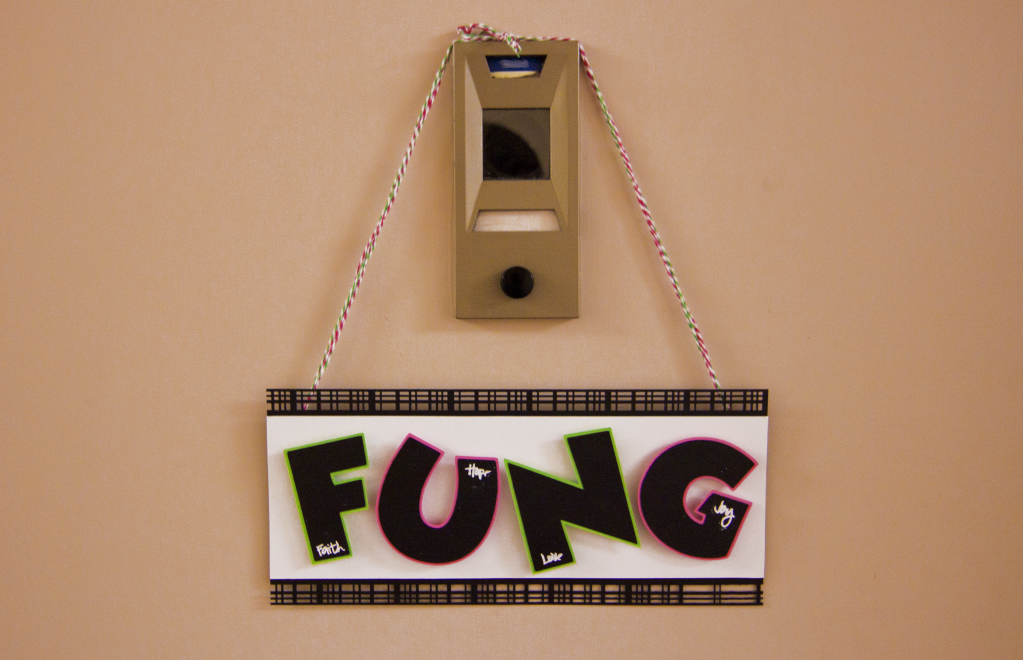
Challenge #1 was a Home Decor project. Since I just got married, I decided to make a door sign for our new apartment door. I cut out the letters of our last name in 3 inches using the Mickey Font. I didn't want to go all out with Disney stuff, so I just used the font. Then I cut out the shadow as well in pink and green, which were the colors we had for our wedding!
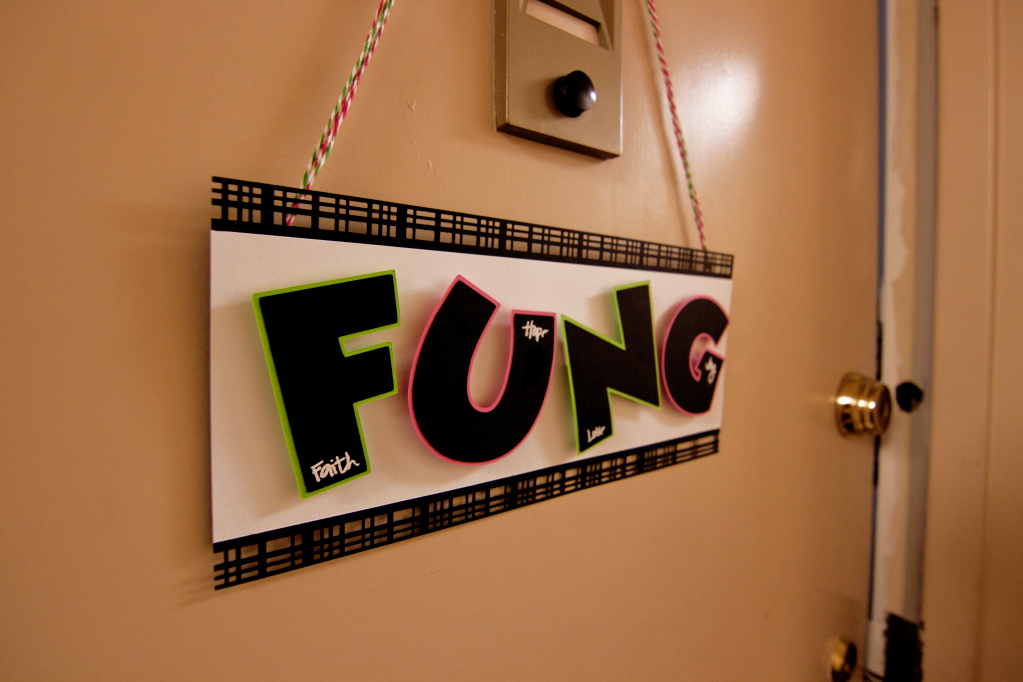
Although we didn't have to use Pink by Design stamps, I was trying to work it in somehow, and I had a brilliant idea (okay, I thought it was brilliant) to use the "Faith" stamp set (one of my all-time favorites) to emboss "Faith," "Hope," "Love," and "Joy" in white on each letter. I pray that our home (apartment or house, wherever we are in the future as well) will be filled with those things!
I used an EK Success border punch for the black background. I actually opened my drawer (my punches are the one thing that I actually have organized in the new apartment!) and had Howard choose one! I didn't want to choose a girly one, so it was easier to have him do it. He chose that one because it was all about the lines, which he likes because he's all about the architectural/technical/geeky things.
The last step was to add some pink and green twine, which I had on hand because we used them to tie the chocolate pretzel bags for our wedding favors at the church. I didn't think I'd enjoy doing this home decor project that much, but I actually did! It definitely brings some cheer to our door!
Challenge #1 was a Home Decor project. Since I just got married, I decided to make a door sign for our new apartment door. I cut out the letters of our last name in 3 inches using the Mickey Font. I didn't want to go all out with Disney stuff, so I just used the font. Then I cut out the shadow as well in pink and green, which were the colors we had for our wedding!
Although we didn't have to use Pink by Design stamps, I was trying to work it in somehow, and I had a brilliant idea (okay, I thought it was brilliant) to use the "Faith" stamp set (one of my all-time favorites) to emboss "Faith," "Hope," "Love," and "Joy" in white on each letter. I pray that our home (apartment or house, wherever we are in the future as well) will be filled with those things!
I used an EK Success border punch for the black background. I actually opened my drawer (my punches are the one thing that I actually have organized in the new apartment!) and had Howard choose one! I didn't want to choose a girly one, so it was easier to have him do it. He chose that one because it was all about the lines, which he likes because he's all about the architectural/technical/geeky things.
The last step was to add some pink and green twine, which I had on hand because we used them to tie the chocolate pretzel bags for our wedding favors at the church. I didn't think I'd enjoy doing this home decor project that much, but I actually did! It definitely brings some cheer to our door!
Wednesday, July 25, 2012
Pink by Design Anniversary Party
Come and Join the Pink by Design Team for an awesome event to celebrate TWO YEARS! There will be giveaways, challenges, and flash sales all day long!
It's definitely worth checking out. Since I started crafting, I have been a huge fan of Pink by Design. The stamps are of excellent quality, and there's so much variety! Not only are the products amazing, the designer Sarah Hamer and her hubby Kyle (we know him as Mr. Pink!) are amazing as well! In the beginning, I had millions of questions for them, and I got replies back so quickly. Getting to "hang out" with everyone during the UStreams for the stamp releases is one of the highlights of my month since I don't always get a chance to craft (still dealing with the new apartment!), but I can be with other crafty friends and get inspired.
I personally can't wait for all the challenges because it'll motivate me to be creative. As I finish up my bridal shower thank you cards (24 cards mass produced), I'm itching for some variety! Plus, I'm really eager about the flash sales because I haven't purchased stamps in a LONG time. I have a bunch on my wishlist that are just one step away from "Add to Cart," so a good sale is what I need. "Pray" is at the top of my list!
Hope to see you there!
Friday, July 20, 2012
2 Month Celebration!
Yesterday was 2 months since Howard and I got married! Instead of going out or ordering in, I made dinner at home. We plan on going out for dinner or getting delivery/take-out hopefully only once a month so that we save money (this doesn't include the gift cards I've received from students!). It's actually more fun this way because the food in restaurants doesn't entice us nearly as much as it used to since we can technically make anything we want (you know, other than SUSHI!). Plus, we've actually started getting super thirsty after eating restaurant food because of the high salt content! With that being said, every night is still a date night because we get to eat together!
I decided it was time to wash the Mr. and Mrs. mugs that we got from one of our friends, Lisa, a while back when she went to WDW. I had kept them in my house for quite some time, purposely saving them for when we actually were Mr. and Mrs.! I took 'em out of the box and washed 'em so that we could have a delightful drink of Ocean Spray's Cran-Raspberry juice with our dinner.
Haha, you can also see our Disney pitcher in the back along with our Mickey salt and pepper grinders and timer on top of the microwave. We love the Disney life!
For dinner, I made chicken drumsticks using Lawry's marinade. I made 7 with the Caribbean Jerk Marinade with Papaya Juice (also has molasses, lime, exotic herbs and spices) and 6 with the Hawaiian Marinade with Tropical Fruit Juices (also includes pineapple, papaya, mango, honey, soy sauce, and ginger). I've used it before, but this time I knew to use more of the marinade and leave it in the fridge in the bag longer as well. I popped them in the oven at 350 for about 45 minutes, and they came out SO much better than last time. I really like the Caribbean Jerk one. It has more of a kick to it. I can definitely see buying that one again but not the Hawaiian one.
I also cooked romaine lettuce hearts, but that didn't turn out that good because the garlic gave it a slightly sour taste. Then I had to CHEAT with the mashed potatoes and used frozen ones since the potatoes we had left had already rotted! Ahhh, the things I'm learning as I cook as a wife! Thankfully, Howard is very easygoing about everything! He was the one comforting me last night when I was upset that the dinner didn't happen exactly as planned.
Despite the few snafus with dinner, we still enjoyed our meal together as we always do! We even got "gifts" in the shape of DIY monitor stands! We went to IKEA on Wednesday with my family, and we picked up 2 Ekby Laiva shelves for $1.99 each along with 2 sets of Capita Legs for $10 each. Following the directions on IKEA hackers, Howard built them for us so that we'd have more room on our shared table! It was so much cheaper to do it this way because monitor stands cost a TON! Pictures in the future when the desk is actually tidied!
At night, we relaxed with some TV shows on the computer and some crafting (well, I crafted, and Howard sat next to me at his computer). Bridal shower thank you cards are almost done! When they are, I can finally post a craft-related post on my blog! Yay! Until then ... :)
Subscribe to:
Posts (Atom)