Friday, February 8, 2013

My Future Sister-in-Law's Bridal Shower!

Last Saturday, my mom and I went to my future sister-in-law's bridal shower! It was thrown by her maid of honor and bridesmaids at Cafe Petisco in the city. Mom and I got there super early closer to 4:15, if I'm remembering correctly, and it didn't start until 5pm. We just didn't want to risk dealing with any potential traffic driving in. 

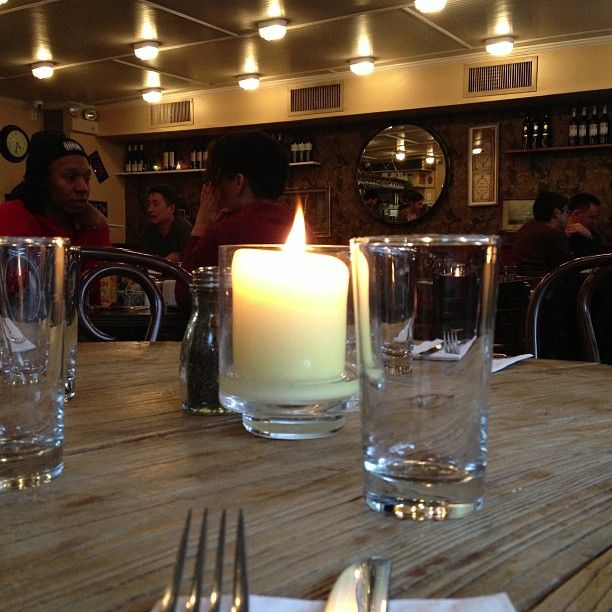
The restaurant was so small, but it was extremely cozy with its wood tables and candle decorations. It seems like one of those places that people would go to over and over again if they live in the area just because it's their local go to eateries. I had peeked at the menu online earlier and read some reviews on Yelp, so I was eager to try some new things!


When the bridesmaids arrived, they set up one side of the cafe with decorations. They also set up the table with little gems, the games, and the favors, which were the cutest containers filled with hot chocolate mix.


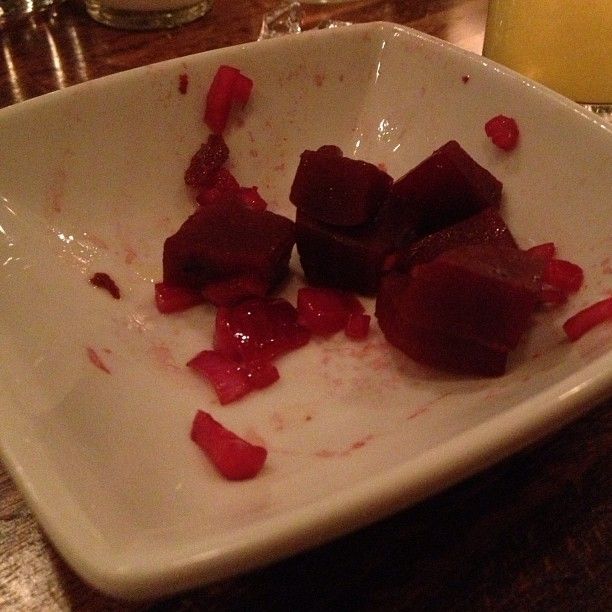
Theresa, the bride-to-be, arrived so we all sat around this long stretch of tables. The food was delicious! It was Mediterranean with the beets, hummus, tzatziki, cauliflower, pita, and foccacia. I was enjoying all the little shared appetizer dishes so much. I would definitely be willing to go back to enjoy all of those things. Mom and I especially loved the beets, which was great because the girls around us didn't so we got to "nom" the whole thing by ourselves!


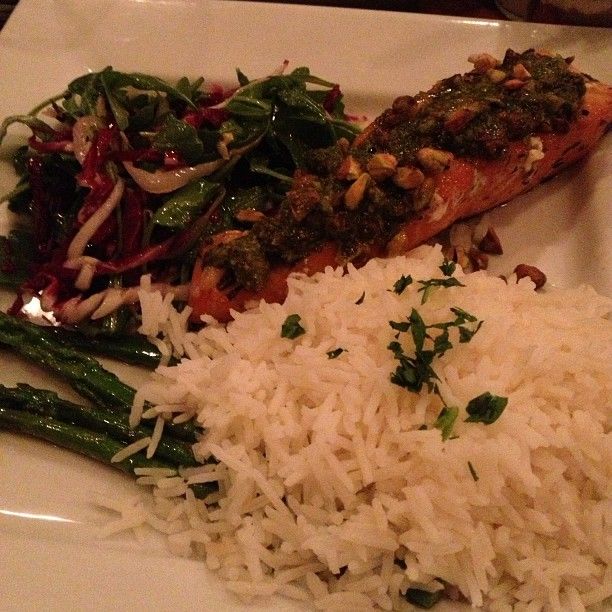
We had 3 entree choices: a pasta dish, a chicken skewers dish, and a salmon dish. The majority of us ordered the salmon, and it was absolutely delicious! It was moist and tender, and I really enjoyed the pistachio stuff on top with it.  The menu description says the following: "Herb Crusted Salmon Filet with pistachio gremolata, white rice, radicchio, endive & arugula." I'm always thinking about how restaurants sometimes serve dry salmon, but this definitely was not dry at all.


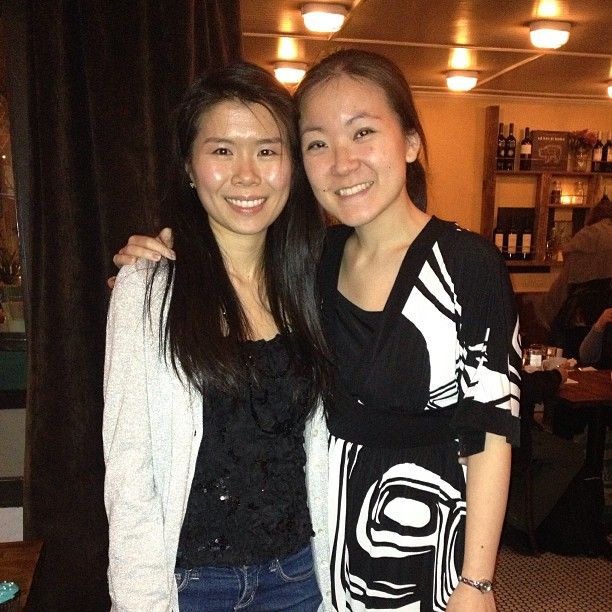
After food, Theresa opened up her gifts. I got the remaining 3 things that were on her registry at Bed Bath & Beyond, so it was kind of an odd combination of 2 cutting boards (when I saw them, I kind of wanted them too but we already have two at home) and a vanity mirror. We took photos individually and as groups.  Here we are, almost sisters but already "twins"! We were both born on September 15th in the same exact year! Isn't that wacky? Plus, we're both teachers as well! 


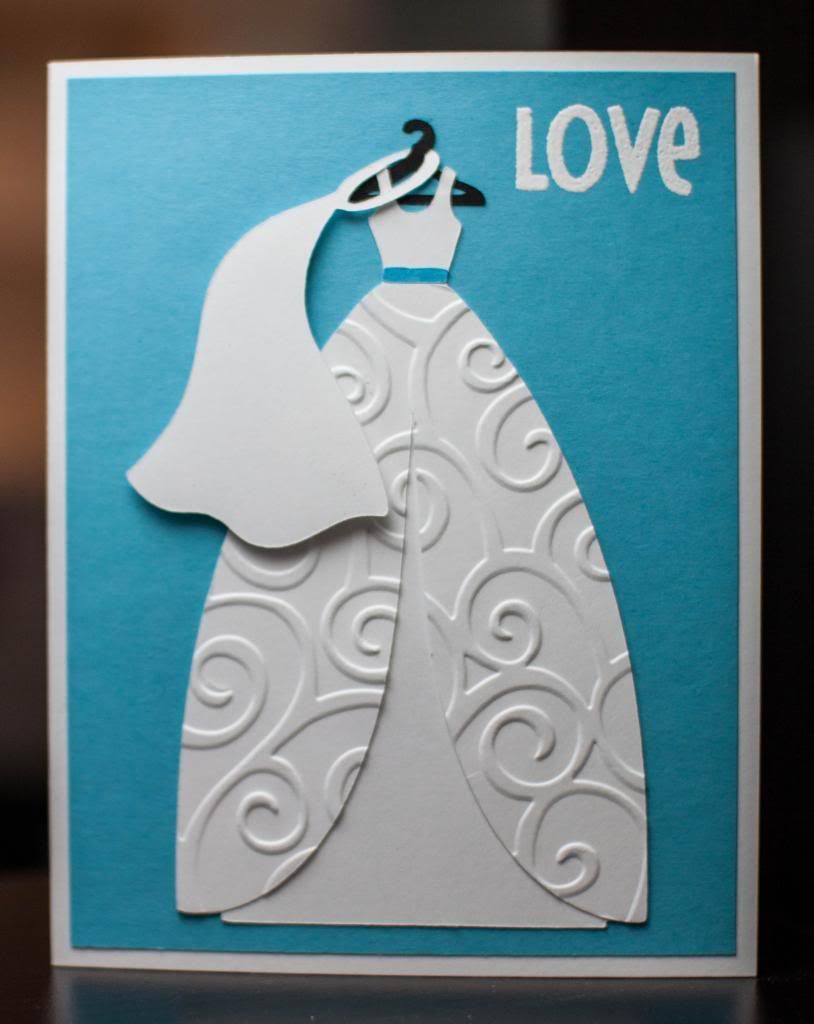
Of course, I had to make the bridal shower cards for her myself! I don't remember the last time I bought a card or a box of cards from the store. It's so much fun to be able to make things so specific for the recipient. The following card was the one I made for my mom to use. The wedding dress image was cut from the Sweethearts cartridge. Since there were two separate layers for the dress, I decided to use the Cuttlebug D'vine Swirls folder to give it some texture. I put the veil over the hanger and then used the smallest adhesive foam squares I have to pop up only that part of the card. The sentiment "LOVE" is from Pink by Design's set entitled "Big Thoughts." I embossed it with white powder. I chose the blue background and dress sash because it's actually almost identical to the blue ribbon that was on the wedding invitation. 


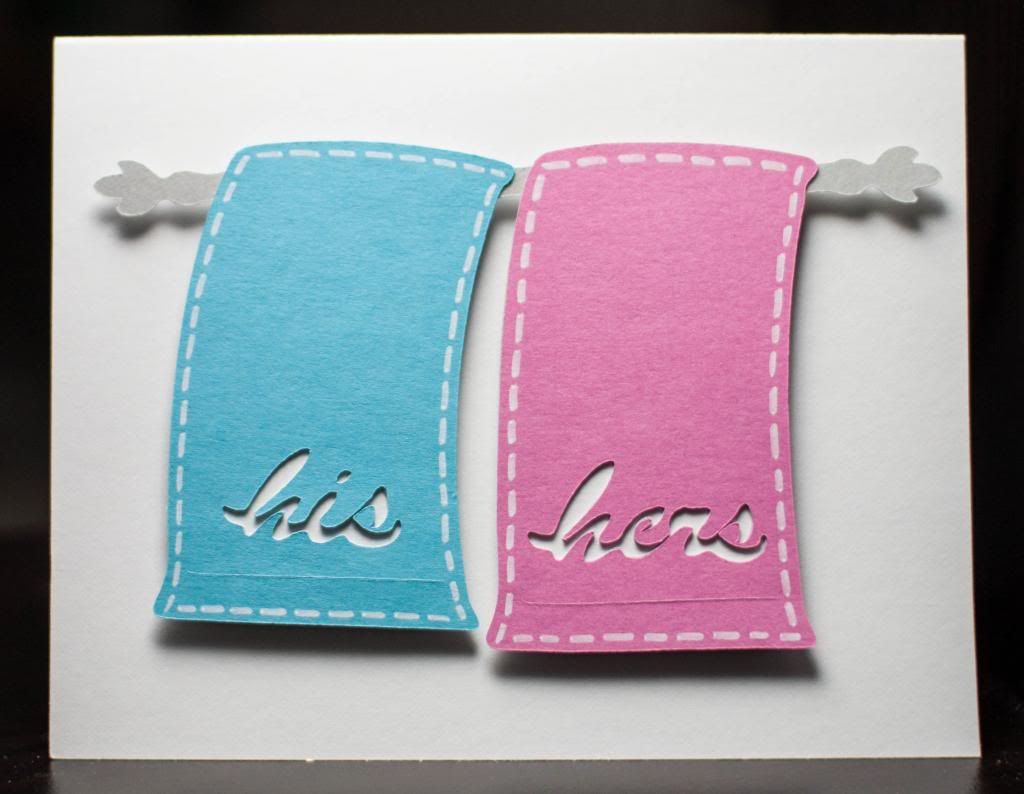
I really liked the dress card, but I wasn't as happy about the card I made for her because it seemed too basic. I couldn't figure out what to do to layer it because I cut it so big to ensure the letters would come out right. I do very much like the cut though also from the Sweethearts cartridge. I just think it's adorable how when you're married, your towels live next to each other on the bar, hehe. I added the stitching to it just to give it a little extra something. 


I spent my Saturday morning making the cards, and it was definitely a much needed break from the usual work I do on Saturdays! I should set some crafting time aside tomorrow today or tomorrow since we have a snow day today due to the impending blizzard. Yay for being at home!

Sunday, December 2, 2012

PBD Challenge: Sketch

I know I've said it before, but sketches are not for me.  Haha, I get so nervous with them trying to get them to work for me.  But I just have to keep reminding myself that it's okay that I don't follow the sketch exactly. This was the sketch for PBD's latest challenge.


I just quickly put a card together just now because I had busy week of work.  It was the week of parent teacher conferences!  Thankfully, they went well.  I keep in contact with many of the parents throughout the school year via email (so grateful that I don't have to spend time calling parents like I did my first year before I asked if I could email instead!), so it's never a surprise when I speak to parents.  It was tiring nonetheless!  Staying at school all day on Thursday is rather draining.  

I thought I'd put this card together yesterday, but Howard and I were preparing for the bake sale at my church and putting those together.  I'll probably write a separate post about that soon, but the cards made $224 for the mission funds!  Yay!  Since I'm on a crafty high, I figured I'd try out this sketch challenge especially with the encouragement and reminder from Melisa.


I simplified the sketch by only using one piece of patterned paper.  I just had to make a mushy card since a few people mentioned anniversary cards and "I love you" cards at the bake sale today (things I didn't make this year since last year I made too many and people wanted birthday cards instead!).  I especially wanted to make this card because I haven't yet used the "To The Moon" set I purchased a while ago.  It is definitely a great set for me to make cards for my hubs, Mr. LoveandSushi!  I have to say I love the mixing of the fonts in the sentiment.  Lastly, the pink and green were chosen because they're our colors, of course!  If you've been following my blog for a while, that fact is pretty well known!

I'm curious to see what next week's challenge is too!  I just enjoy the PBD challenges so much because normally I craft to mass produce.  These give me a reason to just craft for the sake of crafting!

Sunday, November 18, 2012

PBD Challenge: Favorite Pattern


Oh boy, the last time I posted was for the Pink by Design Challenge, and it was after dealing with an illness that landed me a trip to the hospital along with Hurricane Sandy.  Now that I'm posting again for the next challenge, I have another story to tell about a car accident that my whole family was in due to an 18-year old girl smashing into us while we were on our way out to celebrate my mom's birthday.  I don't really want to get into it right now because I'm still dealing with it physically and emotionally.  Praise God that we all walked out of that car relatively unscathed.  A bunch of us got checked out at the hospital.  We have bad pain in our backs and in our necks.  I also have a big bump on my head and a scalp laceration.  But like I said, we may be hurting, but we're all okay and will recover after some time.

Moving on to more positive things!  The current challenge was to create a project using a favorite pattern.  Strangely, my favorite pattern to use when crafting is plaid!  Haha.  The reason for that is because even though I like polka dots, it doesn't always work with all cuts or images because it depends on the size of the dots.  Then I thought about stripes, but they really bother me when it doesn't line up properly with the base of my card.  It's very easy to see what's crooked on paper that's striped!  Then I realized I use plaid often because it's easier to work with AND because it reminds me of my dad and my husband!  Haha, my dad used to (and still does, if I think about it) wear plaid collared shirts all the time when I was a kid.  It was like, the thing to do.  My husband has a few plaid shirts that he wears too.  Any shirt I see though always brings me back to my dad!


I used Create a Critter for the cute apple.  The sentiment "Smile" comes from Pink by Design's set called "Scripted Year" that I use rather often because I just love the font.  I had to pop up the apple a little, of course.


I really like how the green plaid paper looks even though the leaves on the apple are green too.  I am really trying to use more of my patterned paper because I think it really does make a card stand out.  I don't have much else to write about this card since I'm utterly EXHAUSTED.  I like that I was able to craft a bit today though just so that I could distract myself from the millions of thoughts going on in my mind.  I am grateful that we only have 2.5 days of school this week before Thanksgiving break.  We all need some rest!

Monday, November 12, 2012

PBD Challenge: Shades of Autumn

Yes, I have been rather absent from my blog!  It doesn't mean I'm not crafting though.  I have been making cards for my church's bake sale that was postponed to the first Sunday in December due to Hurricane Sandy.  The storms we've had lately and the sickness I've dealt with is a whole other story, but right now, I want to focus on the really quick card I made for Pink by Design's recent challenge, which was a color theme based on this palette.


As pretty as autumnal cards can be, I didn't really think I could make a card with these colors since I don't have paper that matches it.  Just an hour or so ago, however, I decided to take a look because I needed a quick break from my school responsibilities and apartment chores since I'm home today for Veteran's Day.  I ended up finding a floral pattern with colors that definitely reminded me of this fall season (even though it seems like winter what with the Nor'easter we just had!).


I'm trying to go back to the CAS (clean and simple) style that I really like that showcase the pattern paper itself.  I end up pinning a lot of these types of projects on my Pinterest board, but I don't make them often.  I figured this was the perfect opportunity since I didn't want anything competing with those colors.


The PBD sentiment is from the set called "Friends to the End."  I added the rhinestones just to add another element of 3 to the card.  As simple as it is, I like that I was actually able to find a use for the paper!

Thursday, October 4, 2012

Master Crafter Challenge


Married life and teaching life don't leave me much time to have a crafting life.  However, back at the end of August, Sarah Hamer of Pink by Design announced a fun challenge to determine who would be a Master Crafter!  The morning of the announcement 99 people and I ordered a Master Crafter box filled with mystery items.  Once we received our boxes, we had a good amount of time to make a project that would be linked up on October 4th for voting until October 11.

I was a little bit nervous to receive the box because I'm not necessarily the most creative when it comes to challenges.  However, I was also extremely excited because challenges force me to do different things that I normally wouldn't do.  I thought back on Pink by Design's 2-year anniversary celebration with the entire day full of challenges that I absolutely enjoyed as it stretched my crafting skills.  I knew this would be another opportunity to think outside of the box (or think ... IN the box?  OF a box?  Haha ...)

These were the items inside the boxes:
- Scissor Mouse sponsored by Westcott
- DCWV Rockstar mat stack sponsored by DCWV Deals
- Cotton Bag Sponsored by State line Bag Co.
- 1/2 sheet of Rhinestones sponsored by Queen & Co.
- Sentiment stamp sponsored by Pink by Design
- 2 assorted buttons

I struggled with what to make because I was actually thrown off by the Rockstar mat stack.  The patterns and colors in the stack are not the typical colors I use.  But, of course, that made it so much fun because it was definitely something I never would have bought and used on my own!  It had to be a challenge, right?  With only about 10 hours until the linking time, I still hadn't figured out what I was going to do.  I did know that I wanted to do a 3-D project since I don't do those often.  I was going to do a card set in a box, but I didn't know how to incorporate all the elements.  Finally I decided on trying something I had never done before - an exploding box (thanks to Anso at Glitter Adventure for the directions and sizes)!


As with many of my challenge projects, I made it with my husband in mind.  I kept the outside simple with the kraft cardstock because I wanted a neutral base so that the patterned paper could be seen.  I also chose it because Howard says it's interesting that I actually have kraft cardstock.  It's one of my favorite things to work with!


The little cotton bag actually fit inside the box, so it was a perfect way to incorporate all the items together.  Before this idea came to my mind, I had no idea what I was going to do with the little bag.  But before I get into the bag, I'll explain the exploding box.


I figured it was the perfect thing to do because I could use many different patterns from the stack.  I admit I avoided the ones with the skulls on them.  Haha, I did not know how to deal with that challenge.  I used 10 different papers, and I purposely chose the ones that had a pinkish and greenish tone to it since those were my wedding colors.  Since my sentiment was "remember," I wanted it to be an exploding box of memories that Howard and I have already made since we got married.  You can see that in the center of the box, I wrote the following: "Just a few small reminders of all the memories we have made so far!  I love you!"


You can see a few of the memories and the stamped images that go along with them (the car is from Sandy Lion, and the rest are from Inkadinkado sets).  What I like about these memories is that they all happened within the past 4-5 months since our wedding so they're very recent.


In the picture above and below, you can see some more of the patterns from the stack.  I have plenty more pages to fill with the memories that we will continue to make!


Okay, so that's the box part of it.  Now what's in the bag?  Well, the outside of the bag is pretty cool too, I think.  Sarah recently posted on her blog what she did with the bags, and apparently, you can stamp on them!  I was excited to try it, and it was super easy.  I used Stazon ink for the hearts, and I did some masking so that one heart was behind the other.  I used Copics to color it in, which bled a little bit, but because of the sketchy design of the hearts, I actually don't mind at all!  Haha, normally I would've freaked out about it.  I also added the sentiment "remember" once again and added some of the bling.


The last 2 pieces of the puzzle were the buttons.  I had no idea what to do with them, so I took a break and went to brush my teeth and dry my hair.  Then suddenly I thought of how I could use it to secure the ends of a long piece of embroidery floss where I would tape the actual memorable items that I had initially planned on just putting in the bag.  As you can see, the pink button is hanging out of the bag so that Howard will know to pull the embroidery floss out to see the string of memories.


The tea bag for green tea is from Costco, and it's what we drink when we get sushi delivered to our apartment as a treat!  It isn't sushi if you don't have super hot green tea!  The card for Sum of All Thrills is from Epcot.  We designed our own mild rollercoaster when we were on our honeymoon and rode it (and I didn't even have to push the emergency stop button!).  The Band-Aid is a reminder of when I got a deep cut in my finger from opening a plastic bleu cheese container.  It scared me so much because it wouldn't stop bleeding, so I was crying and being hysterical while Howard took care of me.  The ketchup packet is to remember the long wait we had for Heinz ketchup to go on sale (yay for Labor Day sales!).  I don't know how to eat burgers and such without it (or when I made cheeseburger pie, YUM).  Lastly, the CVS prescription bottle cap is a wonderful memory of how I was finally able to switch to Howard's insurance in September, which meant I could fill my 2 prescriptions and pay a LOT less for them!

Phew, what a fun challenge!  I'll be waking up tomorrow morning (well, technically it's today already) and posting this on PinkCricut.com.  Please head on over there (blog post here) to take a look at the projects made by my fellow crafters and to VOTE (edited: voting will begin on October 7th so that others can have some time to link up their projects first)!  I'm so excited to see what everyone else has done with the goodies.  Plus, I'm eager to see who will be the Master Crafter!