
While searching the aisles with Howard, I found Mod Podge. I know one of my colleagues uses it as a sealer for her kids' projects since they're in PreK, and they use oddly shaped materials that can't fit in the laminating machine. I purchased the Gloss one after reading the back and seeing that it's a sealer. I used a 50% coupon so only paid about $4.25 for a 16 oz bottle (as opposed to the 2 oz bottle of Diamond Glaze, which would've cost $3ish with the coupon).
I finally tried it the other day and had to experiment with it a bit. I mixed the Mod Podge with the glitter, but it didn't come out right (someone said it worked with Diamond Glaze). Plus, I didn't like the glitter waste since I didn't know how much I would be using. I then tried just using a layer of it and applying the glitter on top, but of course, glitter continued to flake. So I did more experimenting and applied a layer of the Mod Podge on TOP of the glitter and waited for it to dry overnight. I was so excited to see what it looked like the next day! How did it work? WONDERFULLY!
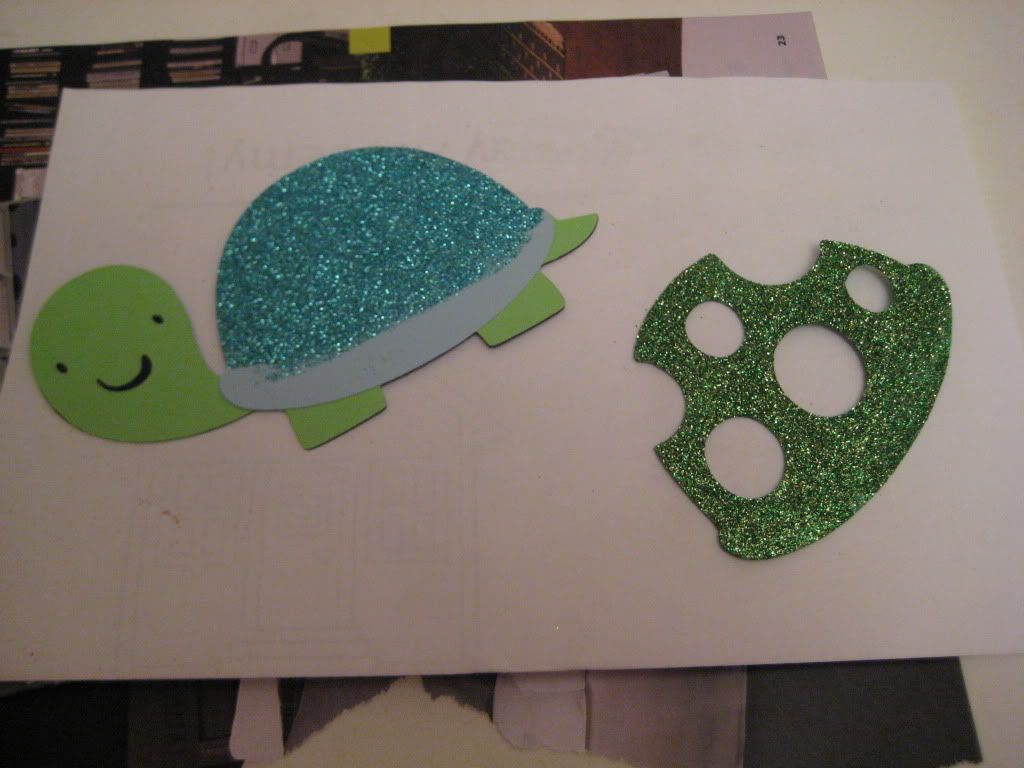
Here are my first official projects using the Mod Podge!
I wanted to make the turtle from Create a Critter, but I ended up making two since I figured I was loading those papers on the mat anyway. Plus, I wasn't sure if I wanted to glitter the spots or the shell. I thought it'd be fun to use the same critter and make two different looking cards! Seems like a fun challenge to keep in mind for all future cards.
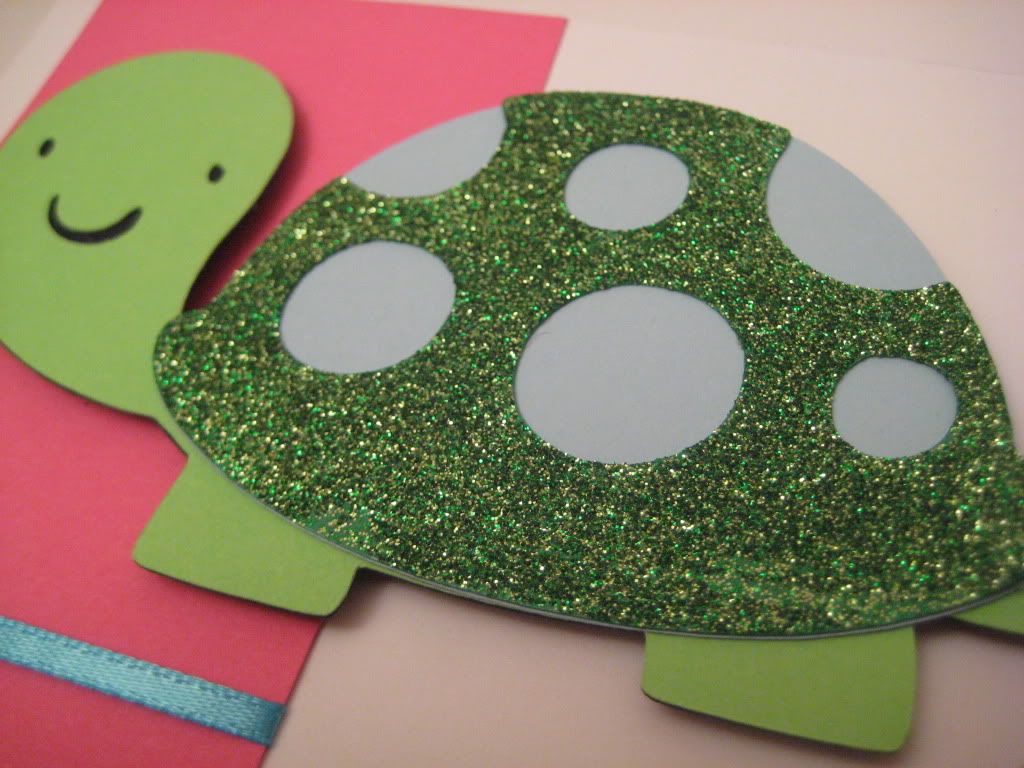
Here I'm glittering the two different parts for the two different turtles. These pieces won't go on the same critter. I used one of the sponge brushes to apply a thin layer of the MP on the cardstock before liberally sprinkling the glitter on top. You can also see that it's resting on top of a page of a Spanish Ikea catalog! I picked it up since they didn't have any in English (I didn't realize it!), and after finally getting an English one, I was going to recycle this one. However, I decided to use the pages for the glitter! I think it actually works better than computer paper. The glitter shakes off easily (or maybe it's because I can't see everything cling to it since it's a darker picture!).
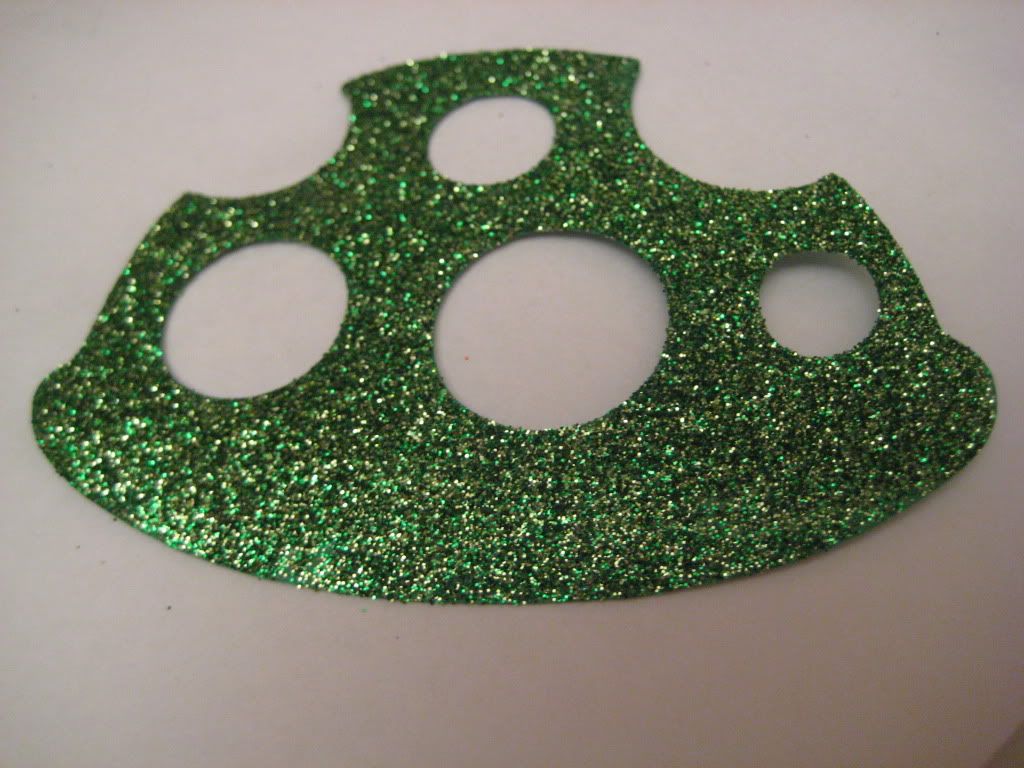
The green here is Peridot. Martha Stewart glitter is so pretty because there are different colors mixed to make that one color. It's not just one shade. So so so pretty!
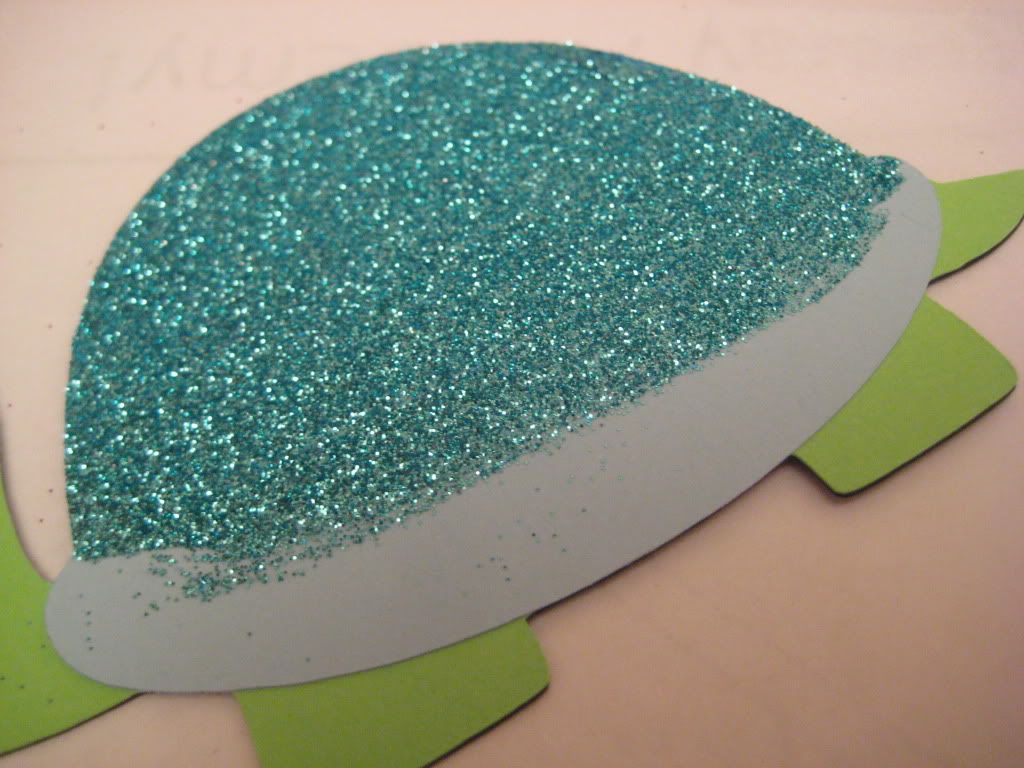
The blue I used was Turquoise. I didn't put glue and glitter on the bottom portion since it was going to be covered by the bottom of the shell.
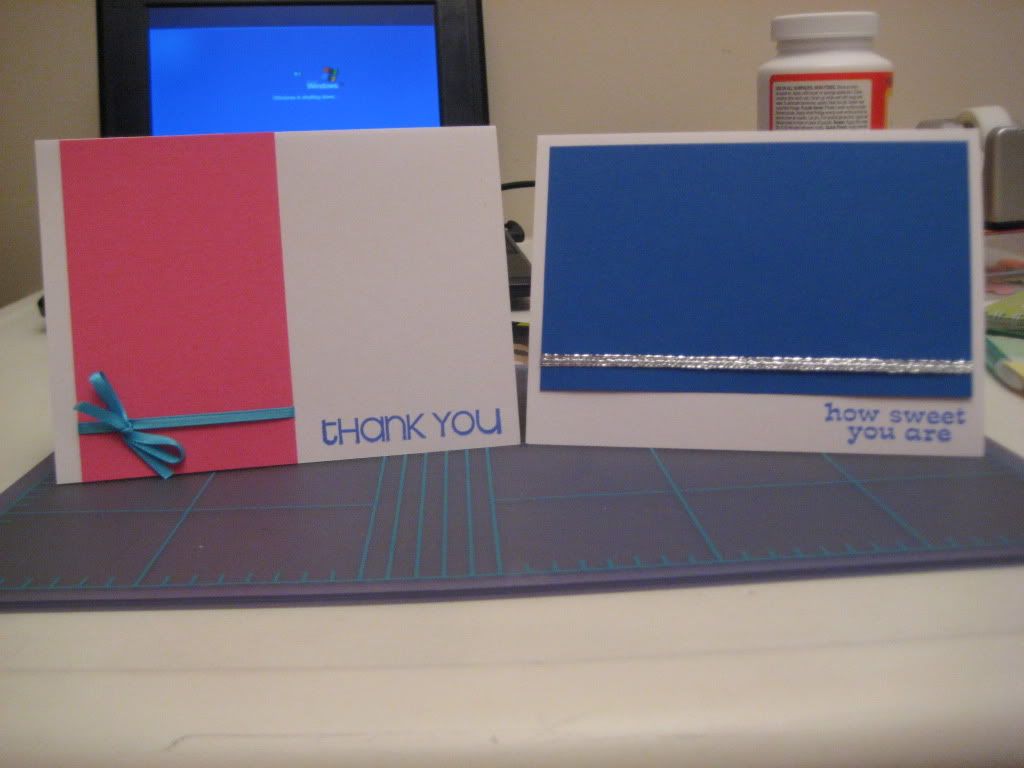
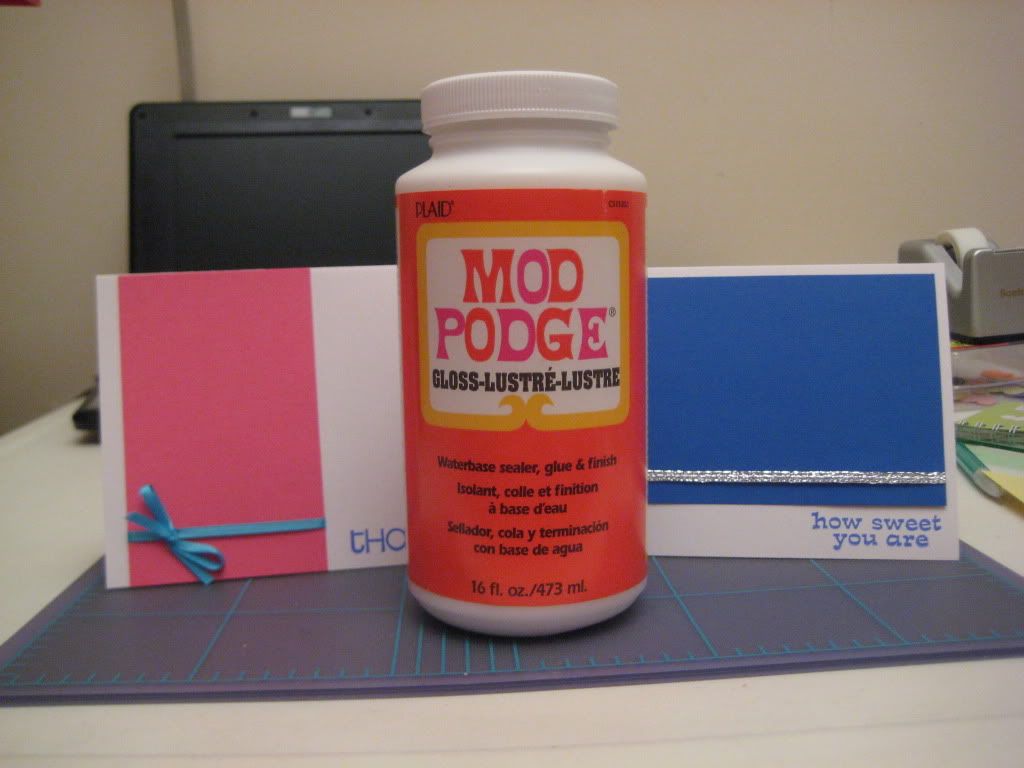
While I waited for it to dry, I set up the layers and bases for the 2 cards. It took a while because I was playing around with colors and sizes. I'm not used to layering and using my Cutterpede paper trimmer just yet! Practice makes perfect, right? I was, however, very excited to use RIBBON! I also dug out my stamp blocks and ink pads and whatnot so I could stamp on sentiments. The words are the Studio G stamps from the $1 section of AC Moore. Love it!
The big container of MP wanted in on a picture too. It was saying, "Hey, this is all possible because of me!"
After the first layer of MP with glitter on top dried, I took a regular paint brush from my junior high art class (an ox hair one ... I thought it was funny that I never noticed it was ox hair!) and applied another layer of MP on top to seal the glitter. It goes on white because it looks just like a thick Elmer's Glue. I was hoping it wouldn't dull it like some people said. I went to sleep really eager to check it out the next morning!
Well, I woke up and was thrilled that it worked out wonderfully! I quickly glued on the remaining pieces to put the cards together.
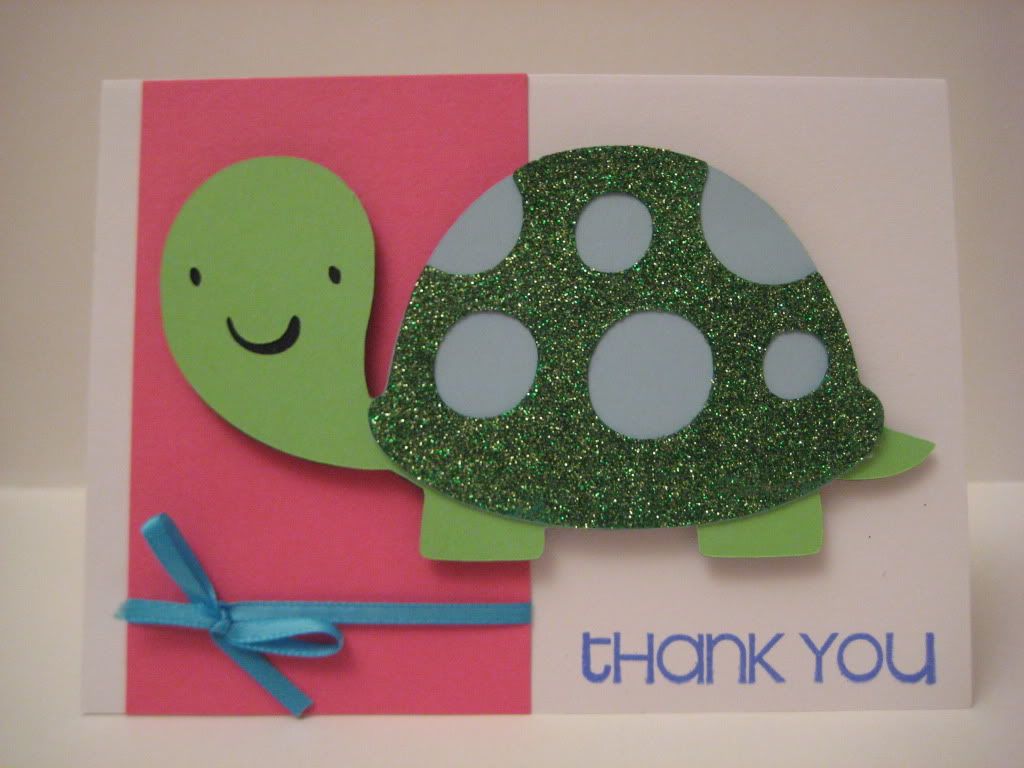
First turtle card! Just to let you know, I tried using the Zig pen to glue on the green shell to the turquoise part, but it wouldn't stick. I had to use my ATG gun to make it stick.

I know it's basic, but I really like it because it's different from the other cards I've made, and it actually came out clean and simple! Oh, I also used Robyn's (aka mypinkstamper) "cheater method" for the ribbon, which means it's just taped to the back of the layer.

Here's the second turtle card. Since the shell part was glittered, I didn't want it competing with the background layer, so that's why I only put the contrasting pink on one side and left the other side white. I was hoping all the blue would tie together though.
I learned this ribbon technique from Robyn as well. I used the "cheater method" to affix a blue piece of ribbon to the pink, and then I took another piece of ribbon to actually tie the bow. It would've been too difficult to just tie one piece of ribbon with a bow around that piece of cardstock.

So YAY! I absolutely love that the Mod Podge worked! I could look at it (and TOUCH IT) all day!
(Plus, it's the first card I made without using the Cuttlebug!)
Cute cards! I've never used the Zig glue with glitter, I'll have to try it, thanks for the tip!
ReplyDelete-Linz
ooh, they're both so cute!! i like the one w/the glitter on the shell more since it had a more obvious contrast than the other one.
ReplyDelete@lageorgiapaperie: I think the Zig would only work for smaller pieces. I don't know how I would cover a huge amount of space unless I had something bigger than just the chisel tip!
ReplyDelete@kay: Thanks! I do like the glittered shell one too because of the fact that it's much more glittered! The other one works for one that doesn't have to be as "blingy." I can't wait to work with more glitter now that I know the Mod Podge works.
I am so glad that I saw this post! I have long wondered whether Mod Podge would inhibit the light from sparkling off my glittered projects... and now I know it won't. Thanks!
ReplyDelete