
The first thing I did was stamp the rectangles from my new stamp set from Papertrey Ink. It was from the set called "Label Basics" ($24). I purchased it along with the accompanying dies because I'm always cutting out little pieces of white cardstock for my sentiments, and if I do it crooked, I end up having to do it all over again! This would eliminate a lot of that frustration. I don't know if I didn't ink it properly or if the stamp is too new (they did suggest rubbing an eraser on it, maybe I didn't get all the dust off?), but there were a few spots that weren't completely filled in. Thankfully, the Zig Writer in black was the exactly same color as the Stazon Jet Black (I can tell because of my Ott Lite!), so I just colored in the missing spots. Phew!
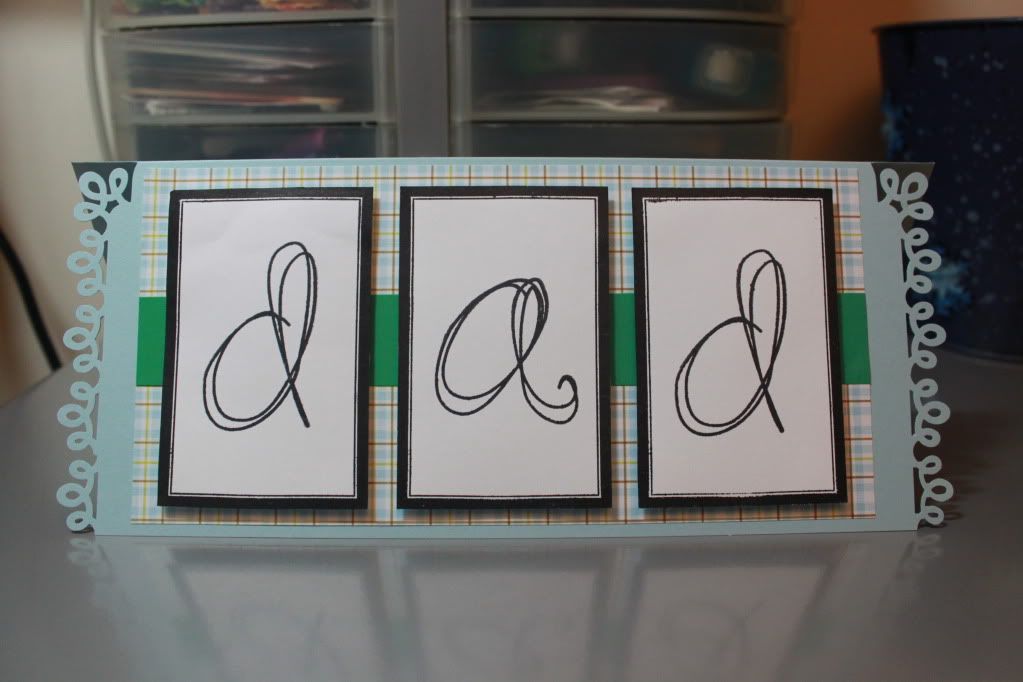
I then used a stamp set I bought on clearance last year from AC Moore. It was the Scribbles Alpha set. I love the font, but I just never had an opportunity to use it. Now I'll definitely use it because I have a bunch of Autumn Leaves clear stamp sets, and they stamp so well! My journaling stamps are from this company as well. With the set, I spelled out "dad" with a letter in each box.

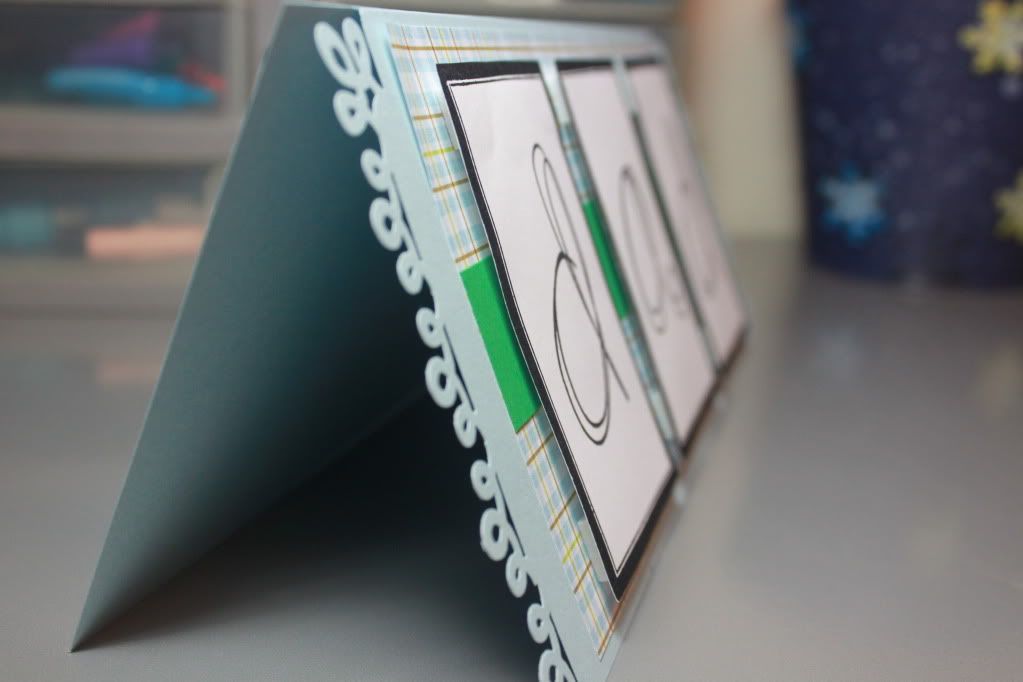
As you can see, the boxes are pretty large, so I couldn't use a standard sized card. Instead, I took a piece of 8x11 cardstock and scored it in half lengthwise. I tried using the Martha Stewart Punch Around the Page set called Ribbon Loops to get the first upper right hand corner, but I actually messed up. It was the first time I punched a corner of a card (there's a guide on the punch, and the directions come with the 2 punches). I had to trim the card down and try again. Thankfully, I was going to trim the other side down anyway because otherwise it might've been too long. Anyway, I only punched the front part of the card because if I did both parts, it would be too flimsy and possibly rip off. This way, when folded, the ribbon loops were on top of solid cardstock.
I chose the layering sheet for 3 reasons: (1) the blue matched pretty well with the base color without being TOO matchy-matchy, (2) I had cut it down for another card, so it was a piece I wanted to use because I don't like accumulating too many scraps, and (3) that print is the kind of plaid that my dad wore when I was growing up as a kid! It was just too perfect! That on its own seemed kind of plain, and nothing was standing out, so I cut down that piece of green to go across.
The last step was adhering the "dad" rectangles with foam adhesive squares. Love that Oriental Trading! I used 5 per rectangle after only putting 4 per rectangle at first. I didn't like that the center wasn't being held up, so I had to add another. It adds that extra pop to the card that I wouldn't have had if I only glued the rectangles down.
I wrote in the card the following morning. I was going to type something to stick on the inside (I hate writing without lines!), but I ended up just using a ruler to keep it somewhat straight. I then went downstairs, and I was going to leave it on the bed next to him (my mom was already awake and getting ready for church), but he woke up, so I told him "Happy Father's Day" and kissed him on the cheek.
At night, my mom told me that my dad REALLY appreciated the card and what I wrote. I told him that I was grateful he was my dad and that I appreciated all he did for me. And being an ELA teacher, I knew that it was important to go into details, so I mentioned how he helps me with my finances (my finances would be in shambles if he didn't help me!) and helps me save for my future as well as doing other things like chasing down buses so that I'm not too overwhelmed and exhausted (he did that last Saturday when he drove me to a bus stop so I wouldn't have to transfer). I really am happy that I made him that card! Though it may not be that fancy with stamps and Cricut images, it's still one of my favorite cards because I made it with him in mind.
Cute! I love that font.
ReplyDeleteRae, your card is absolutely adorable!! I am sure your dad , mom & all of us are very proud of you. * hugz* <3 from auntie wingyee.
ReplyDeleteit's a good masculine card - even the curly sides don't look that girly bc the body is macho. remember when we used to wear plaid all the time?
ReplyDelete@ksquared: Thanks! That's the reason why I bought it. I love love love how it looks handwritten without my actually having to write it and mess it up!
ReplyDelete@Auntie Wing Yee: Thank you! I'm glad I took the time to make one for my dad. I knew I would make one for my mom for mother's day, but I didn't think dad would care as much. Apparently he did!
@kay: I was going to use a different punch, but I wanted it to go up the sides. Haha, that's the only punch I have that's "Punch Around the Page" to get the corners! And YUP about the plaid! We were awesome lumberjacks.