
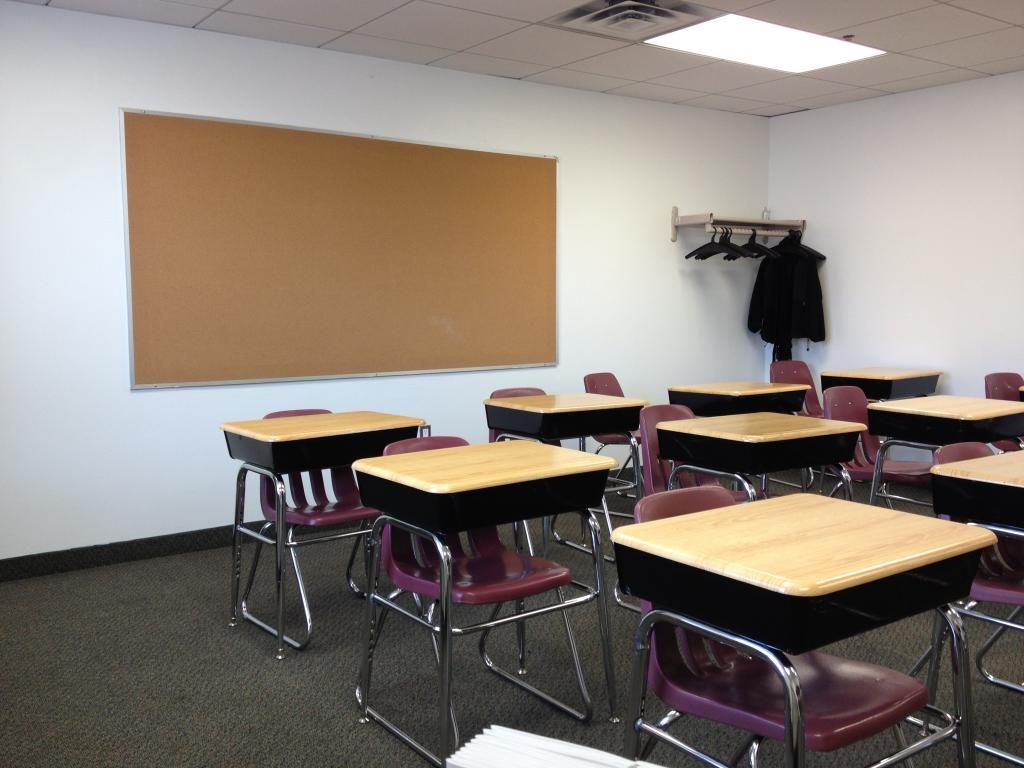
At the beginning of this school year, I snapped a few pictures as I set up the bulletin board in my classroom. I was still in the mood to document everything whereas nowadays, I'm just doing my best to get through the day! There's always a ton of paperwork to go through because the grading never stops, but during the first few days when it was just the teachers setting up classrooms, there was time for pictures!
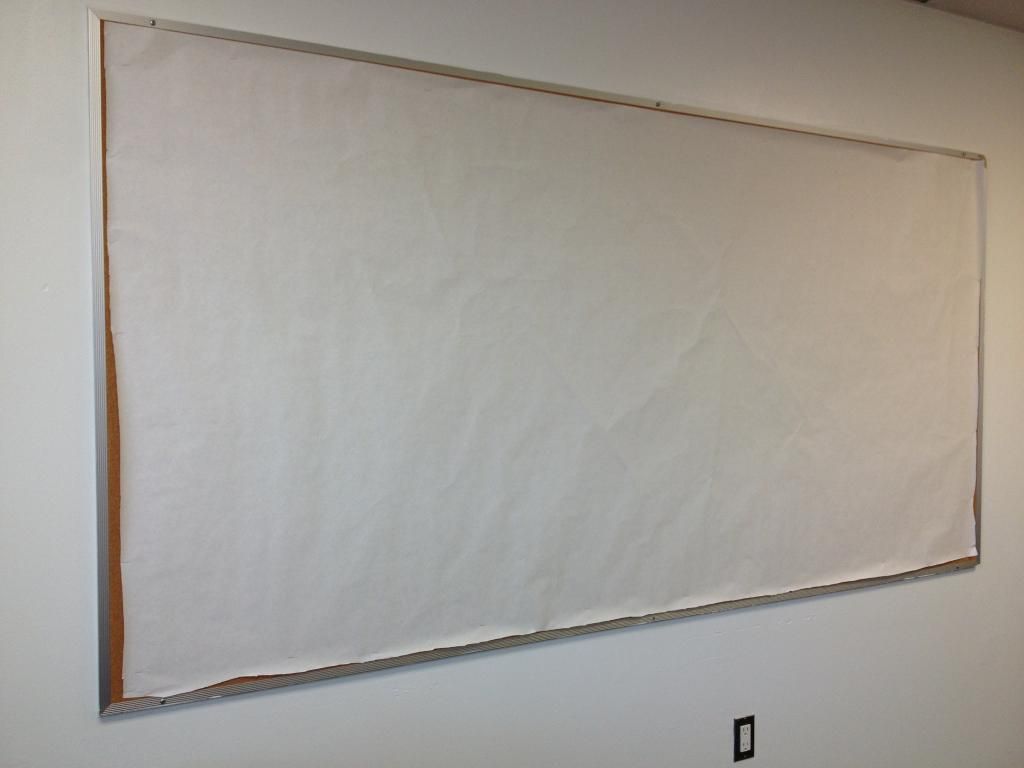
The bulletin board was completely bare. That meant I had to get the backing paper and put that up first. A few years ago, I didn't have white as an option and had to use a blue. It was definitely a little difficult not to notice the bright blue when I was teaching.
I knew that once I put up the white, it would stay up for the entire year. I'm very careful with keeping it as nice as possible so that it never has to be replaced. I don't even use staples to put the students' work up because pushpins work so much better! But the initial task of cutting the huge piece of paper and trying to hold it up and staple it on straight is quite challenging! I hate the inevitable wrinkles when doing it by yourself because there's just no way to hold the other end up as you first start stapling the edges. They're rather visible even in this photo.
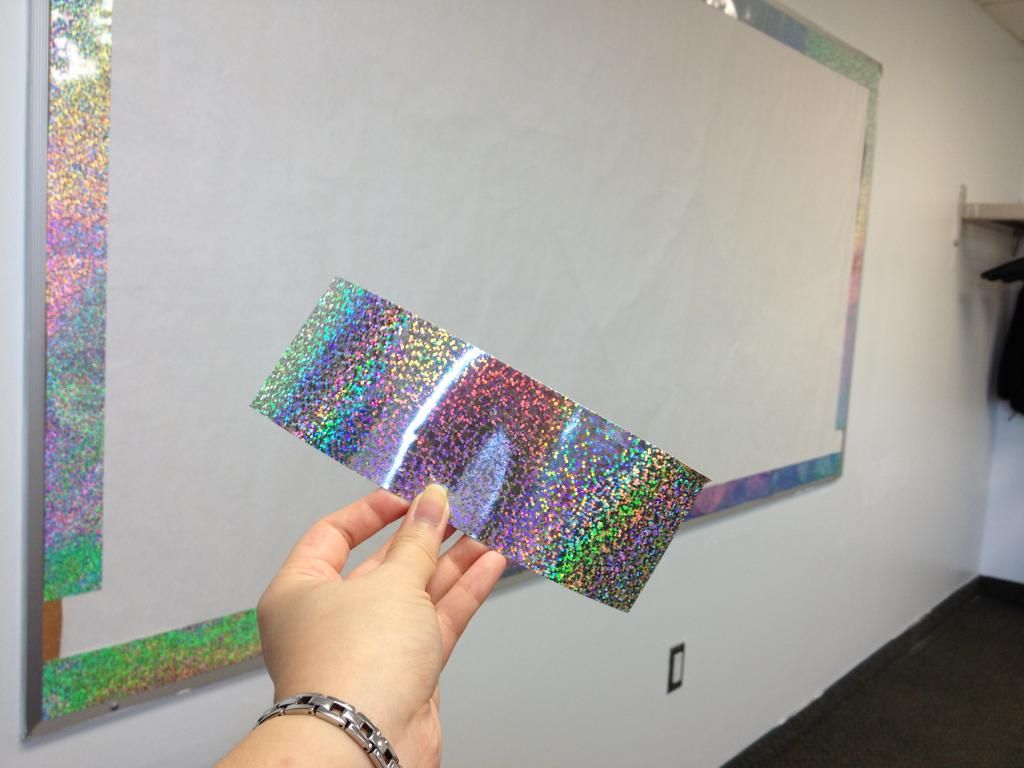
Then it's time to put up border. The two things to know when choosing border are as follows:
- Choose a flat edged border instead of the scalloped ones as it gets difficult trying to match up the pieces. I also like to staple the border inside the metallic frame of the board itself so that it will stay straight and neat.
- Choose a border that is multi-colored so that it can be used all year long! I know the elementary teachers use seasonal border, but I just have no time for that! The elementary teachers also do seasonally-themed boards, so that's why they can switch it up, but my assignments don't have anything to do with the holidays. This holographic border is by far my favorite! The board I did outside my classroom is colorful smiley faces.
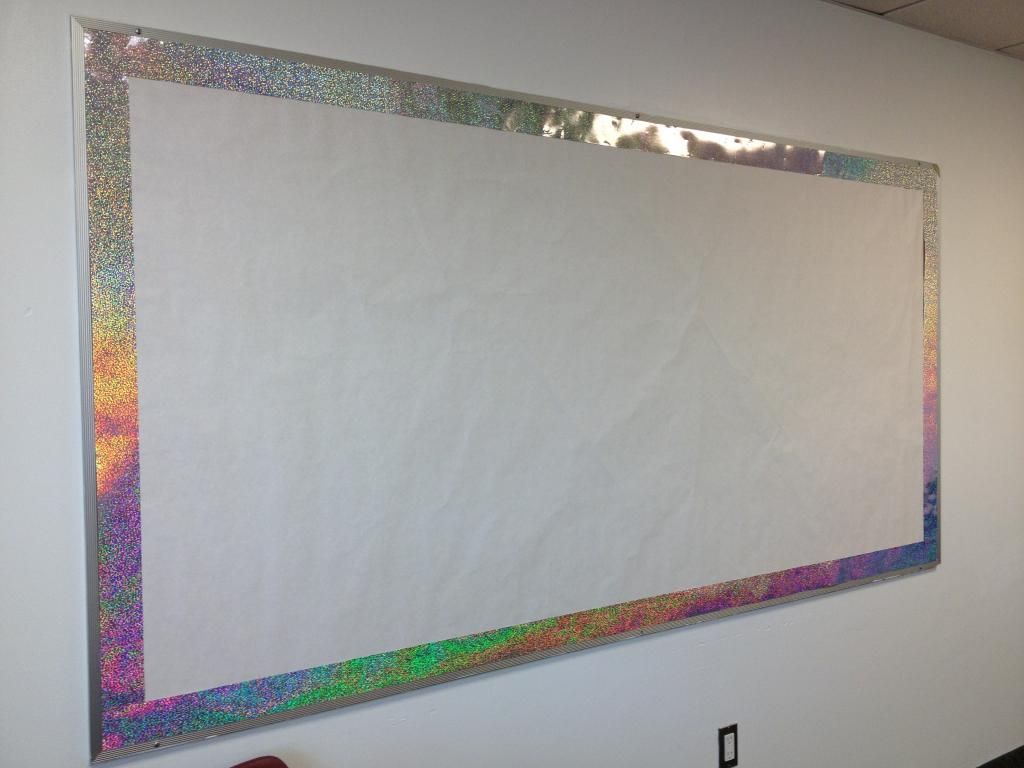
After your border is chosen, you start stapling it around the edge. Then the next step is to thank God when you have one small piece left that can be cut in half to cover the remaining two sections. I typically don't like cutting border and will overlap it instead, but this one was necessary. Thankfully, it was just enough! Phew!
Once those last two pieces are stapled, admire the wonderful bulletin board paper and border that will remain for the entire school year before realizing that you have to do it all over again for the even larger and higher board outside your classroom.
But it is also the perfect time to have your teacher friend whose classroom is right next door help you do that one, making it a lot less stressful. Haha.
Have you tried fabric on bulletin boards? I won't use paper now at all!
ReplyDeleteI've never tried that before! Huh, that sounds kinda interesting!
Delete